CI/CD Processes on Azure DevOps for a Voting Application ( CI Part )
Azure DevOps

Student and Developer
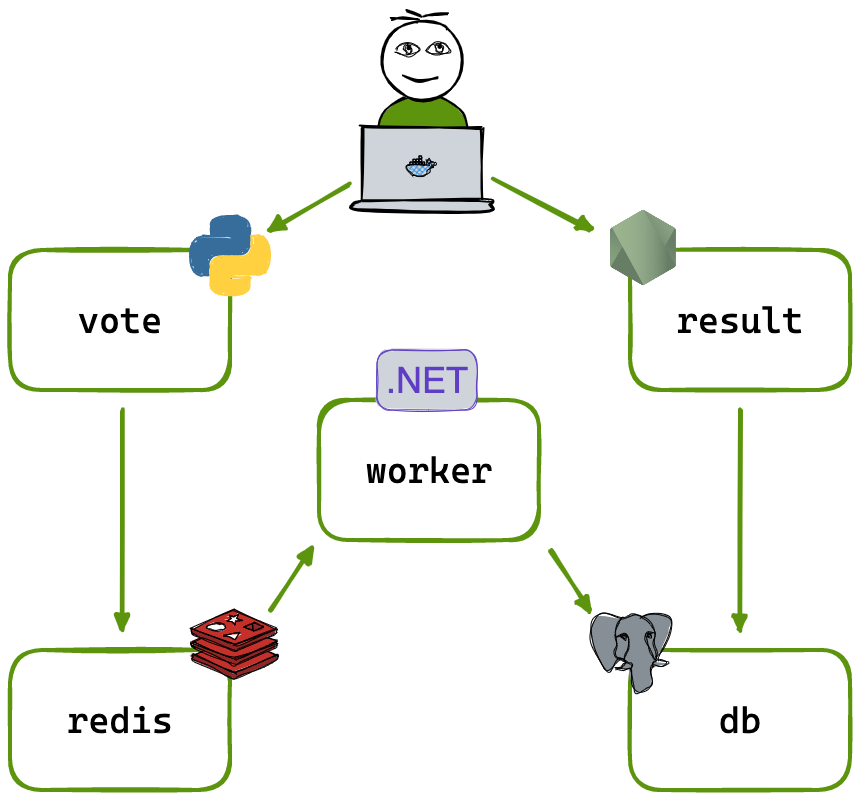
Application:
A front-end web app in Python which lets you vote between two options
A Postgres database backed by a Docker volume
A Node.js web app that showsthe results of the voting in real time
Steps for Continuous Integration:
1. Go to Azure-Devops.
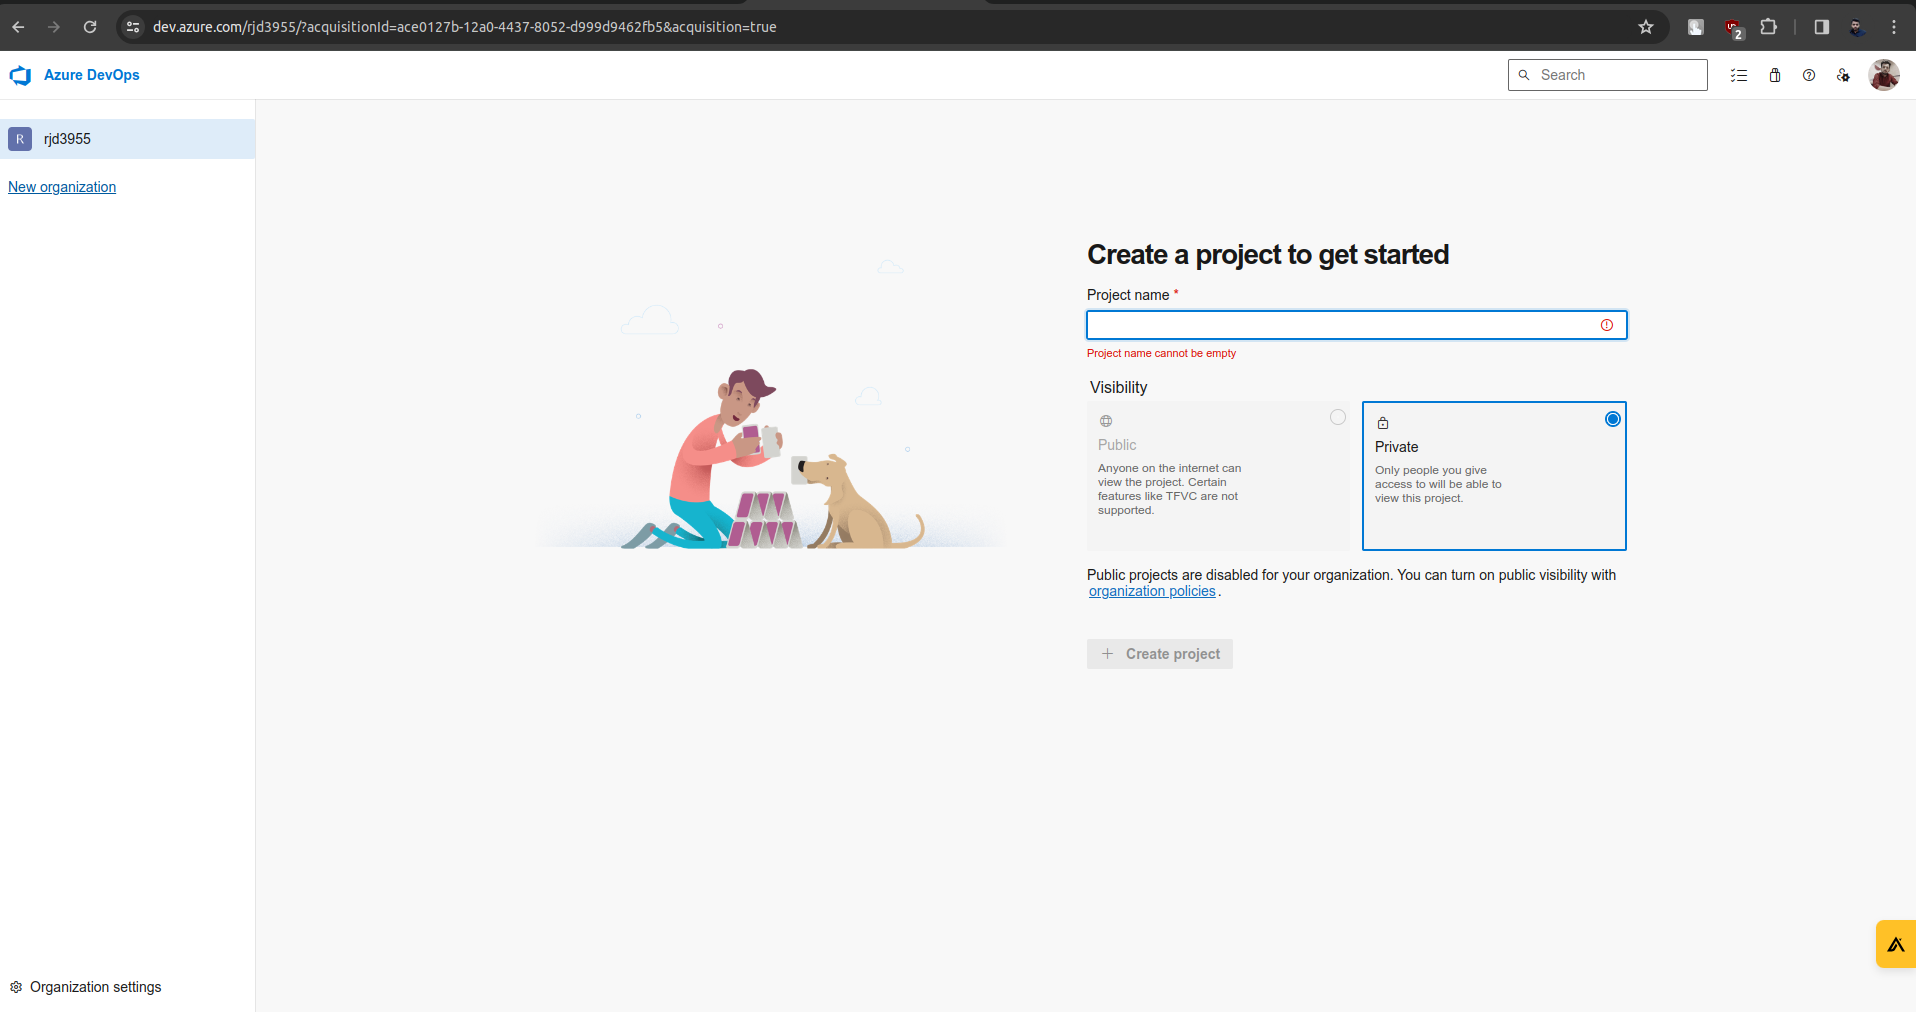
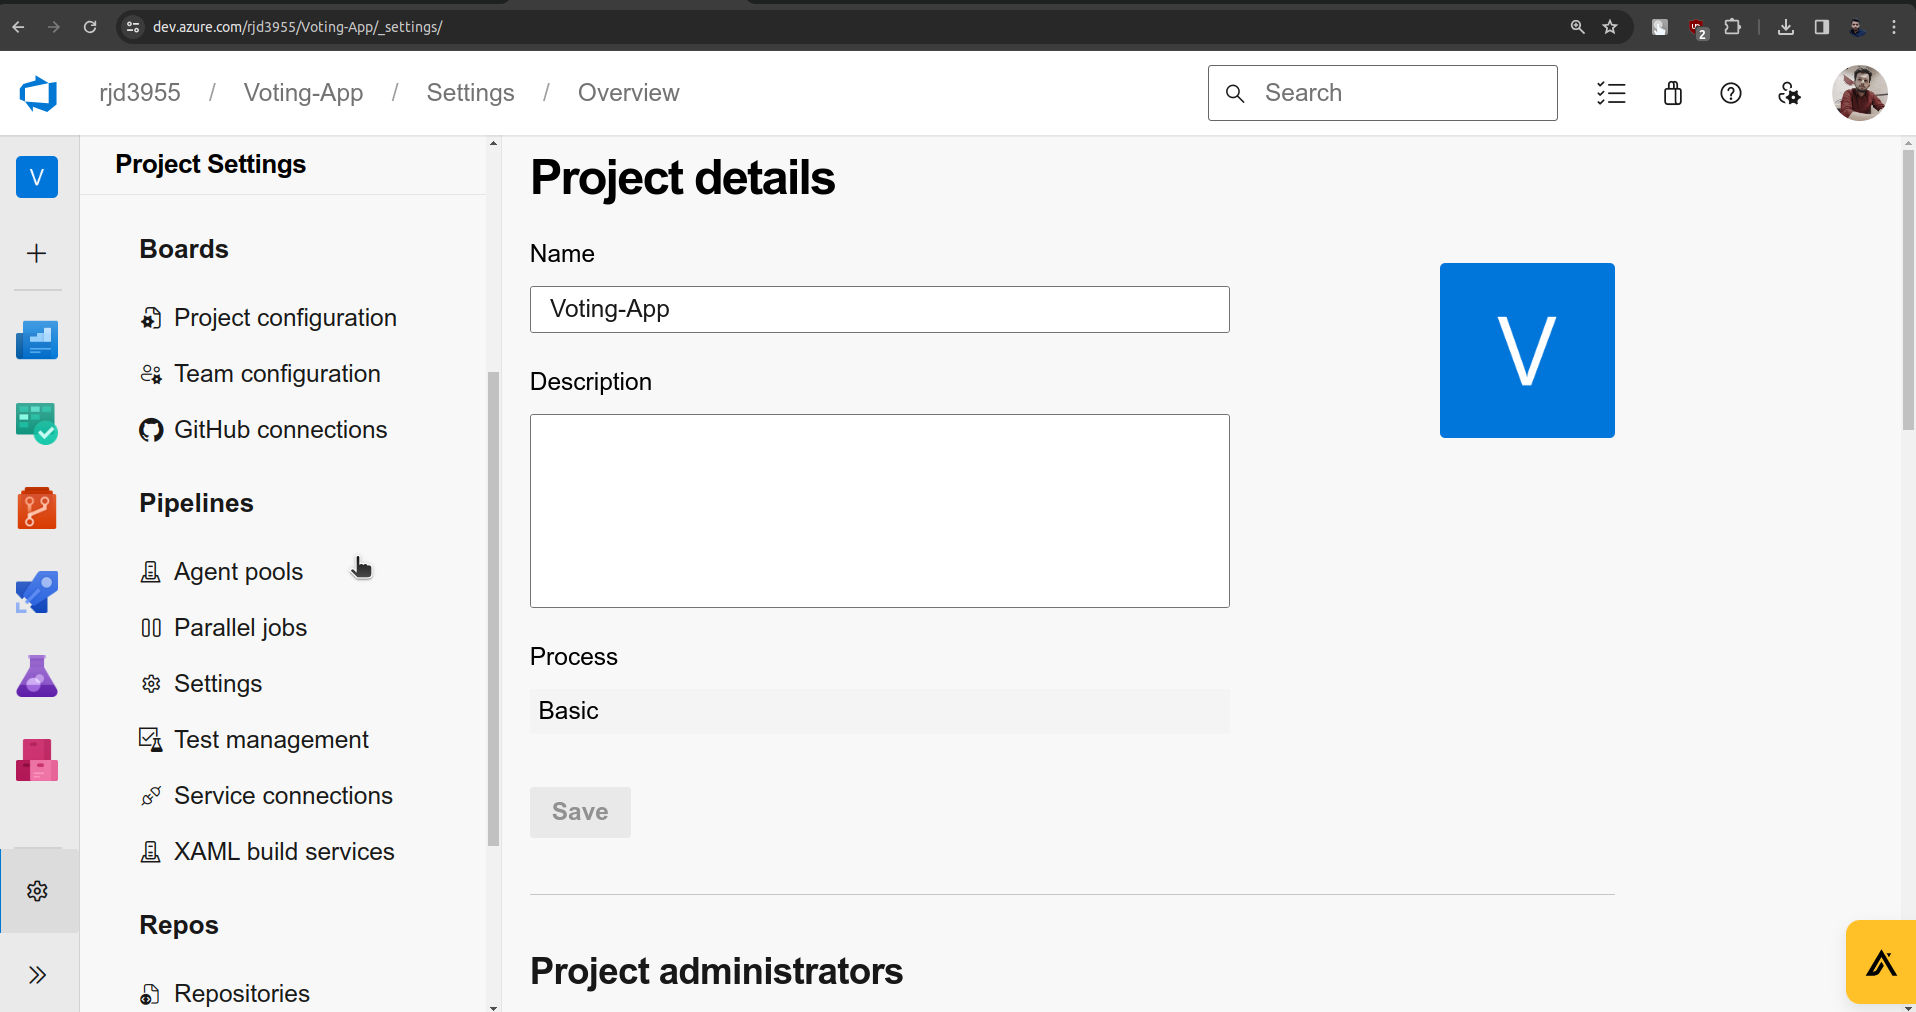
2. Give a name for the project and click on Create a project.
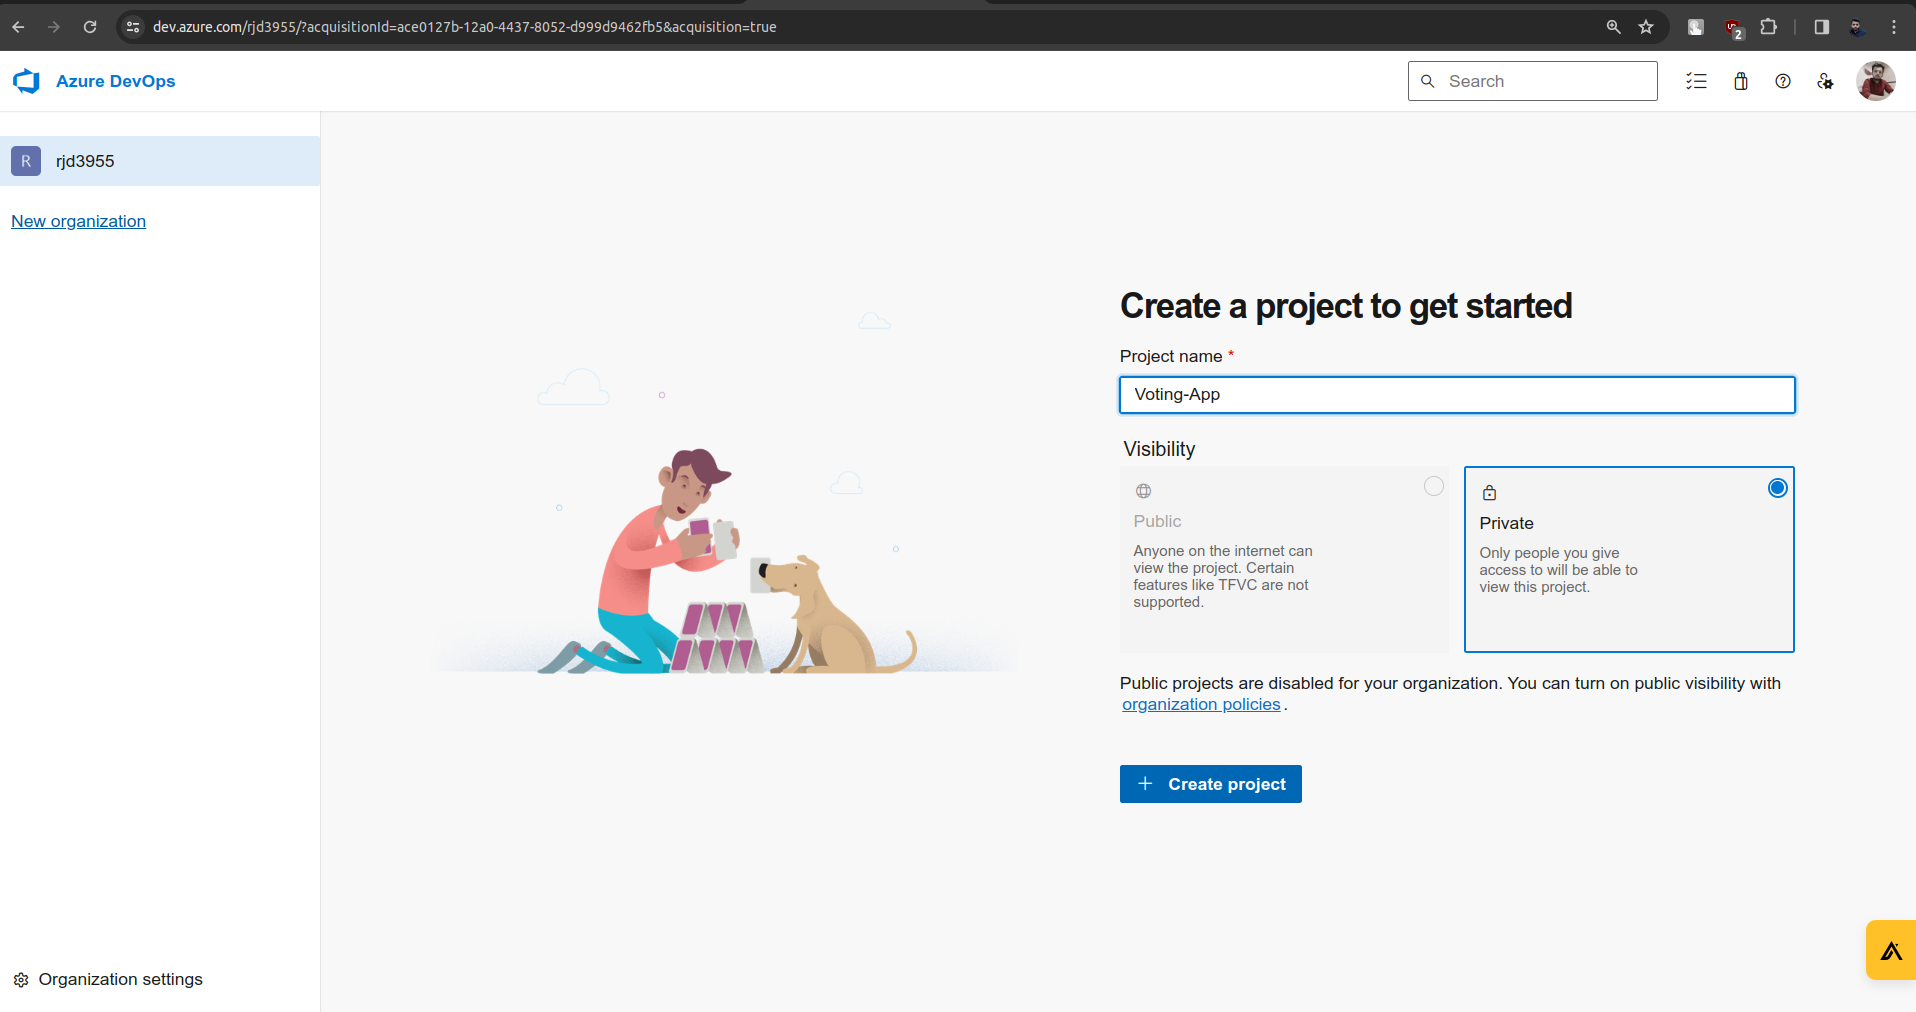
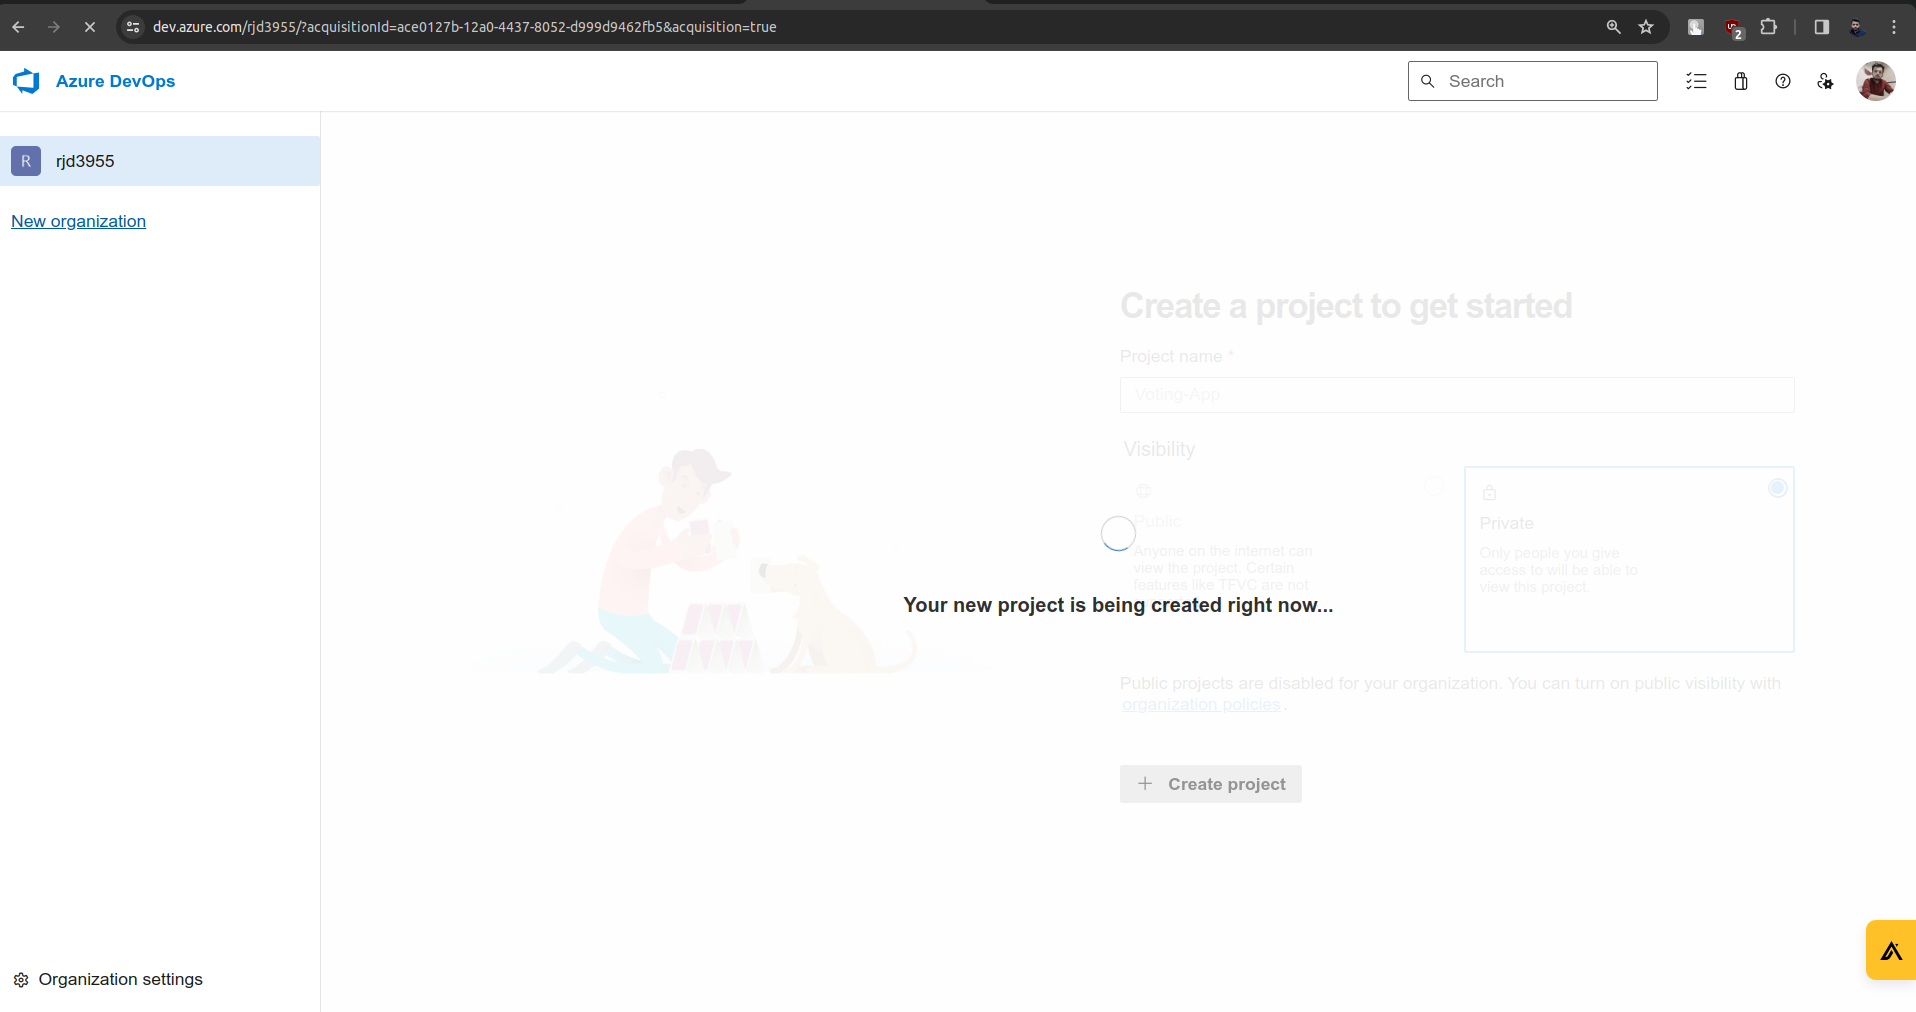
Now the project will be fully on the Azure DevOps platform.
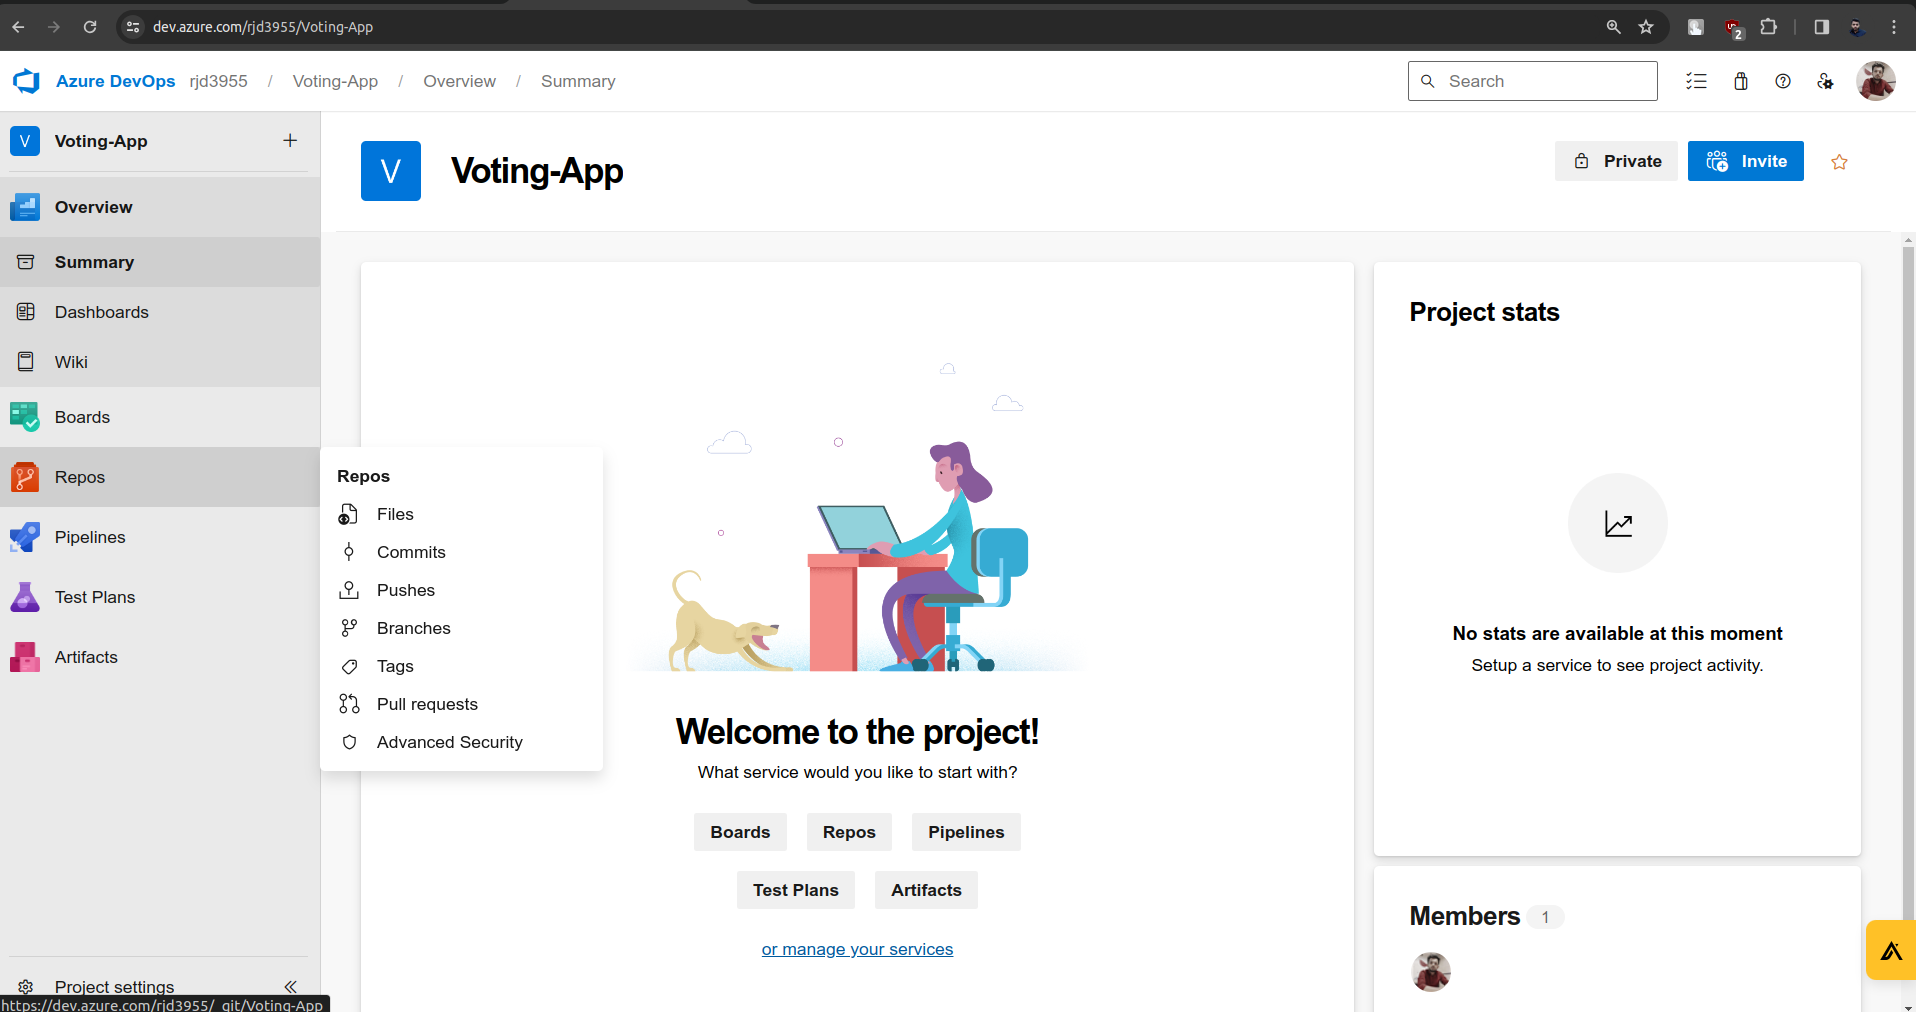
3. Go to the Repos section.
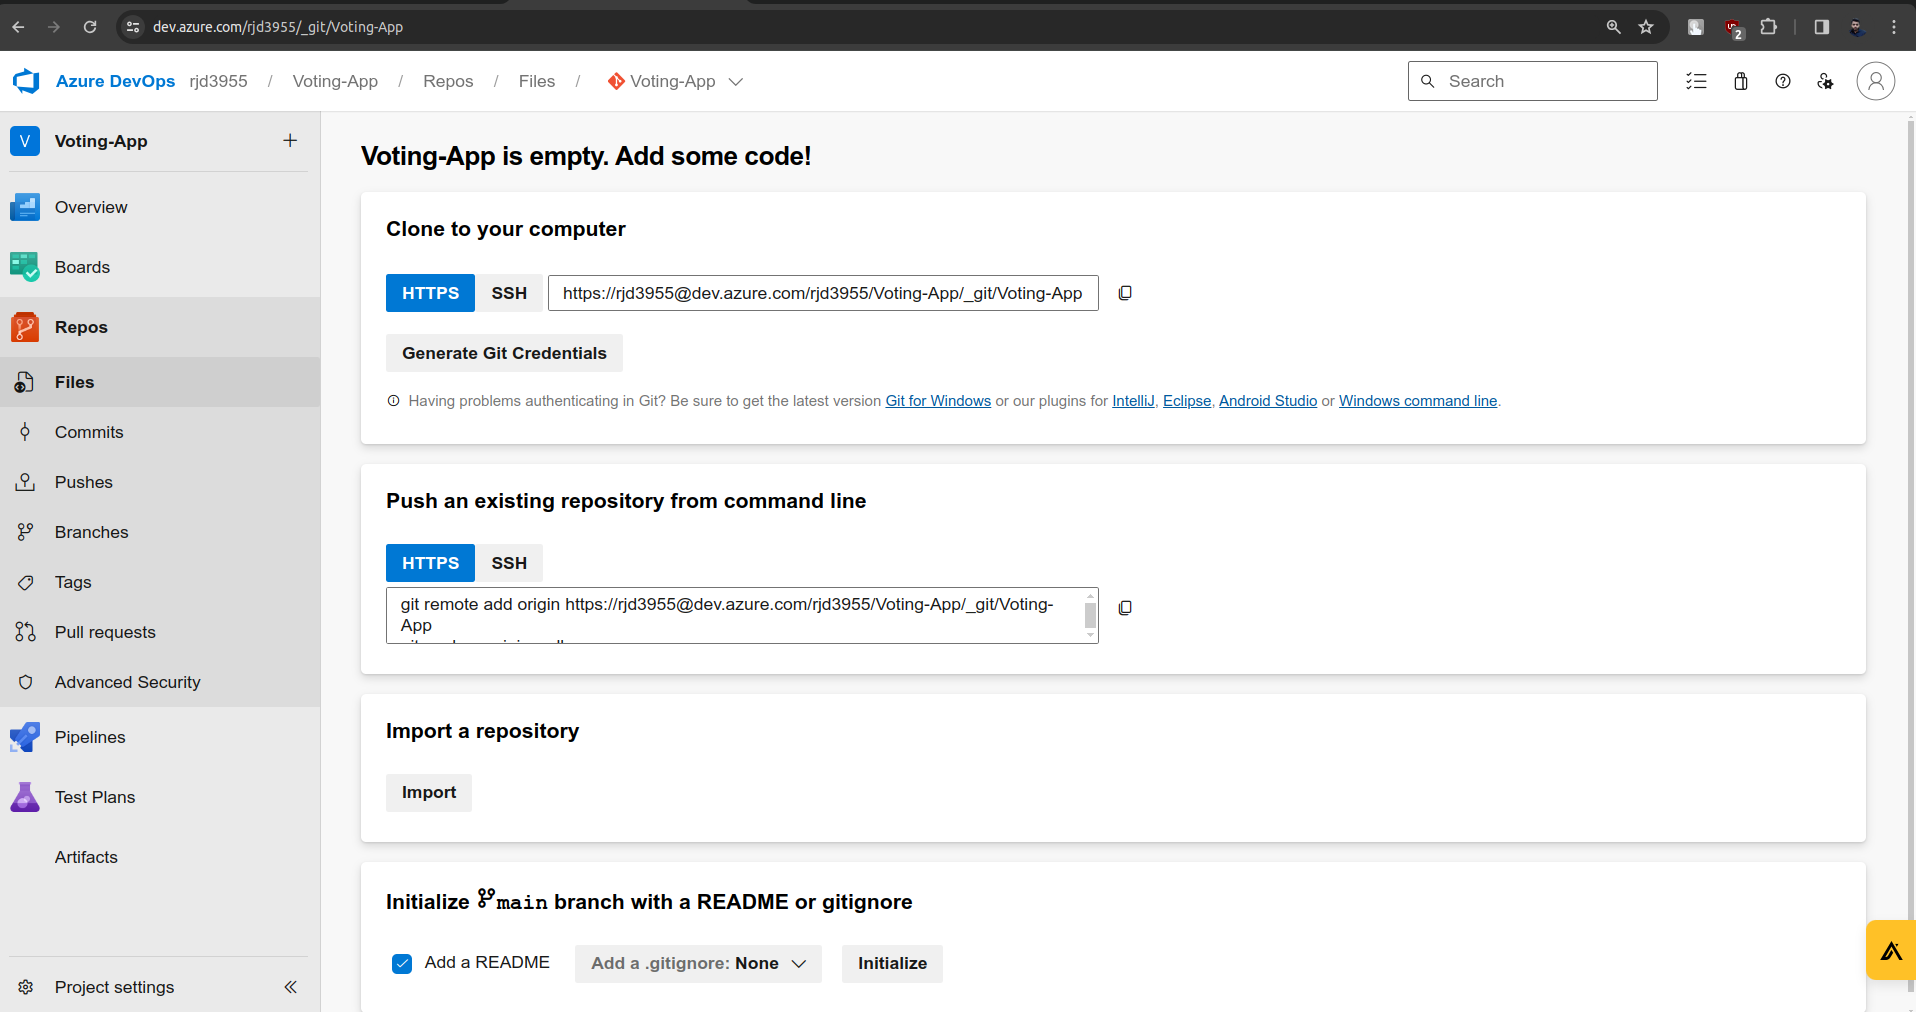
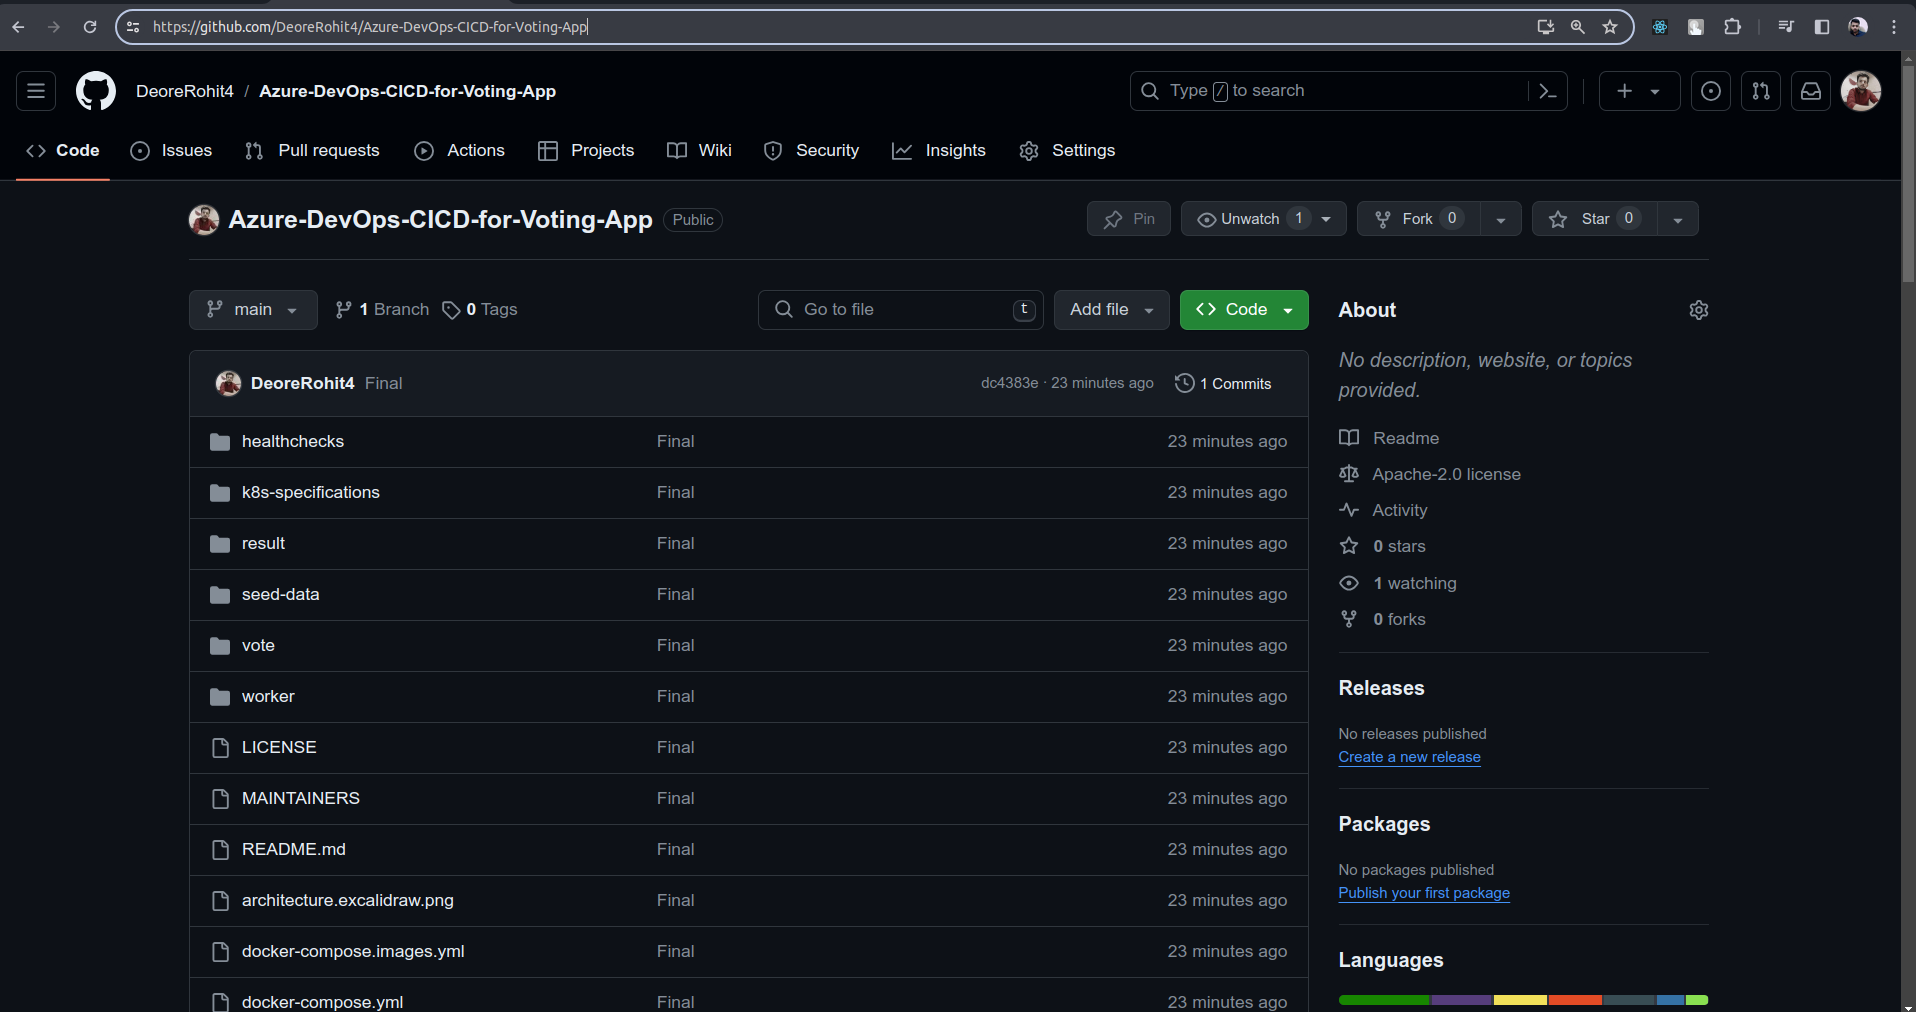
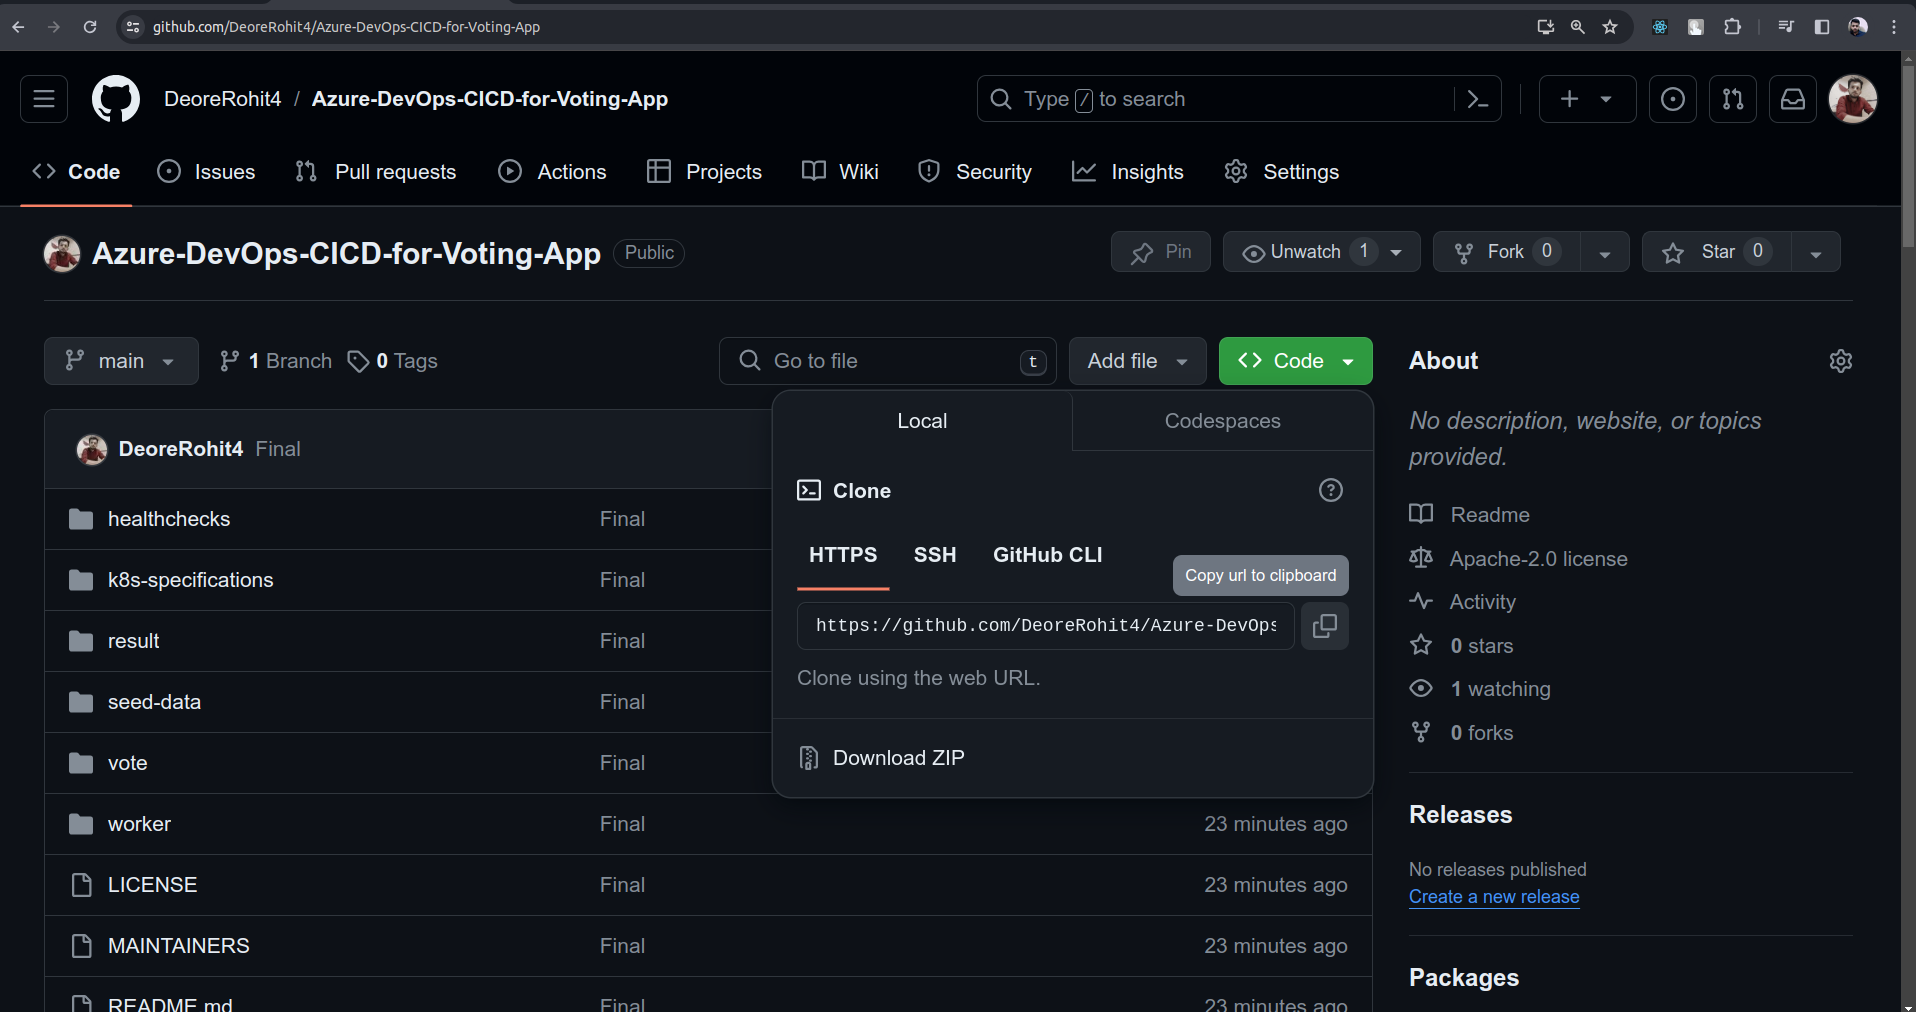
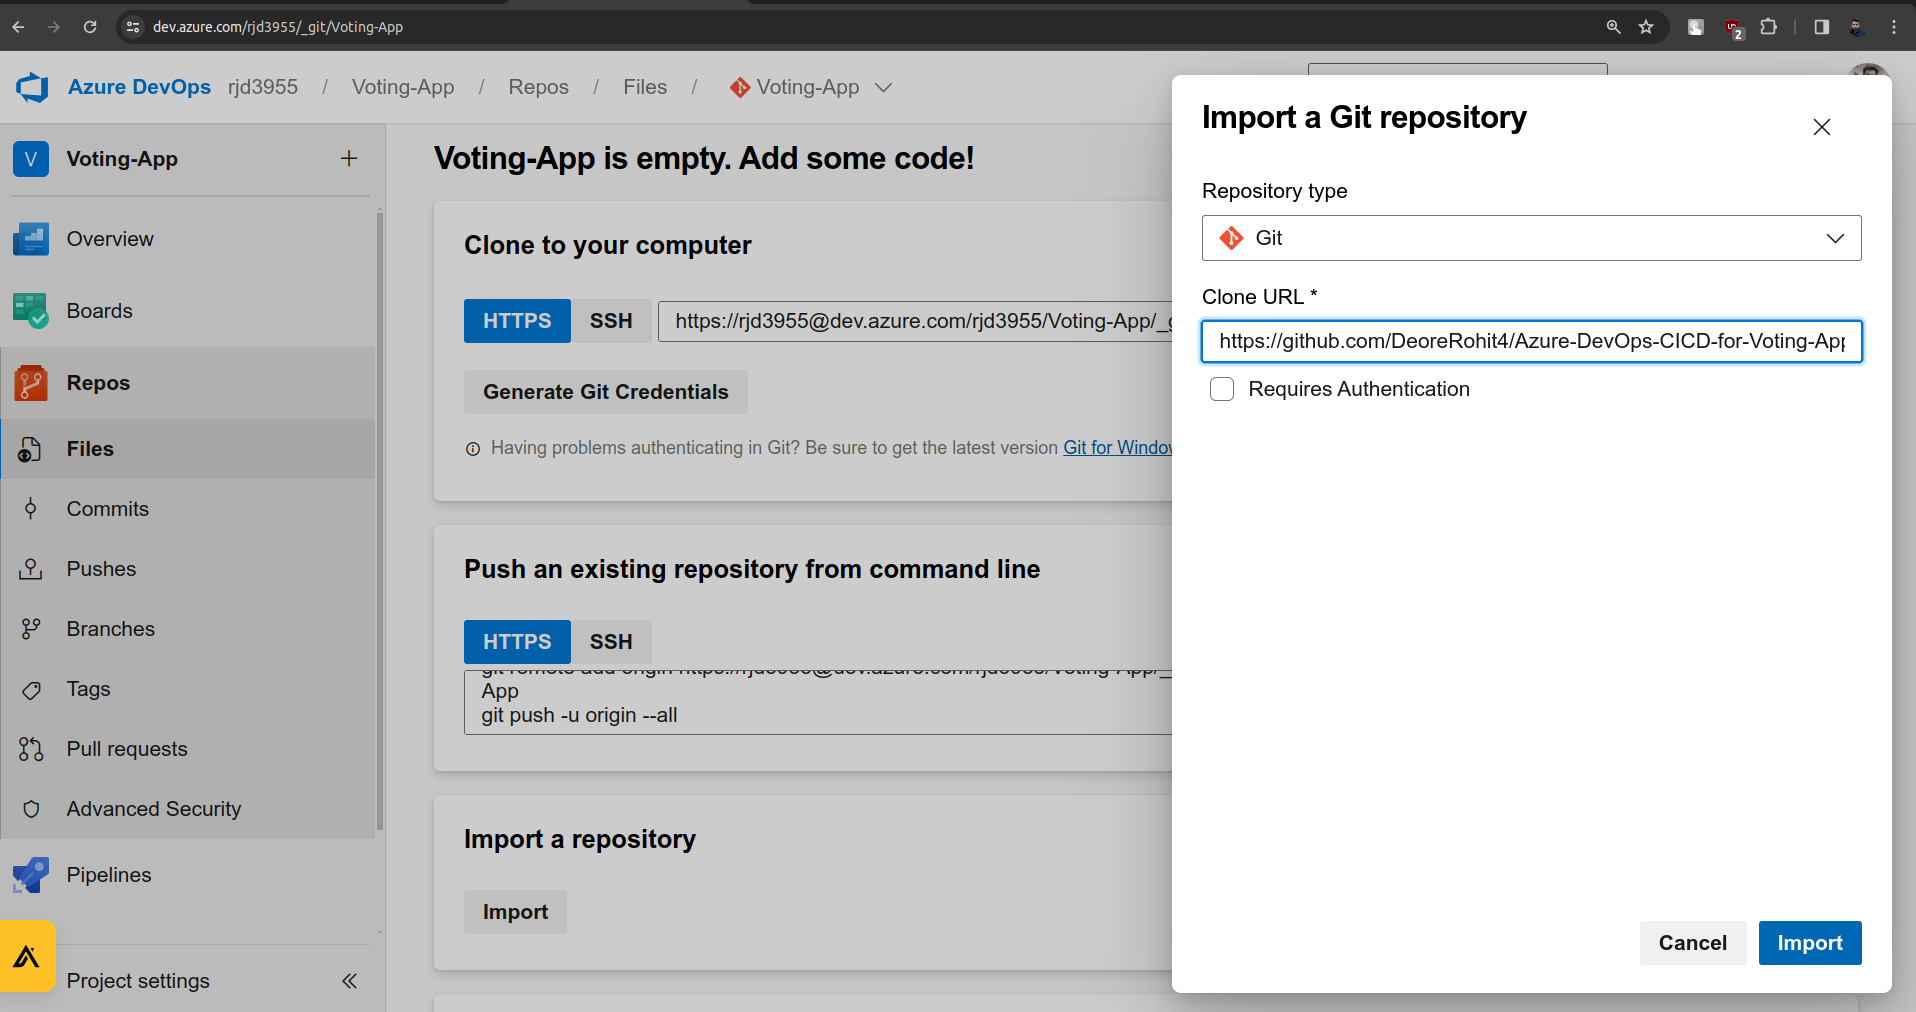
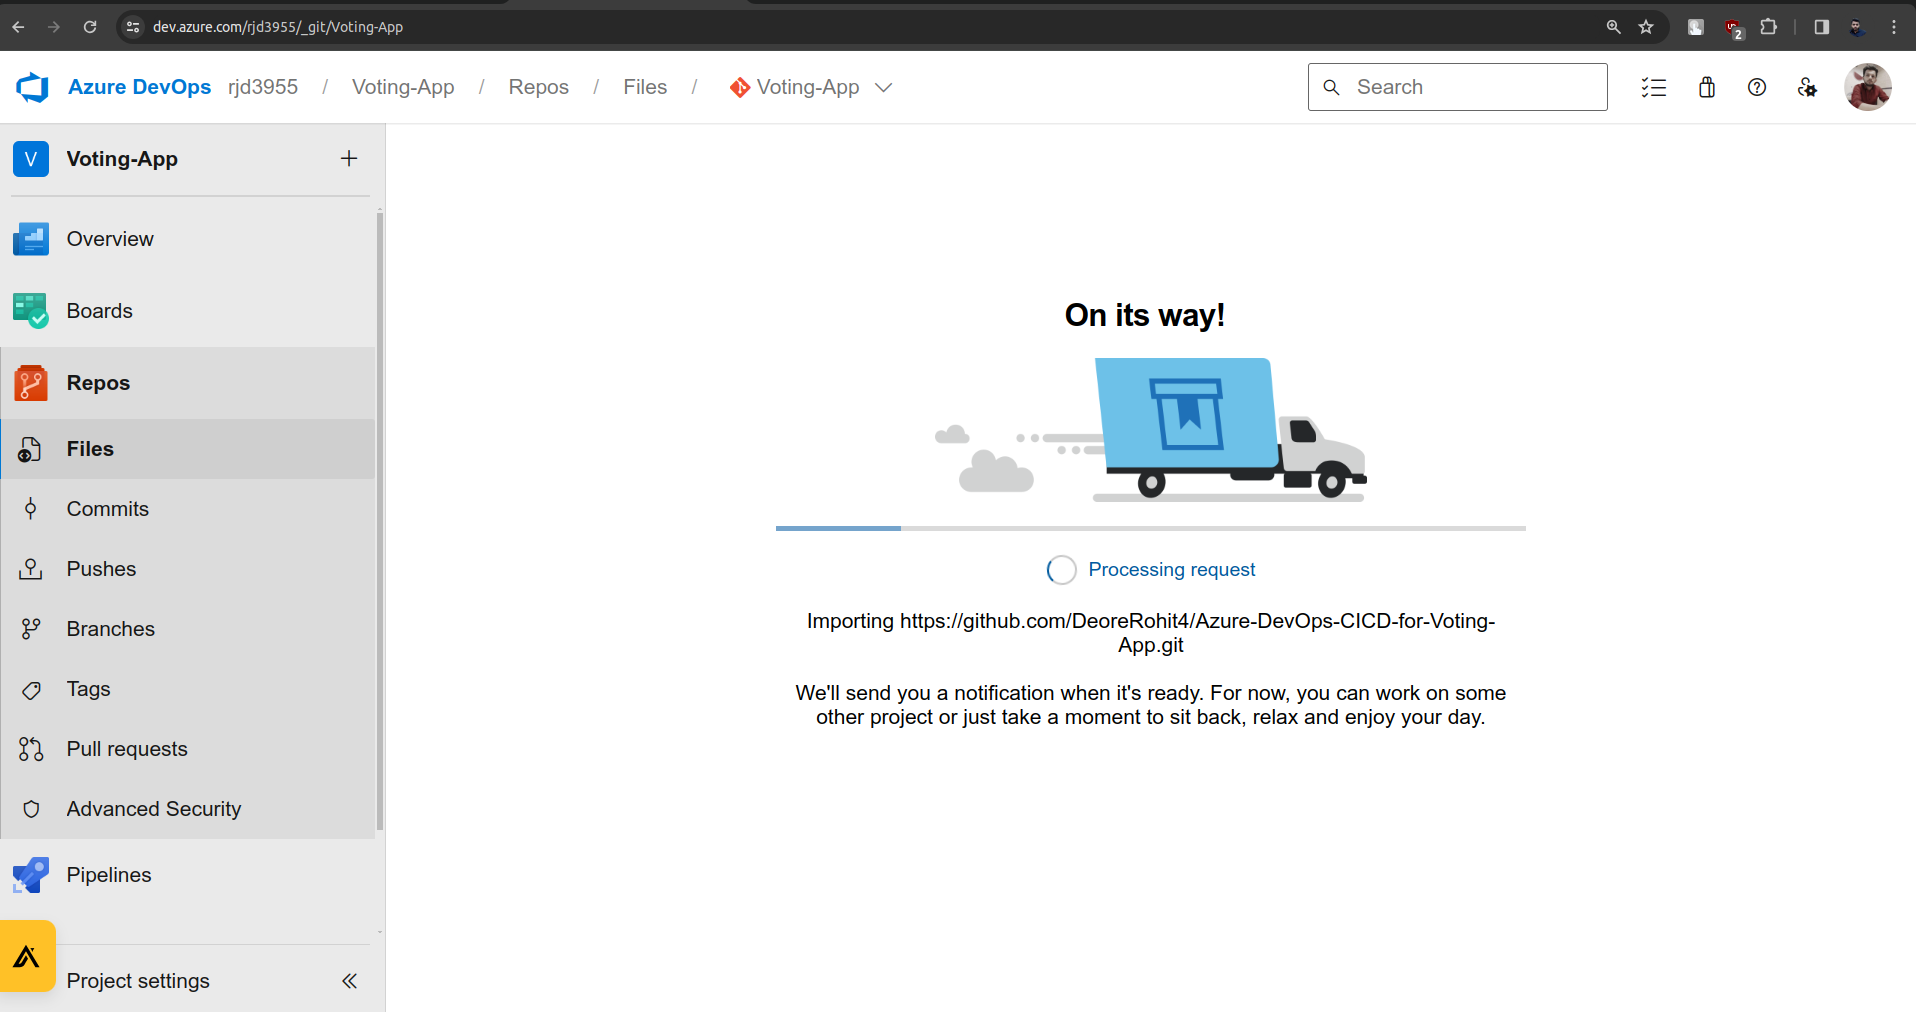
Now go to the GitHub repo: https://github.com/DeoreRohit4/Azure-DevOps-CICD-for-Voting-App
Copy the HTTPS URL from the repo.
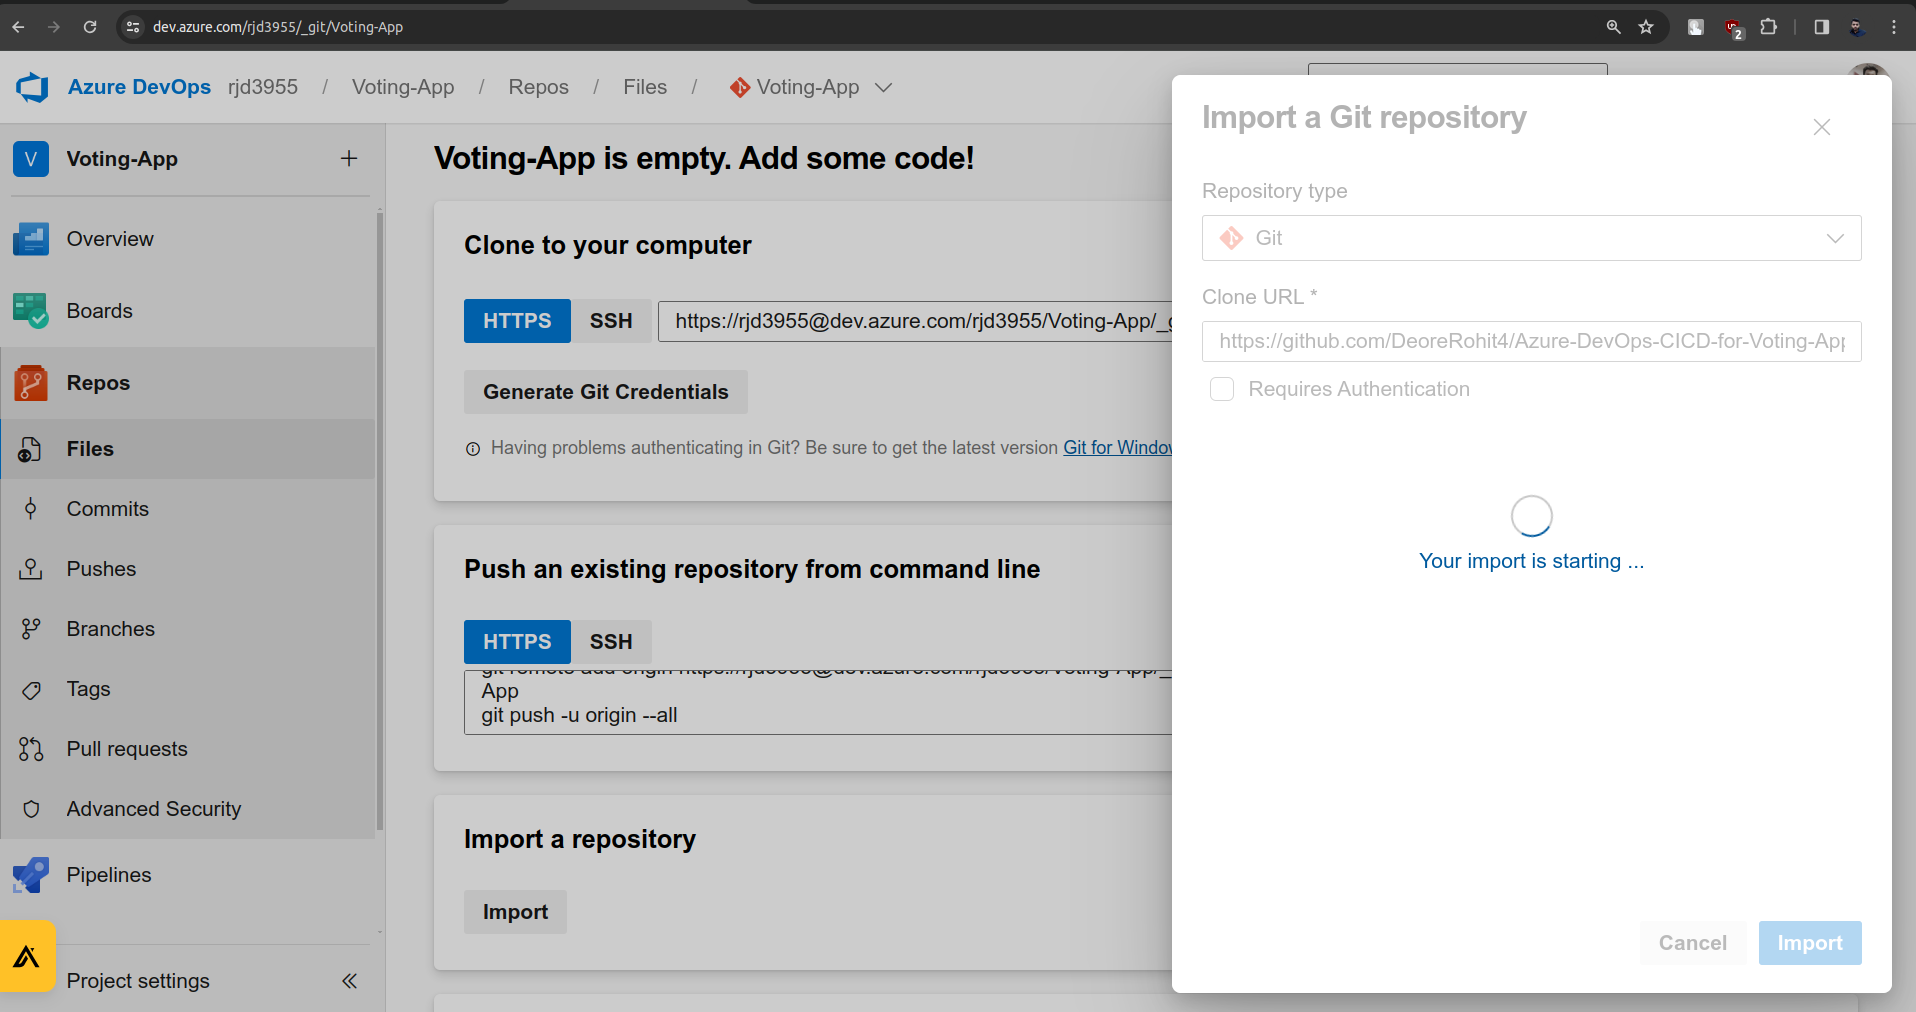
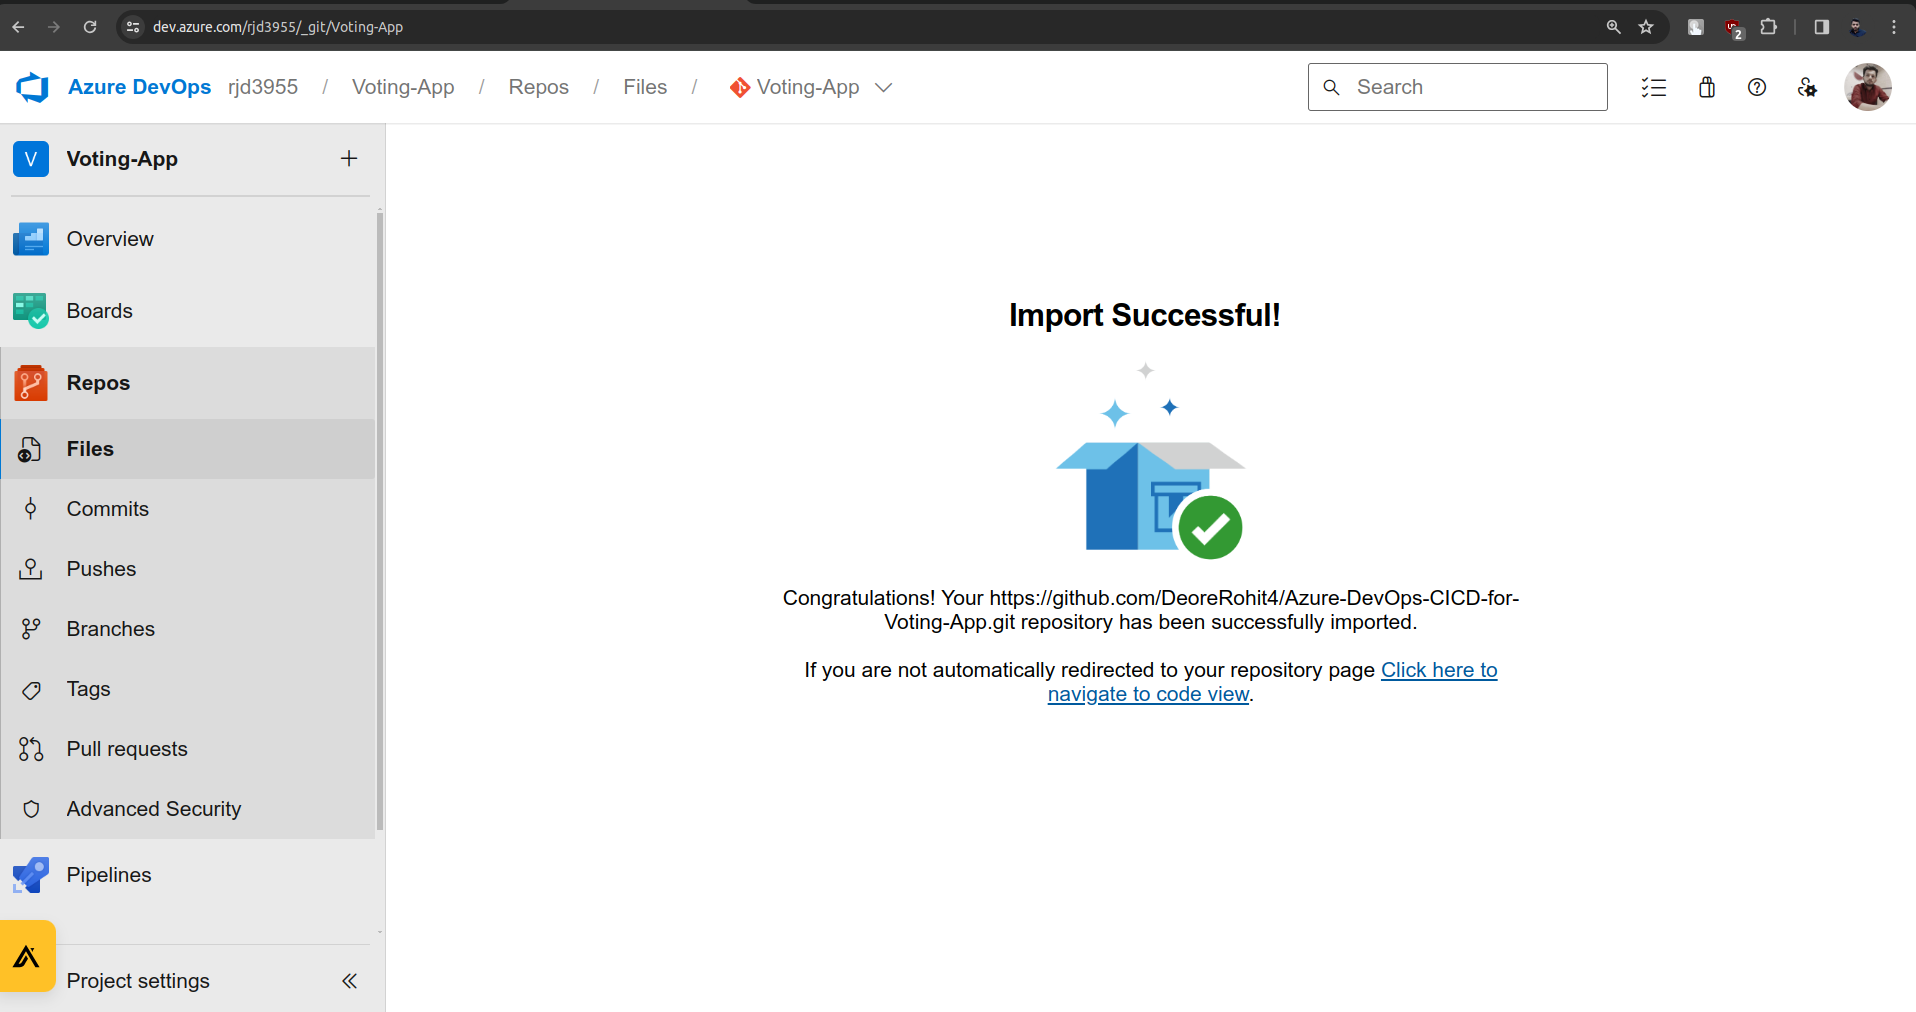
Now in Azure DevOps Repos, there is a section called "Import a repository" Inside this click on the import button.
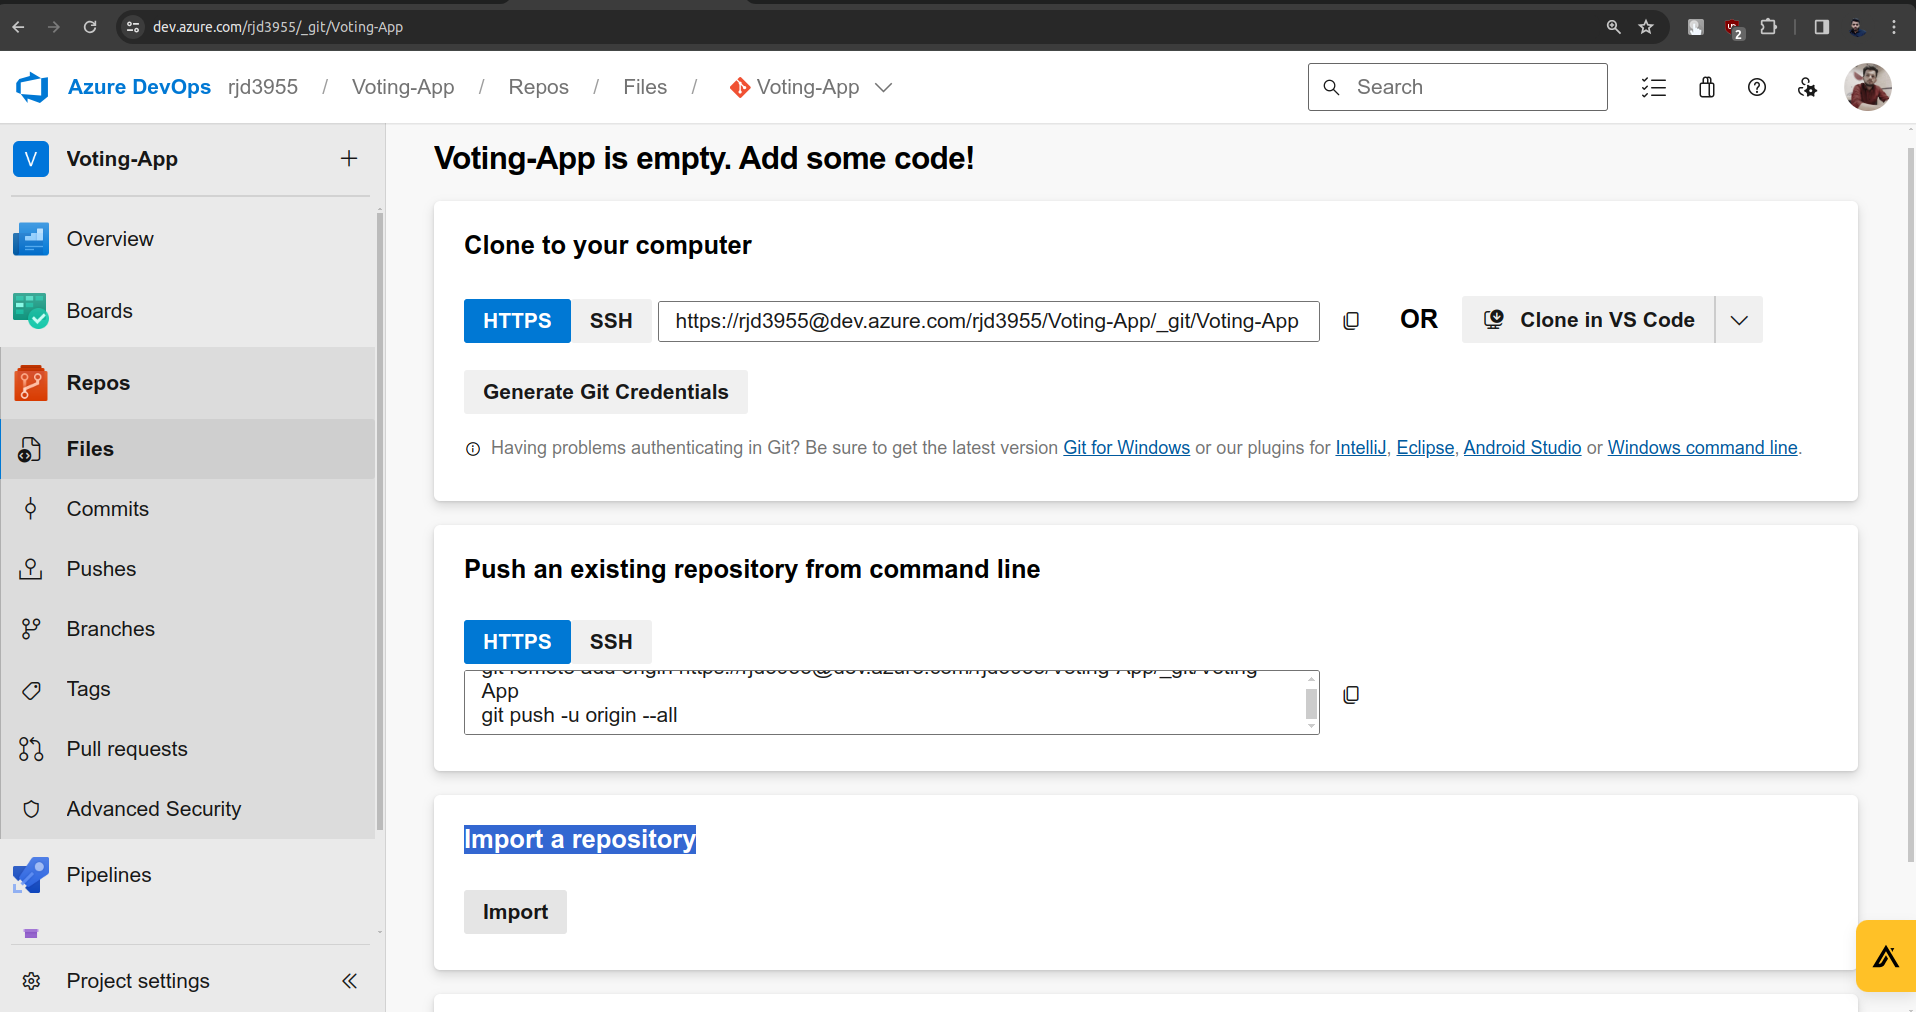
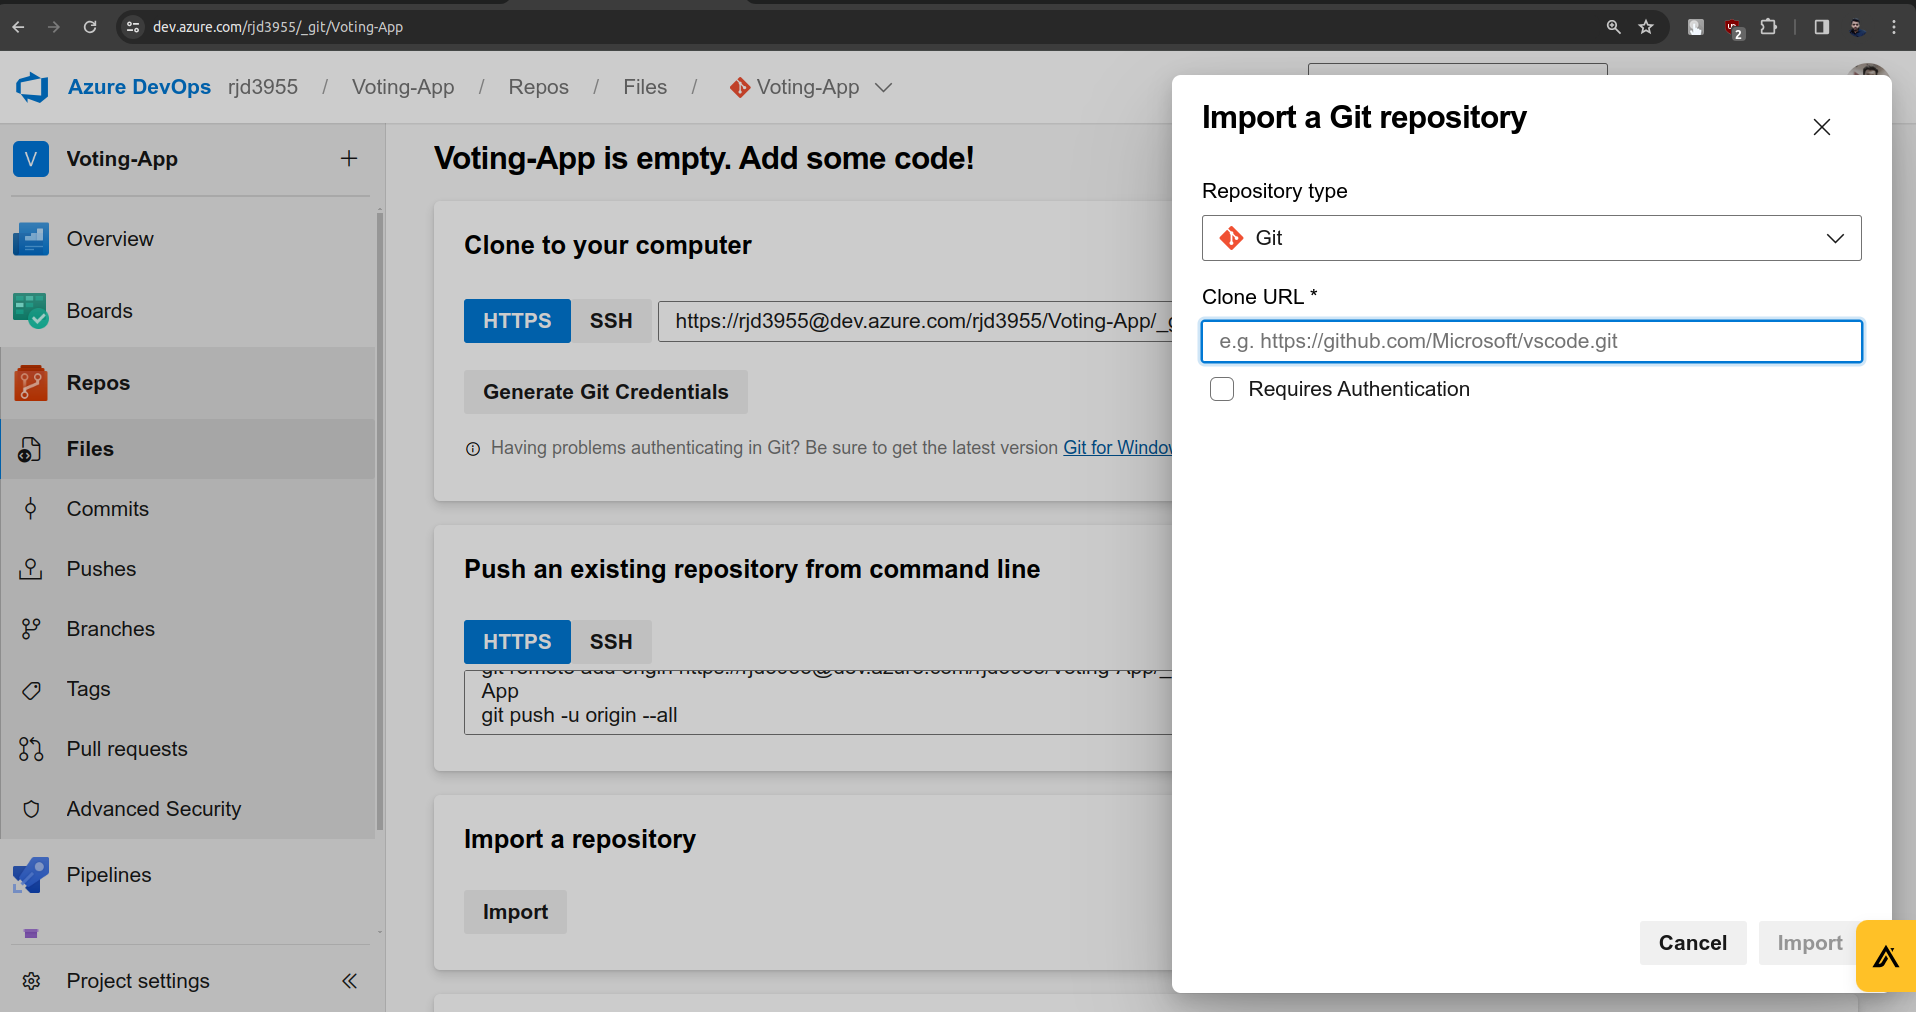
Paste the HTTPS URL in the Clone URL field and click the Import button.
it does not require authentication as it is a public repo.
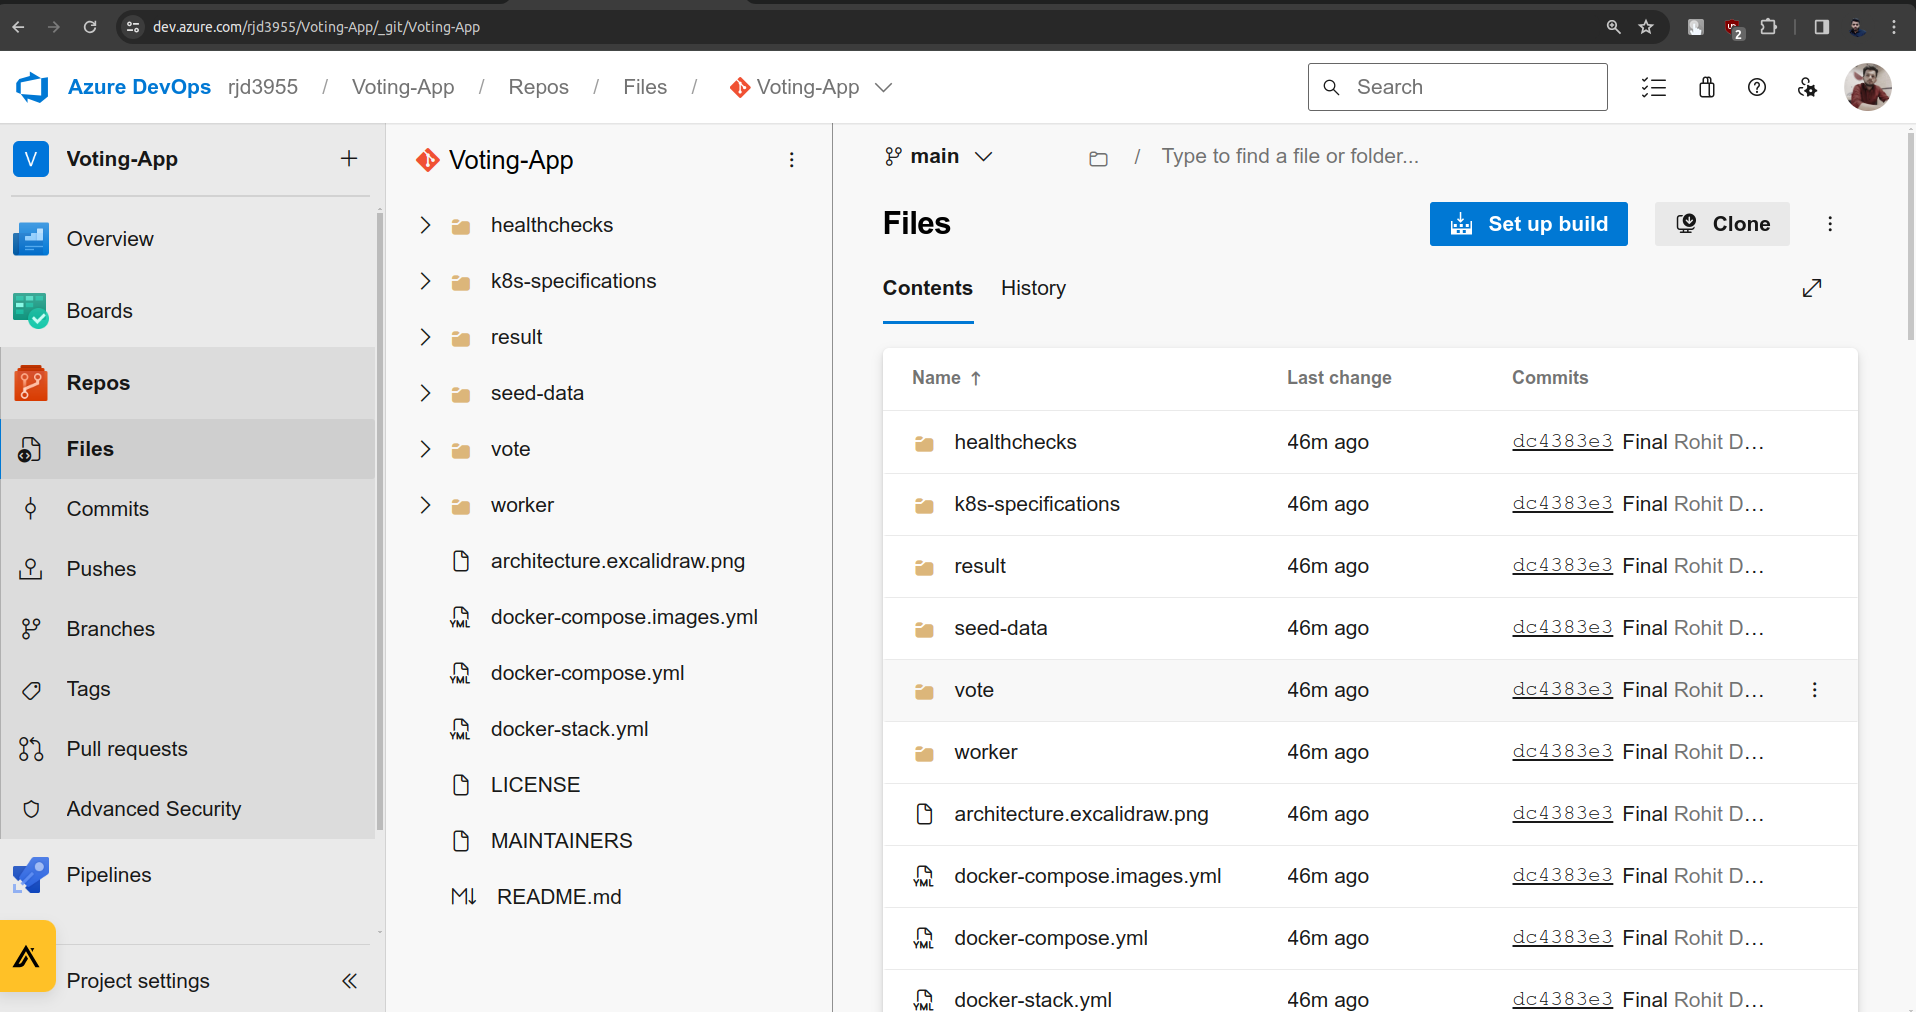
4. We need to create three pipelines for vote, result, and worker.
Go to Microsoft Azure Platform and Create a Resource Group.
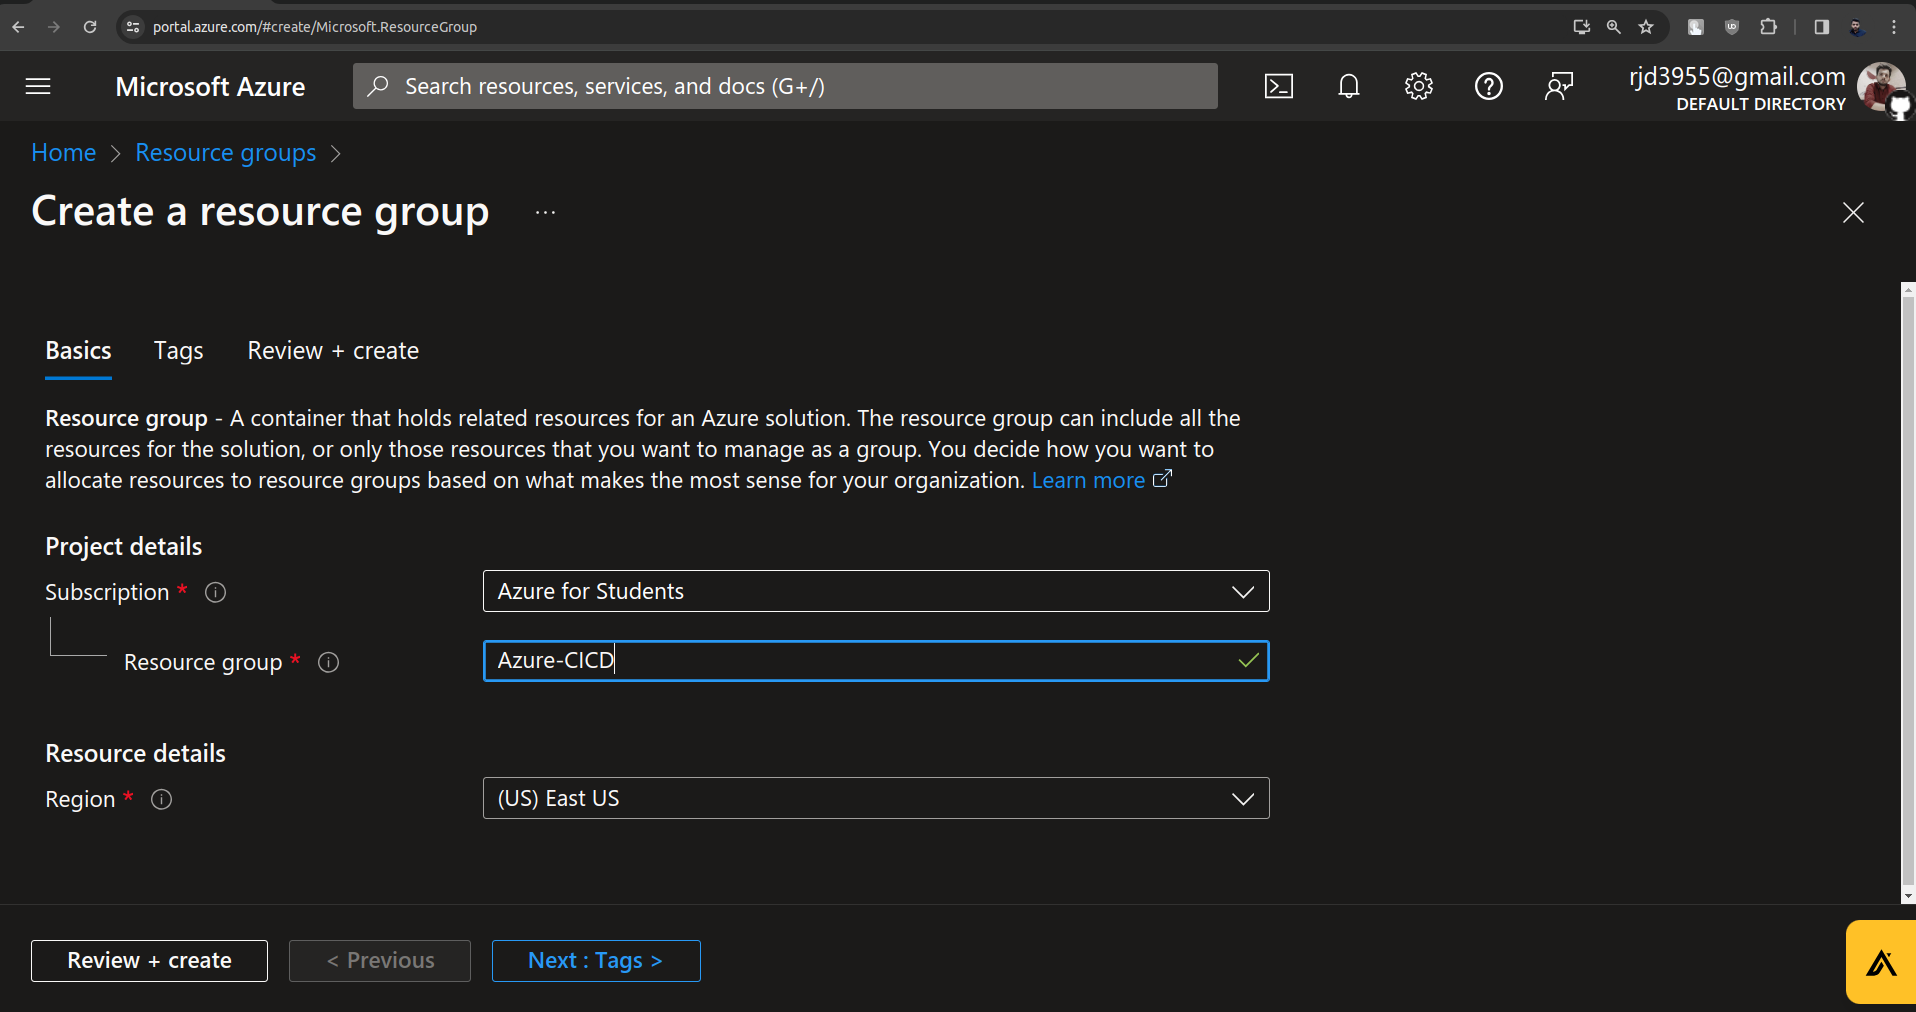
Click on Review + Create.
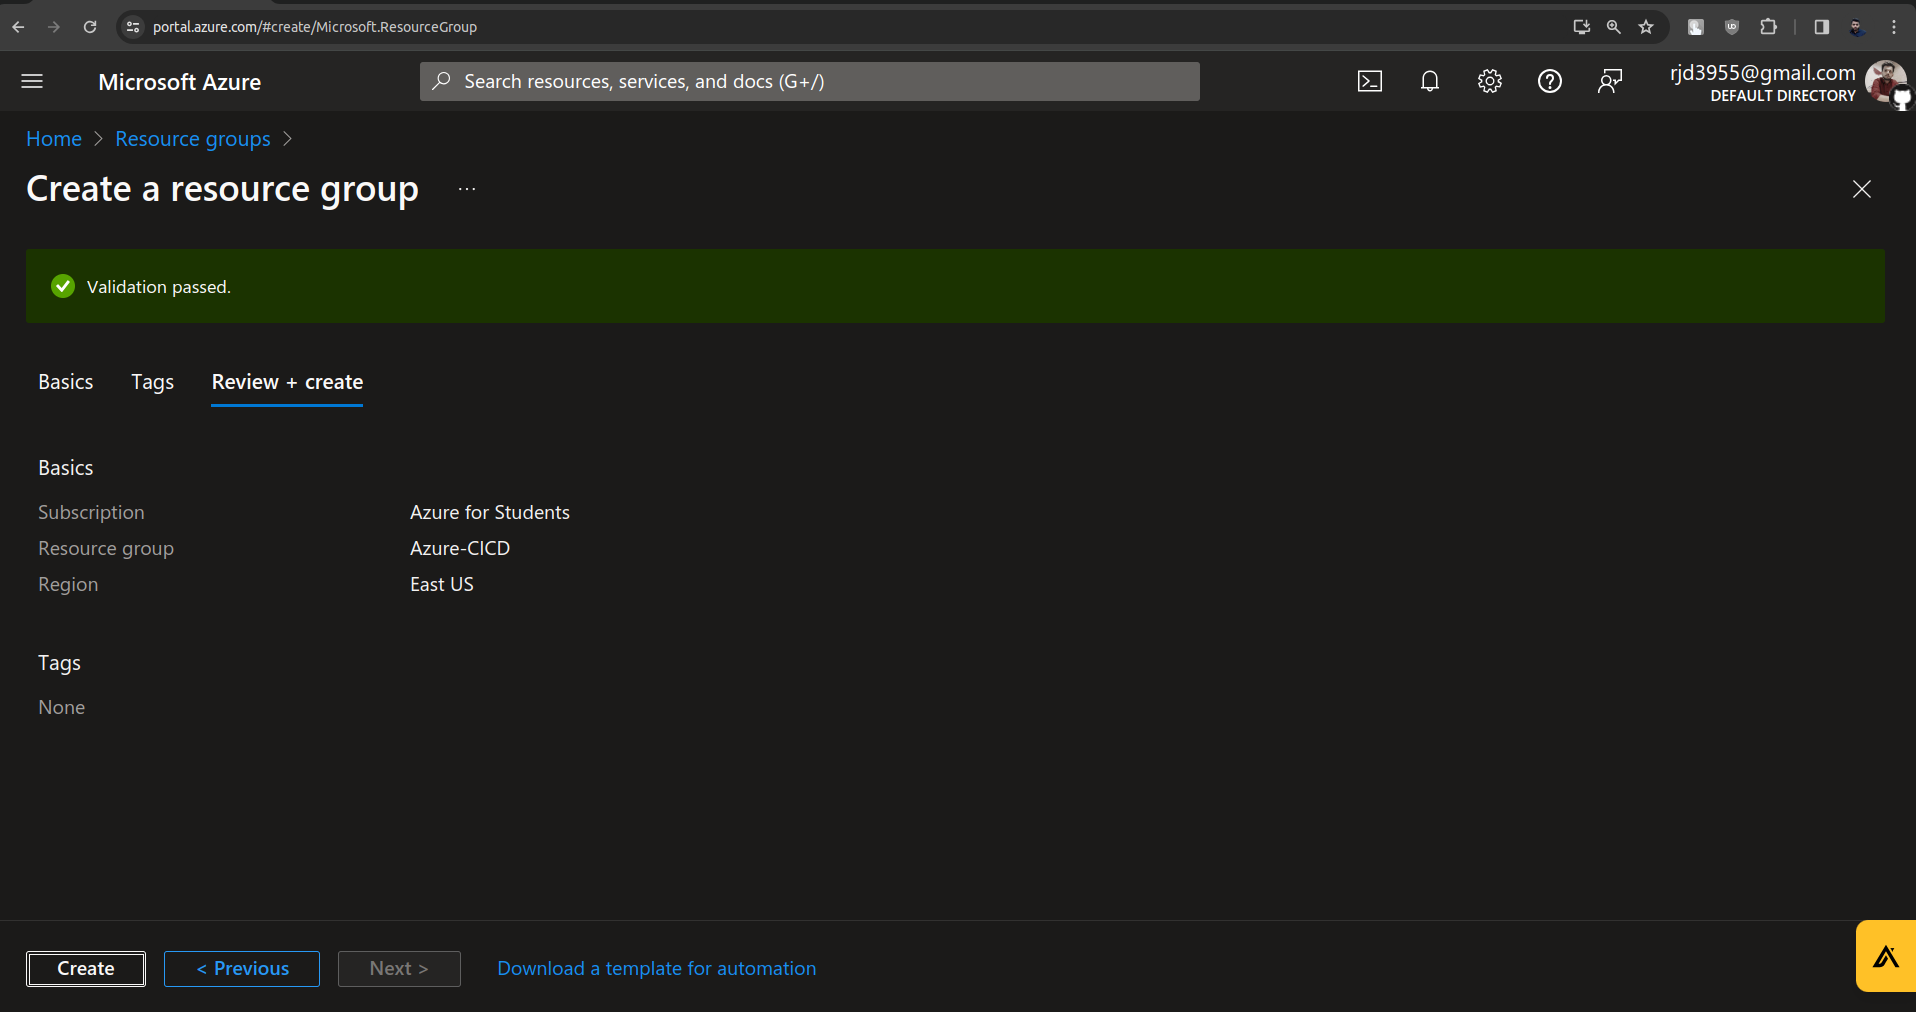
Click on Create.
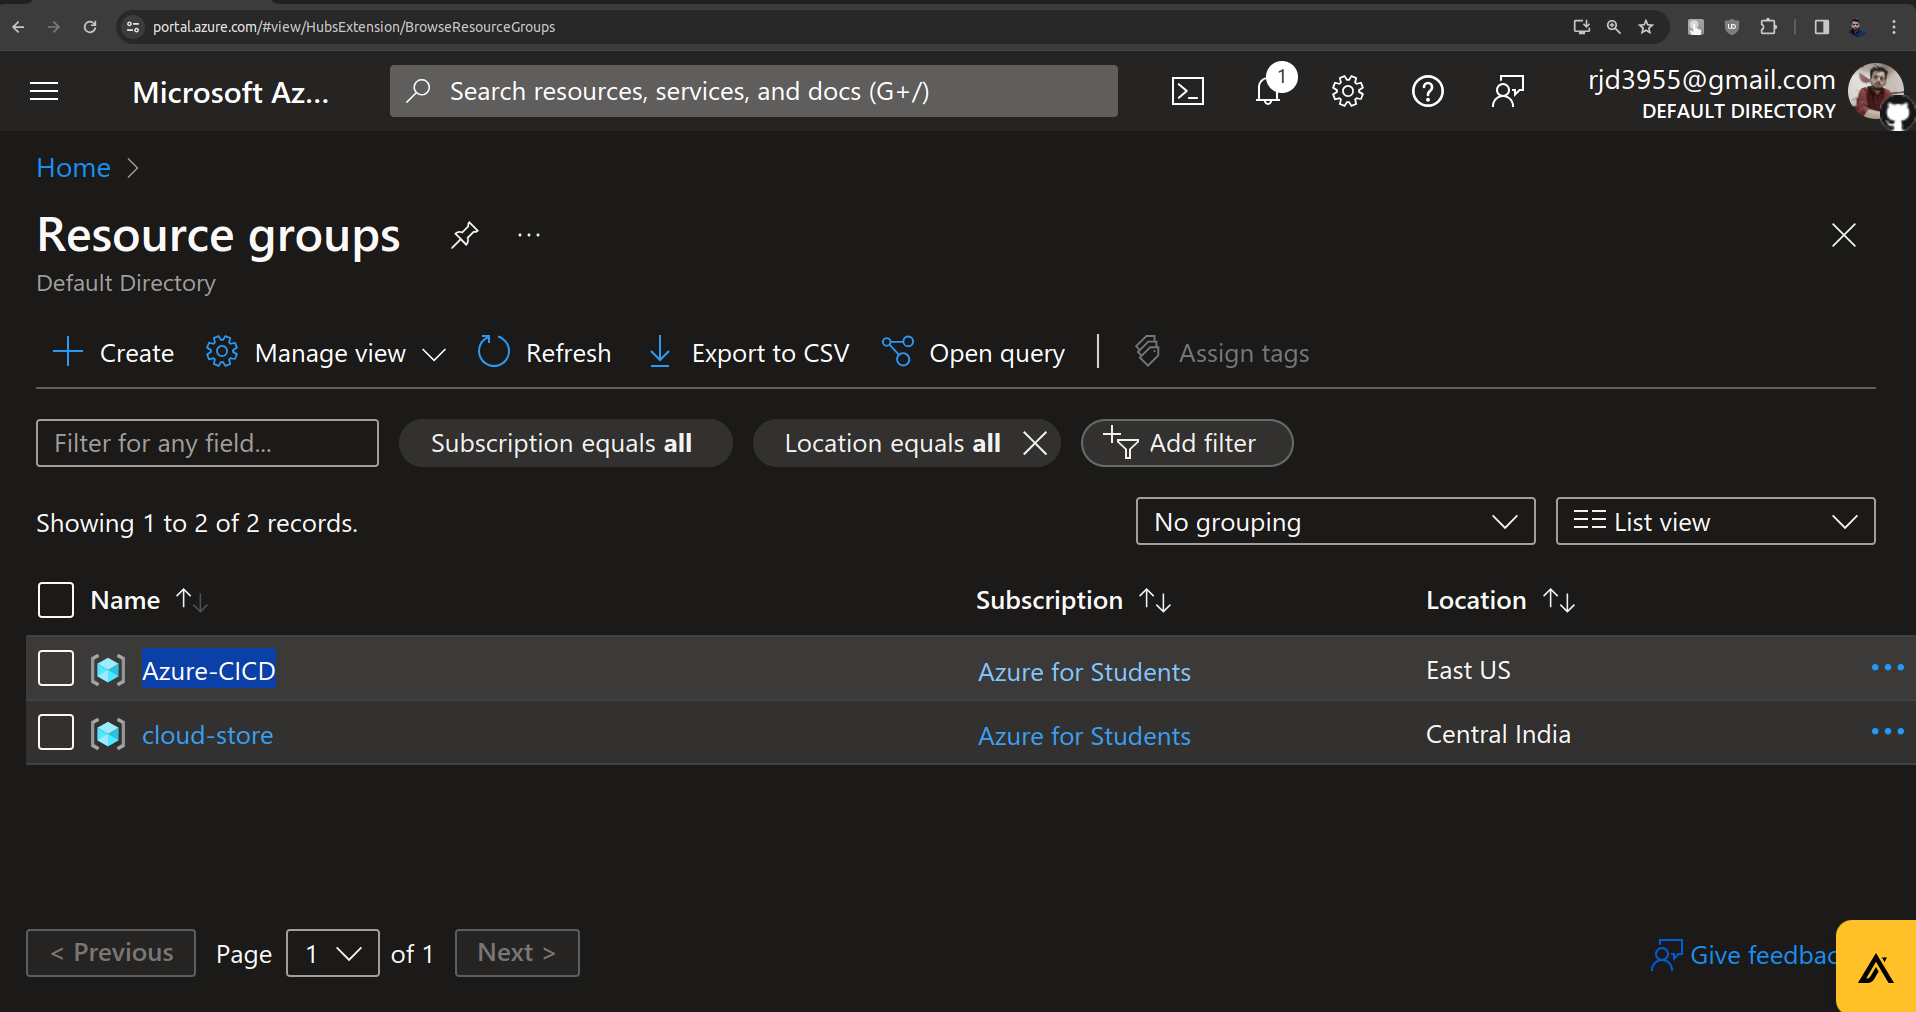
The resource group is created.
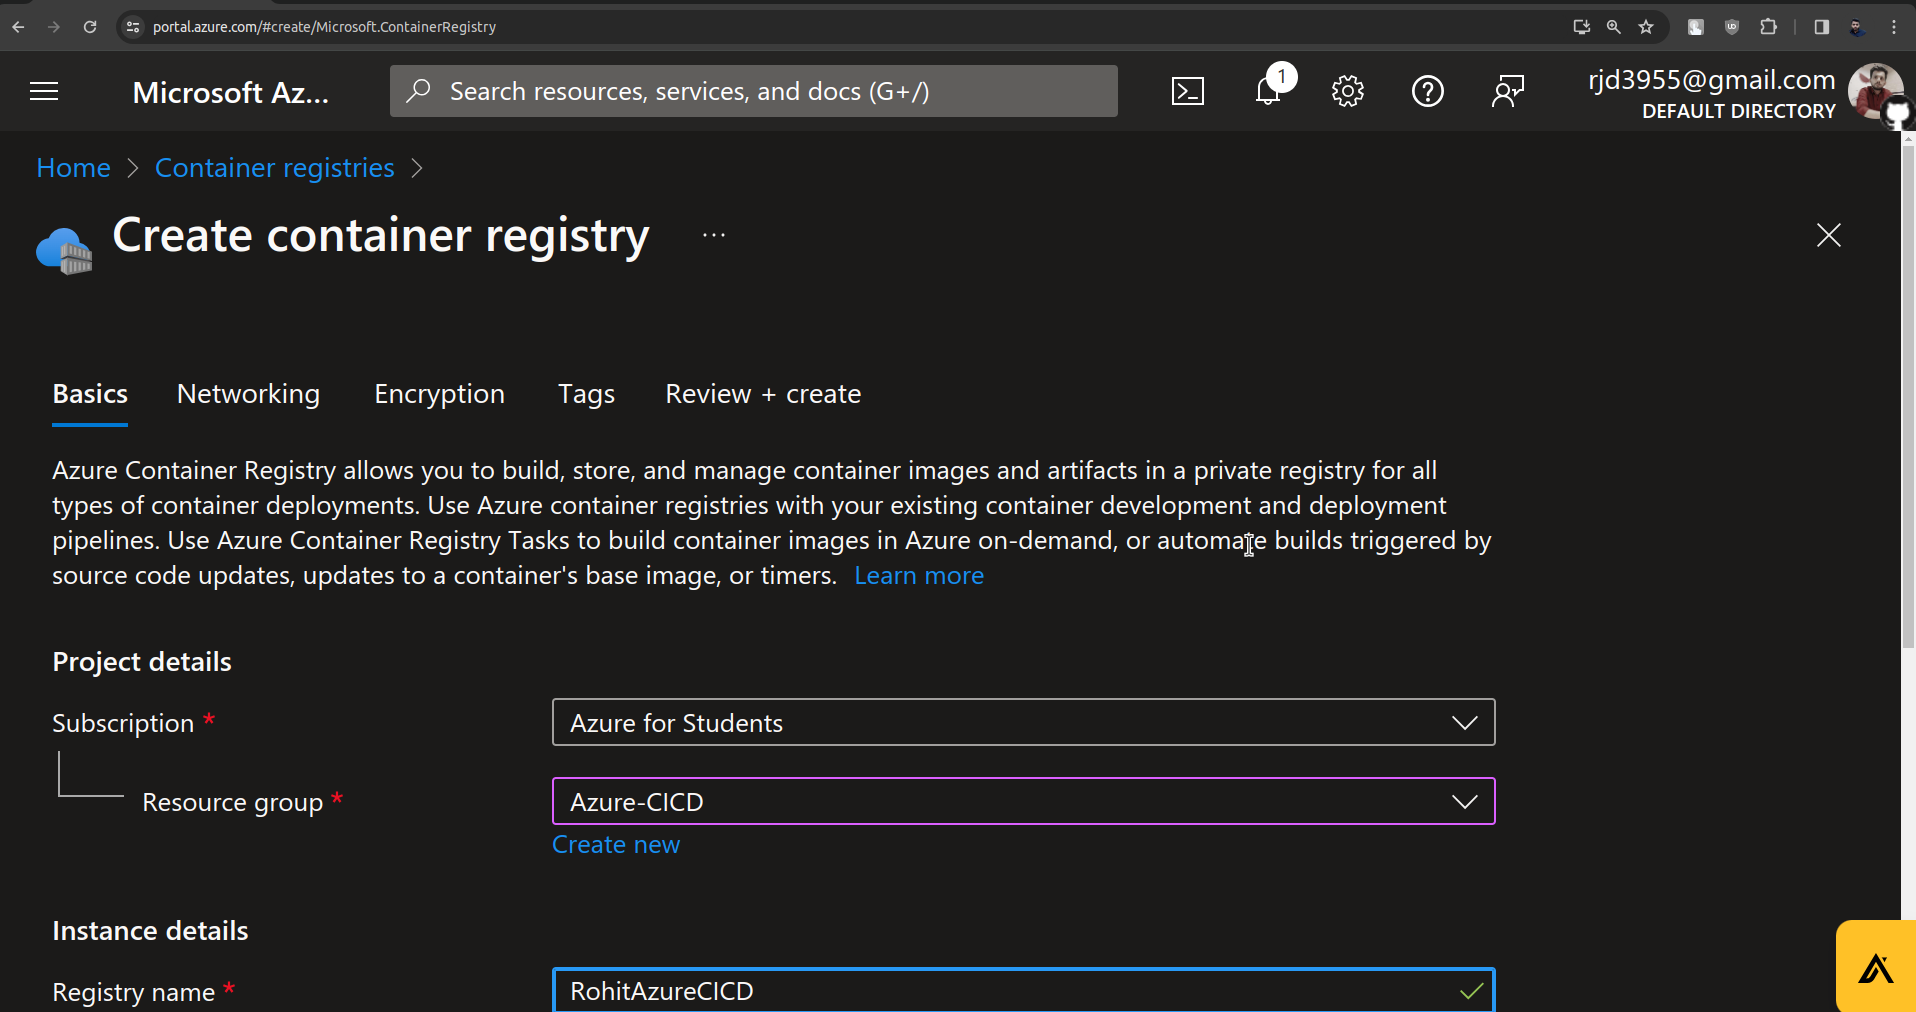
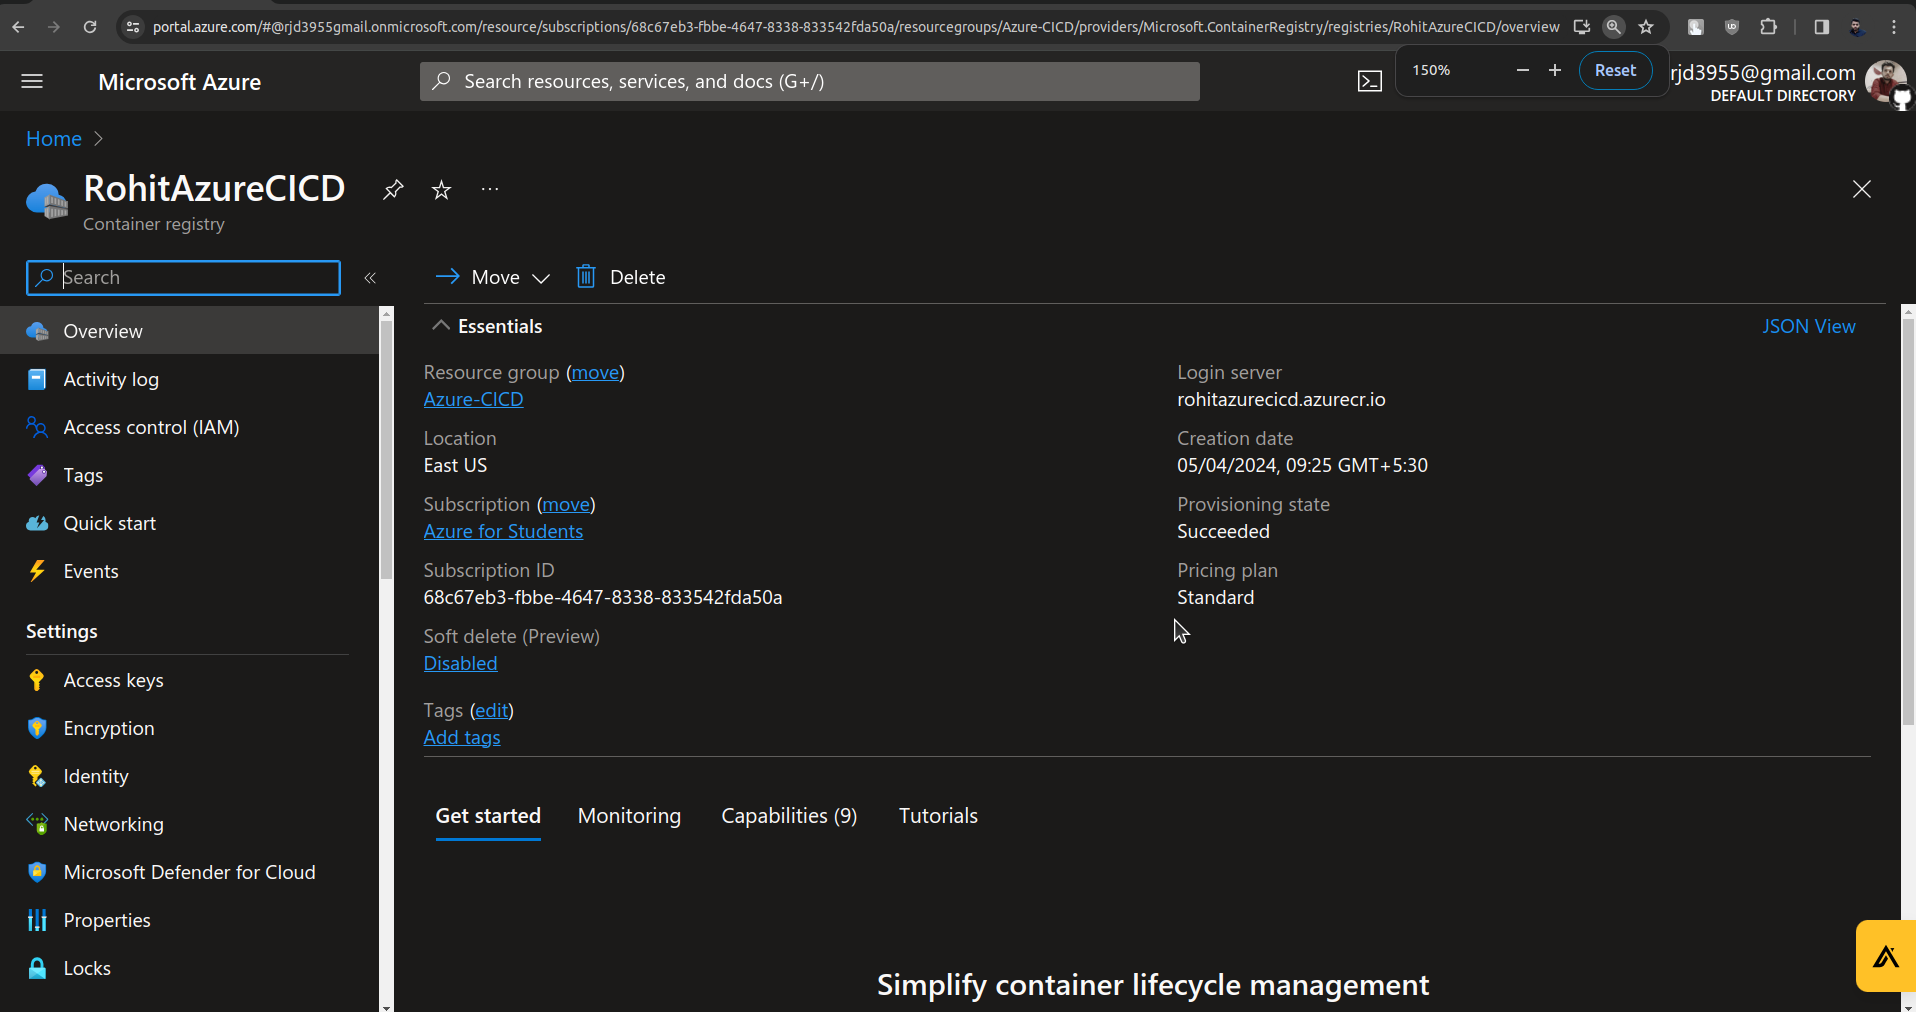
Now go to the container registries on Microsoft Azure.
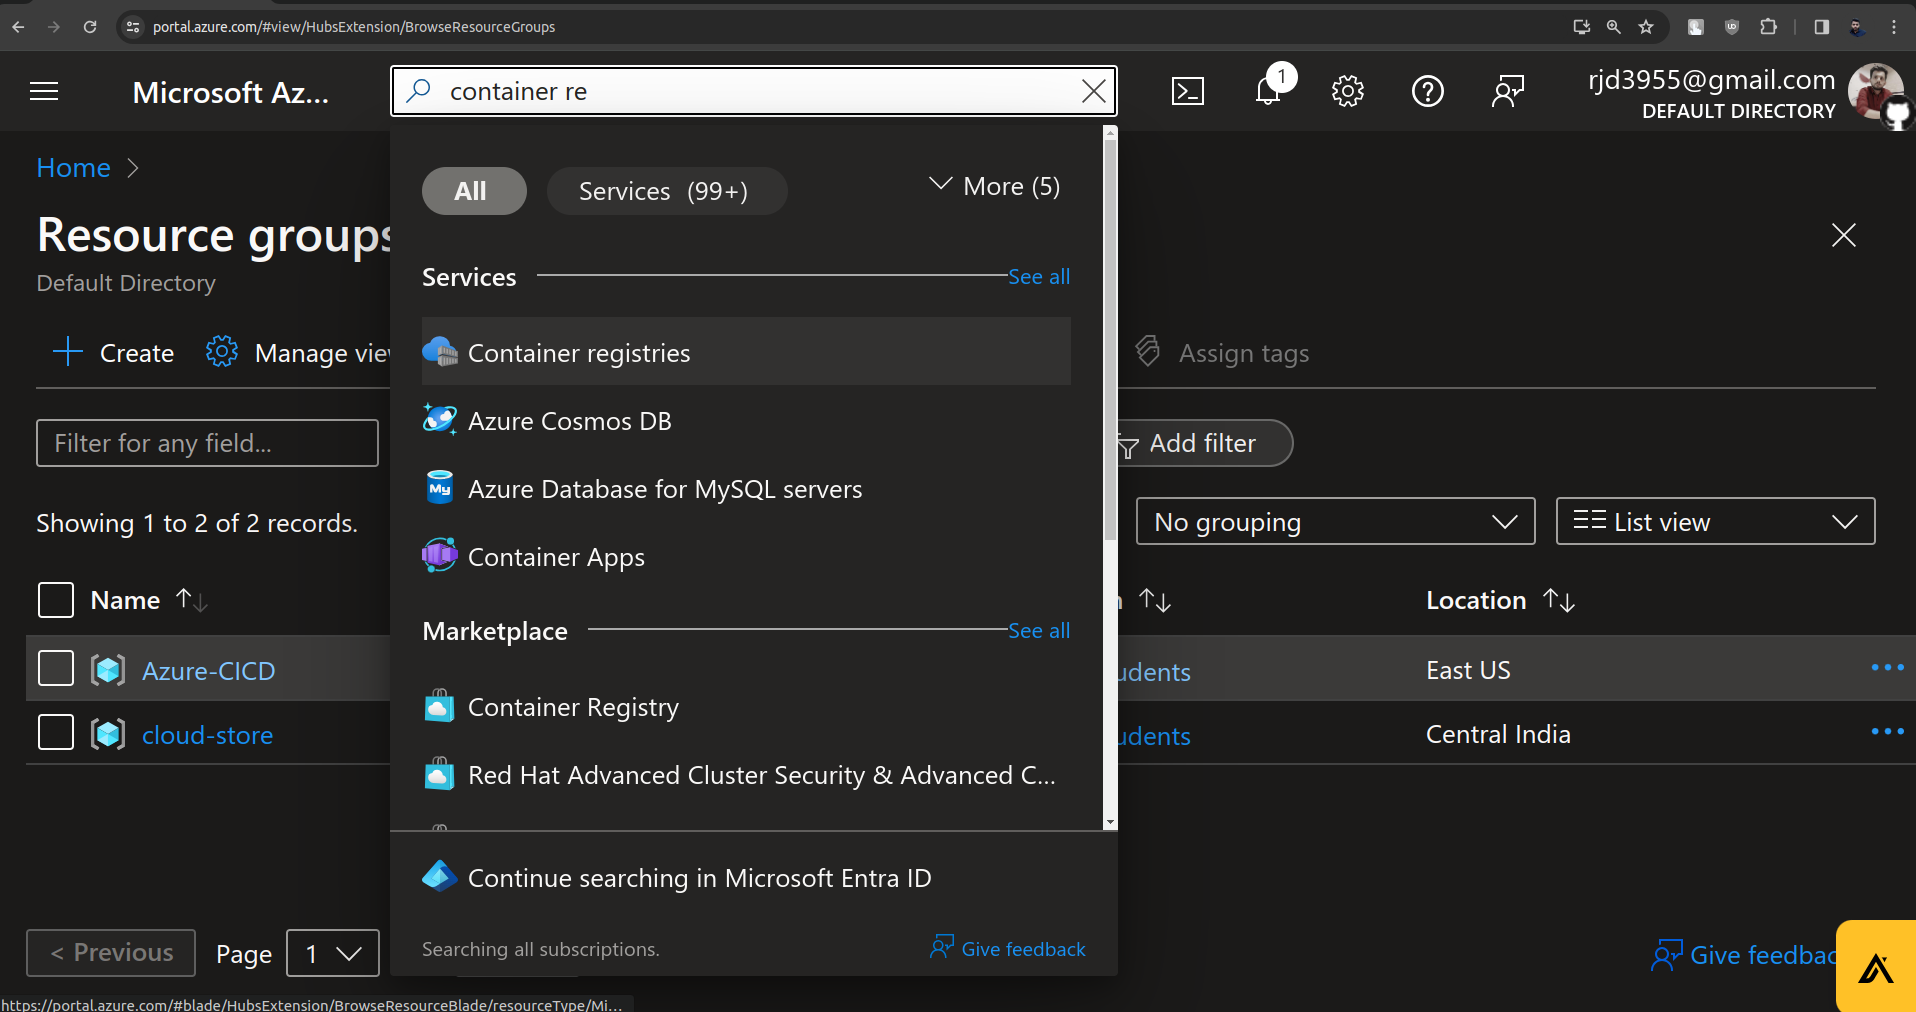
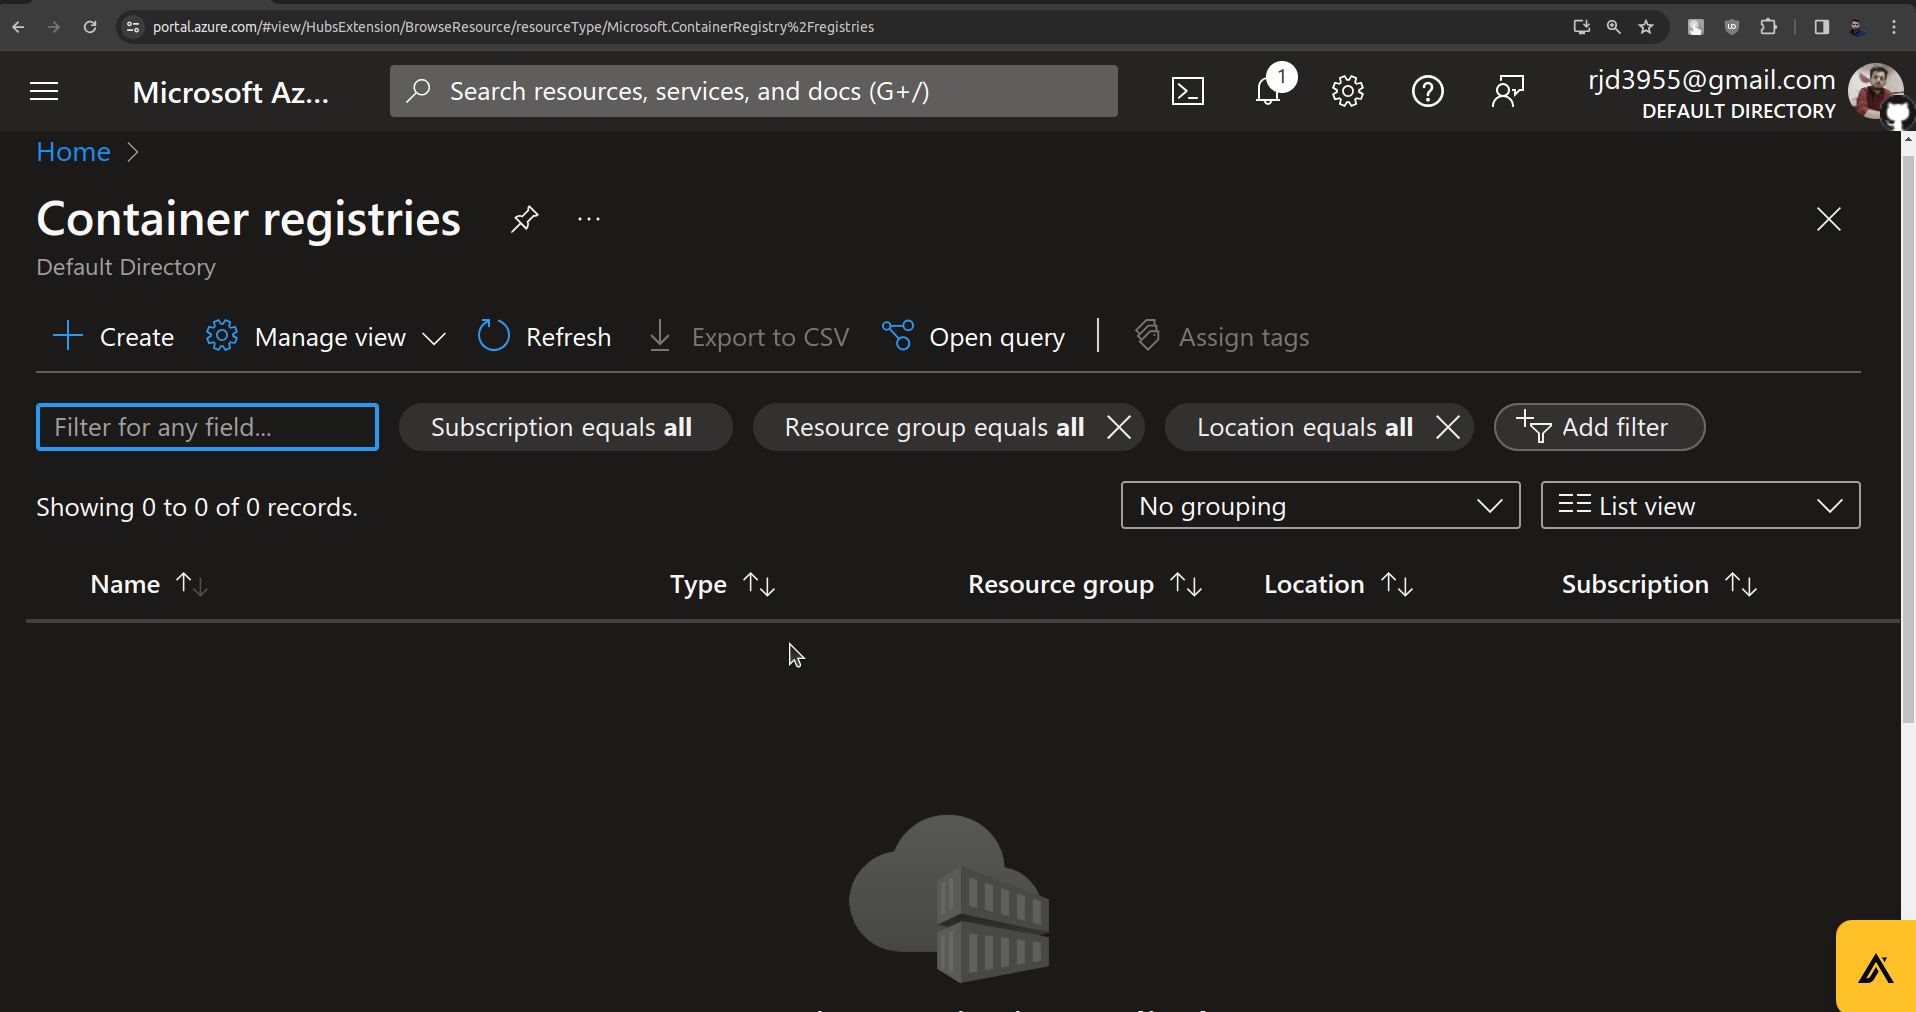
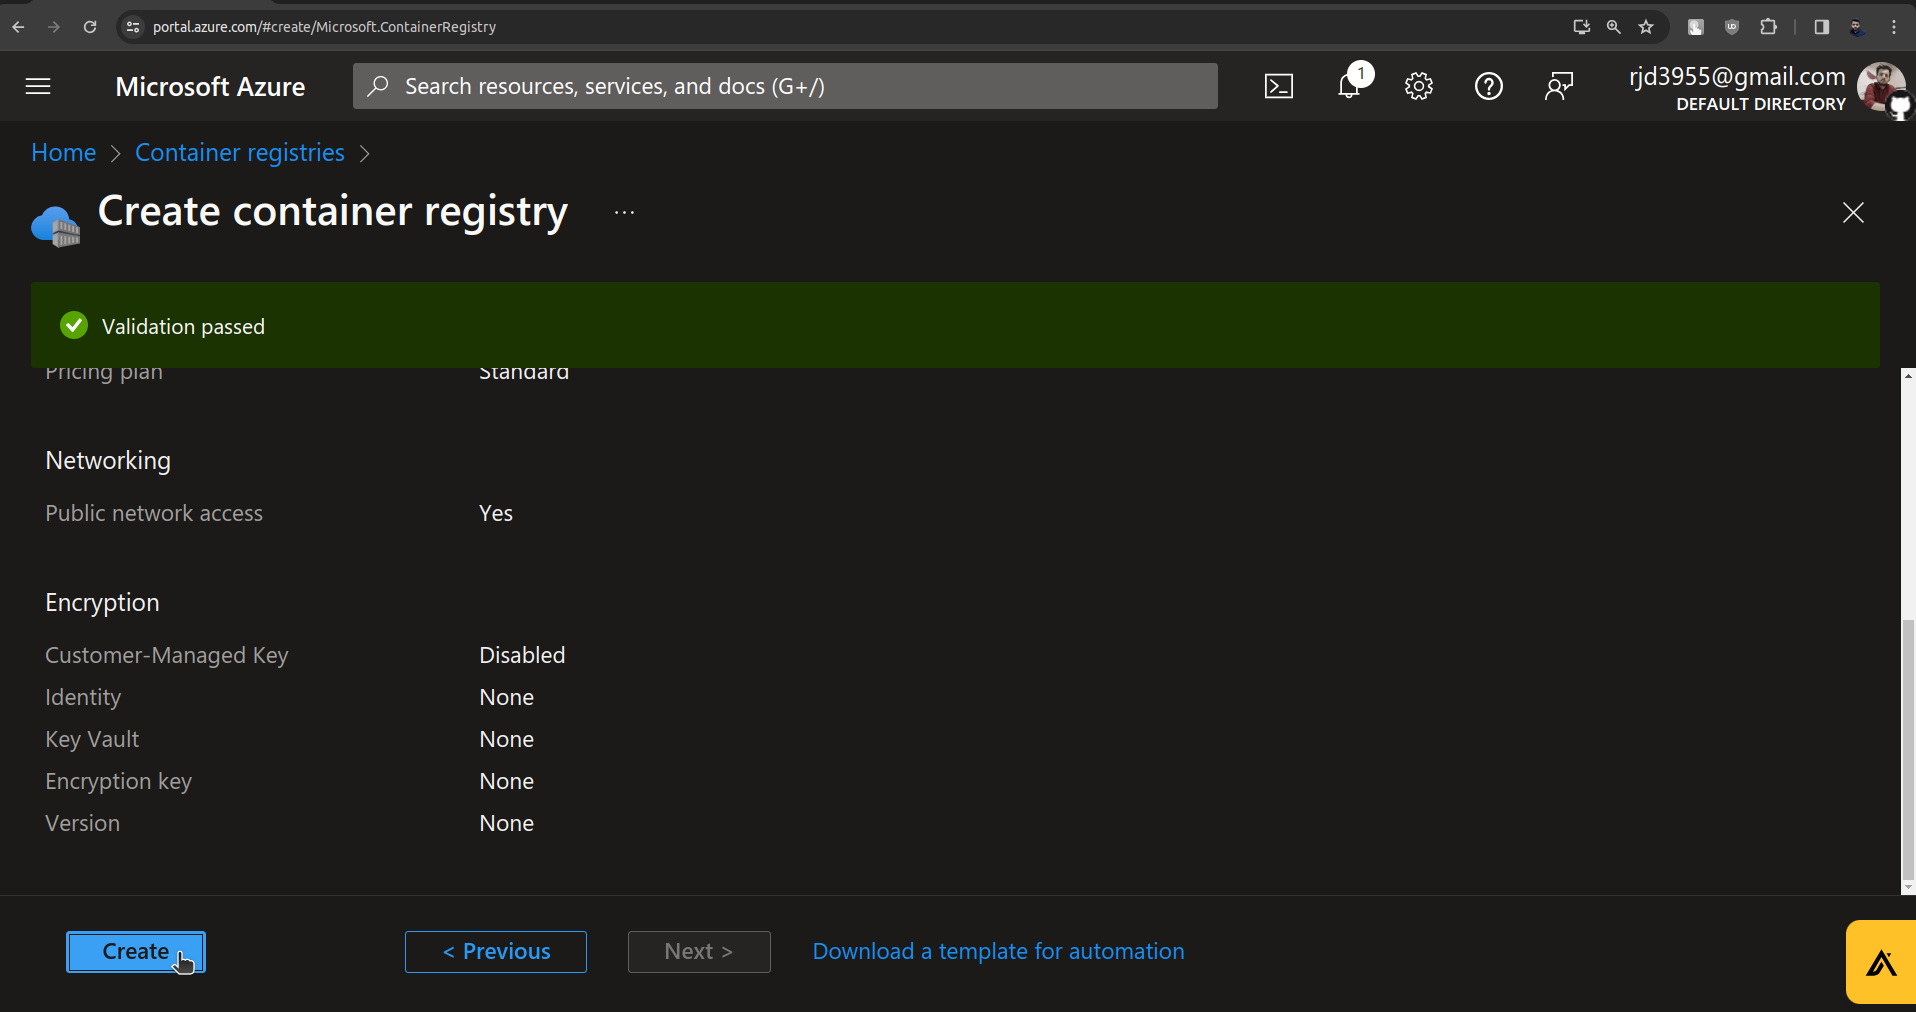
Here create a Container registry. (Note: Use registry name in a small case, else you will face issues in argocd implementation.
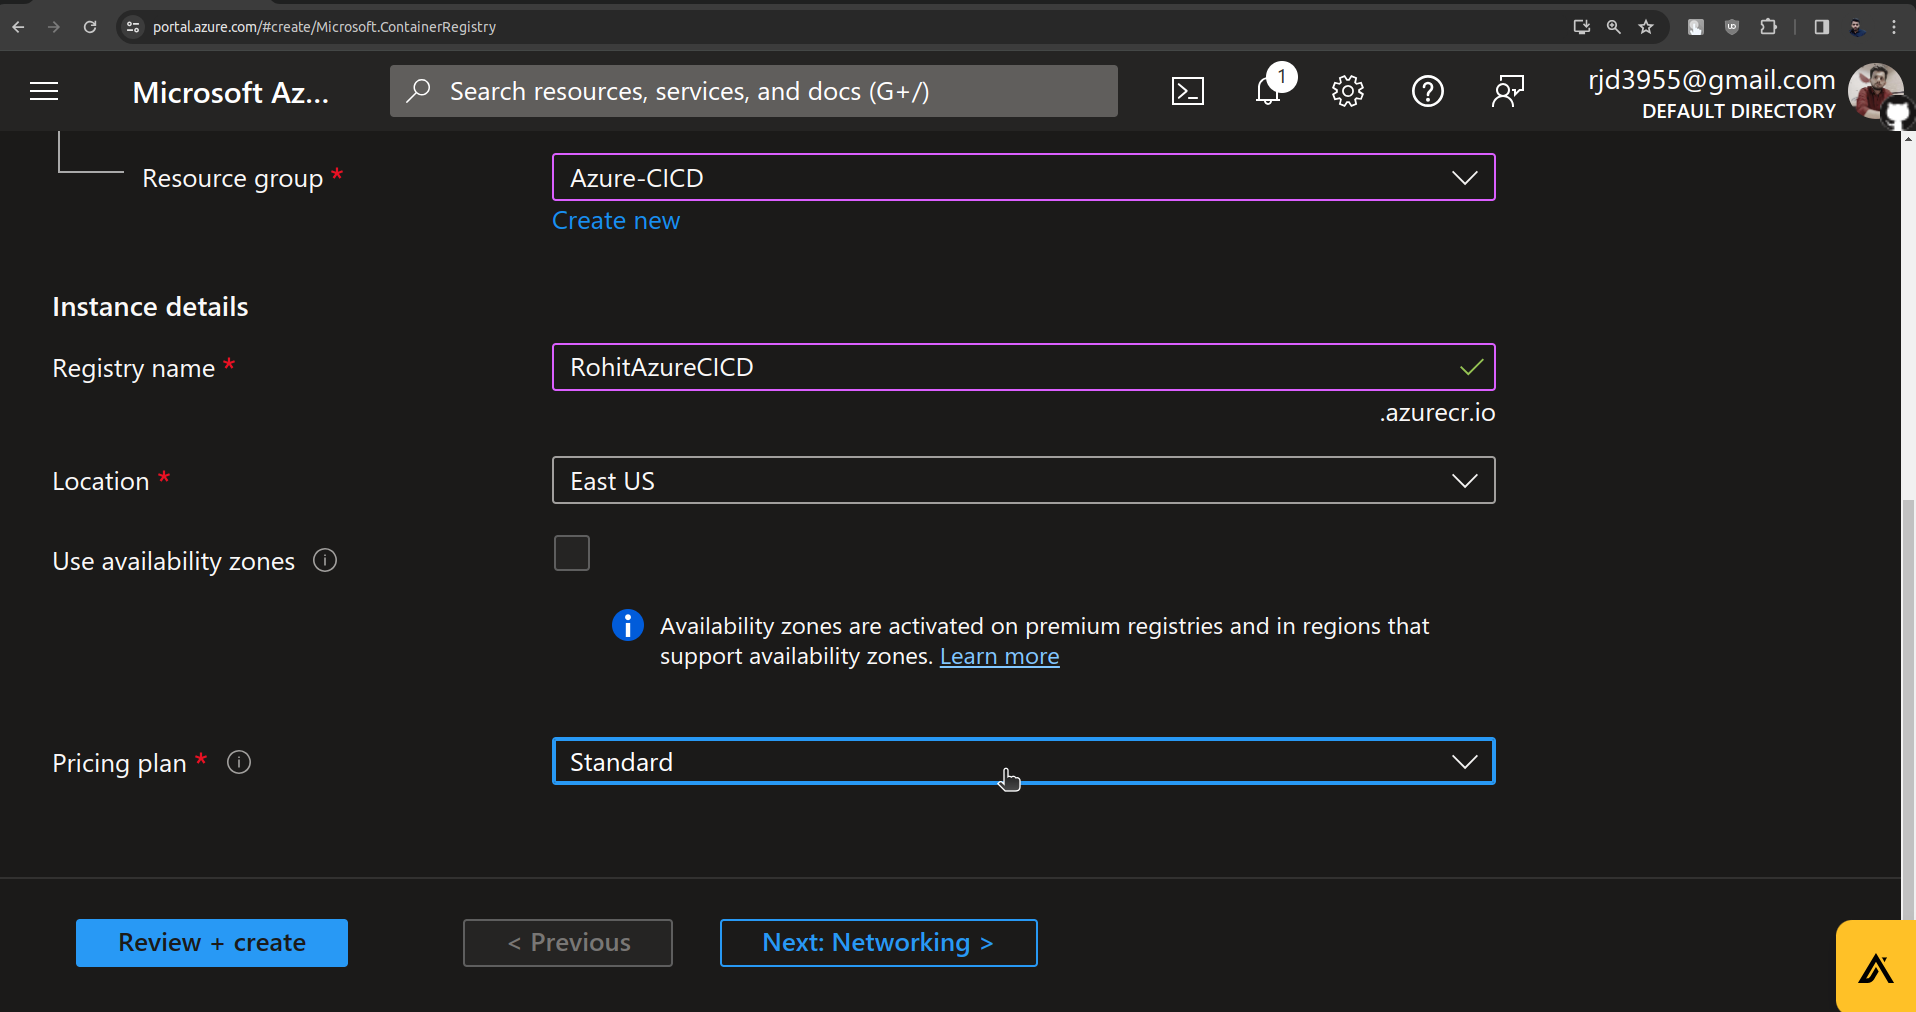
Click on Review + Create.
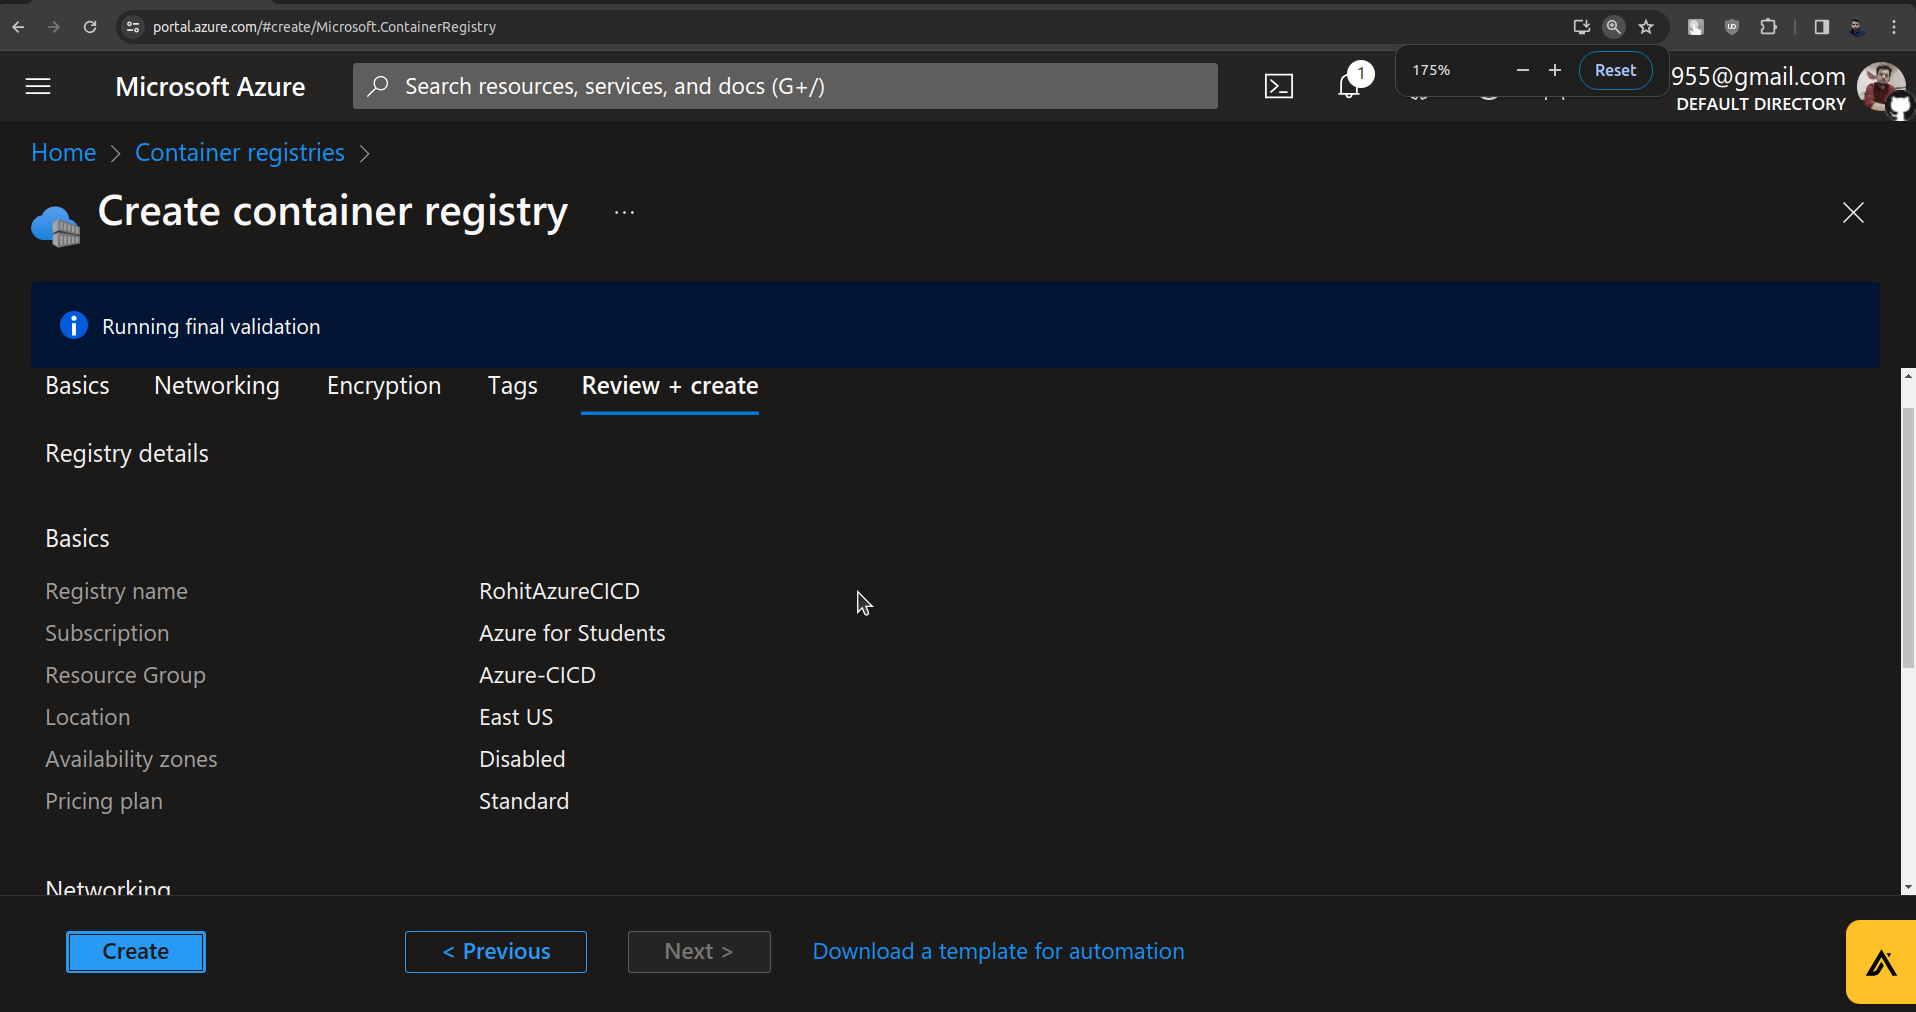
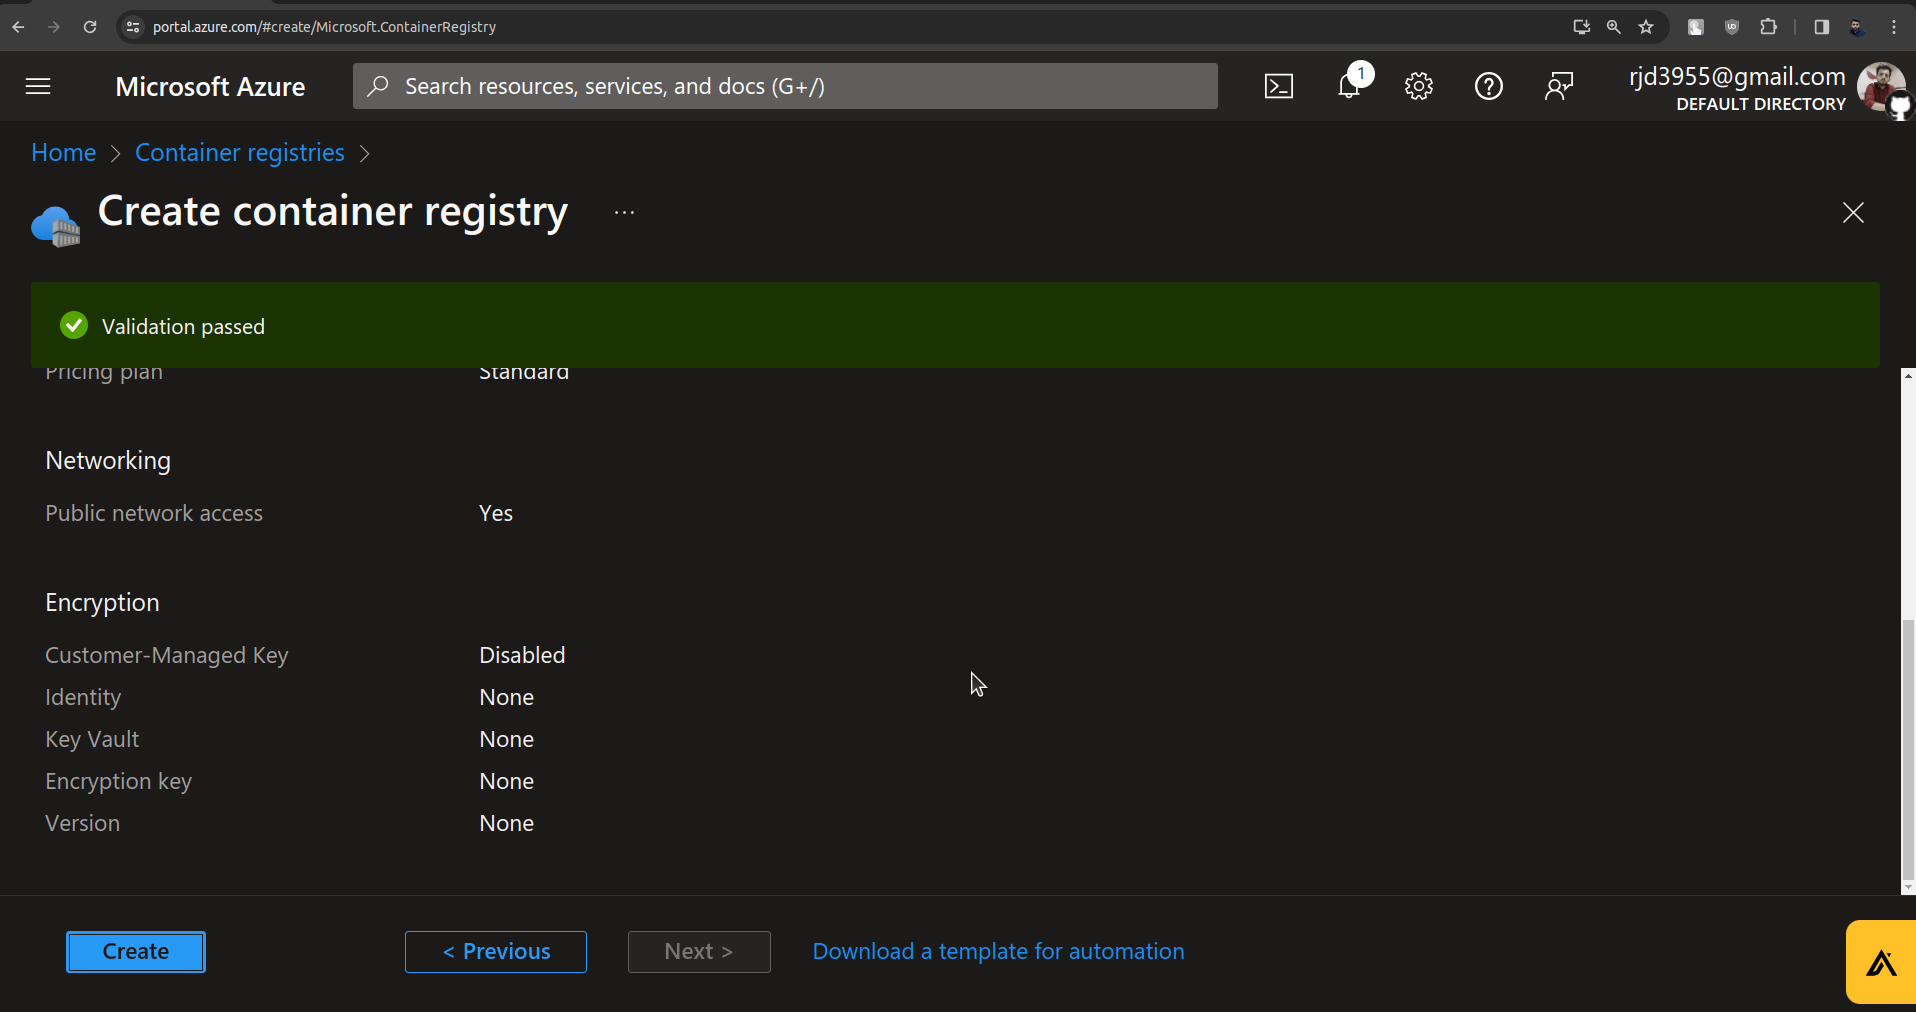
Click on Create.
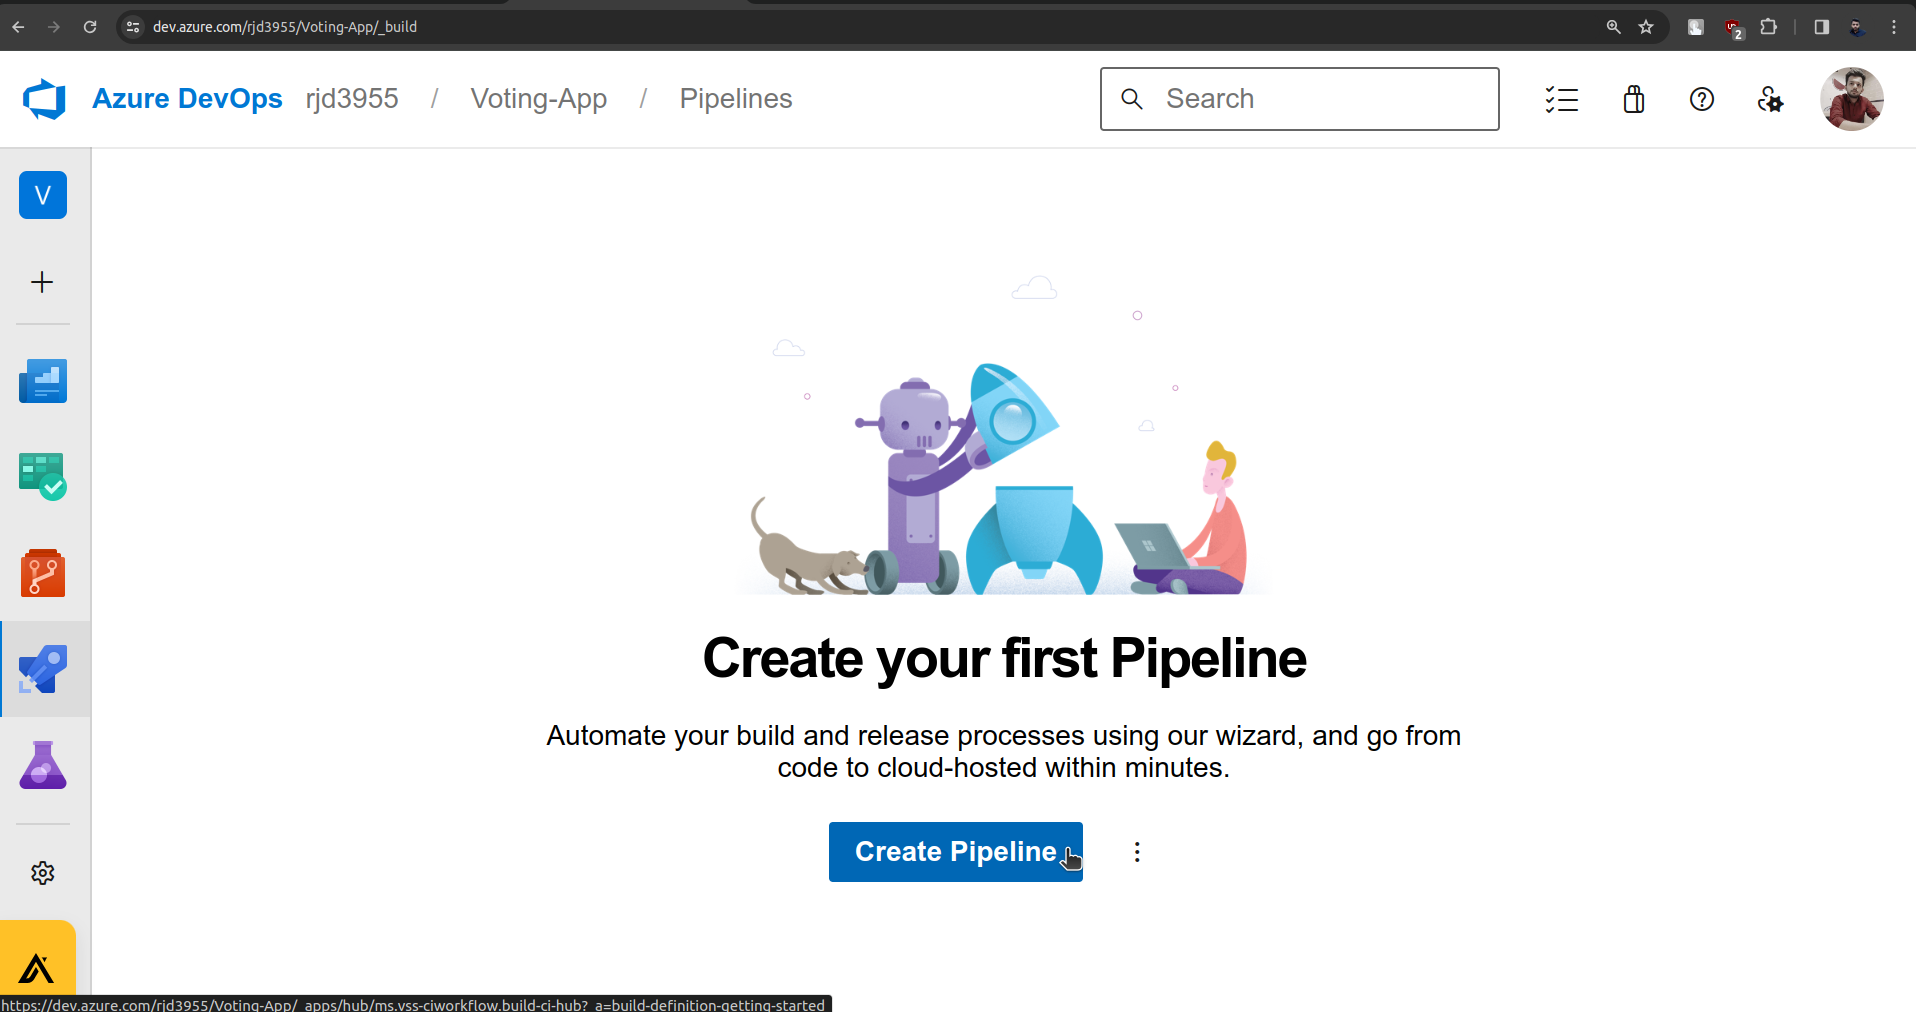
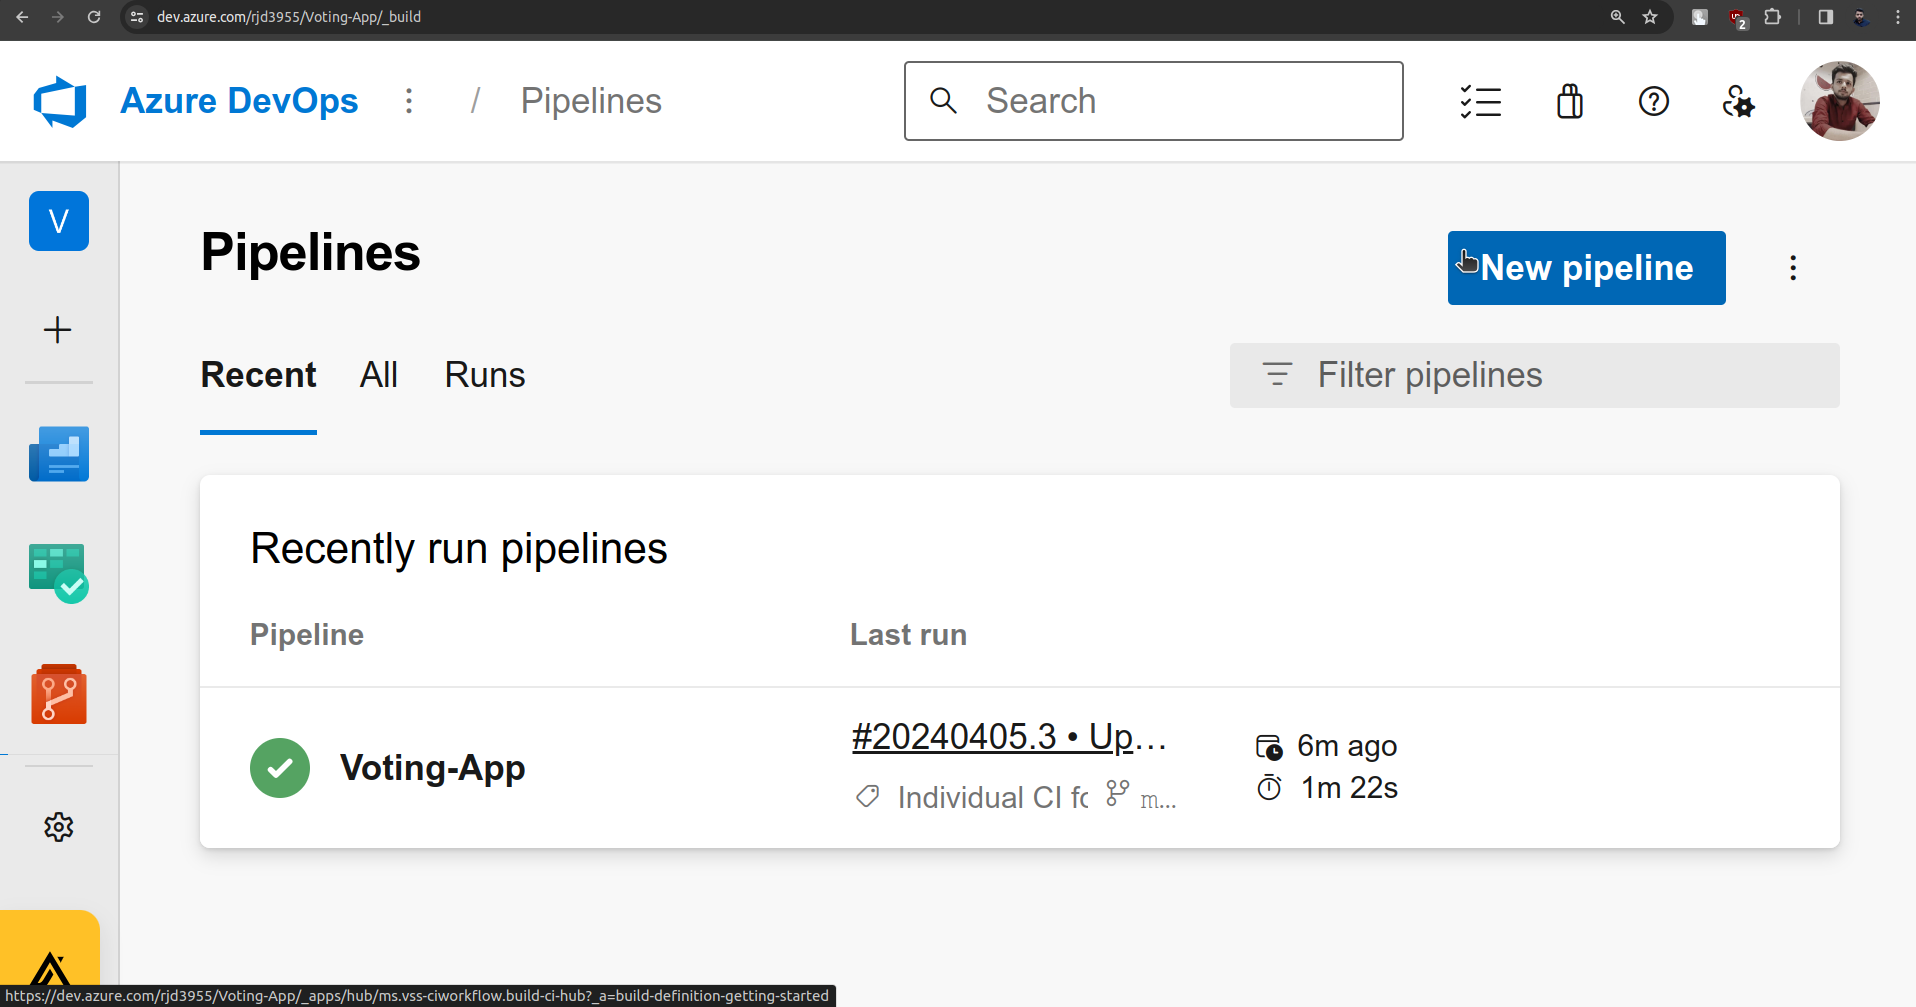
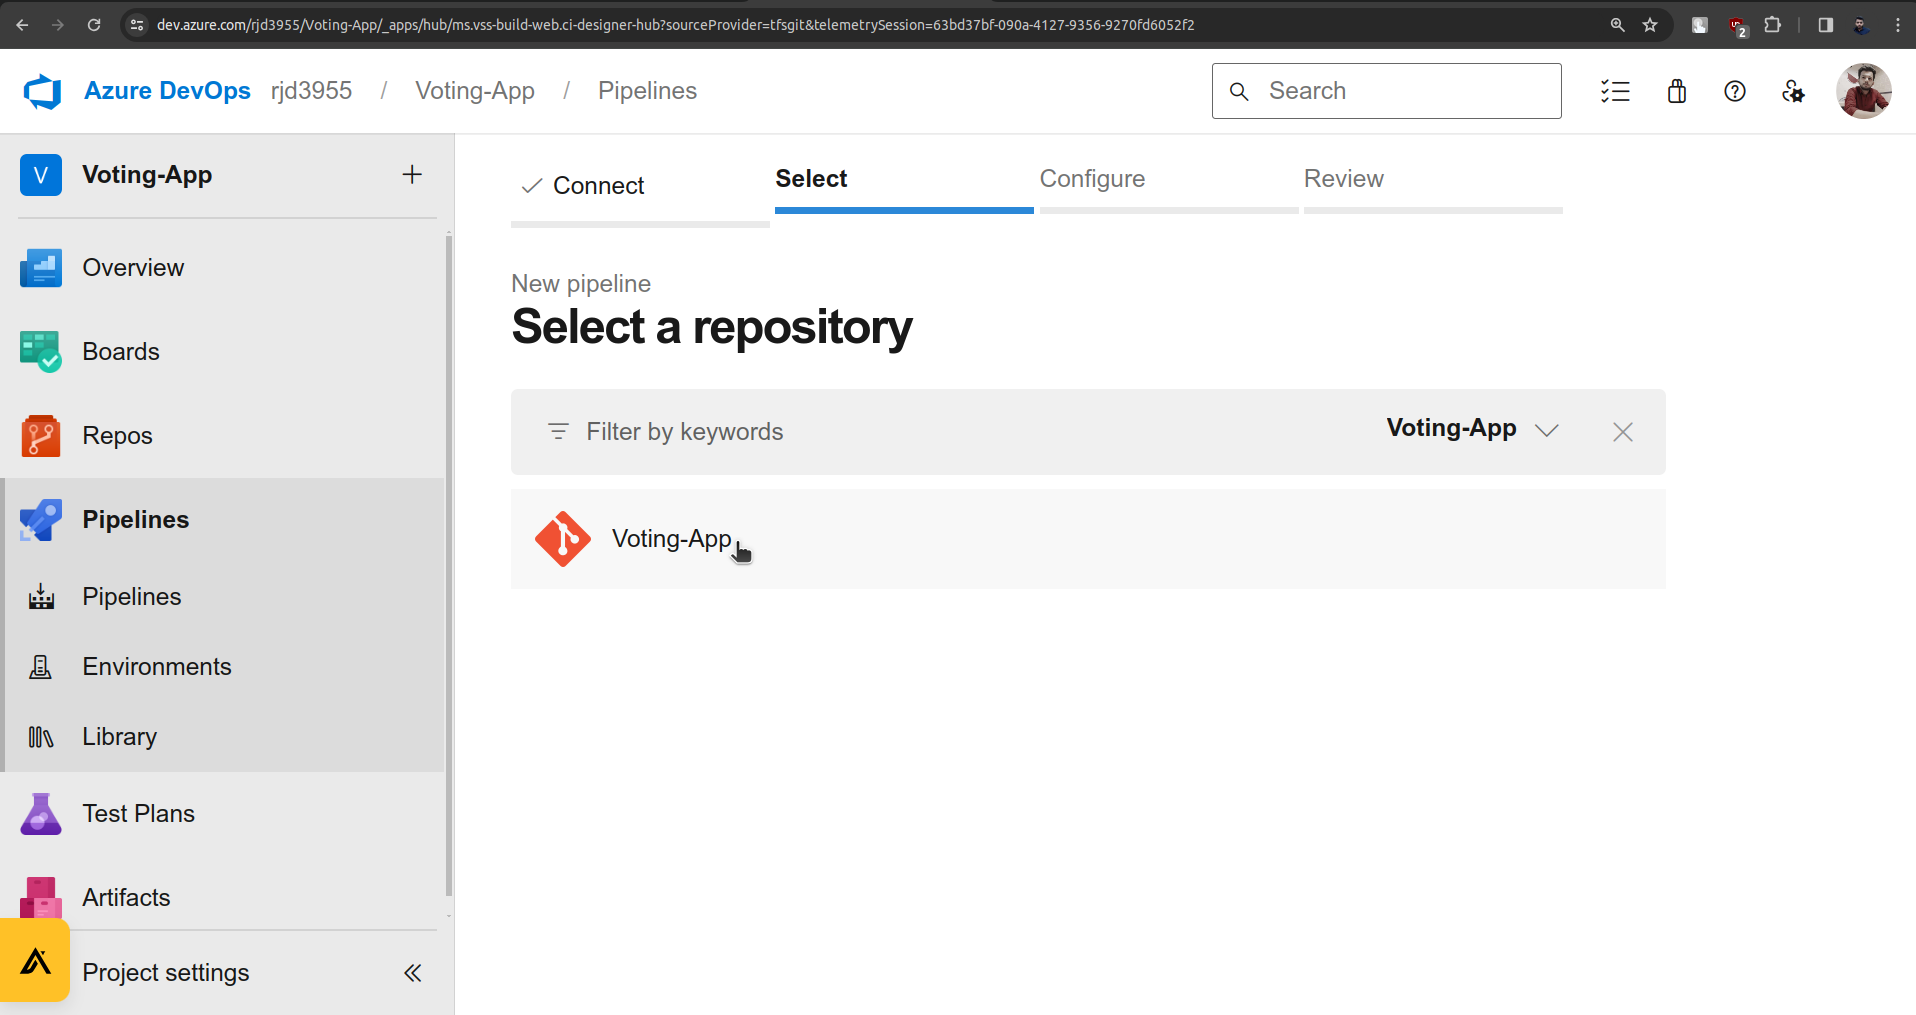
Now on the Azure DevOps Platform go to the pipelines section.
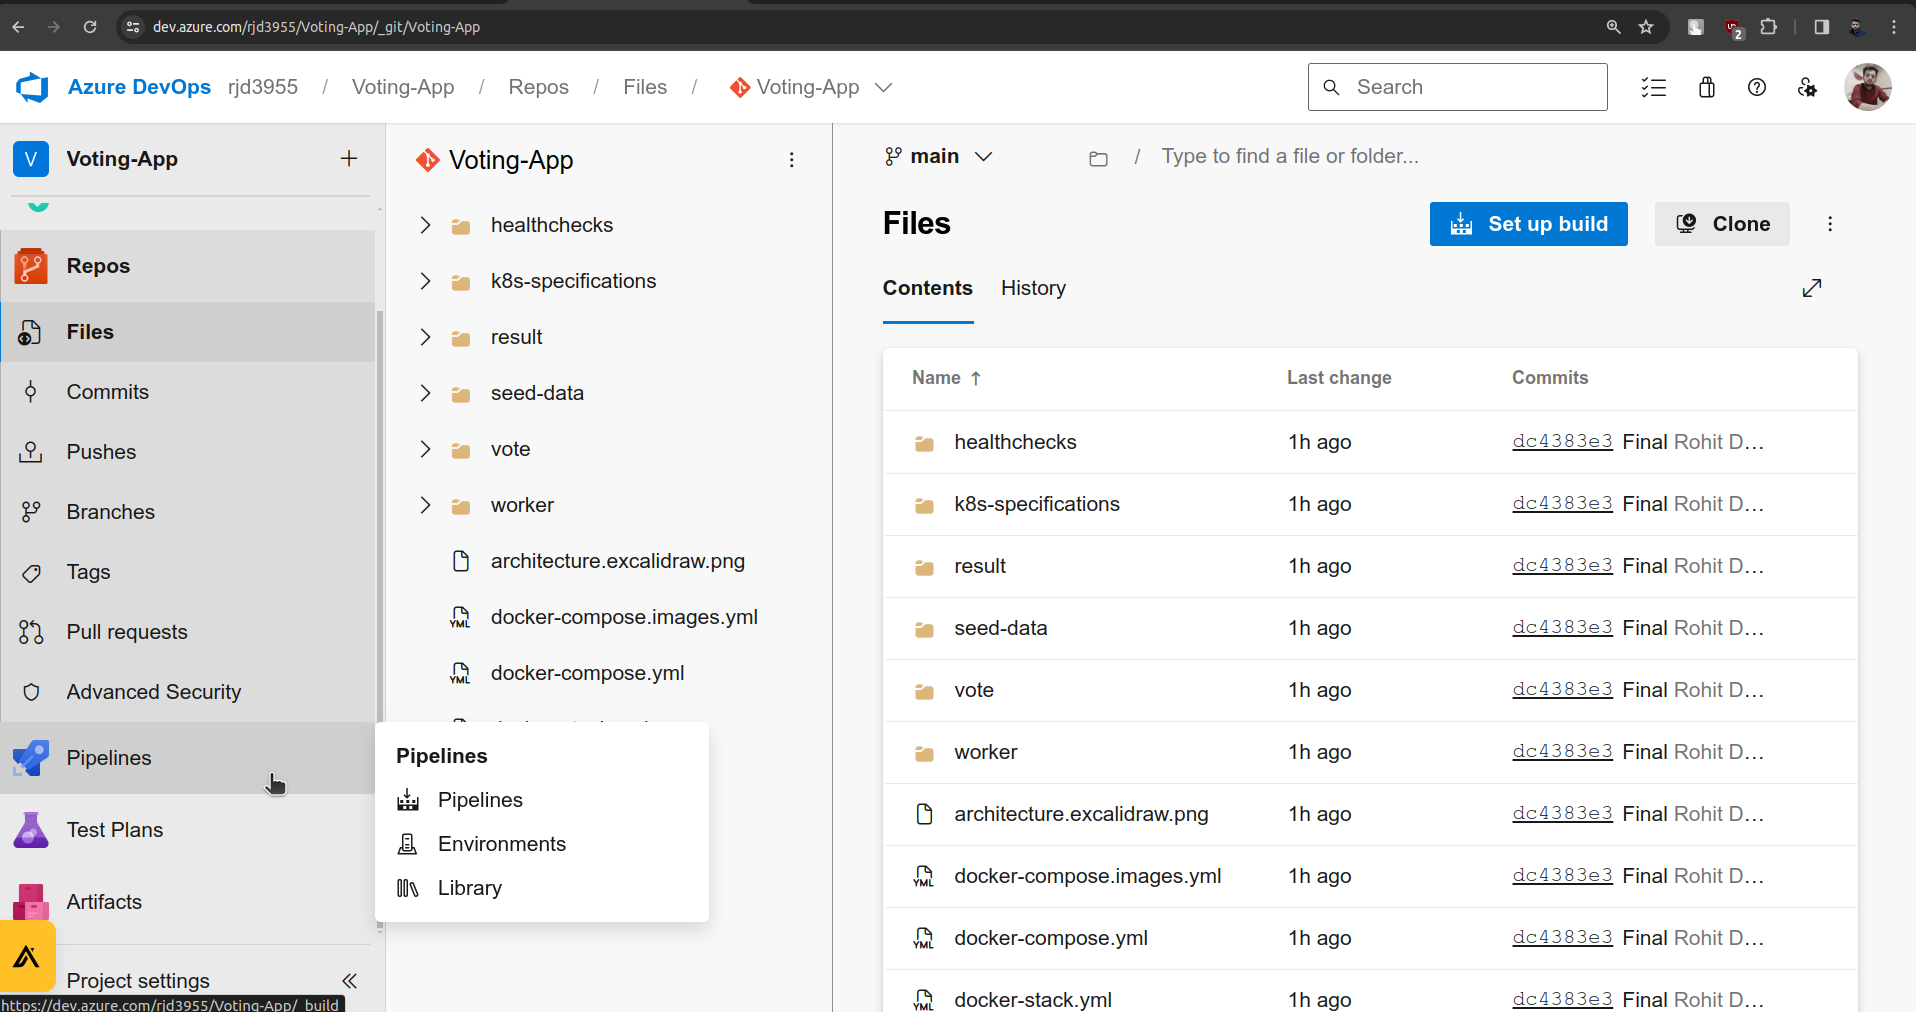
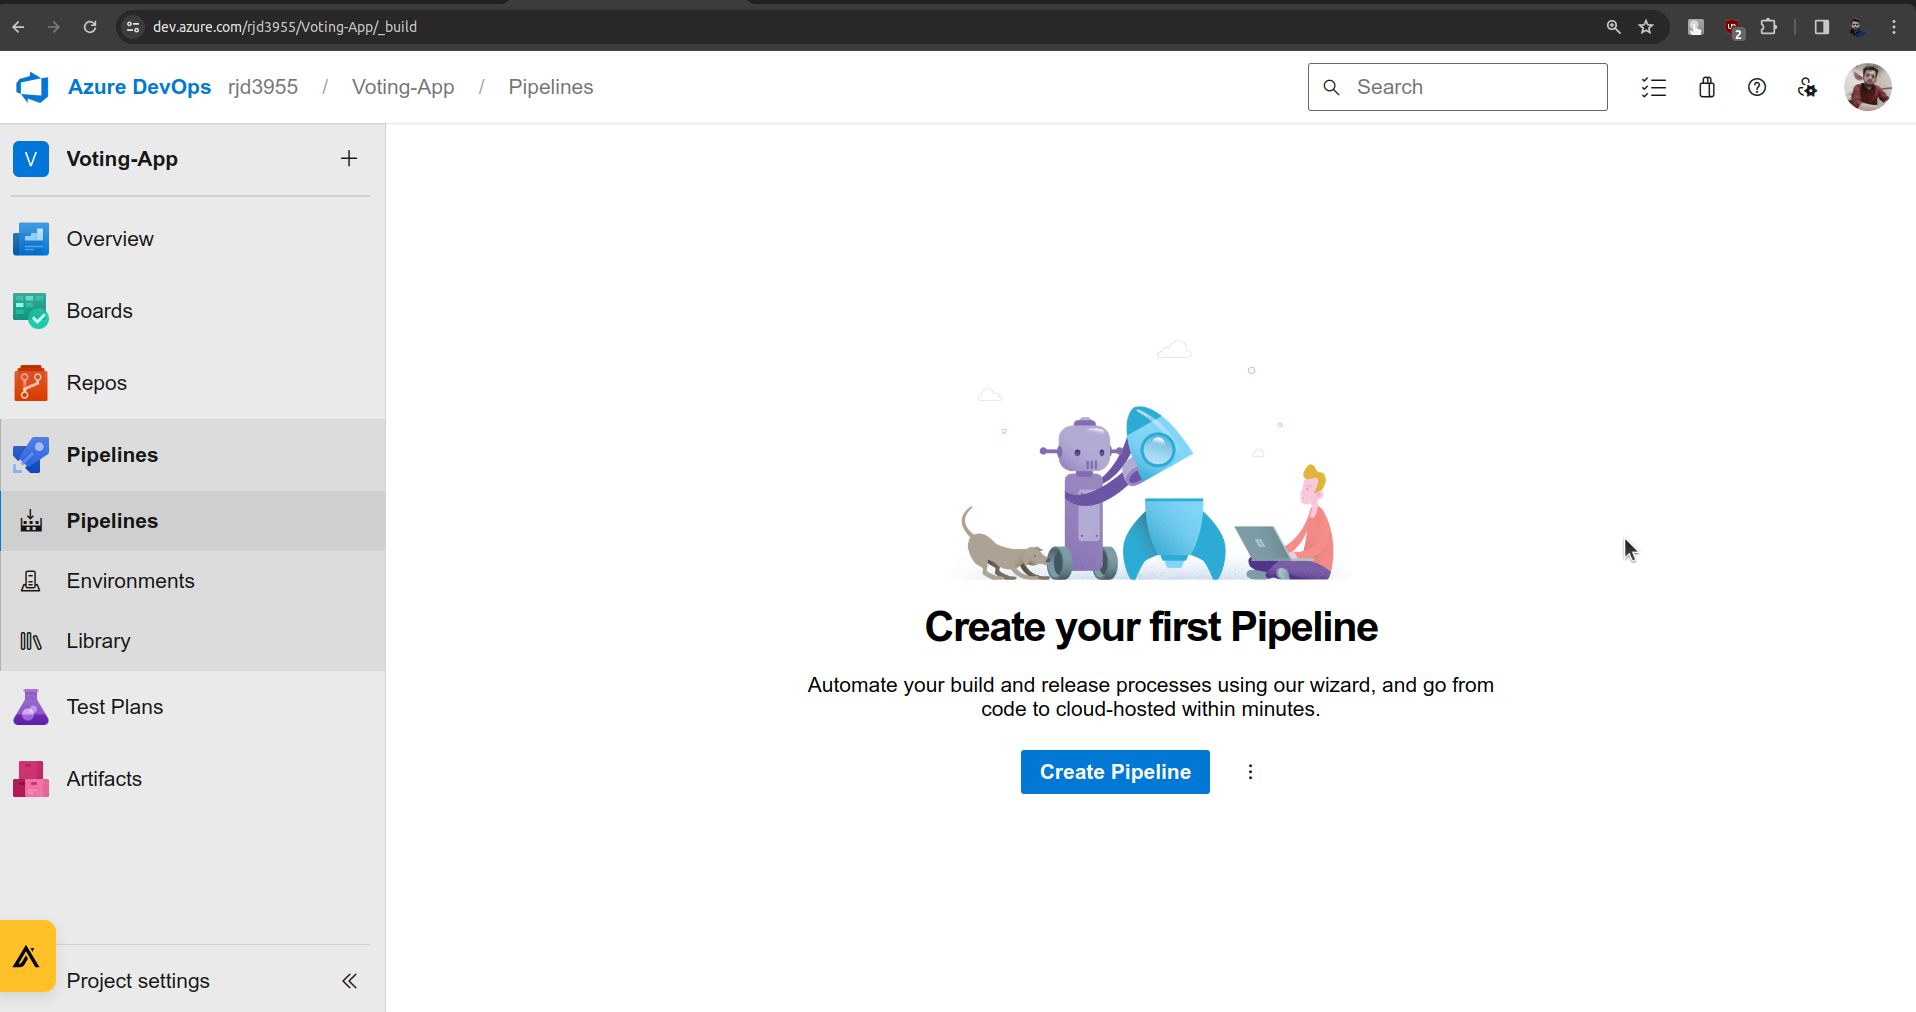
Start with creating a pipeline.
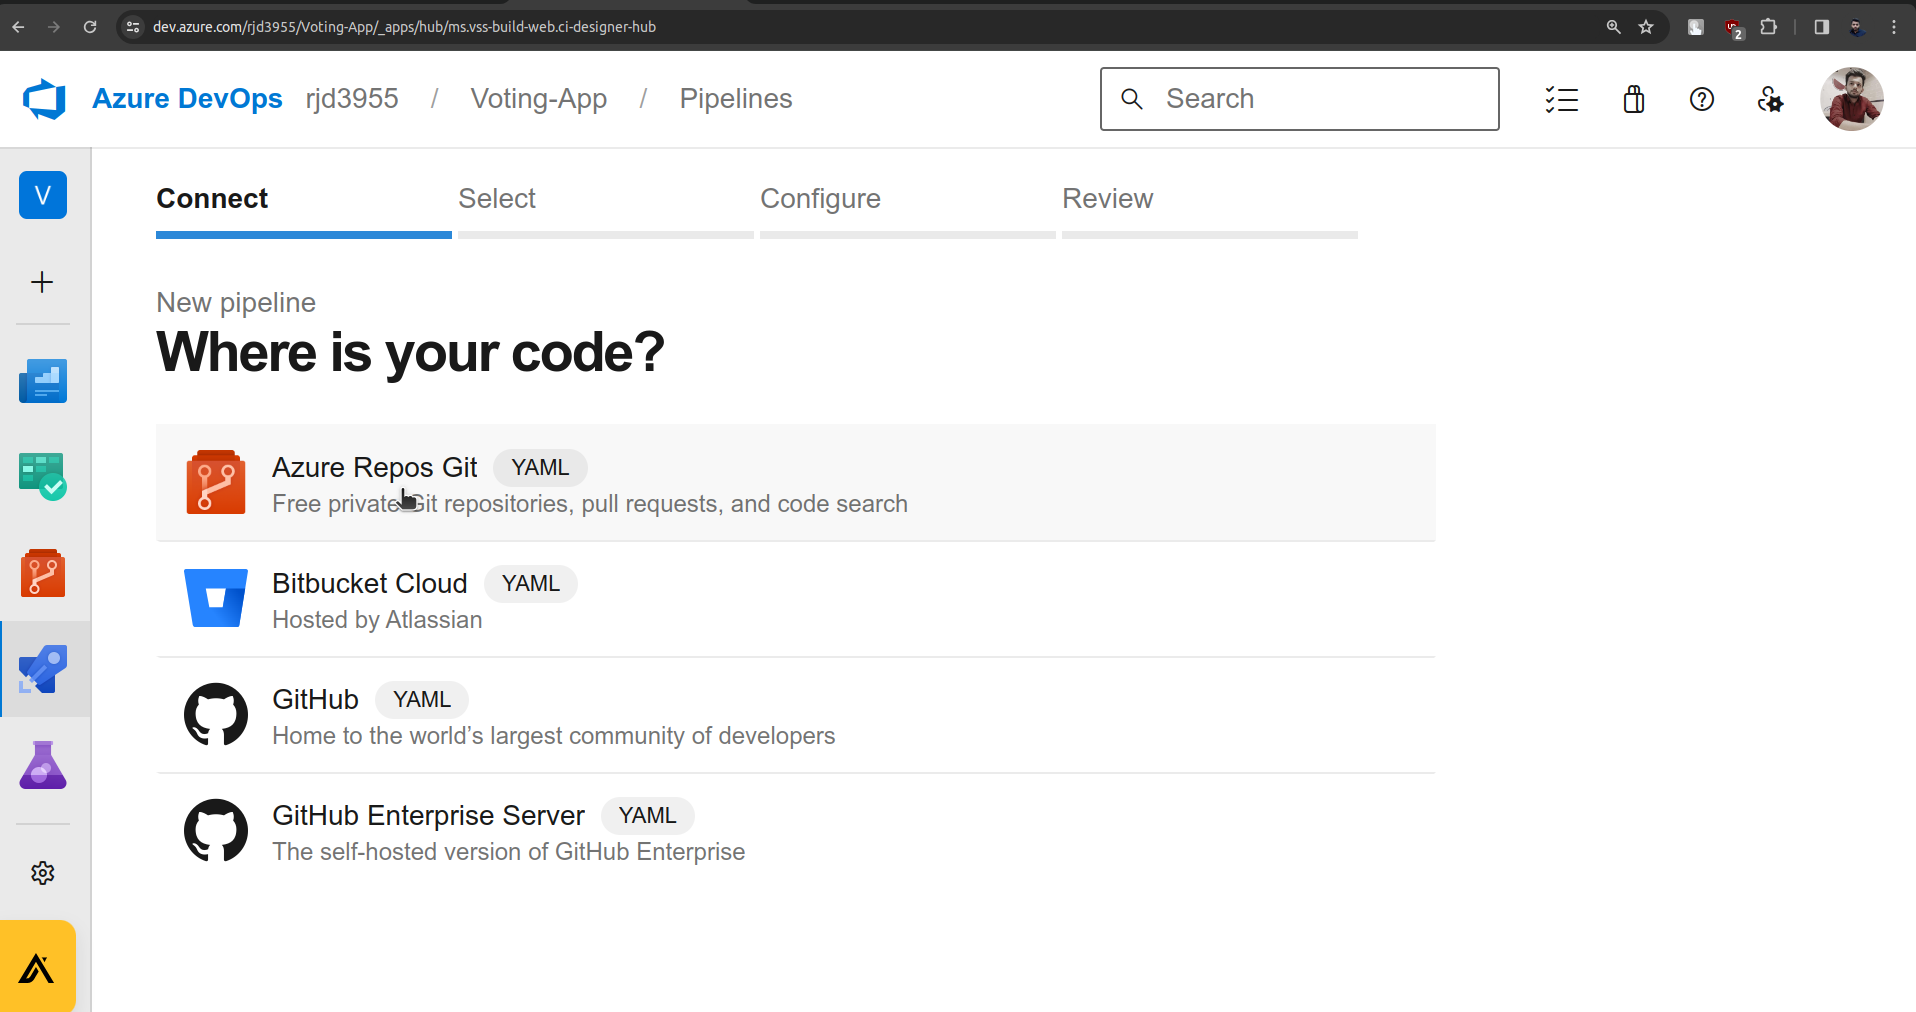
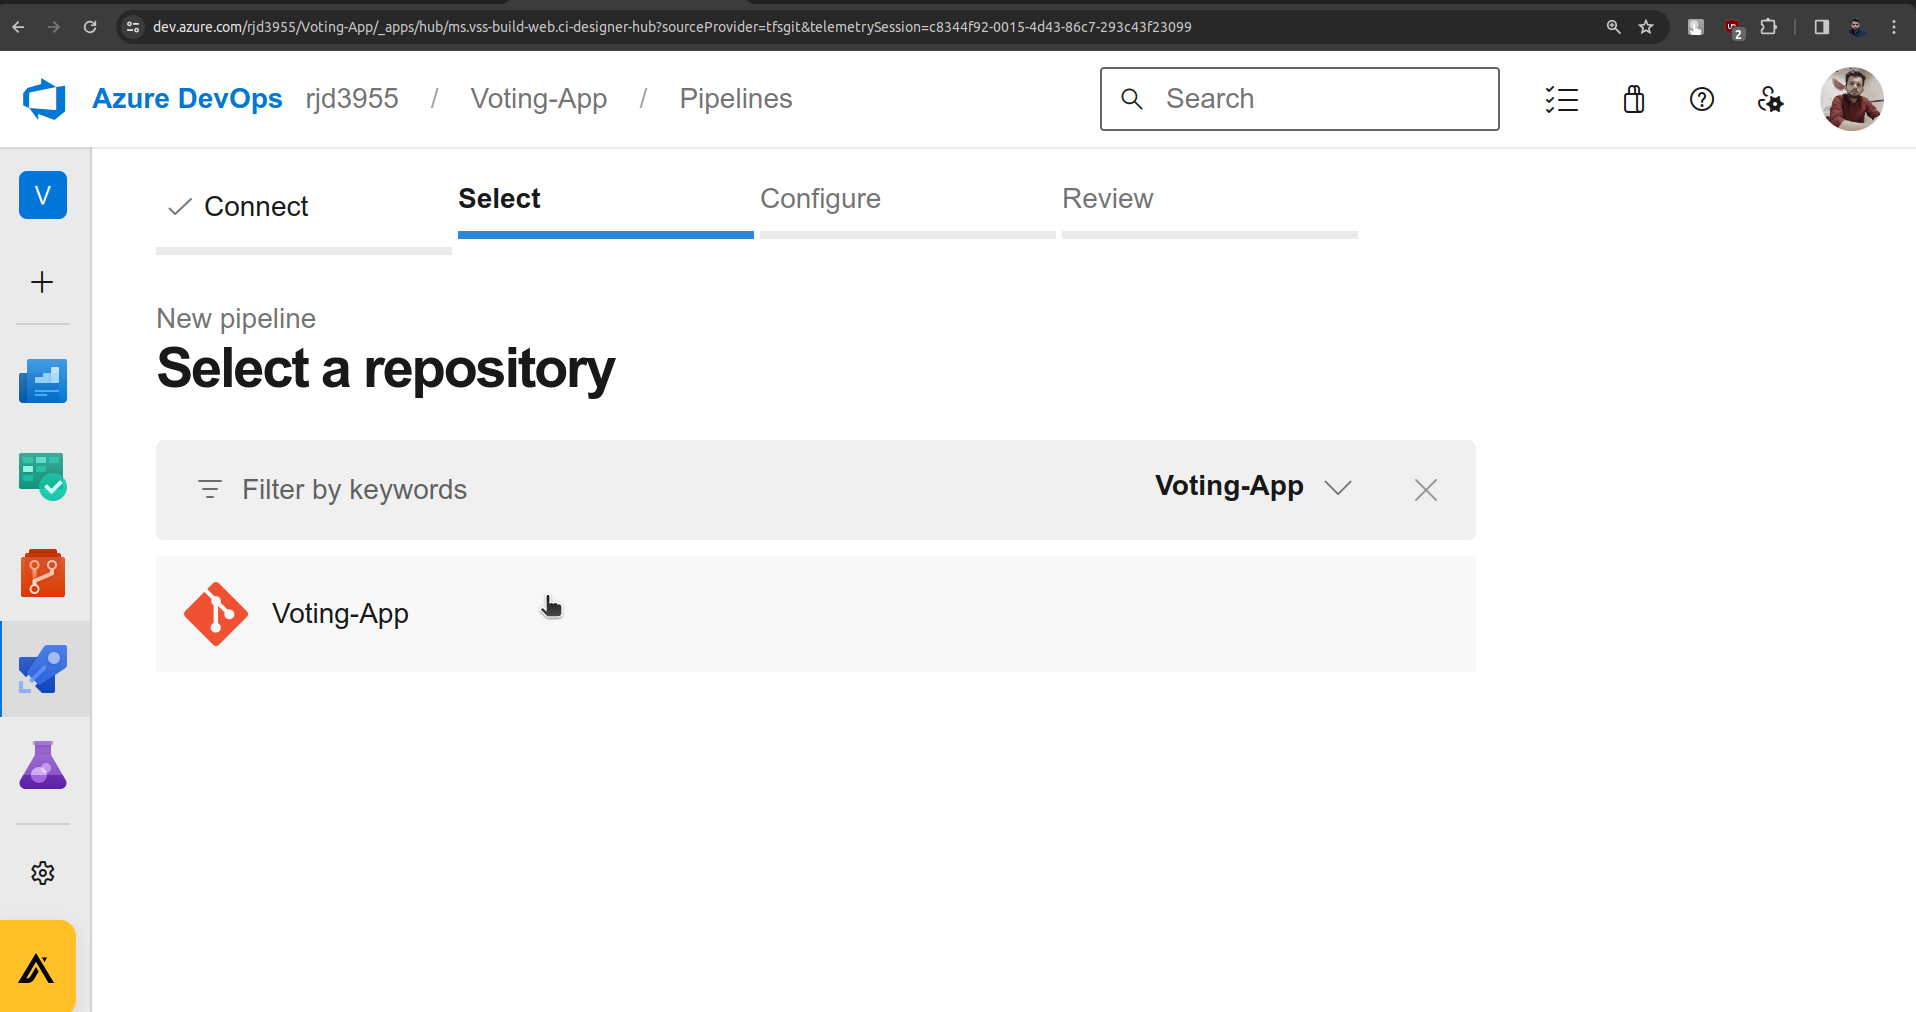
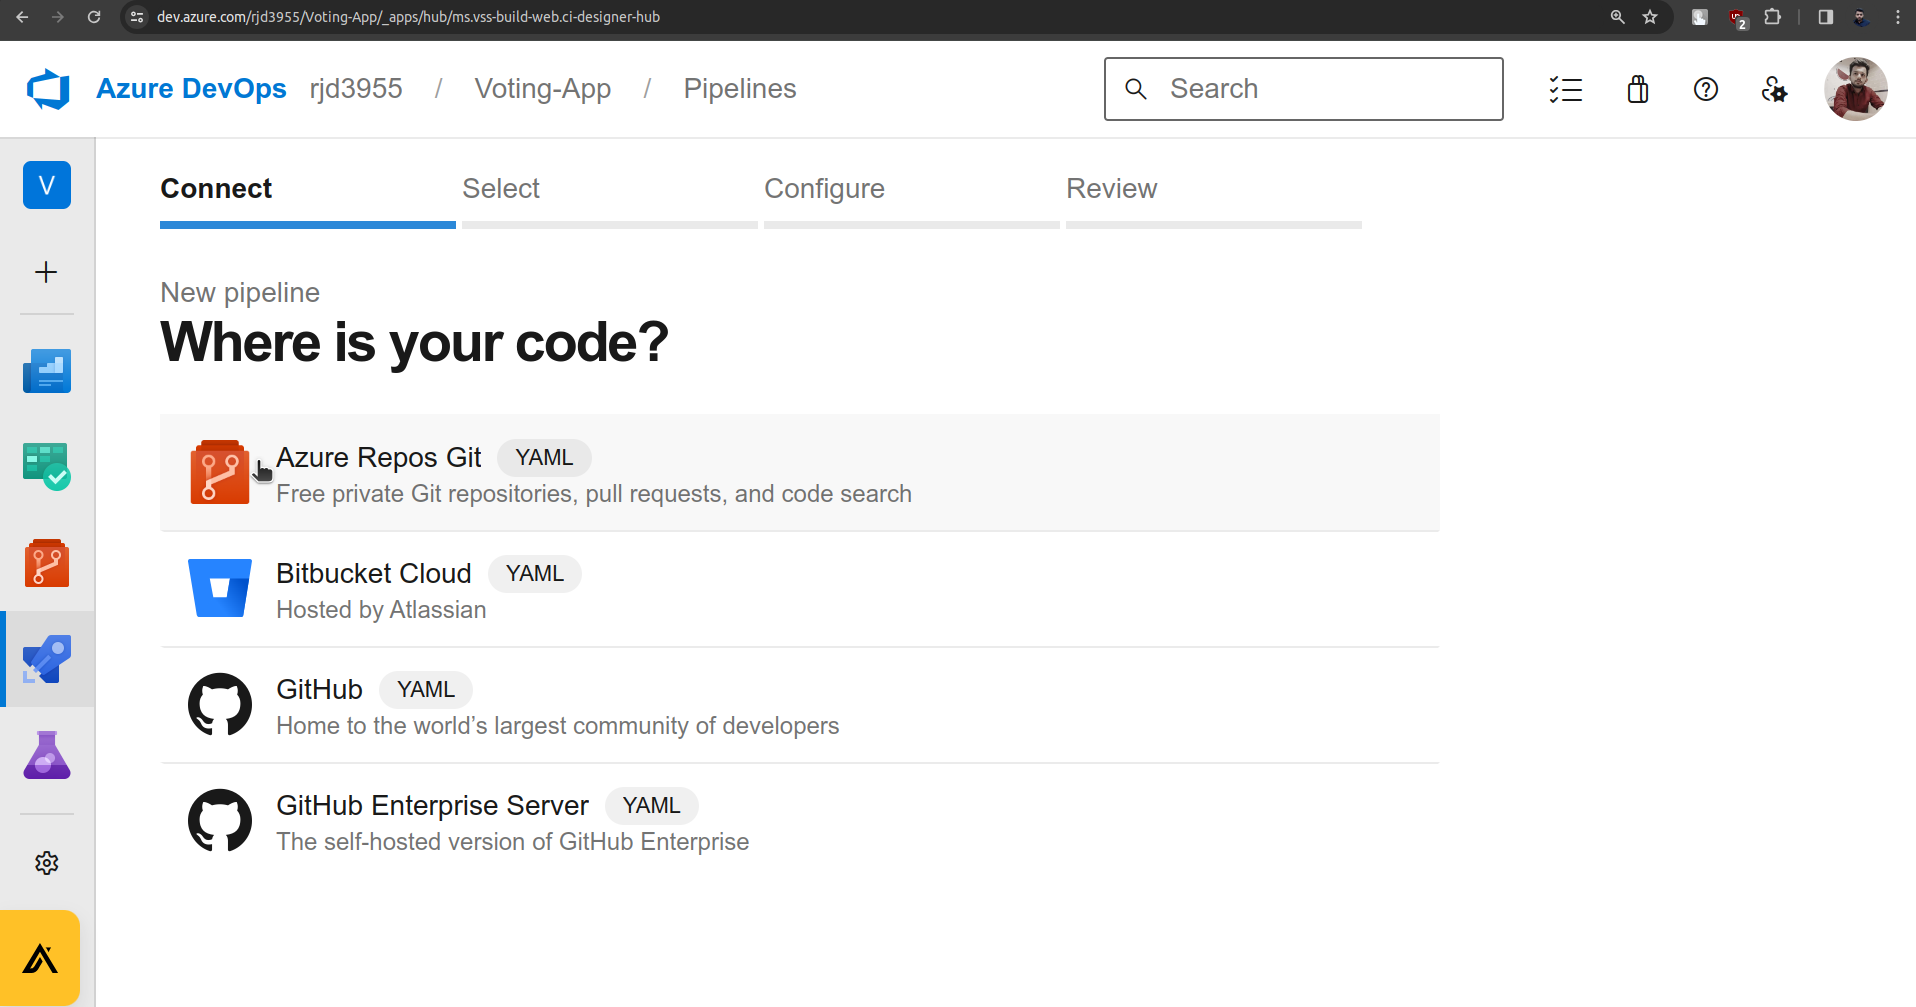
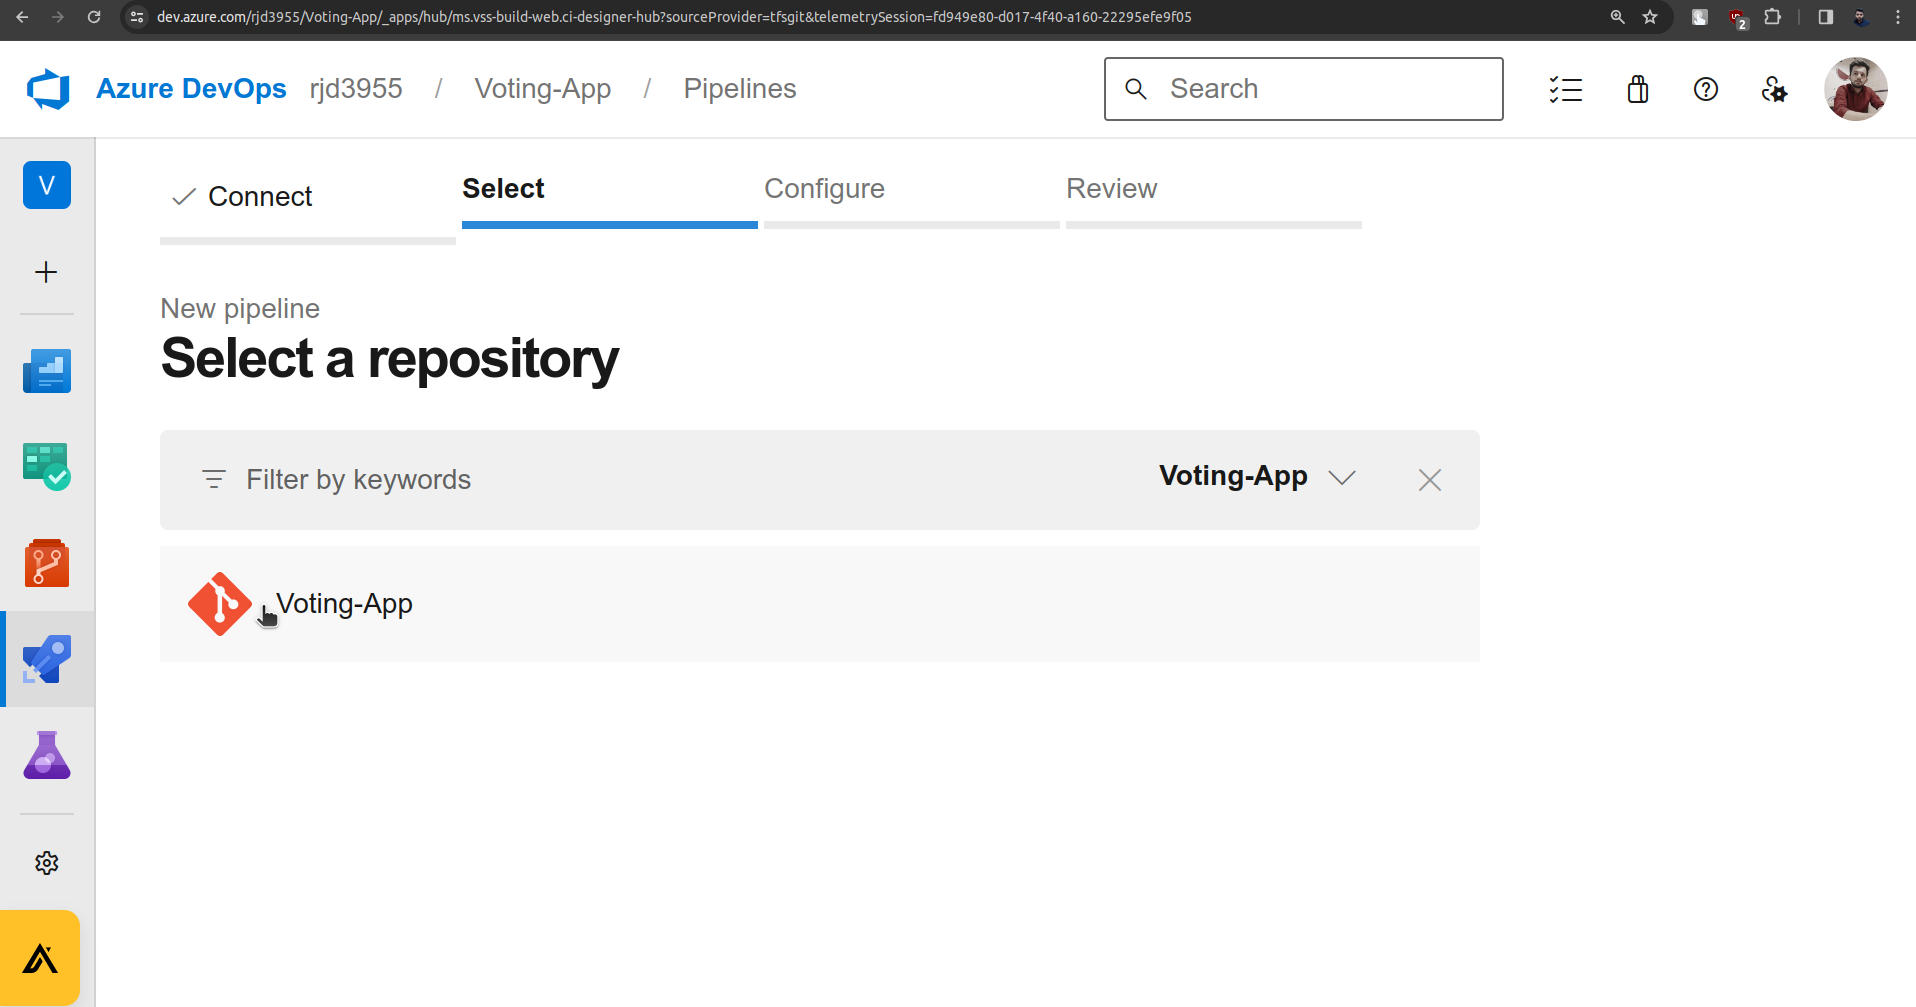
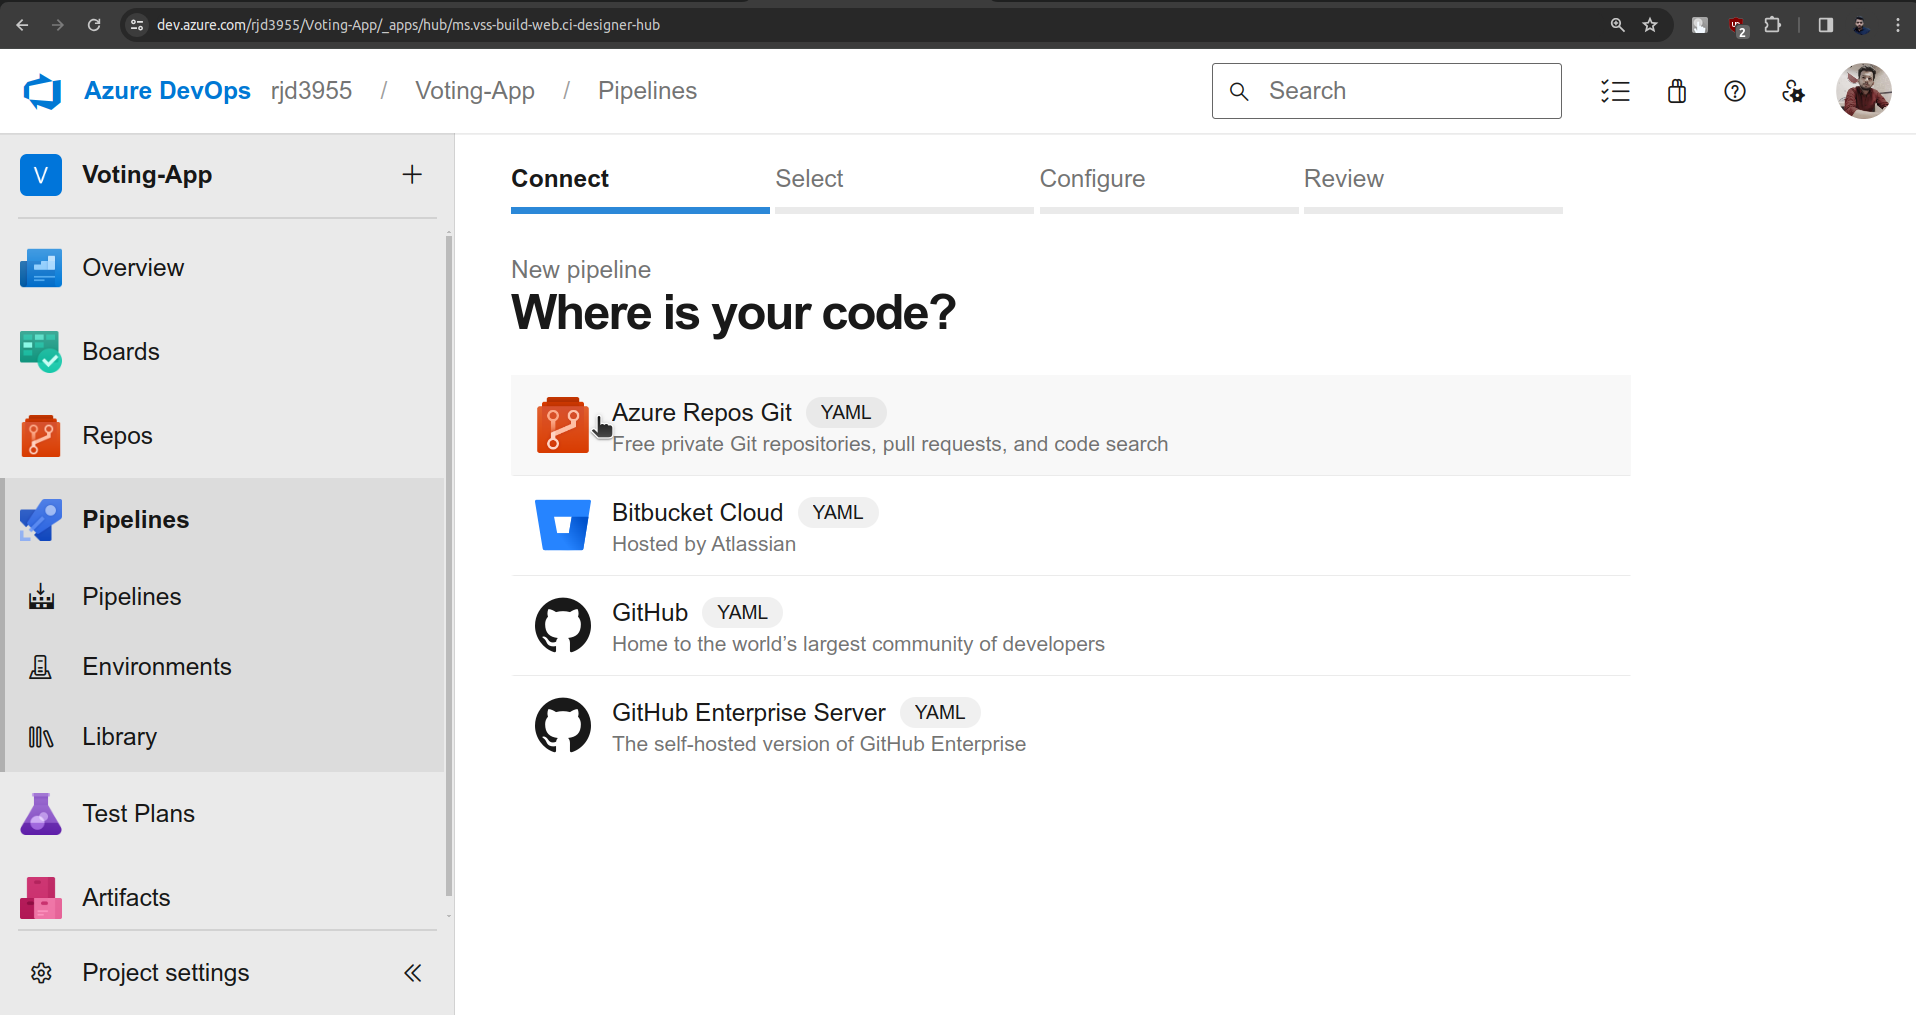
Click on Azure Repos Git and choose the Voting-App Repo there.
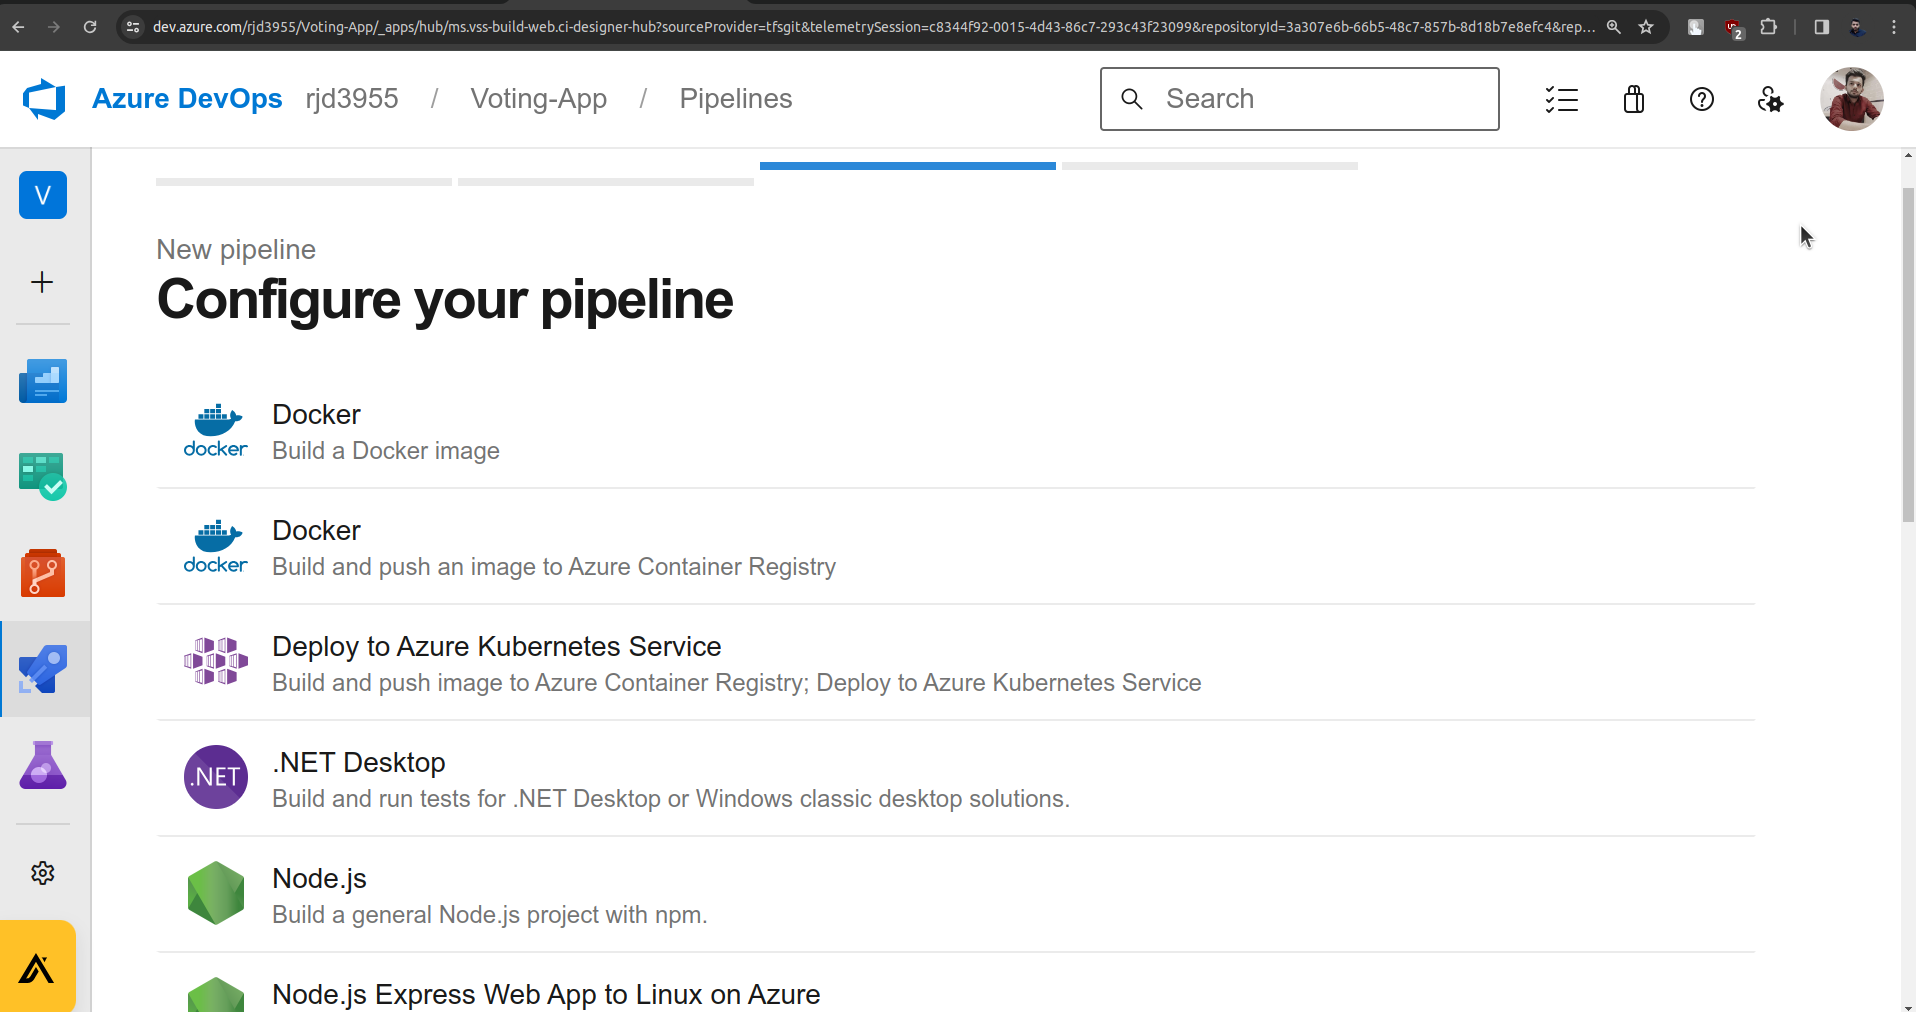
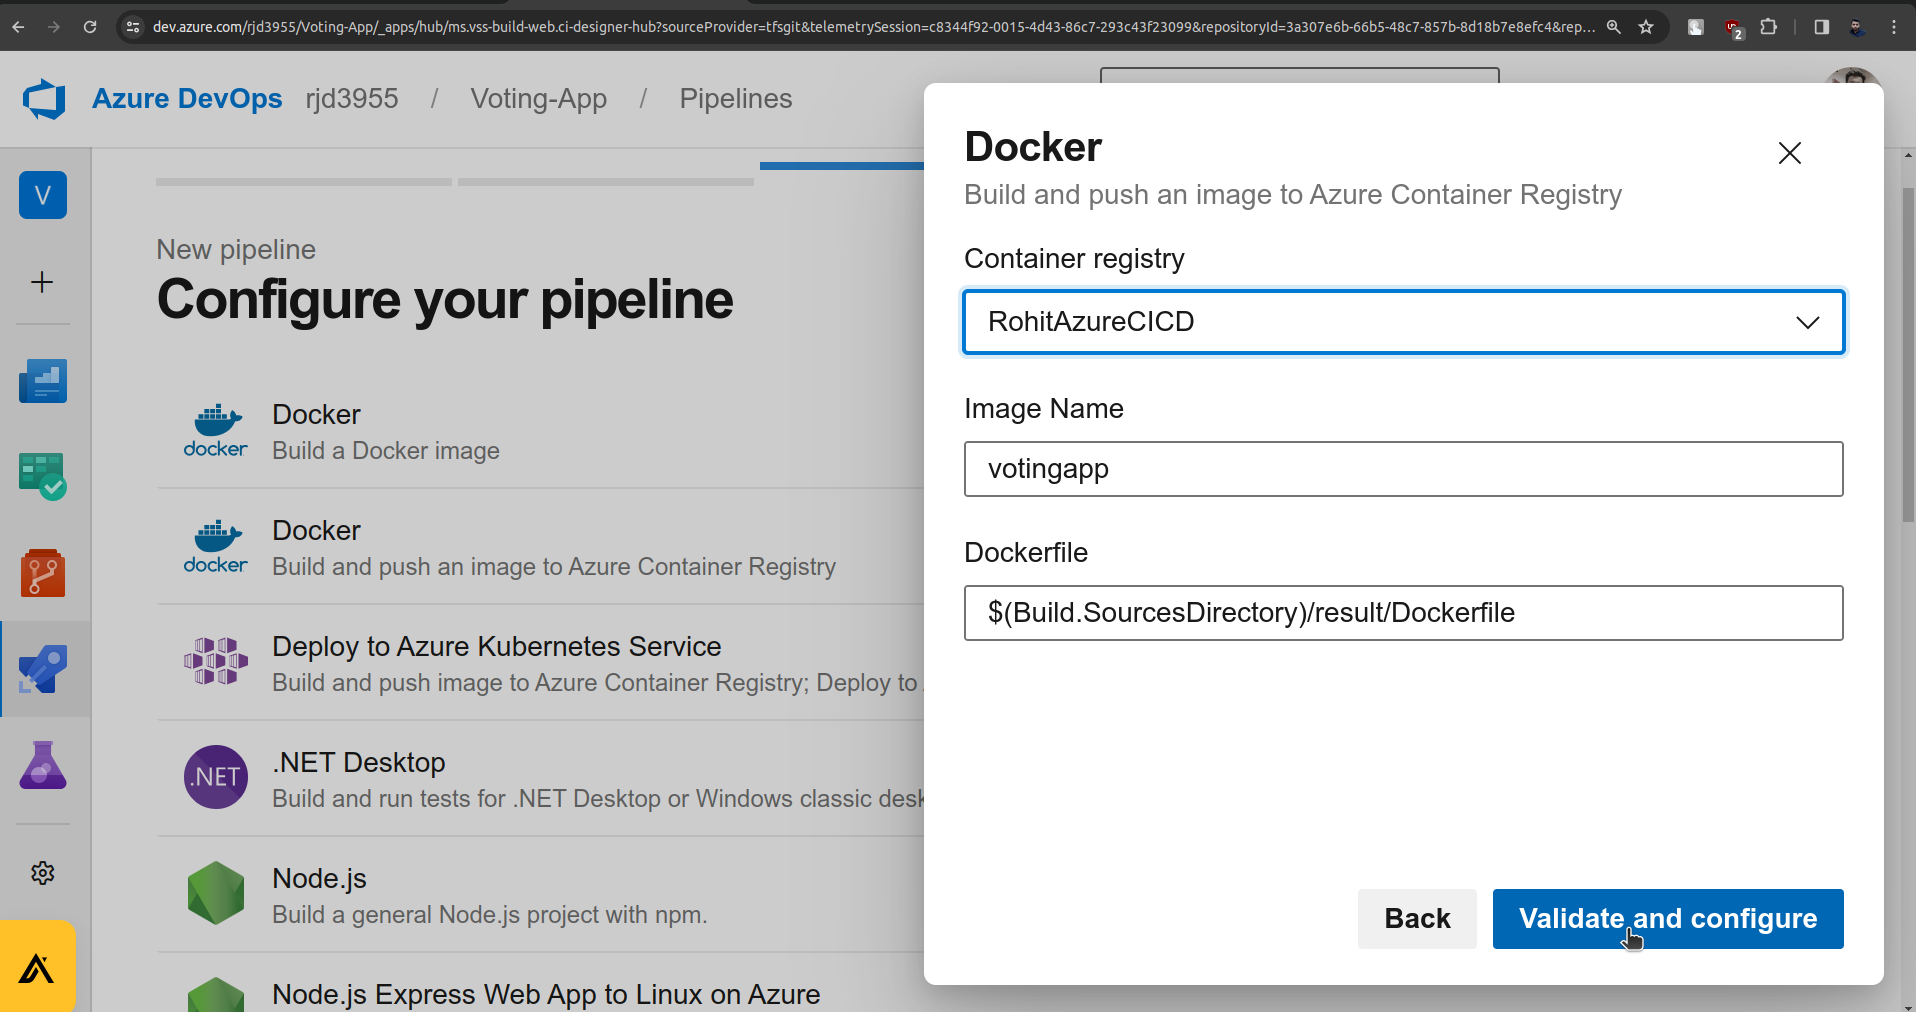
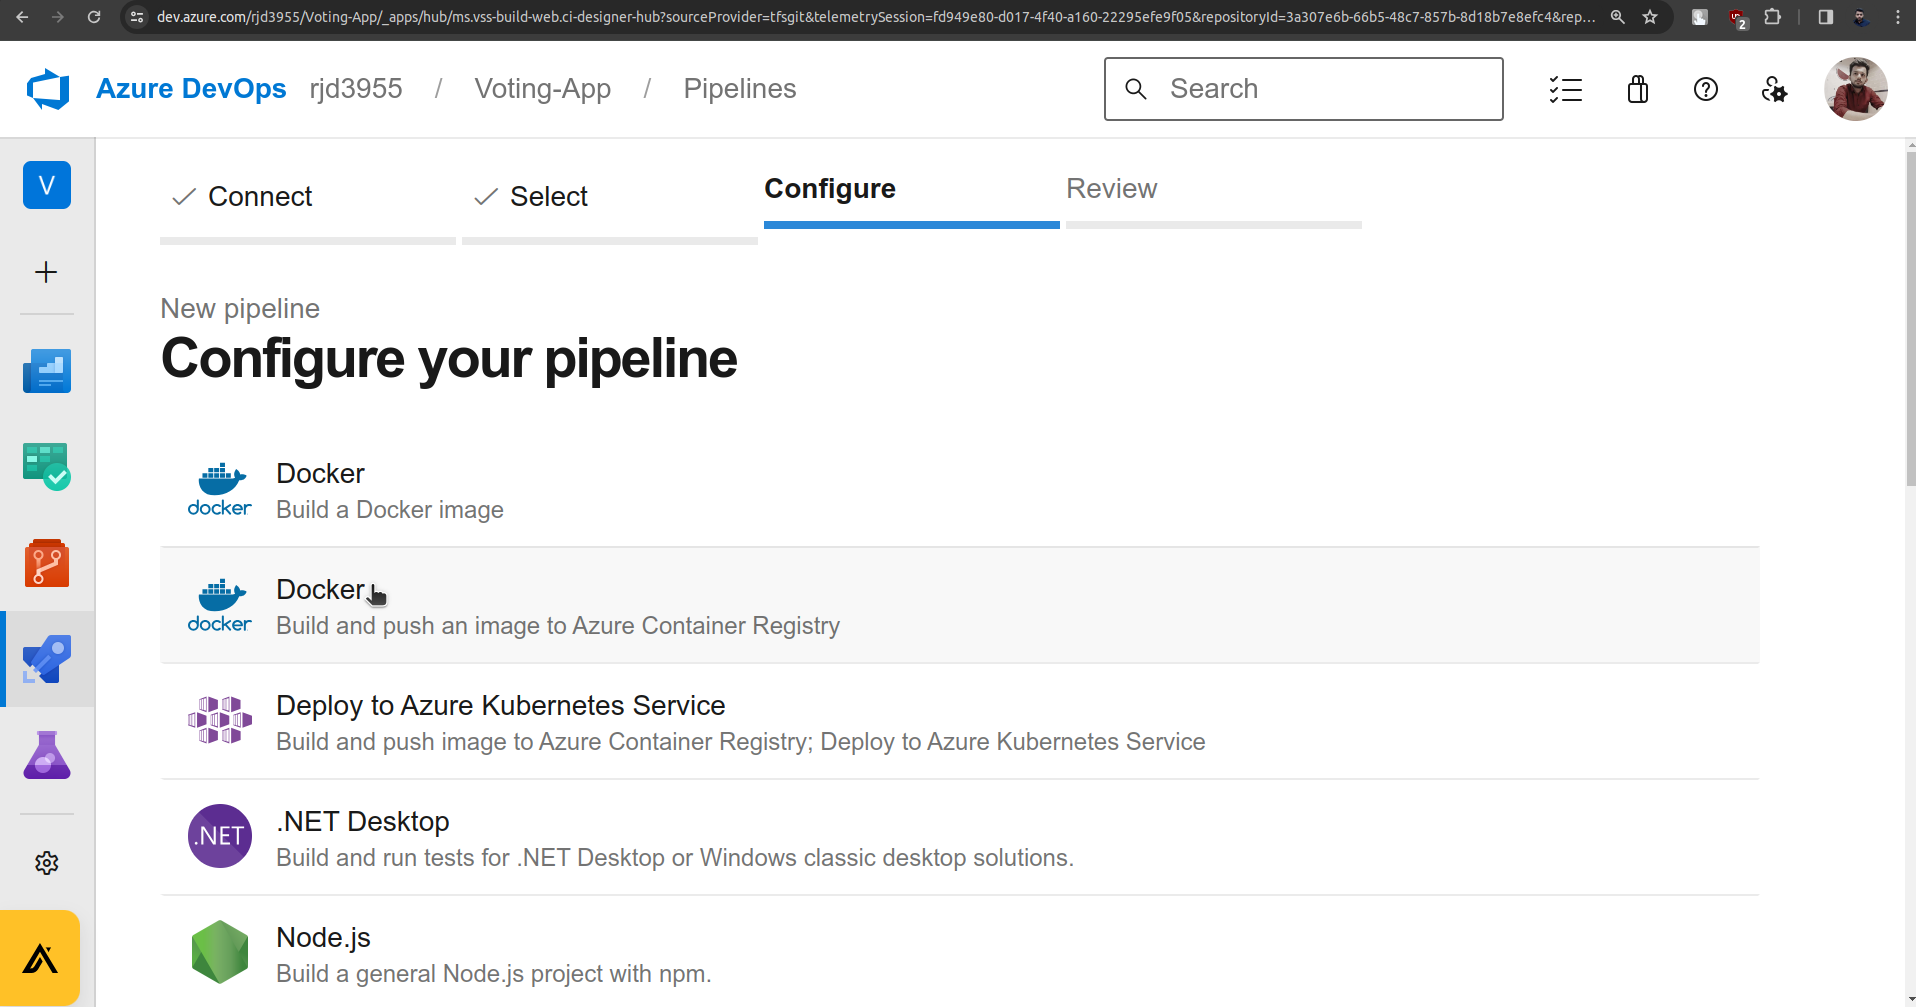
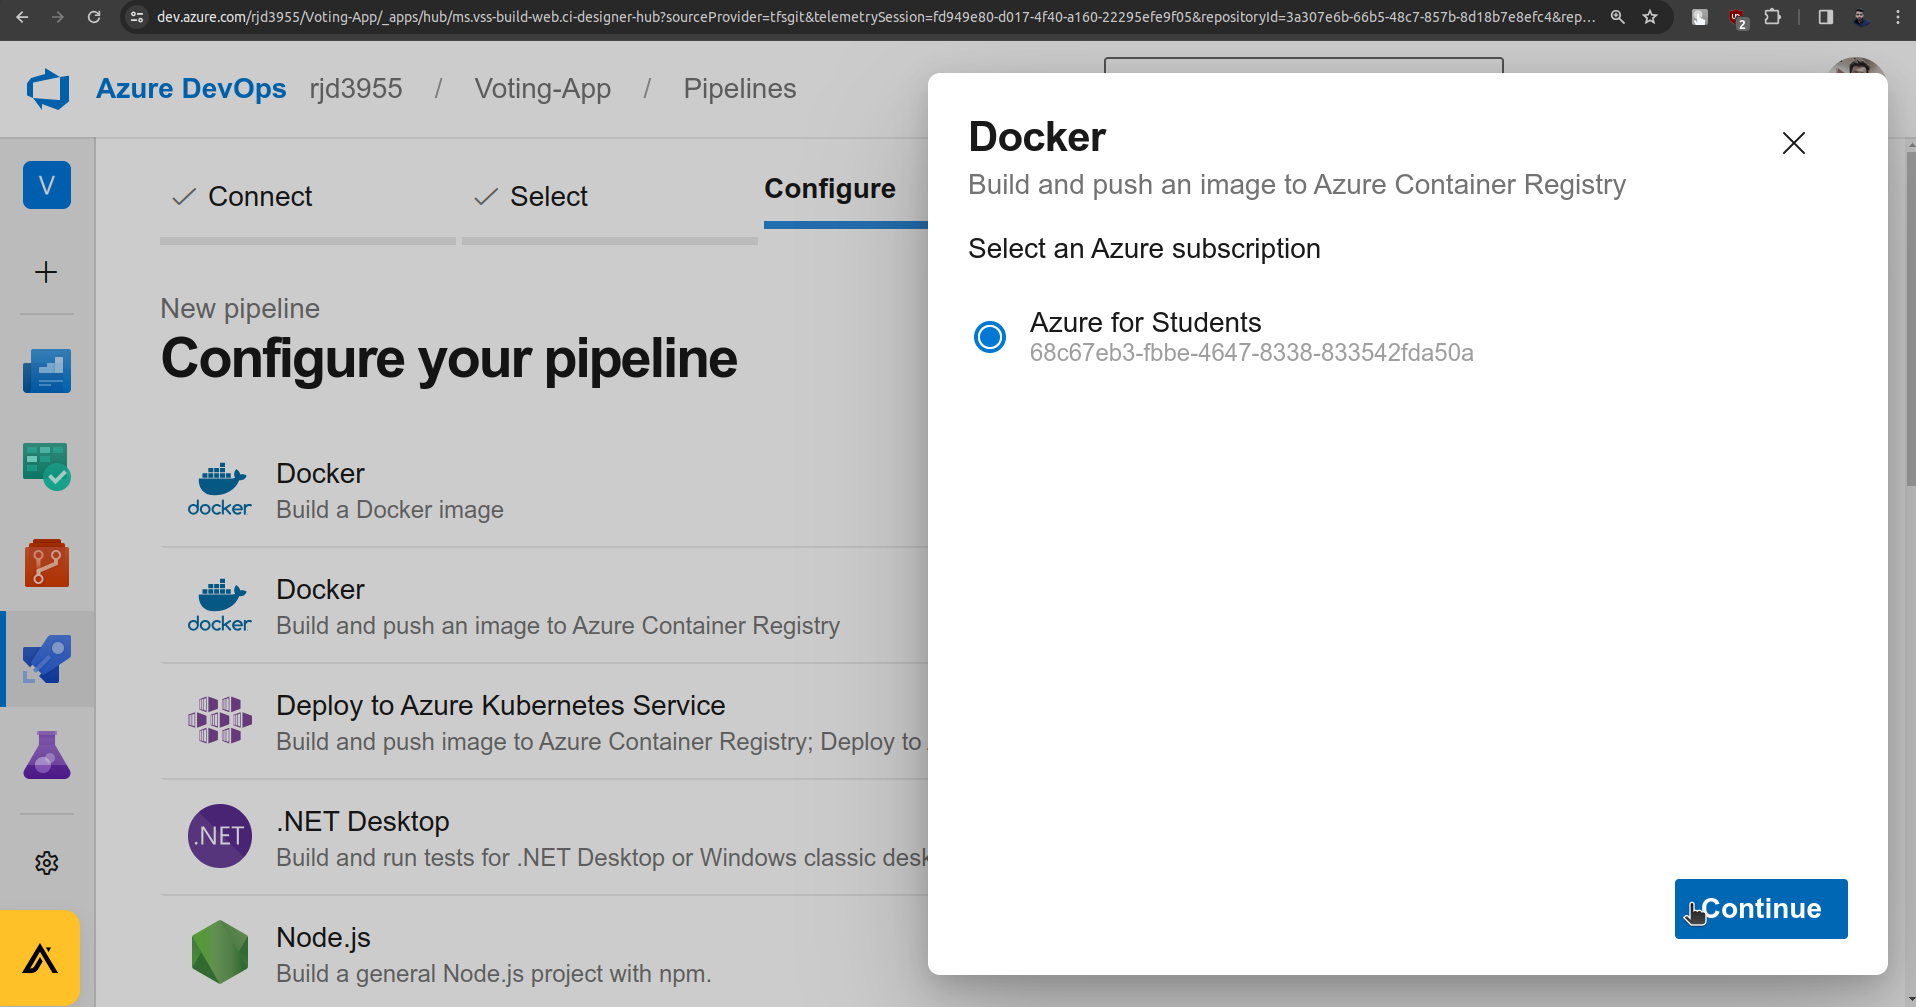
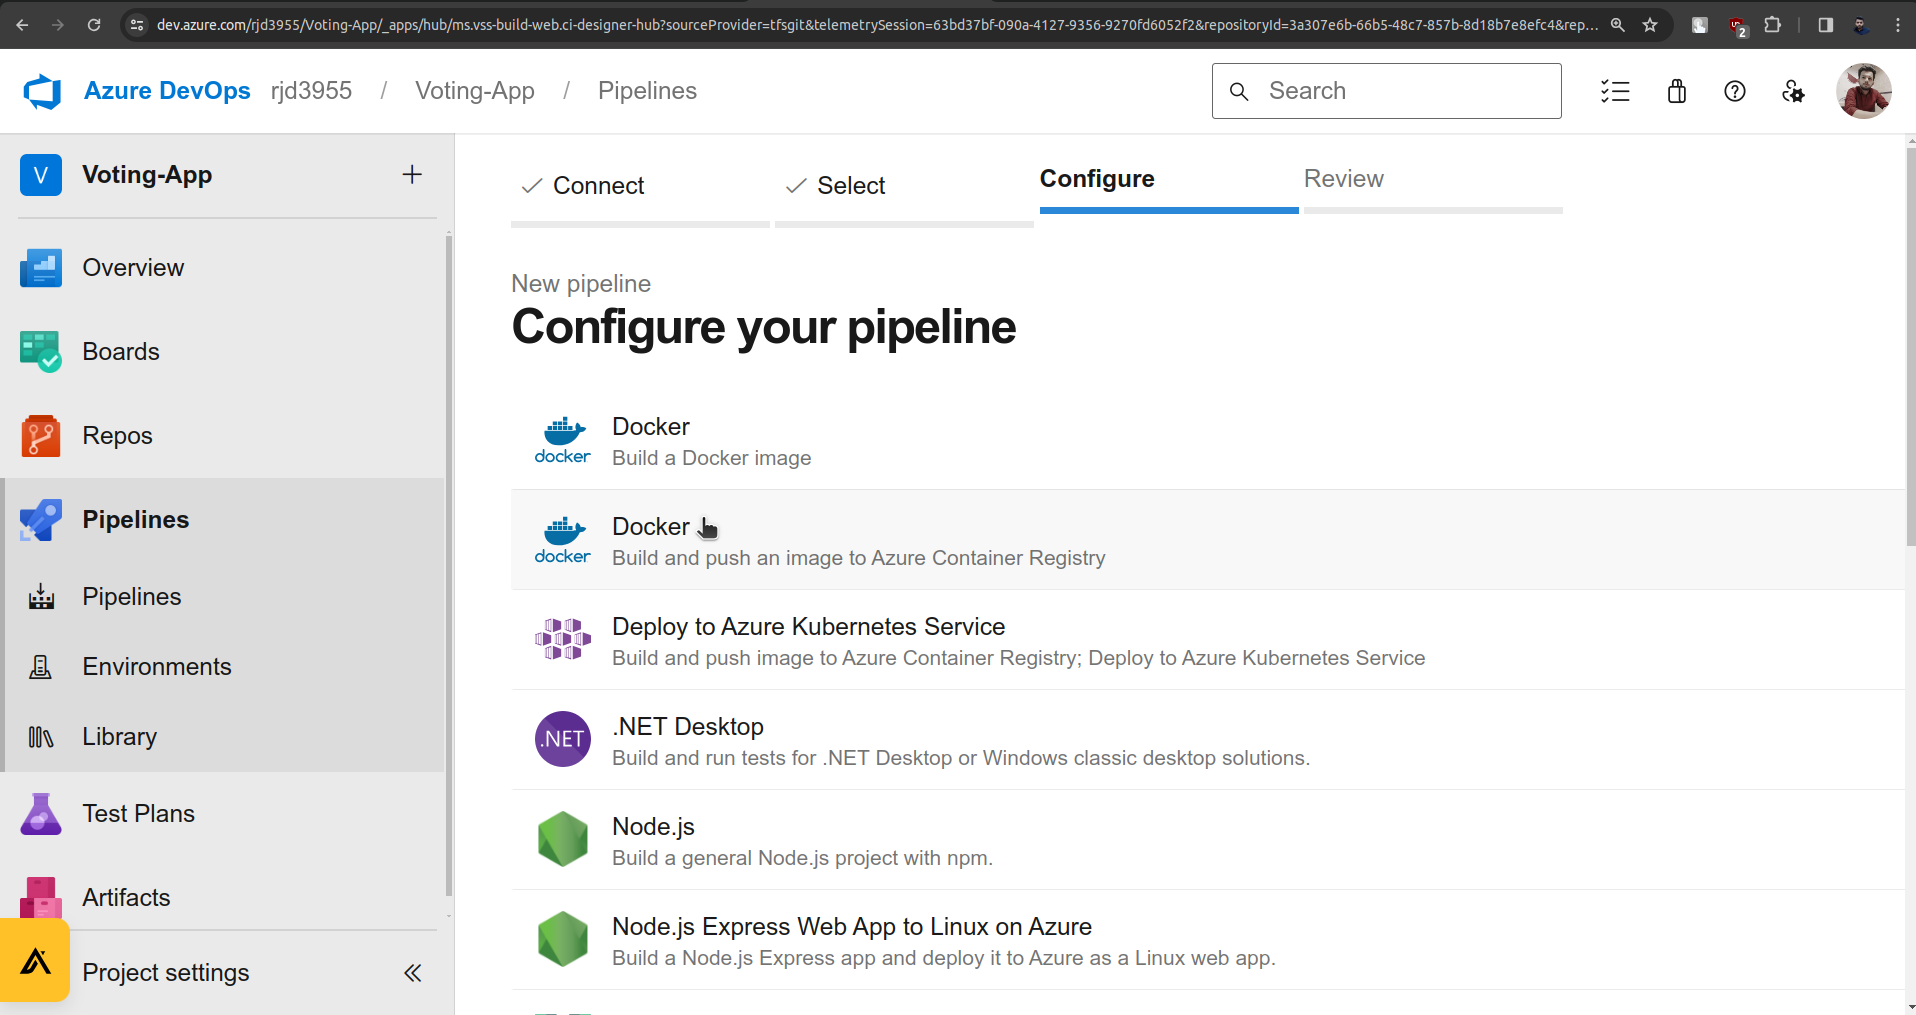
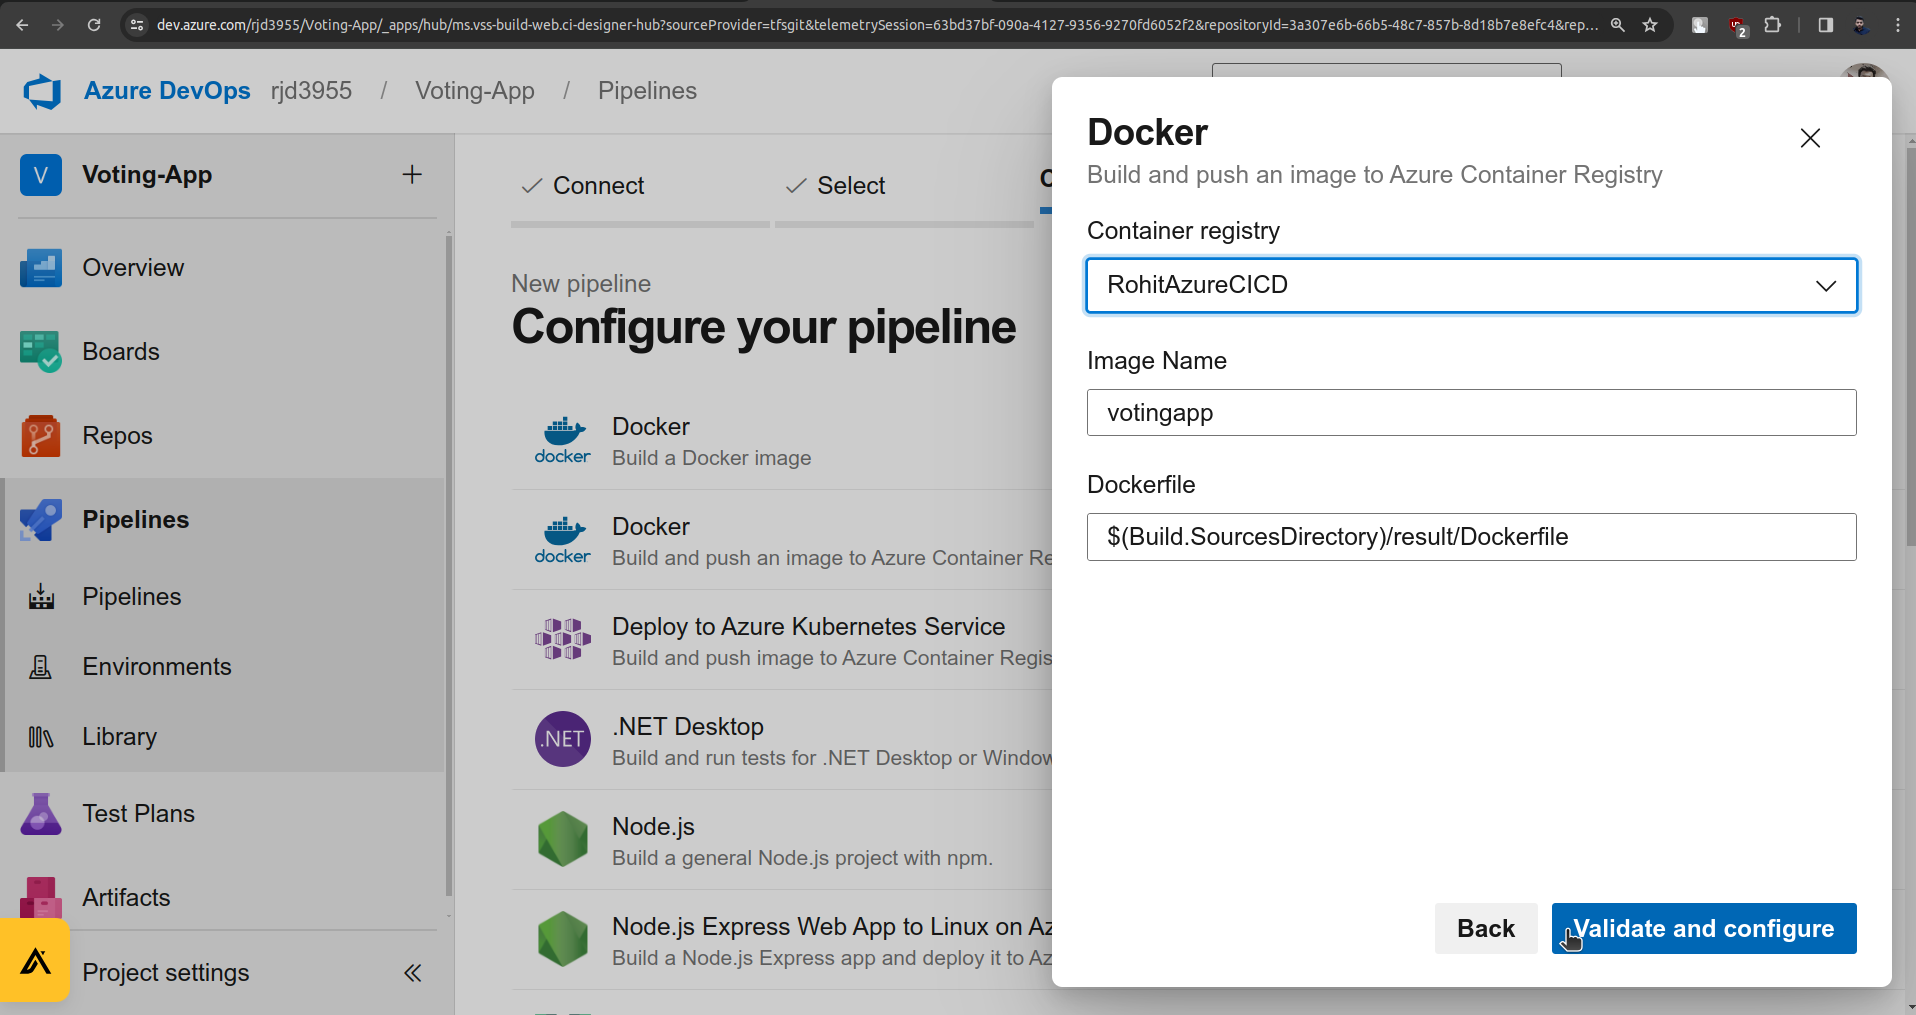
Now there are two options for Docker choose the second one which says "Build and push an image to Azure Container Registry".
This is the reason why we created the Azure Container Registry on the Microsoft Azure Platform.
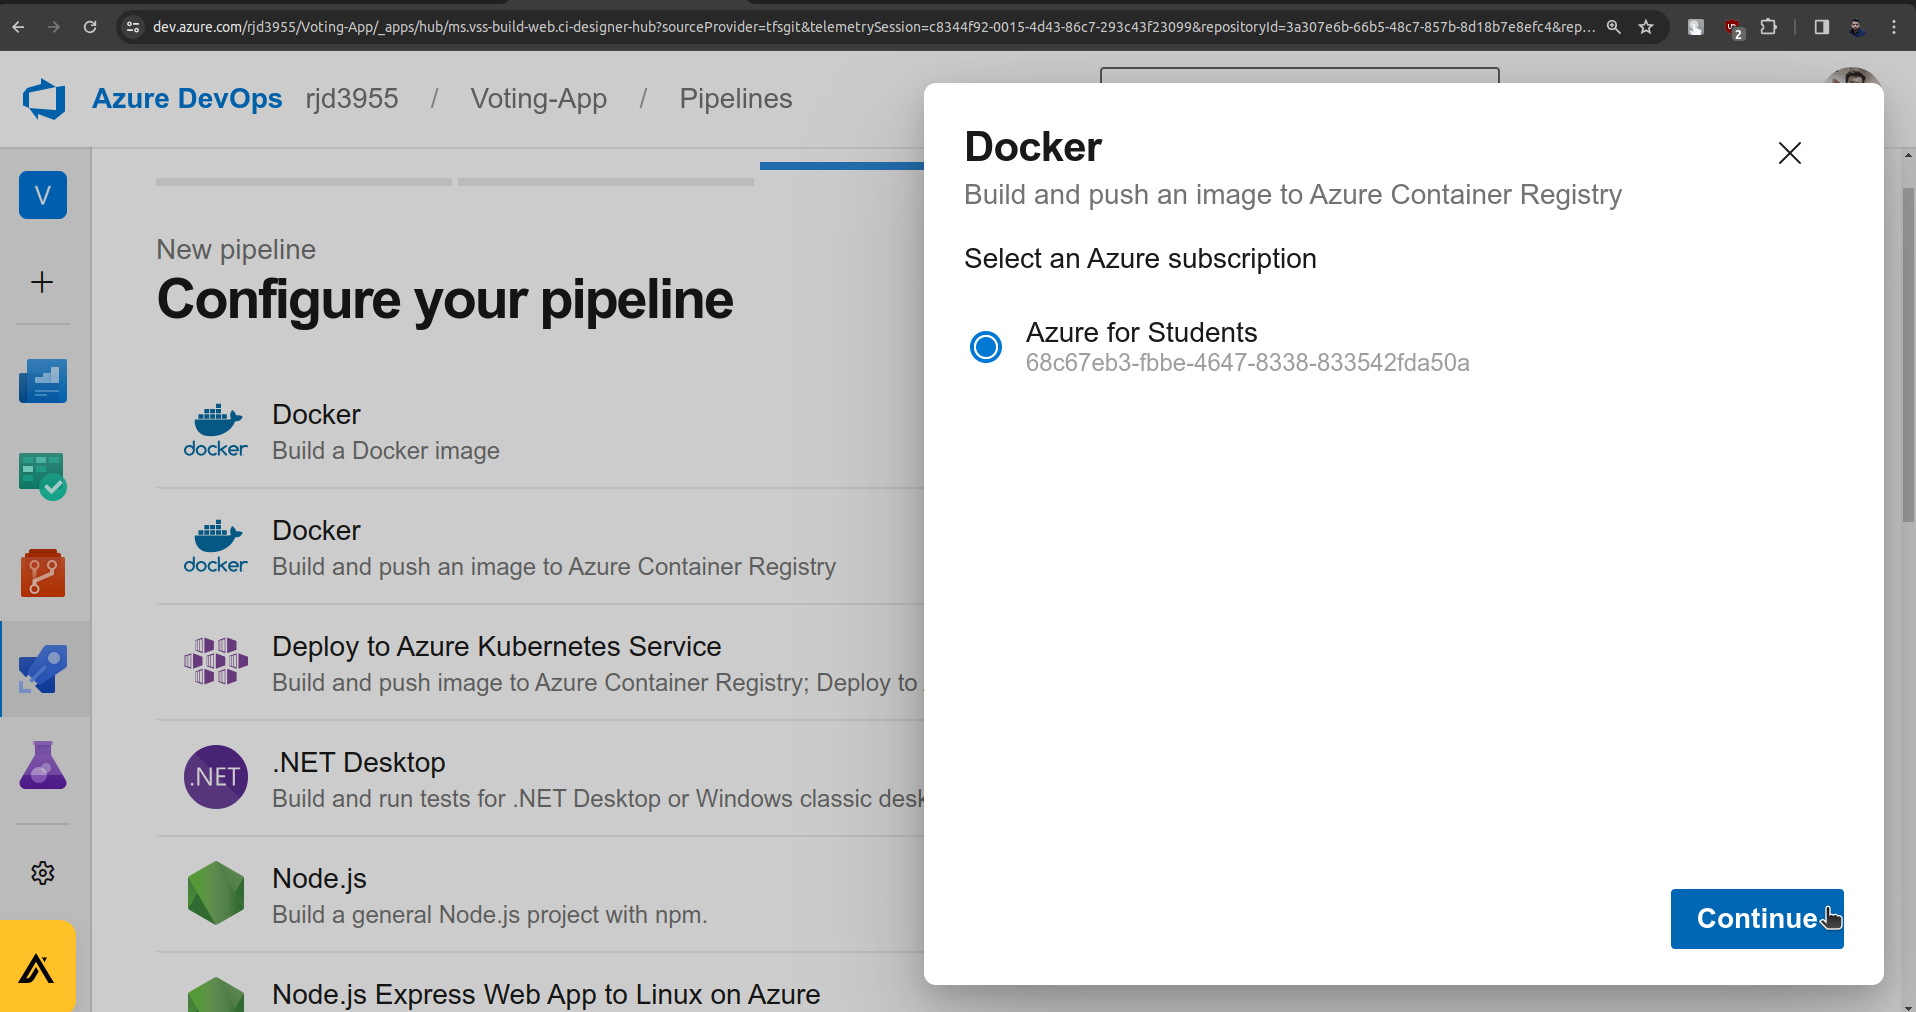
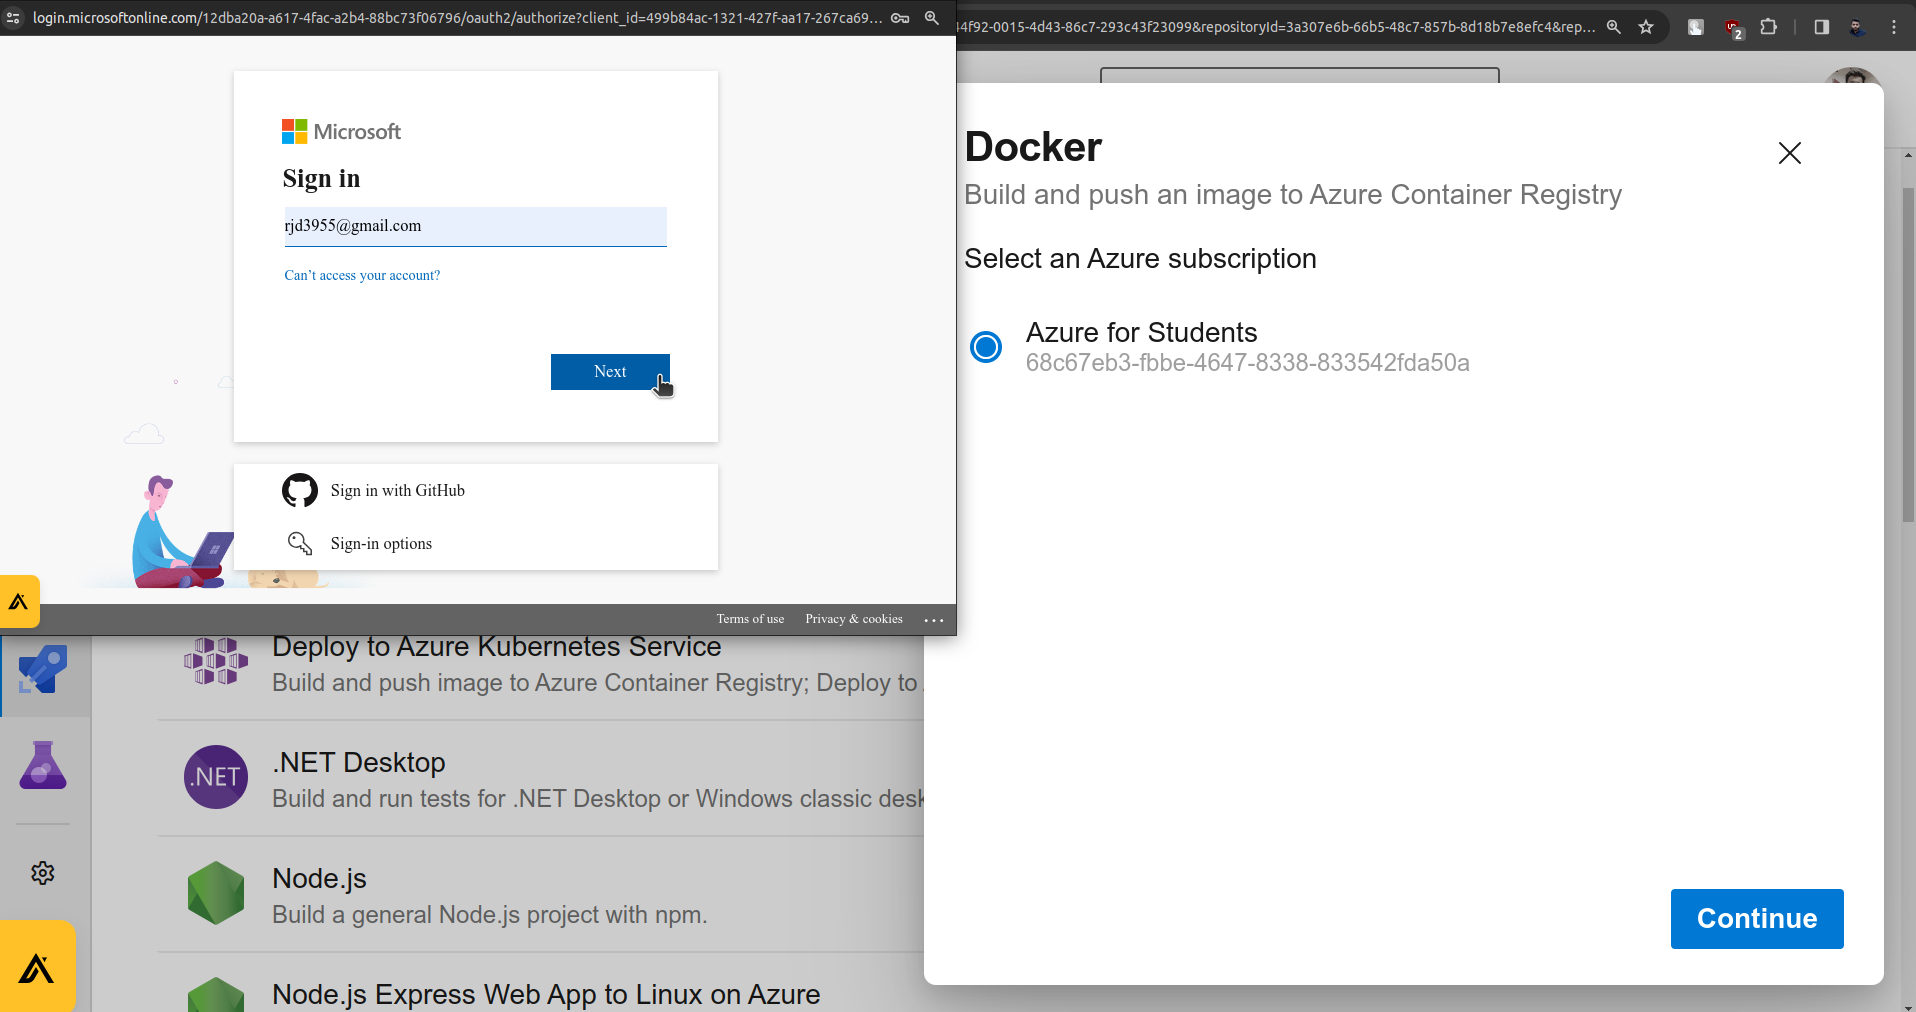
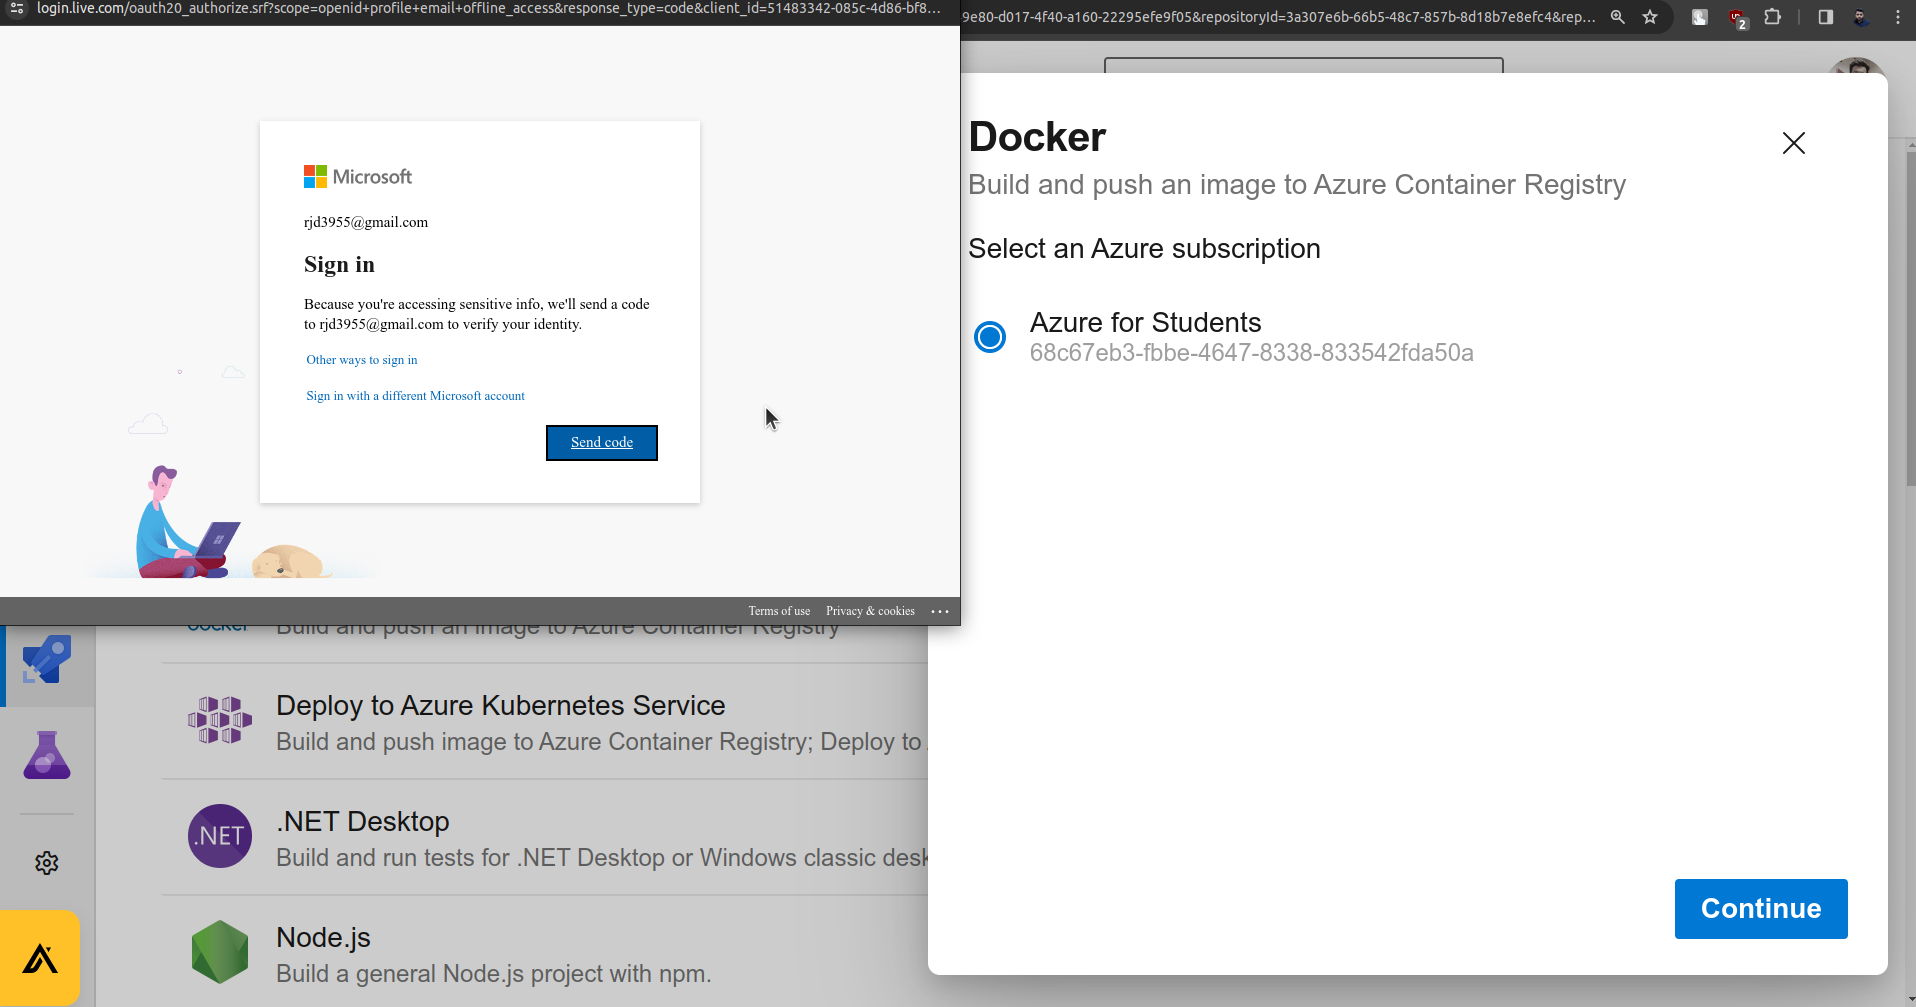
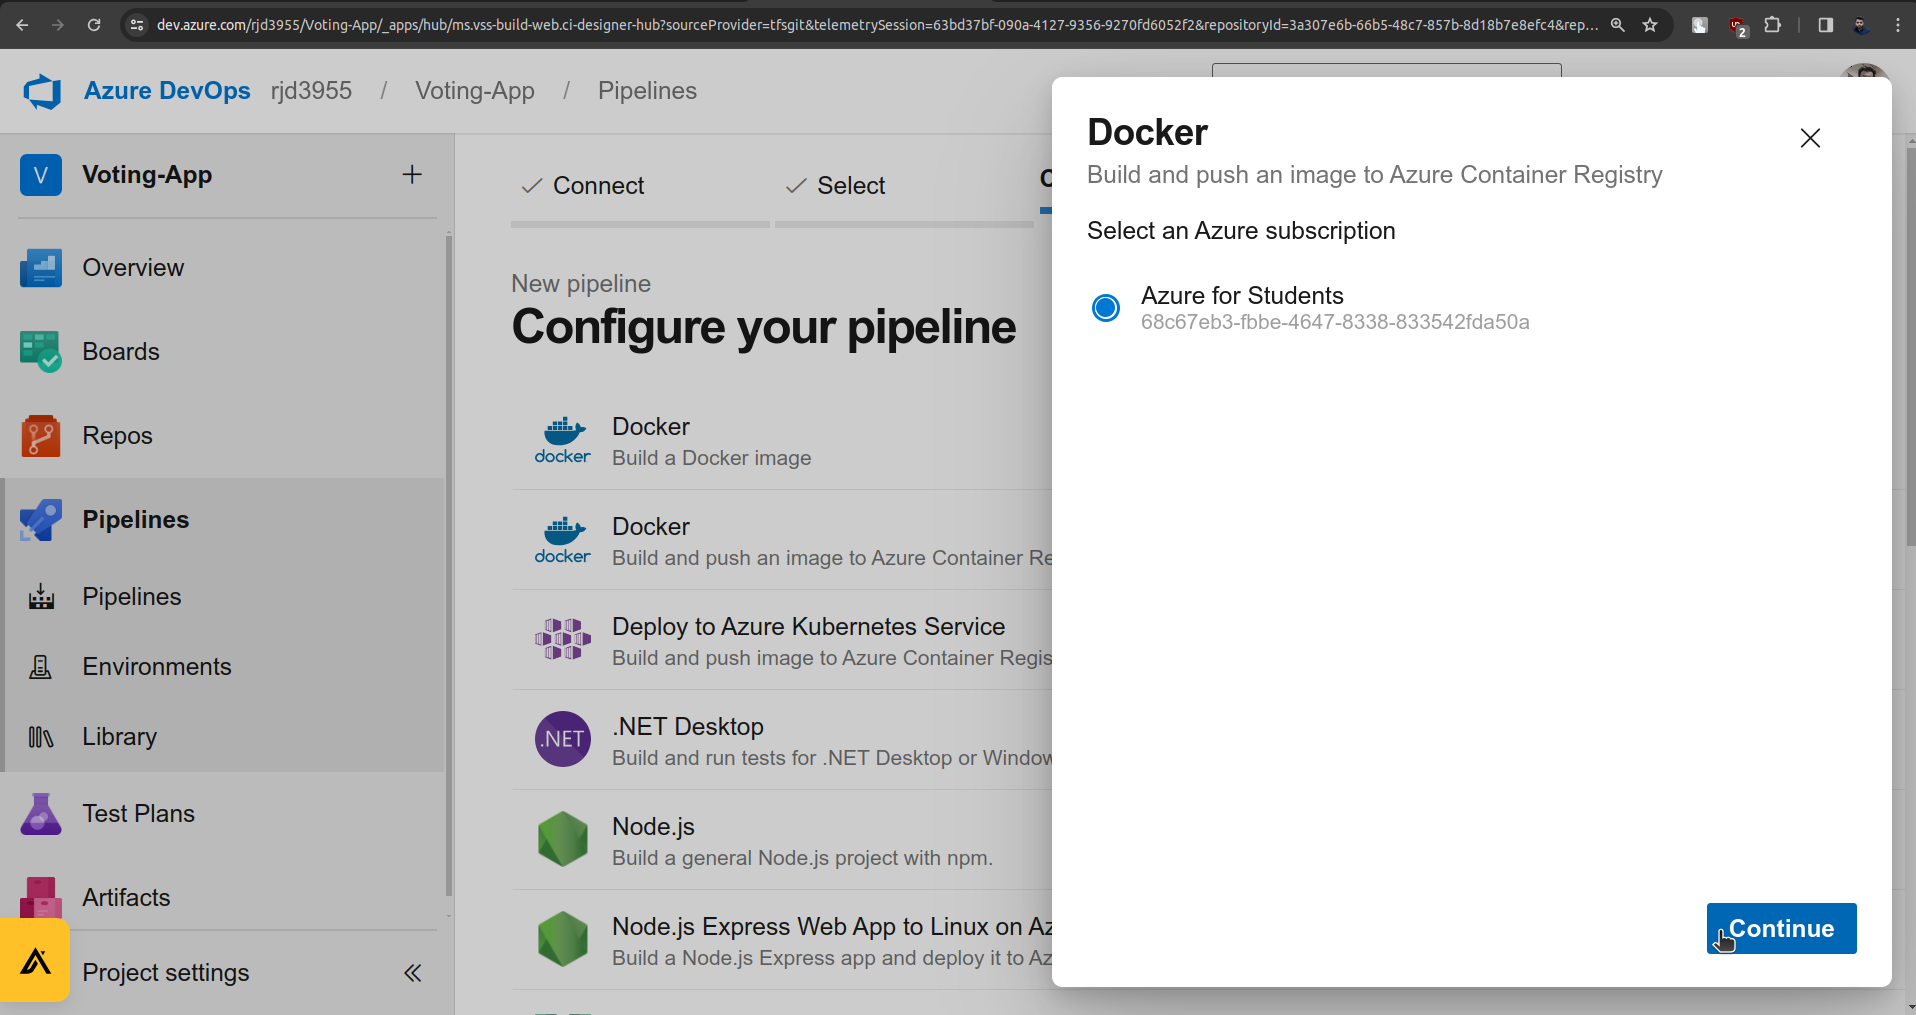
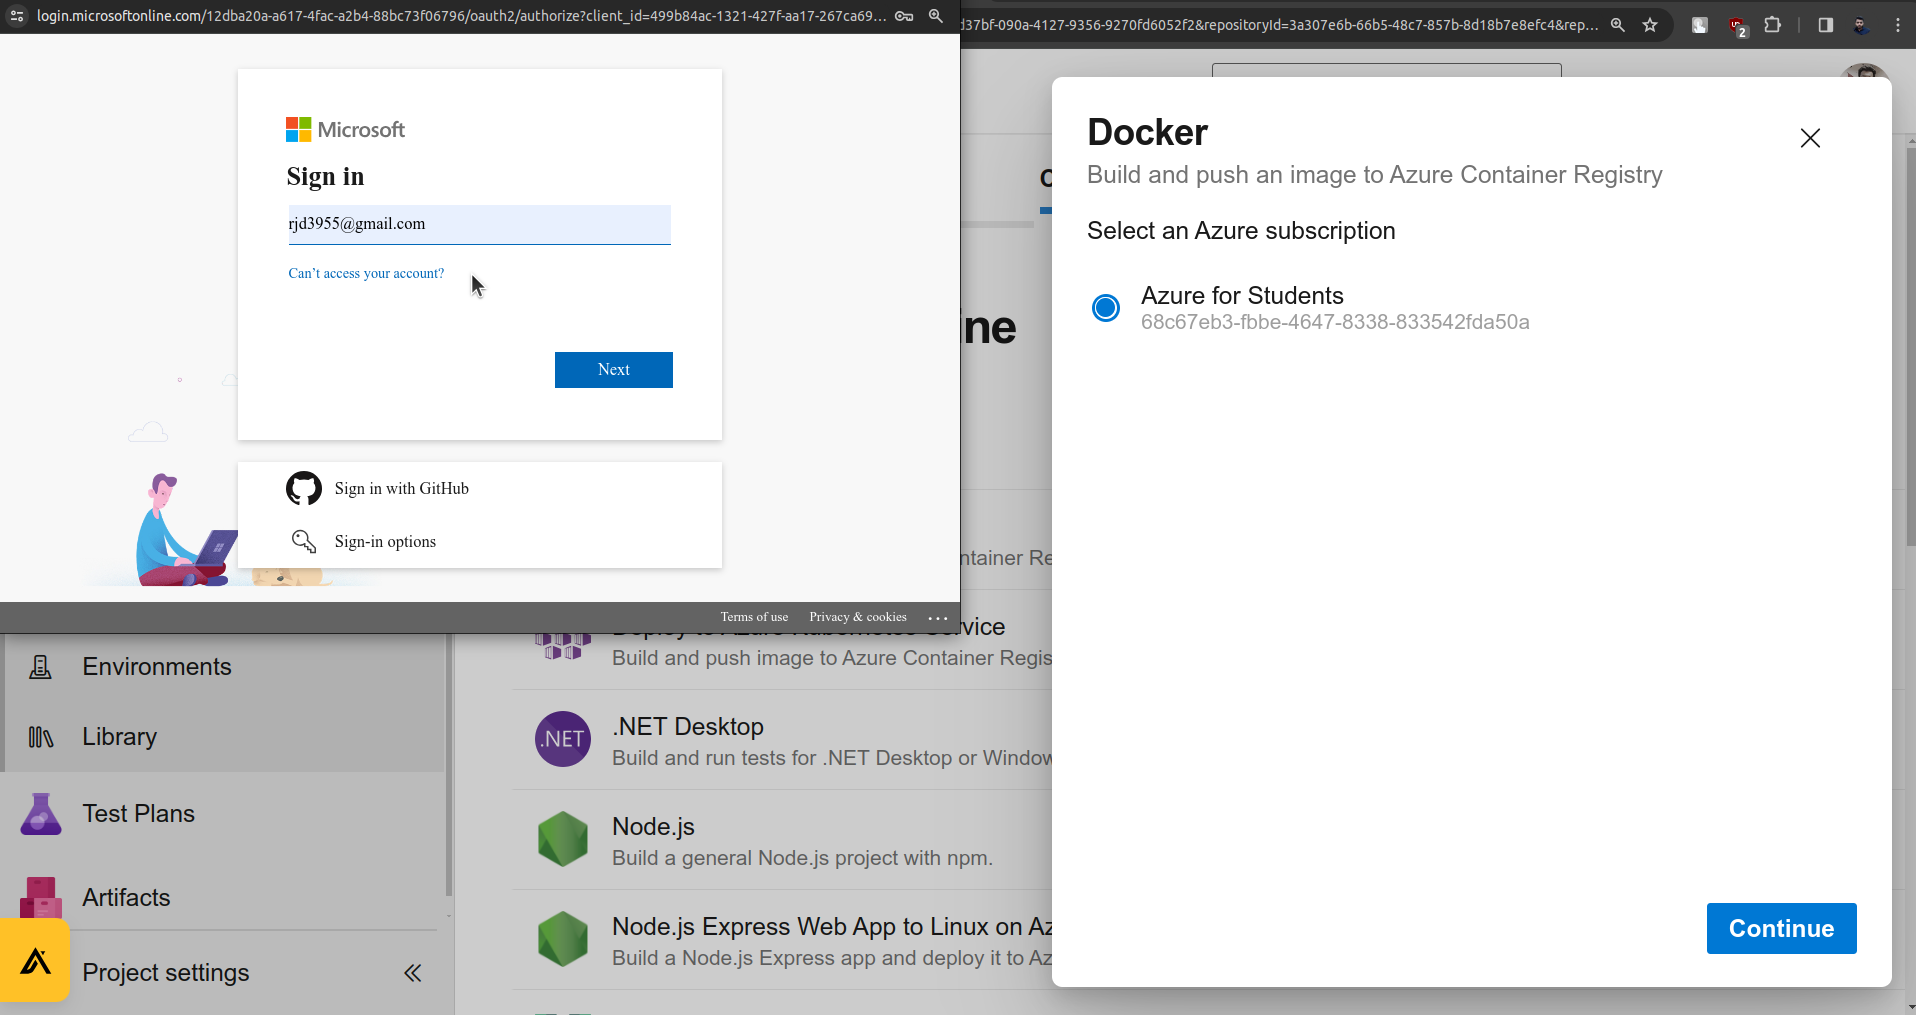
click on Continue and do the authentication process.
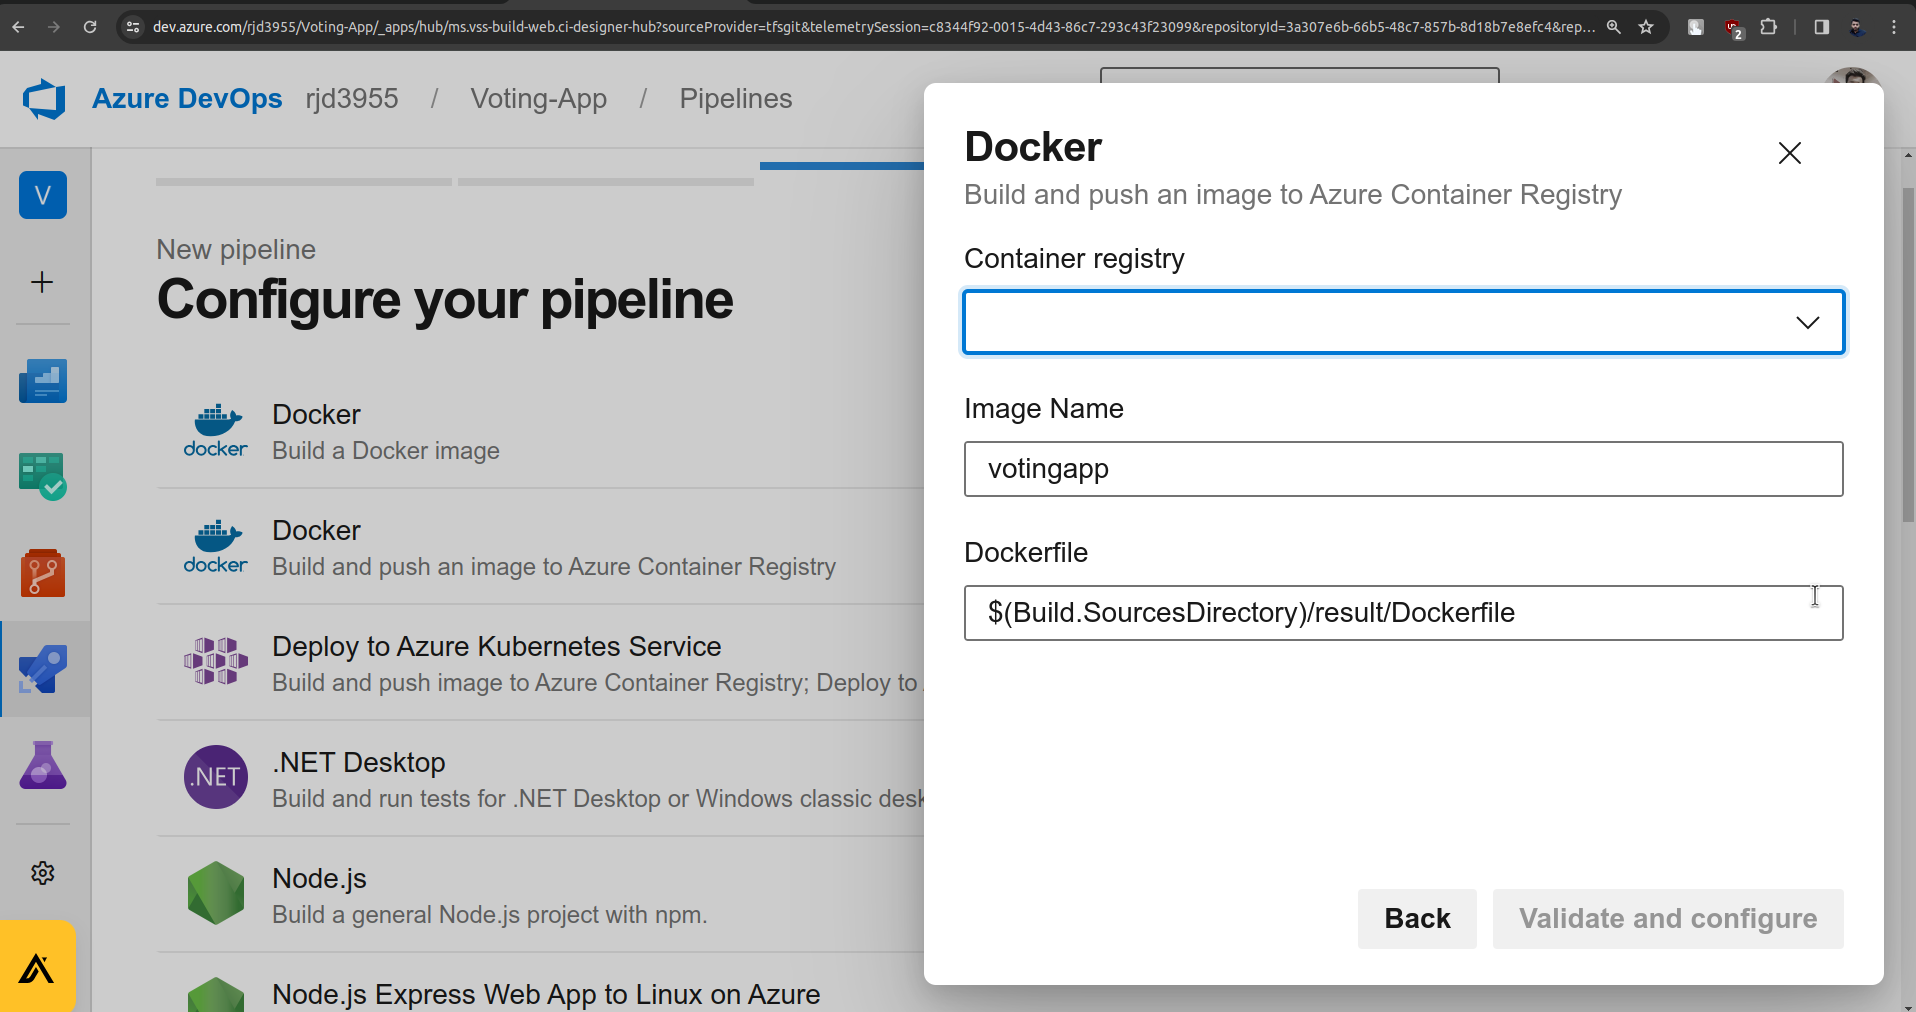
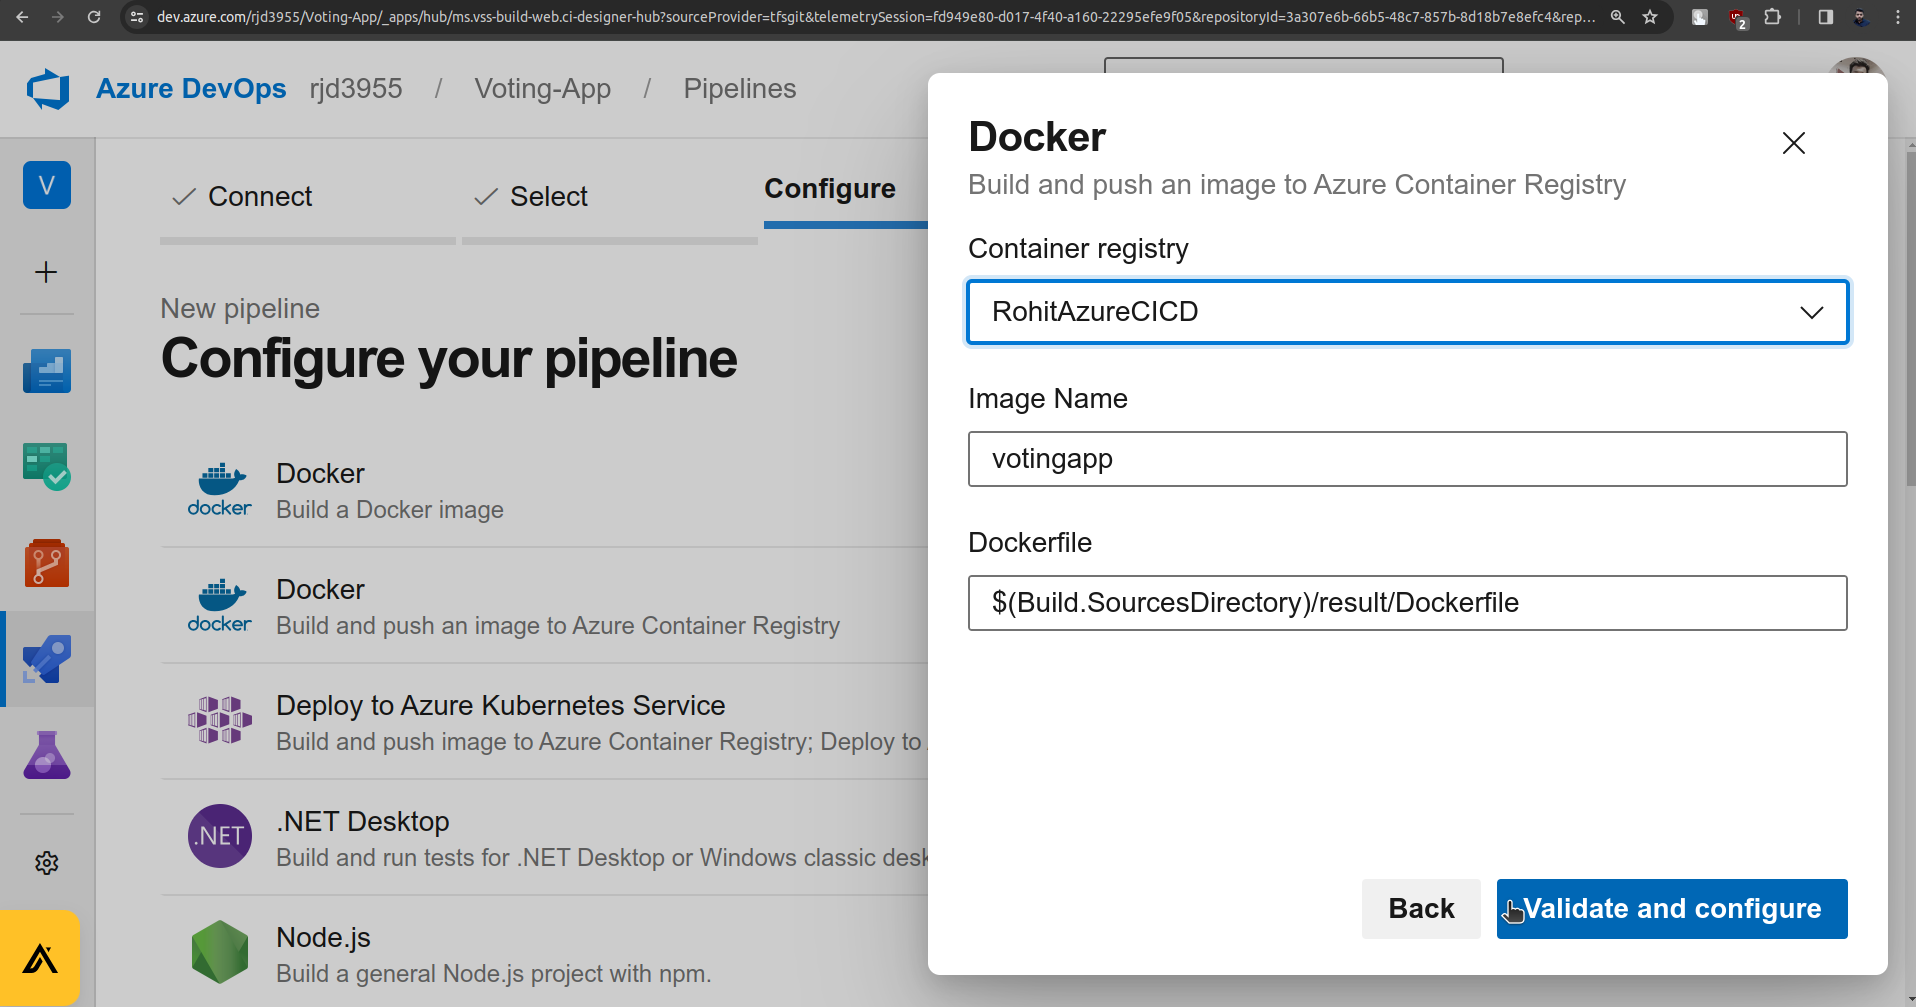
You will be able to see the container registry which we have created on Microsoft Azure.
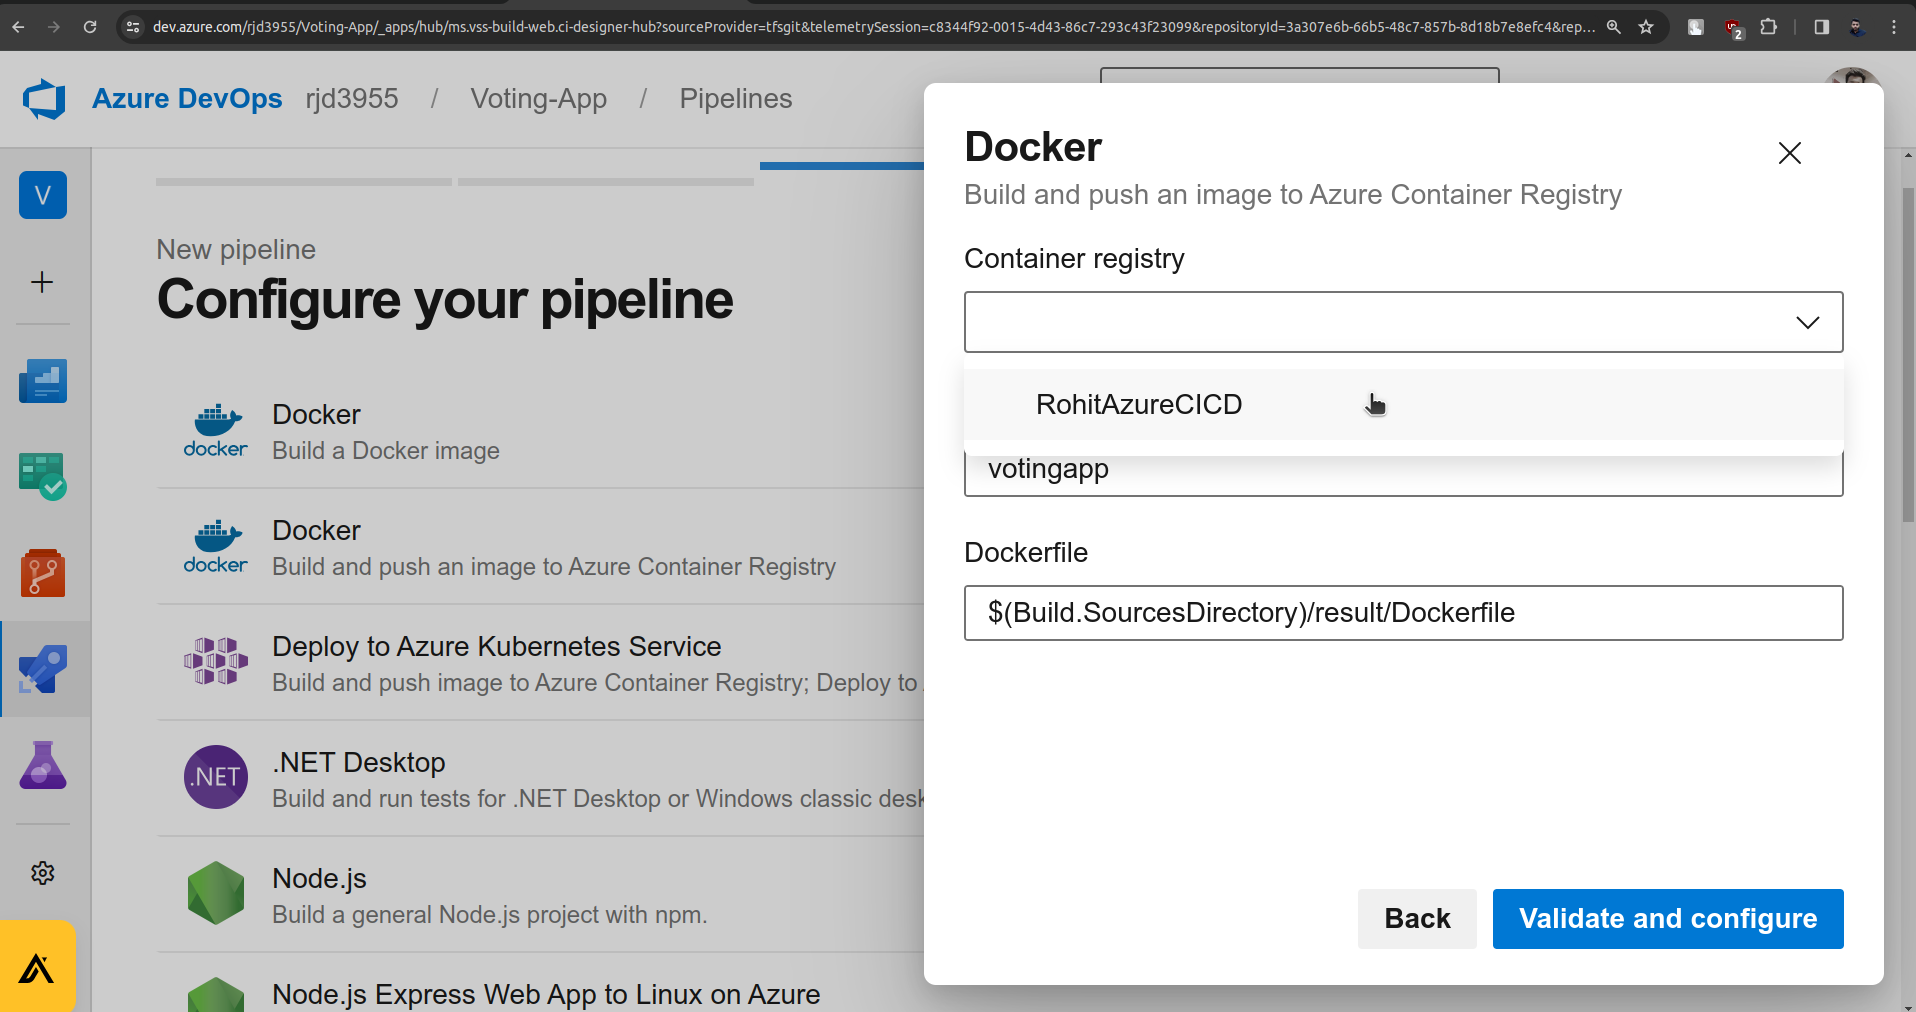
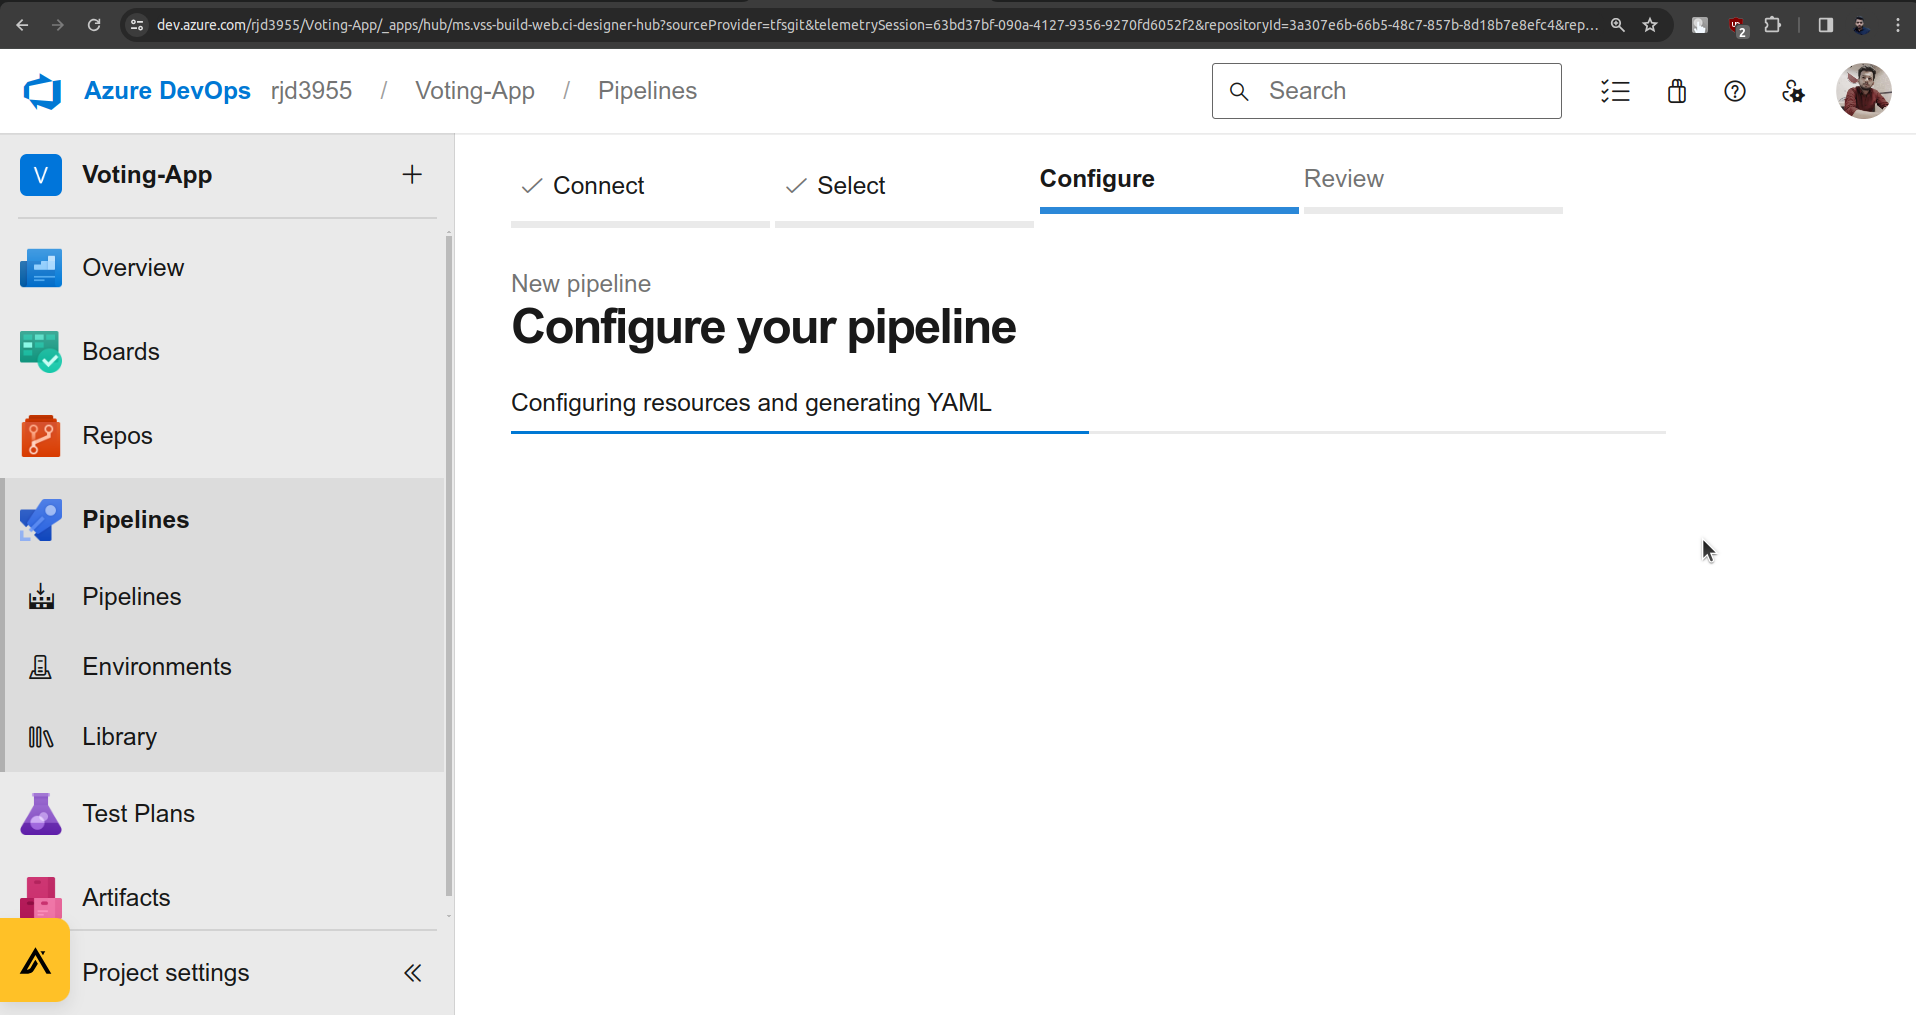
Once you see this you can proceed by clicking on Validate and Configure.
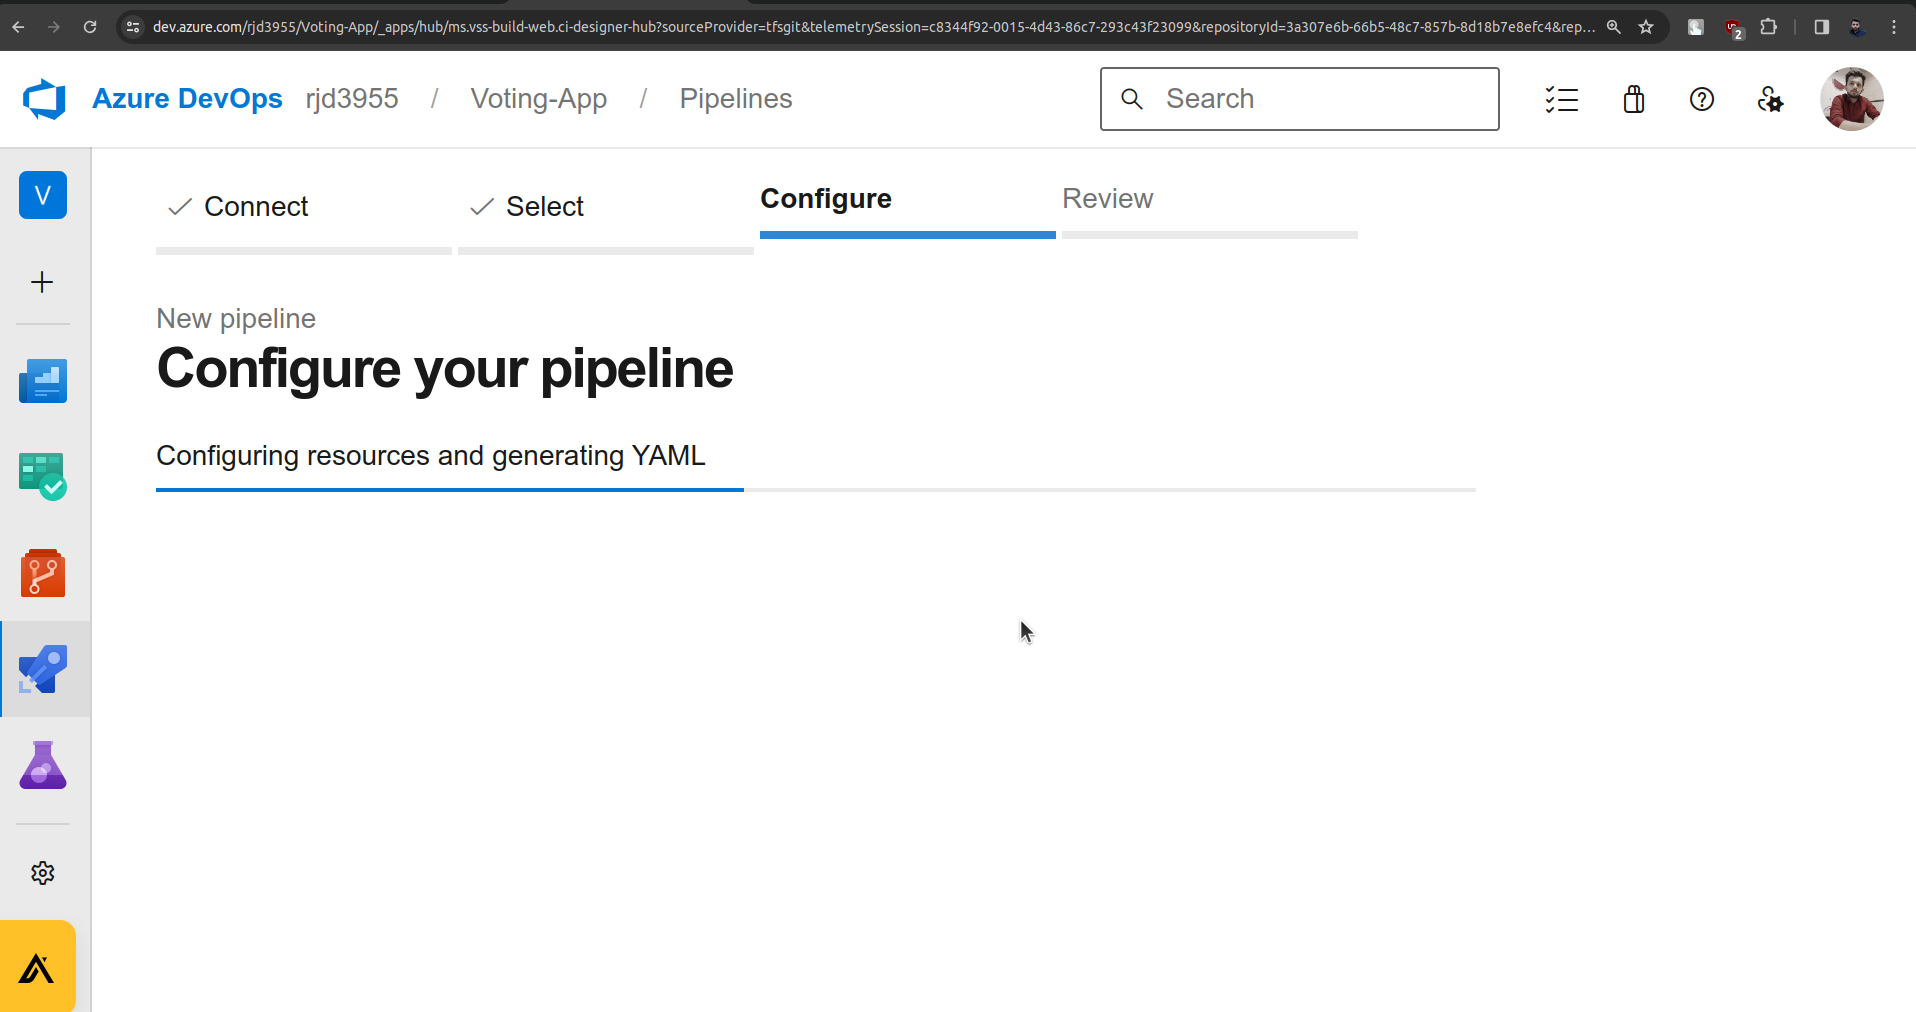
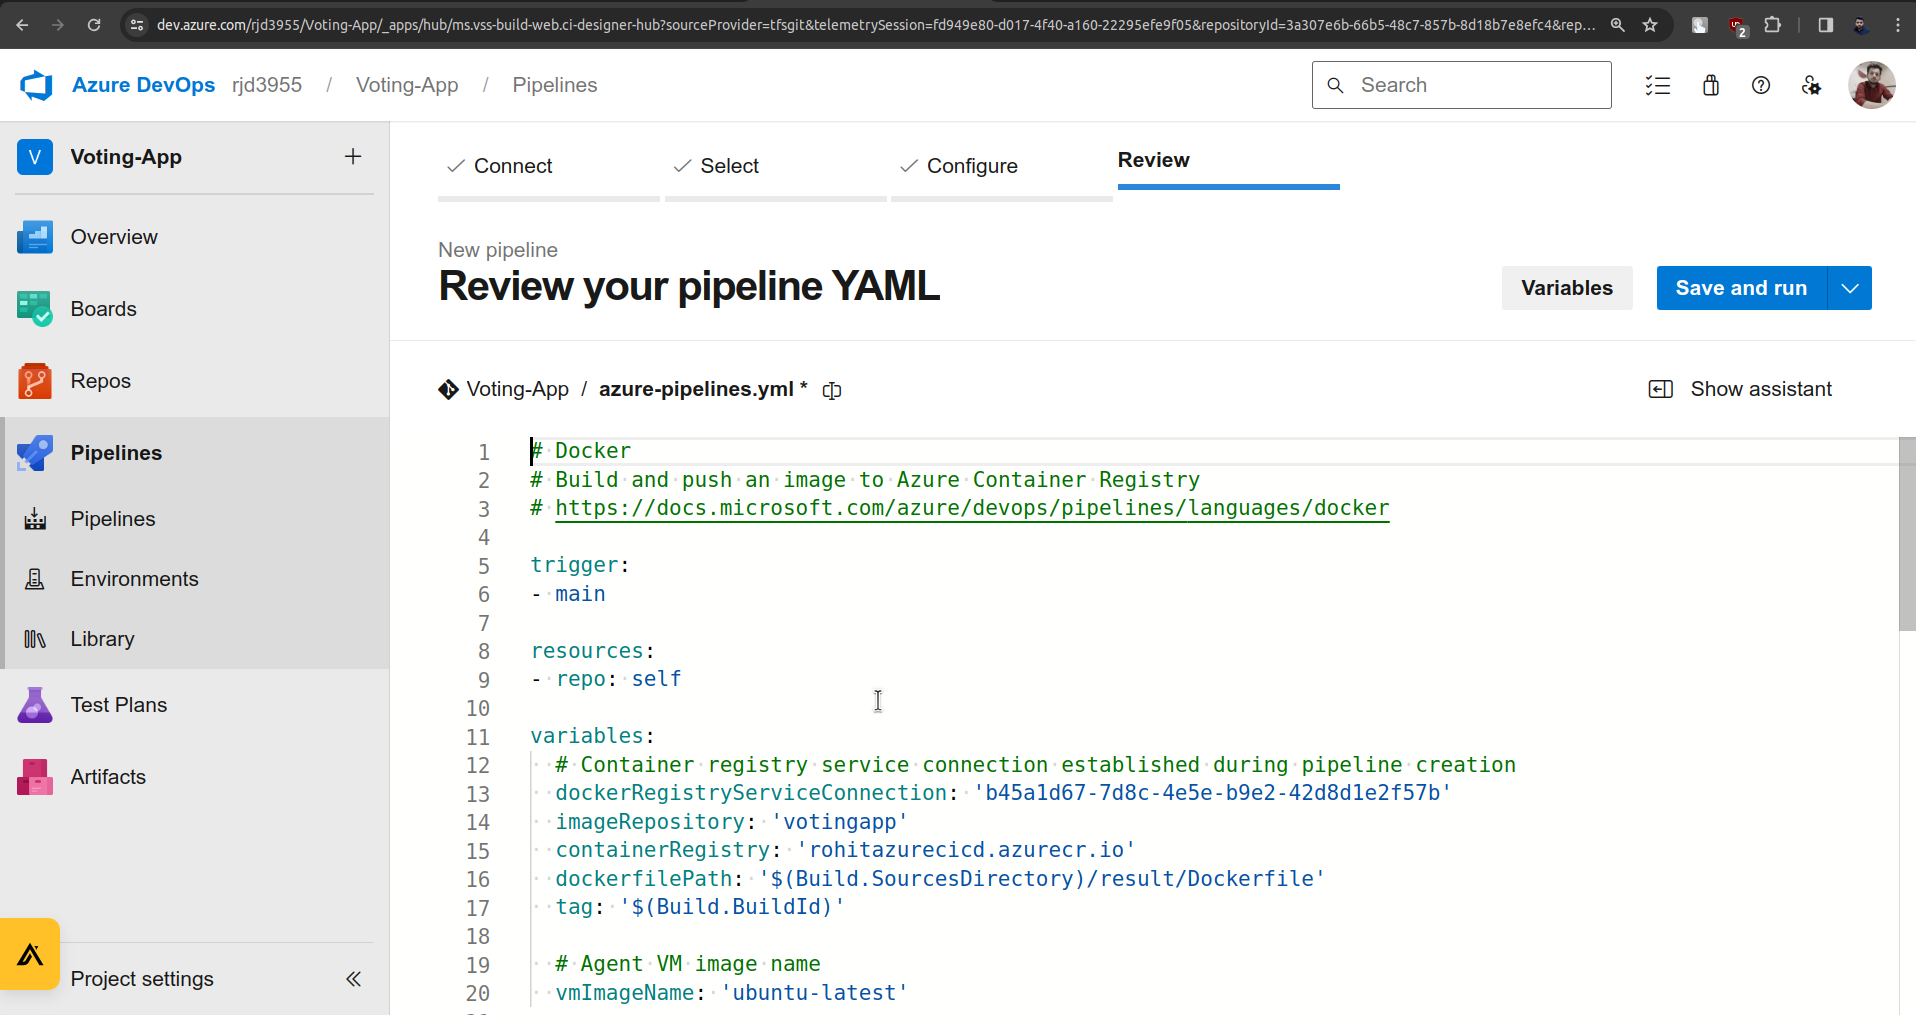
As we selected a template you will see some of the code that is already given to me.
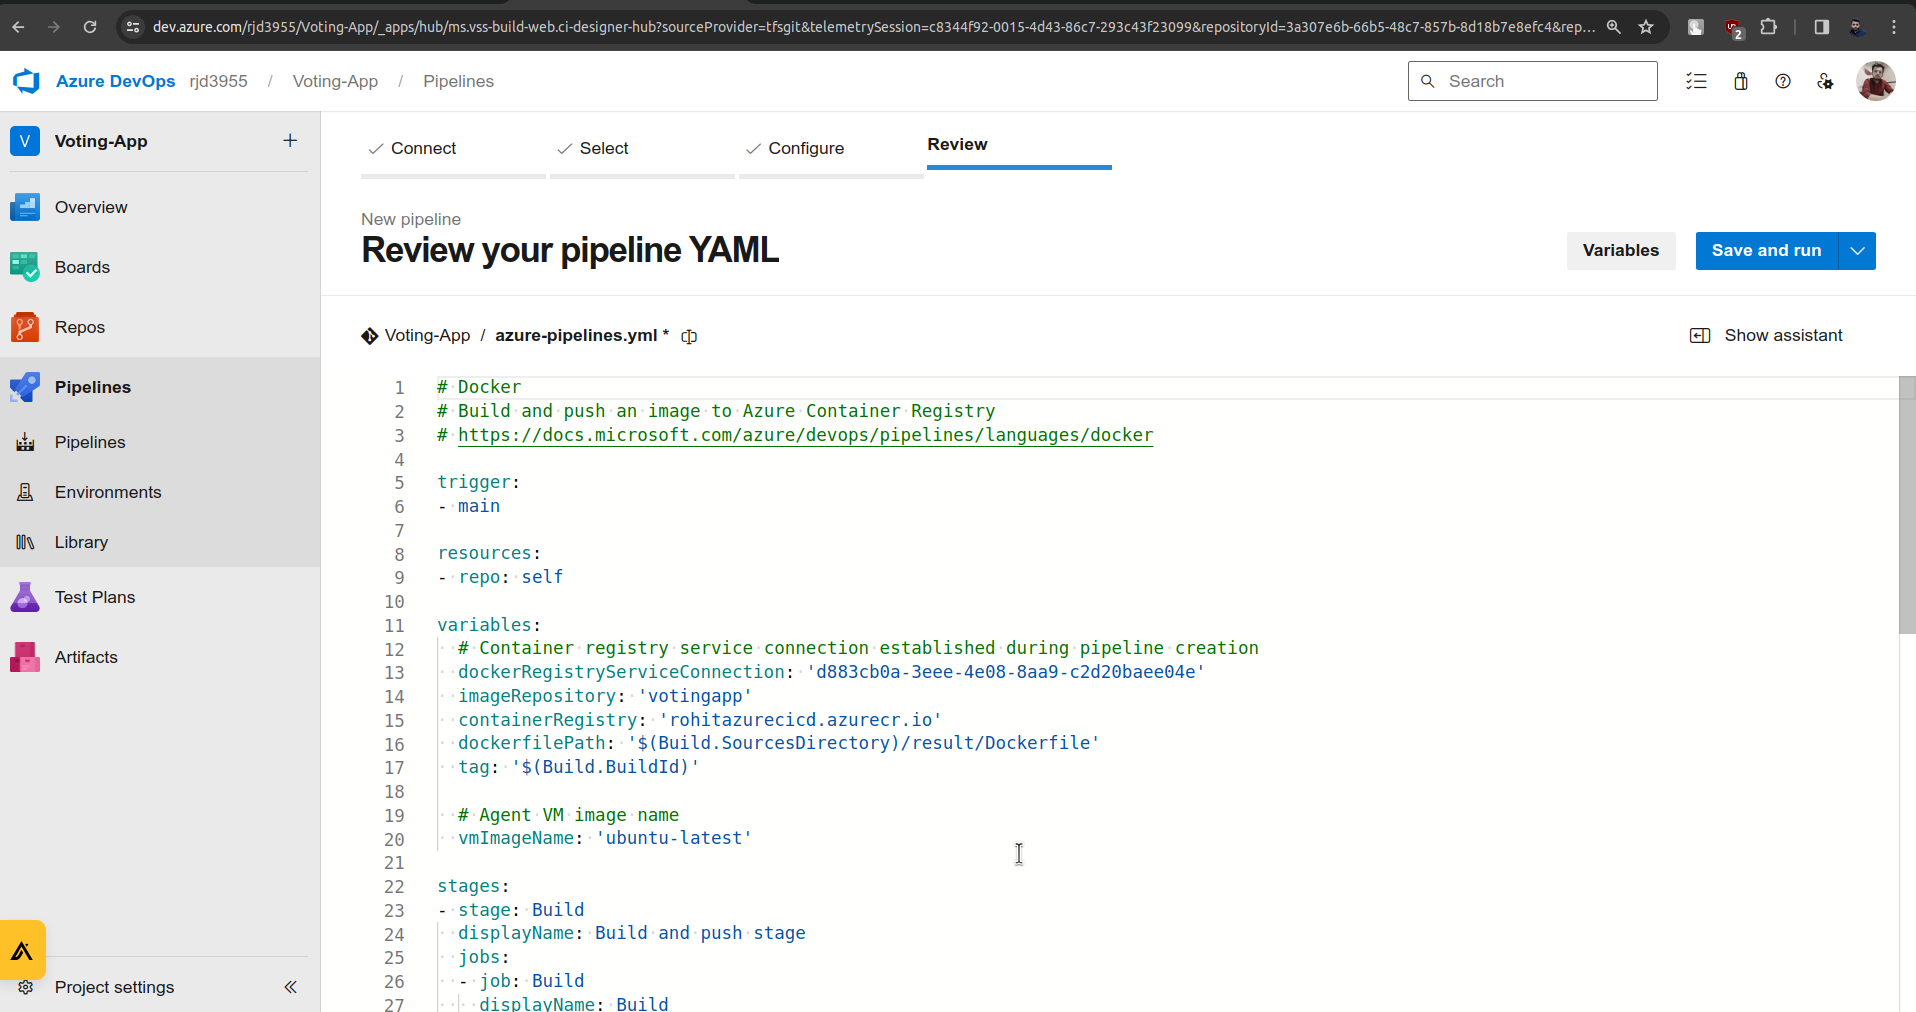
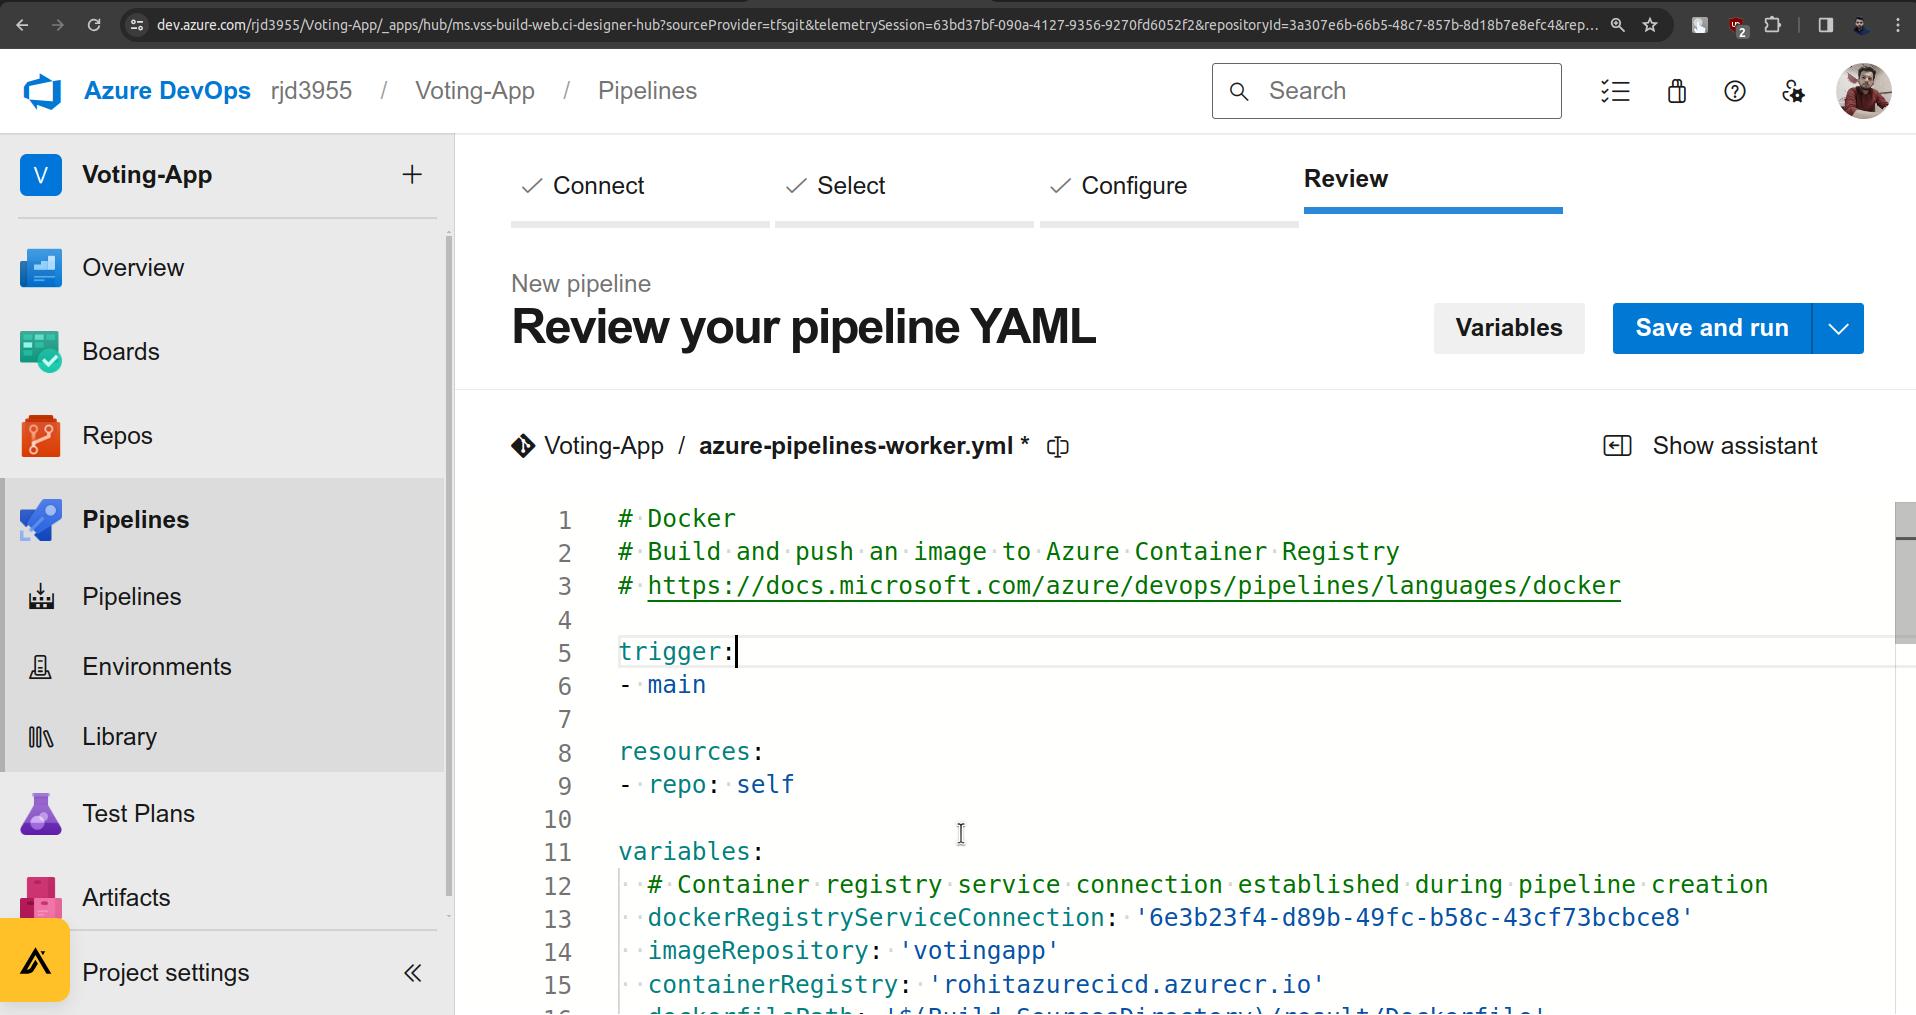
We need to update the "azure-pipelines.yml" file to "azure-pipelines-result.yml" as I am updating this pipeline for the result microservice pipeline.
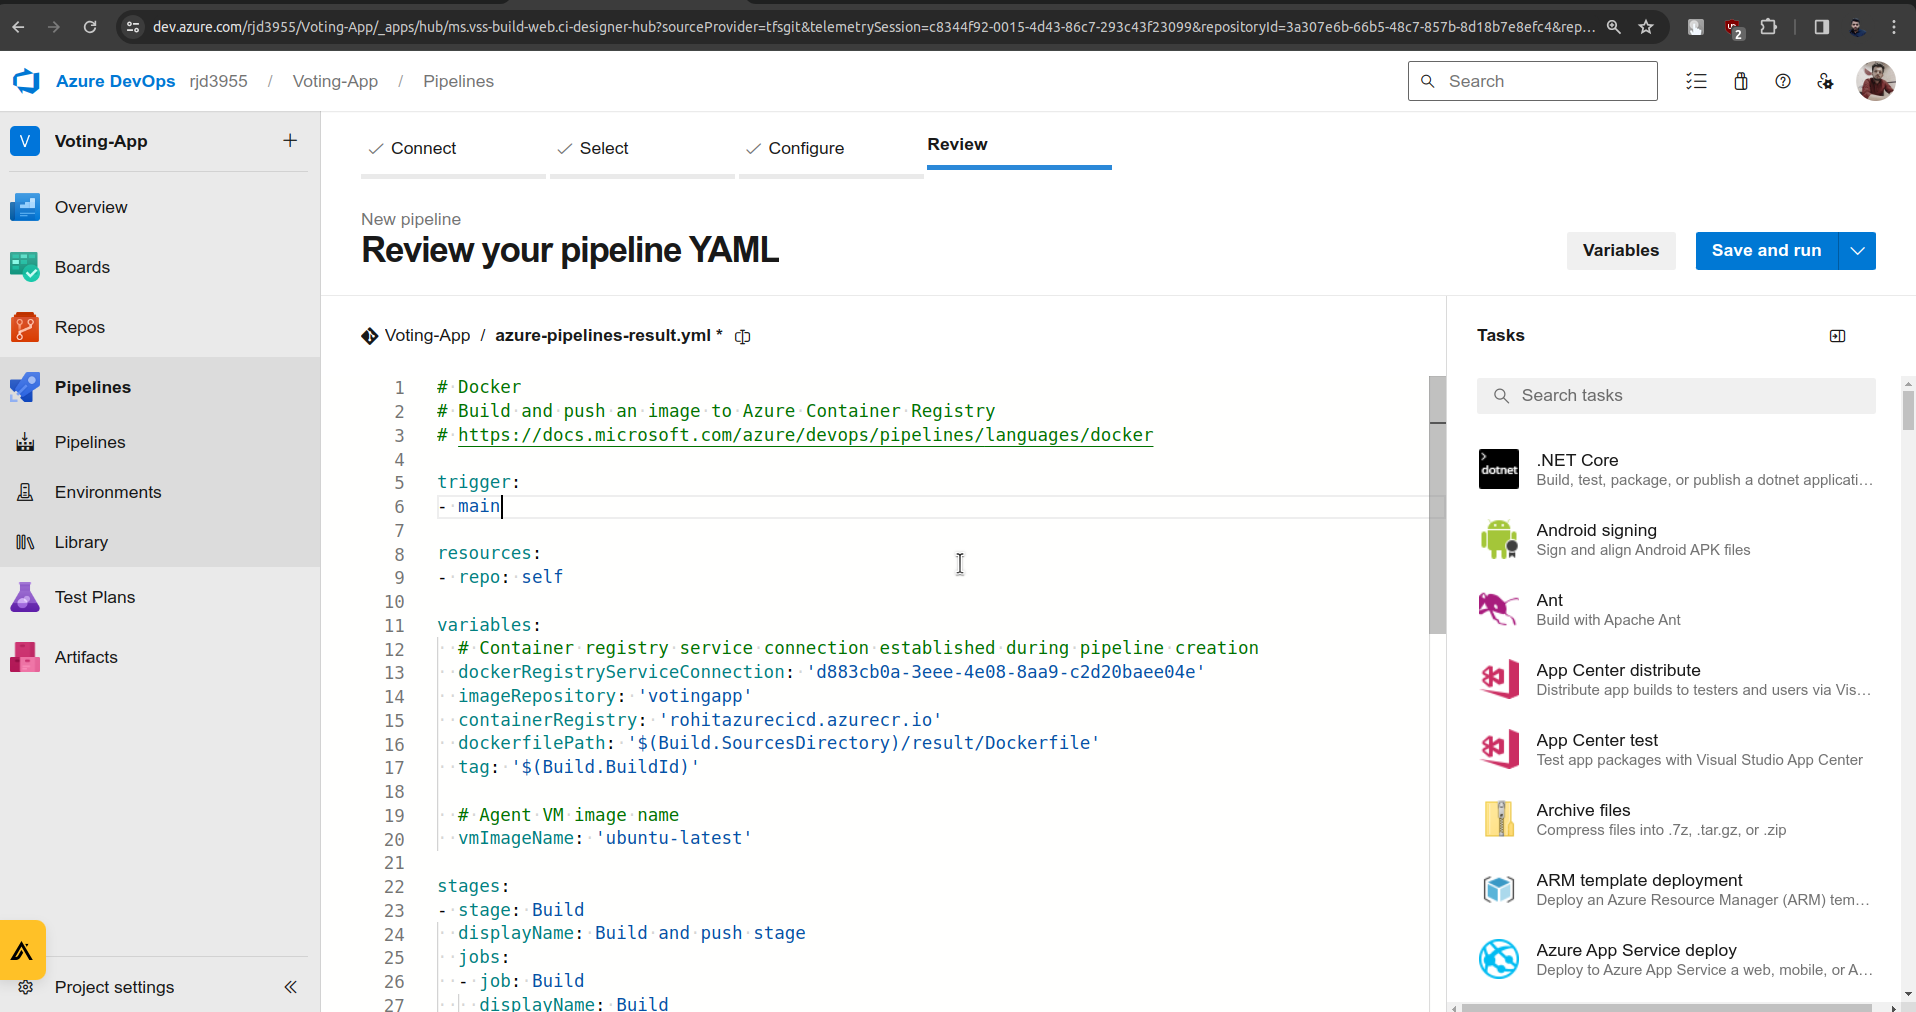
Making Changes in the trigger.
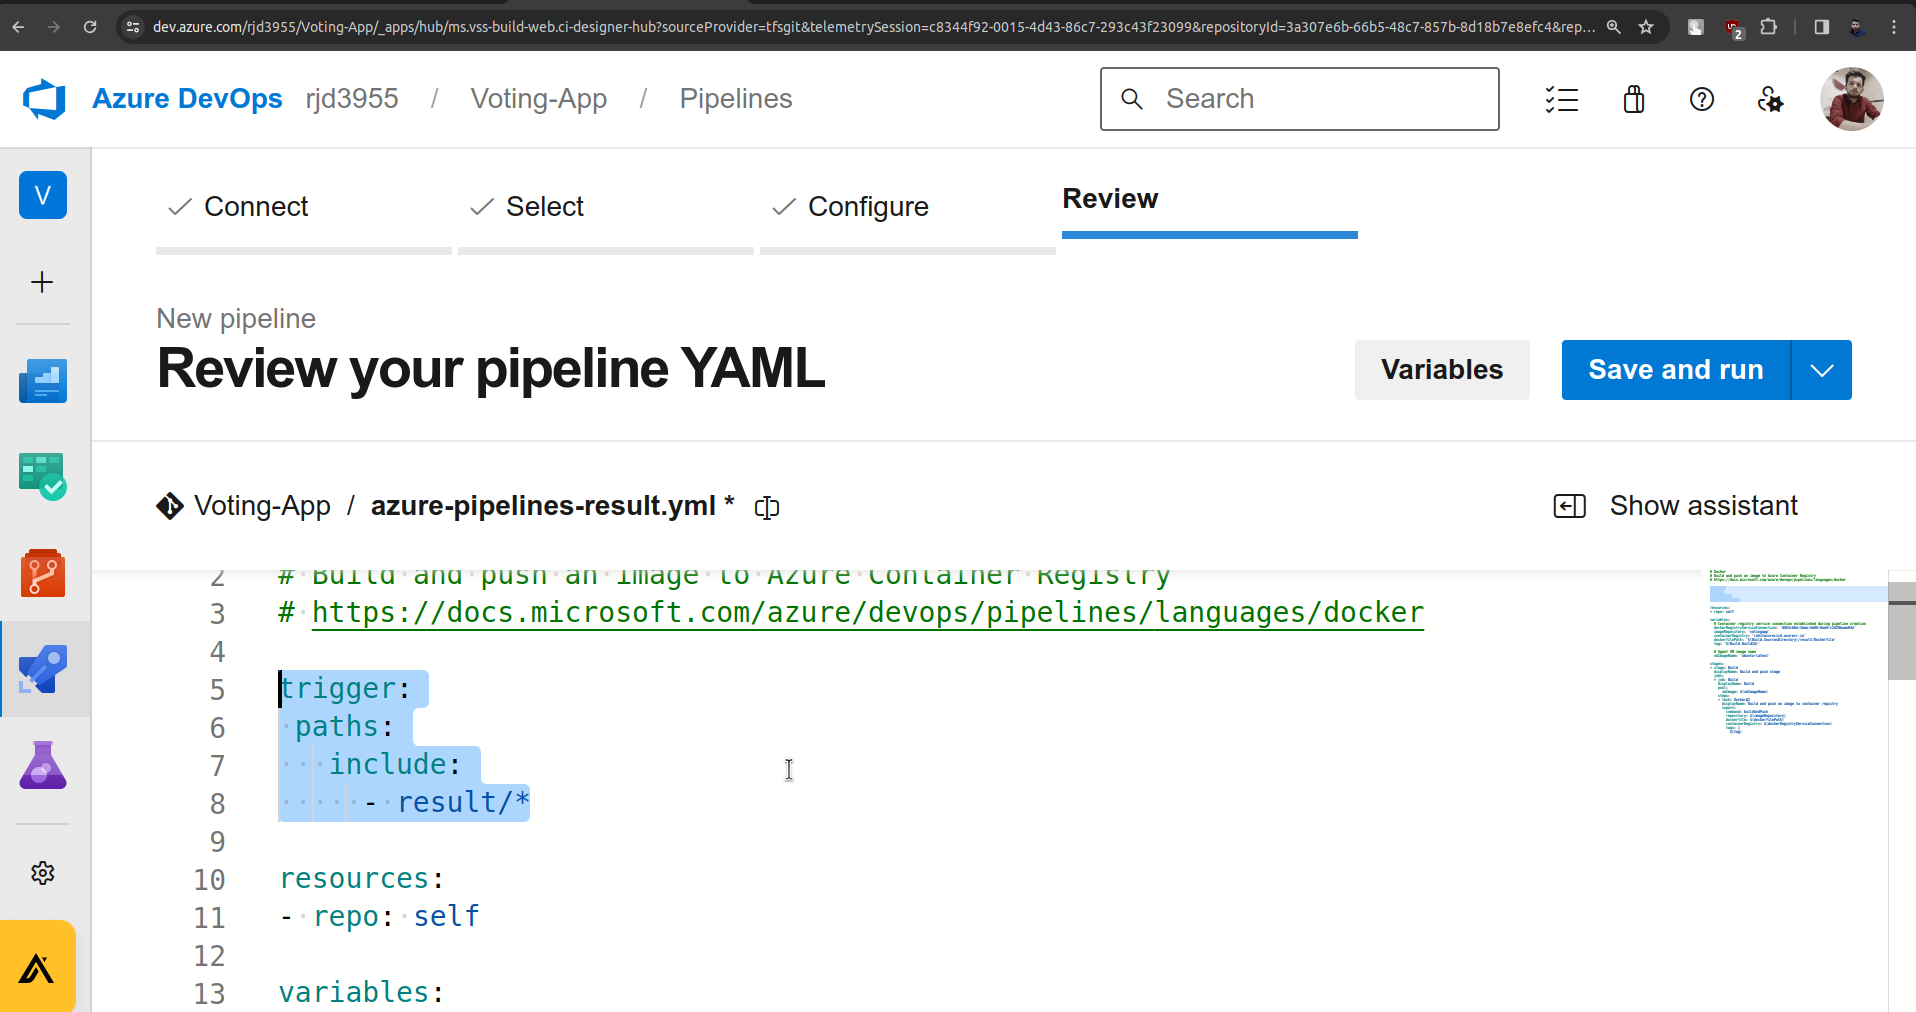
I have highlighted the changes.
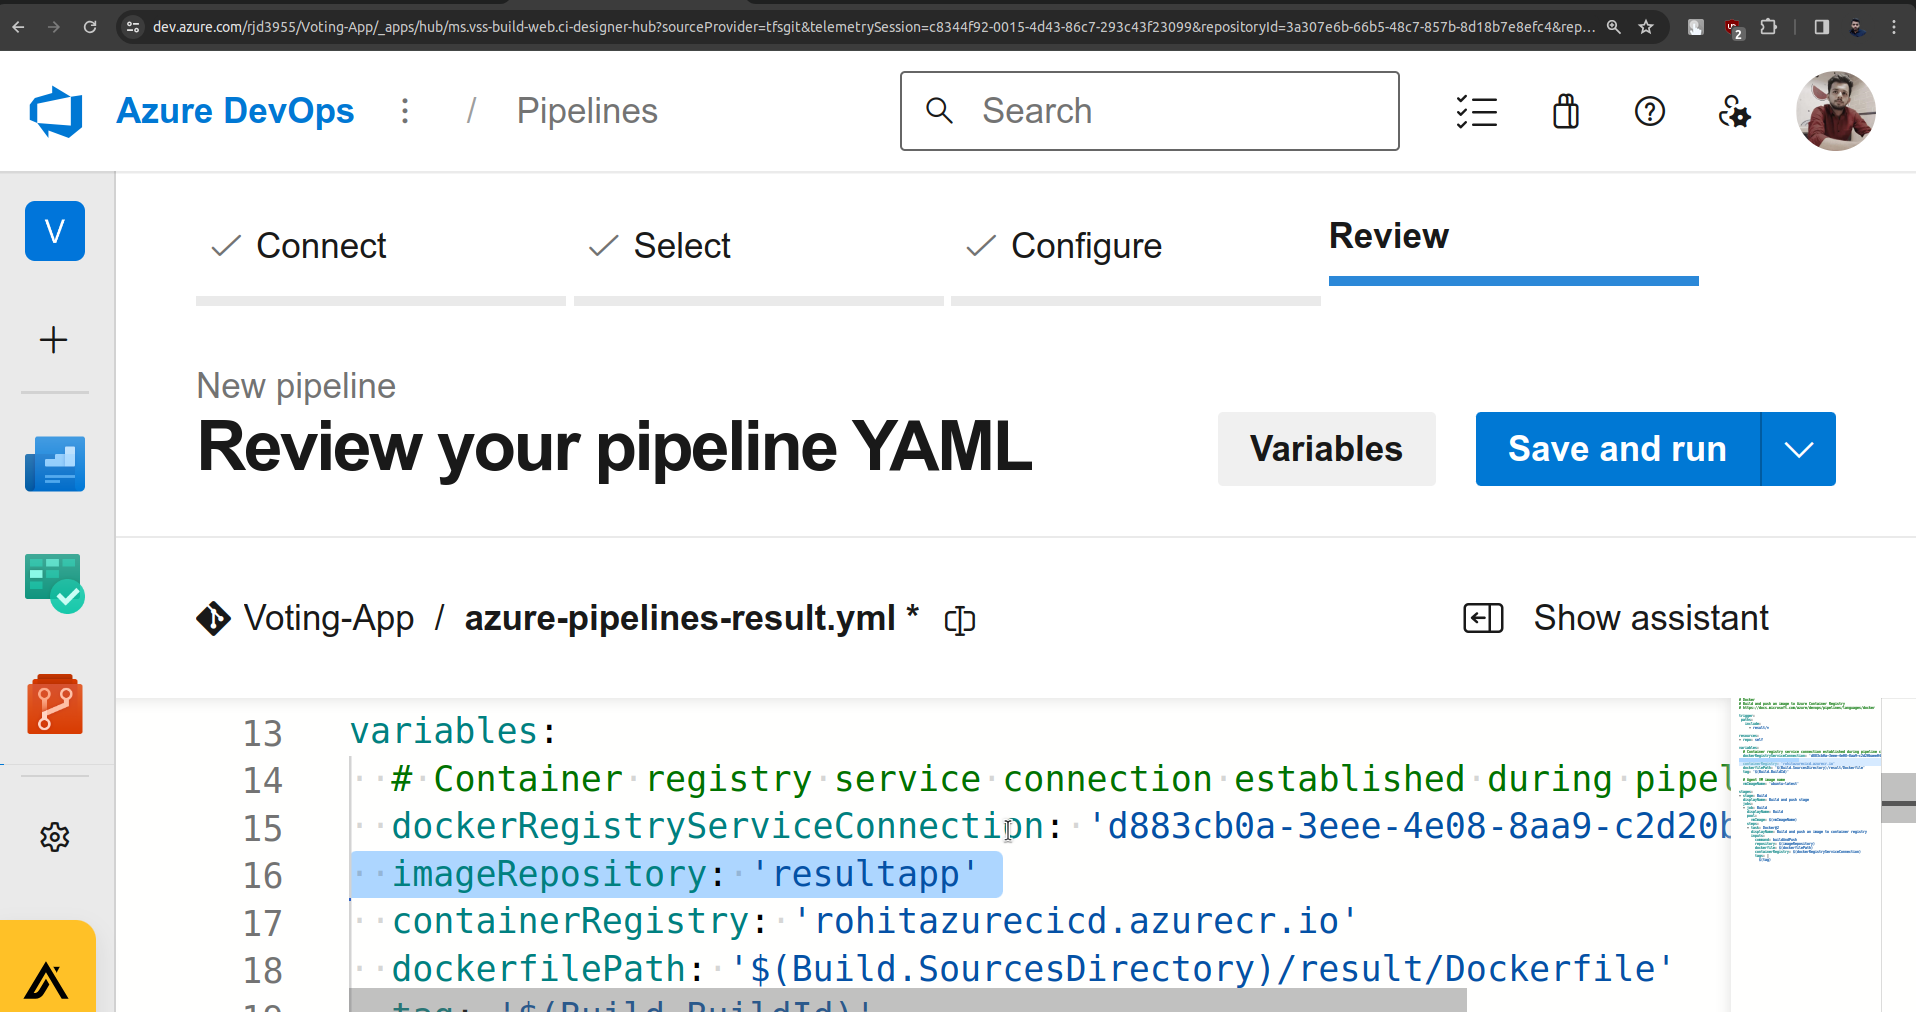
Now in Variables, I have changed the imageRepository.
Now in variables, there is an agent that is managed or taken care of by Azure, but we are not going to use it as it is not for a free trial account.
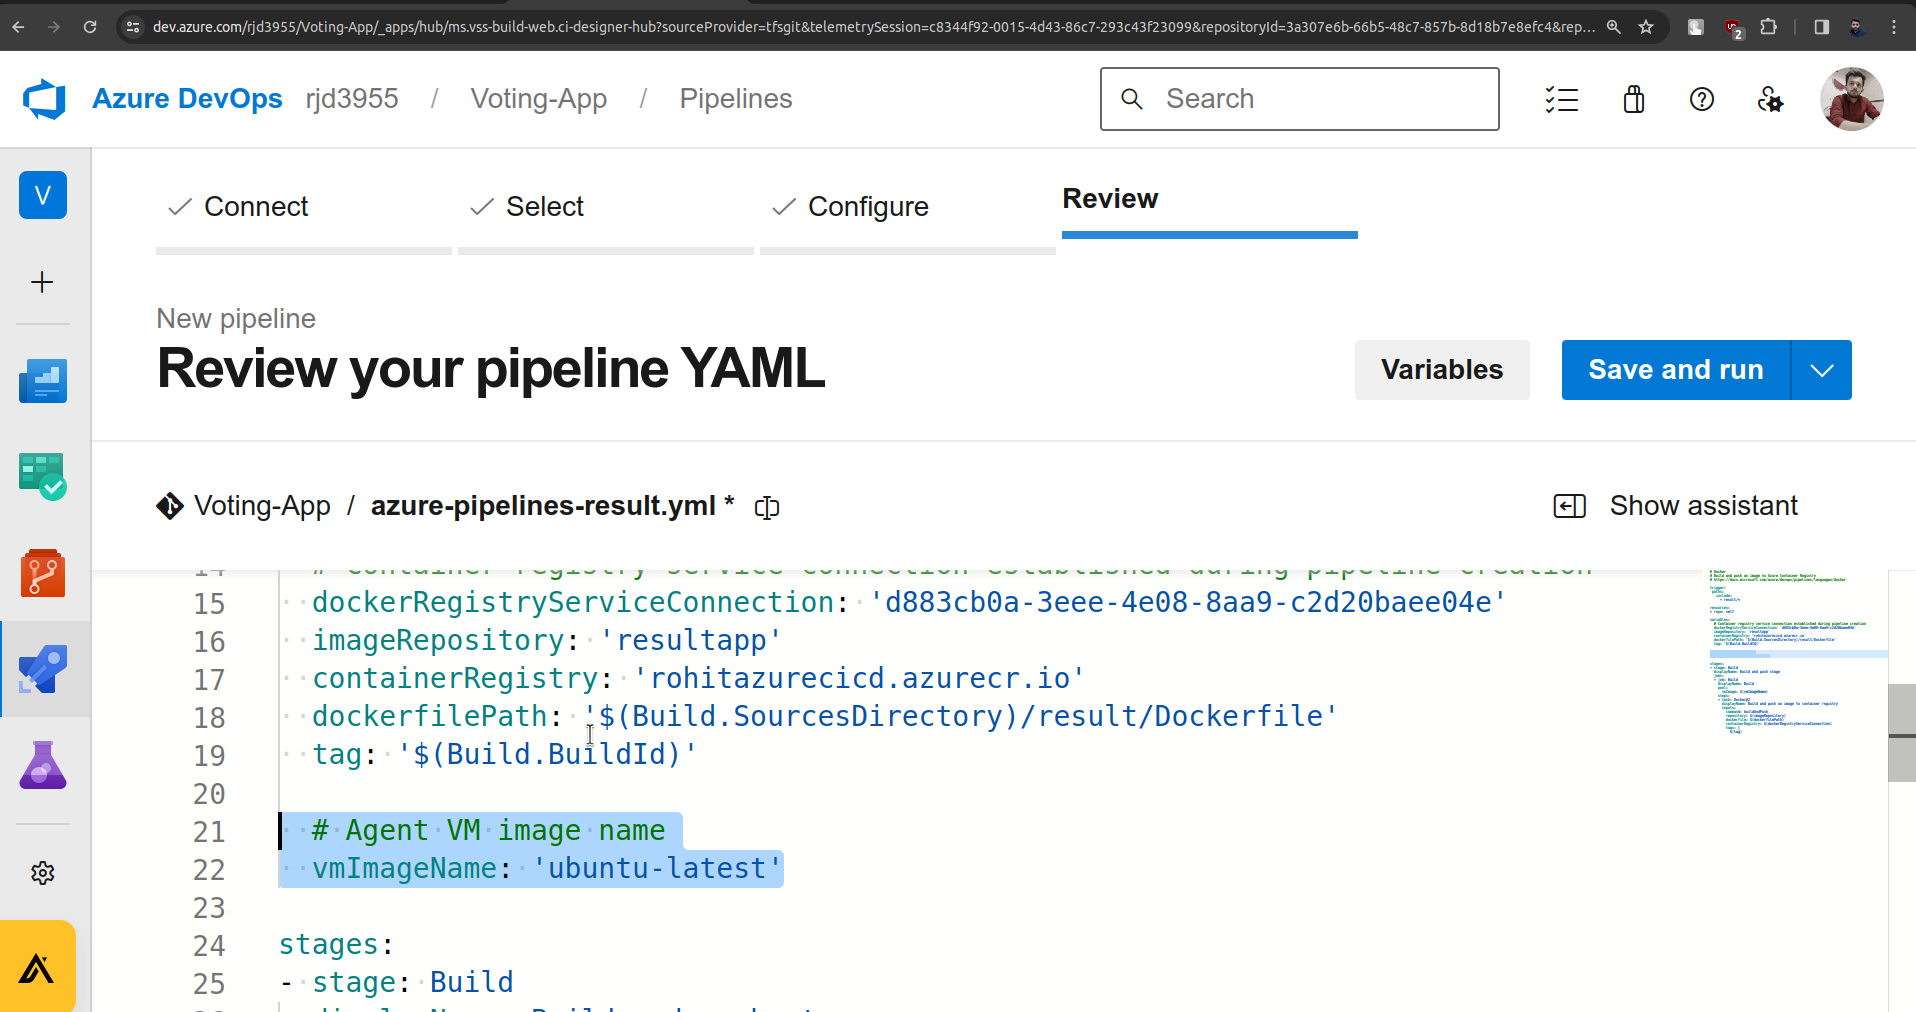
So remove that code and we will create our agent. Add the below changes in place on Agent. (changes are highlighted)
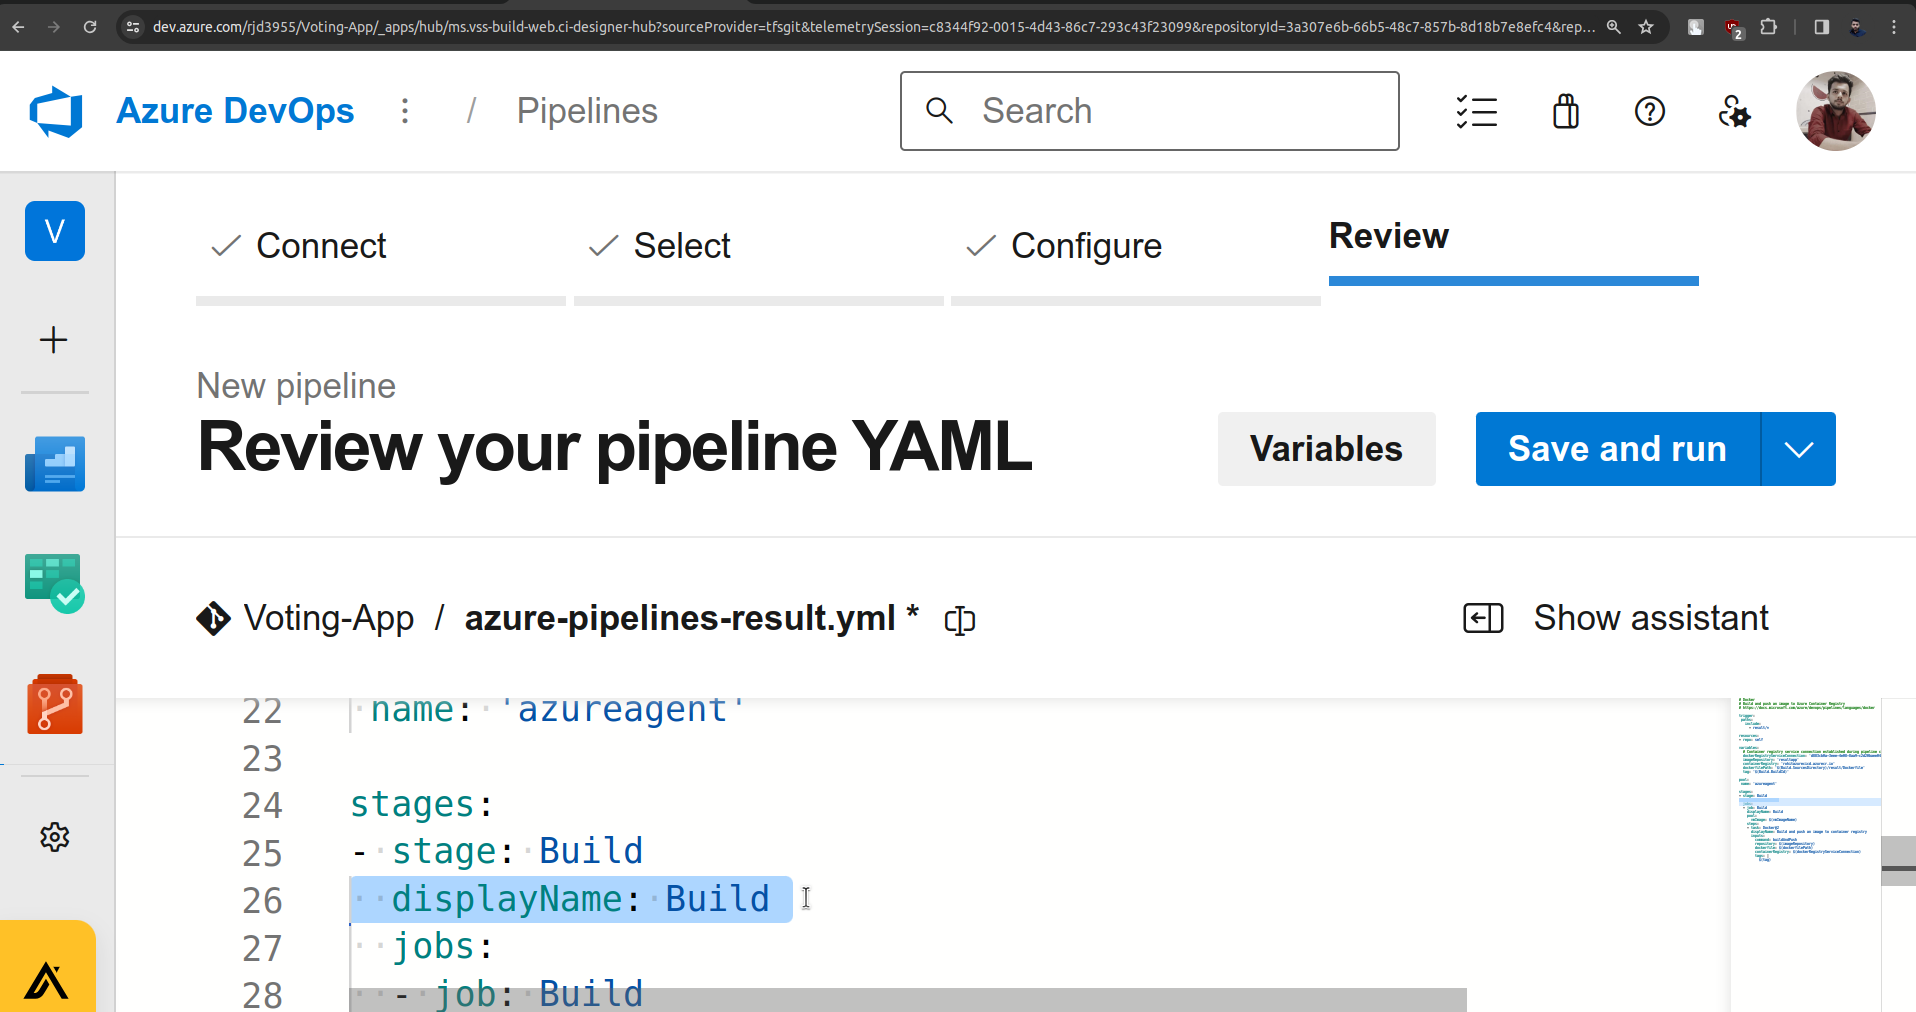
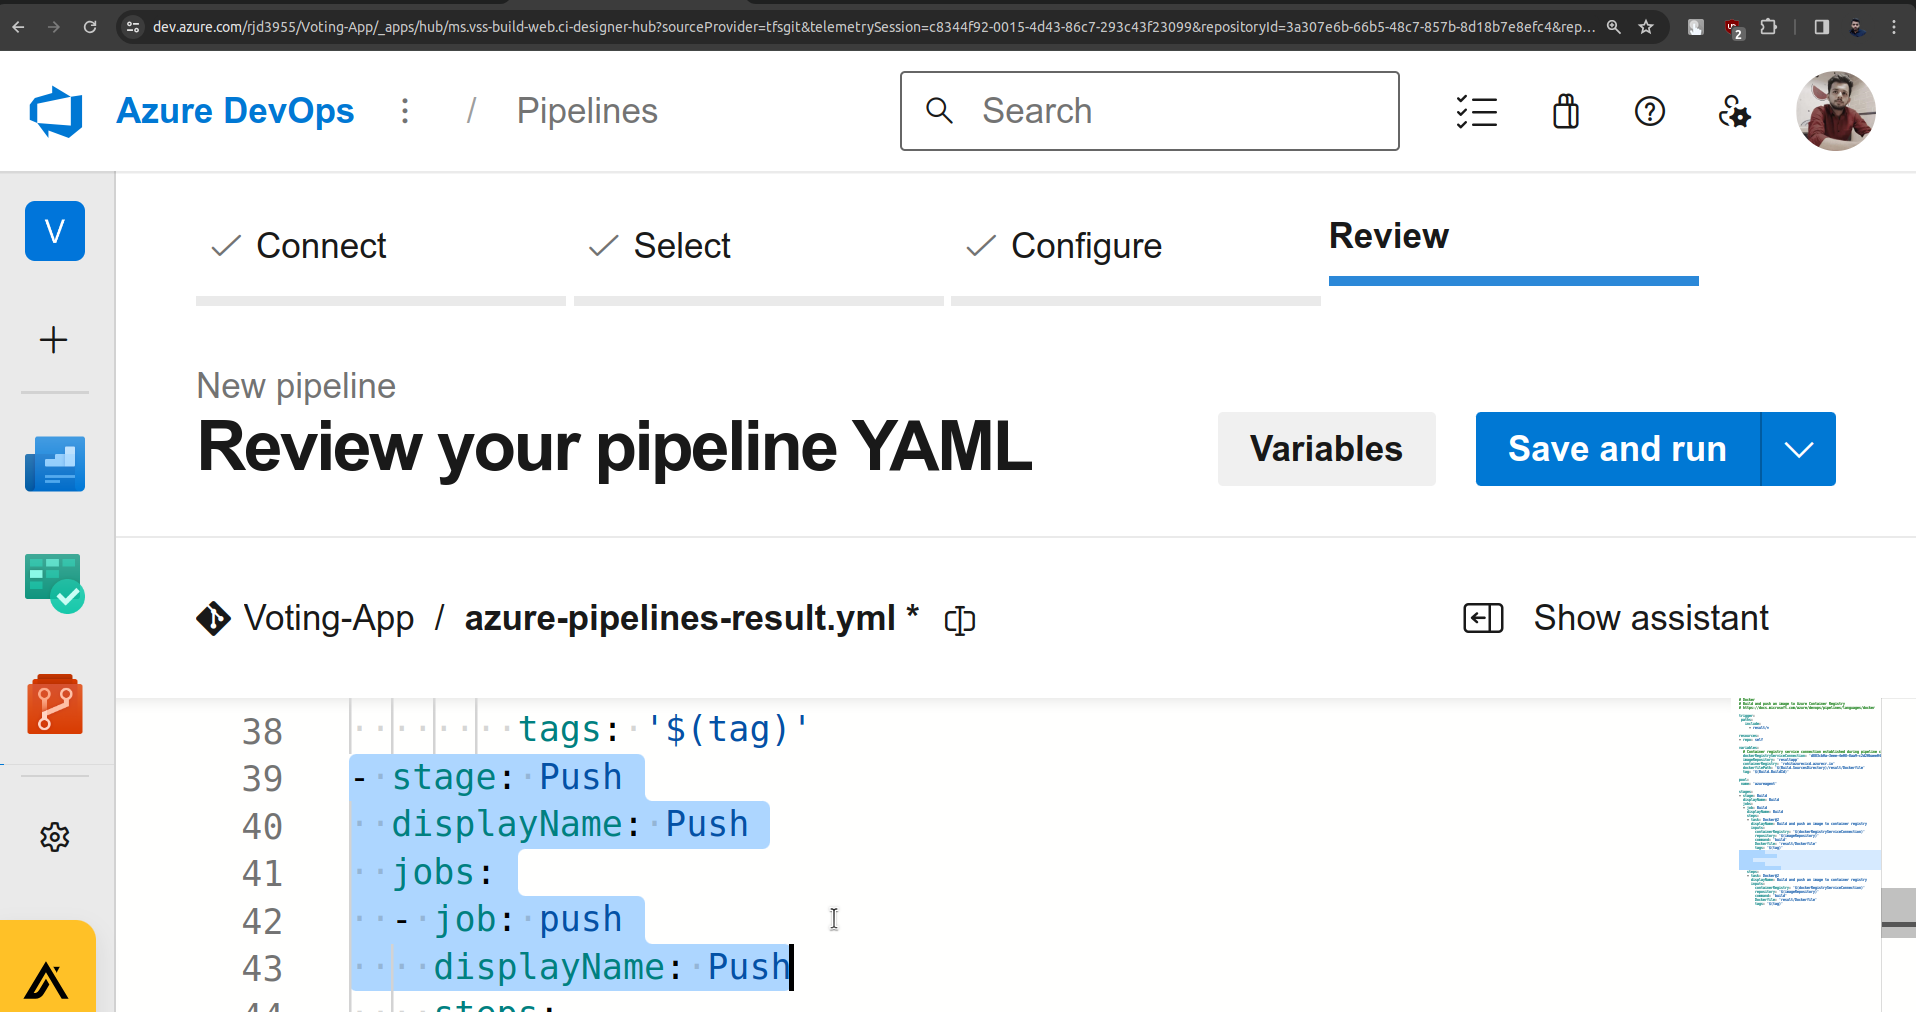
Now in stages, there is a change that needs to be made for displayName.

I have changed the displayName to Build from the Build and push stage.
This is because I don't want to have a common thing for build and push.
(changes are highlighted)
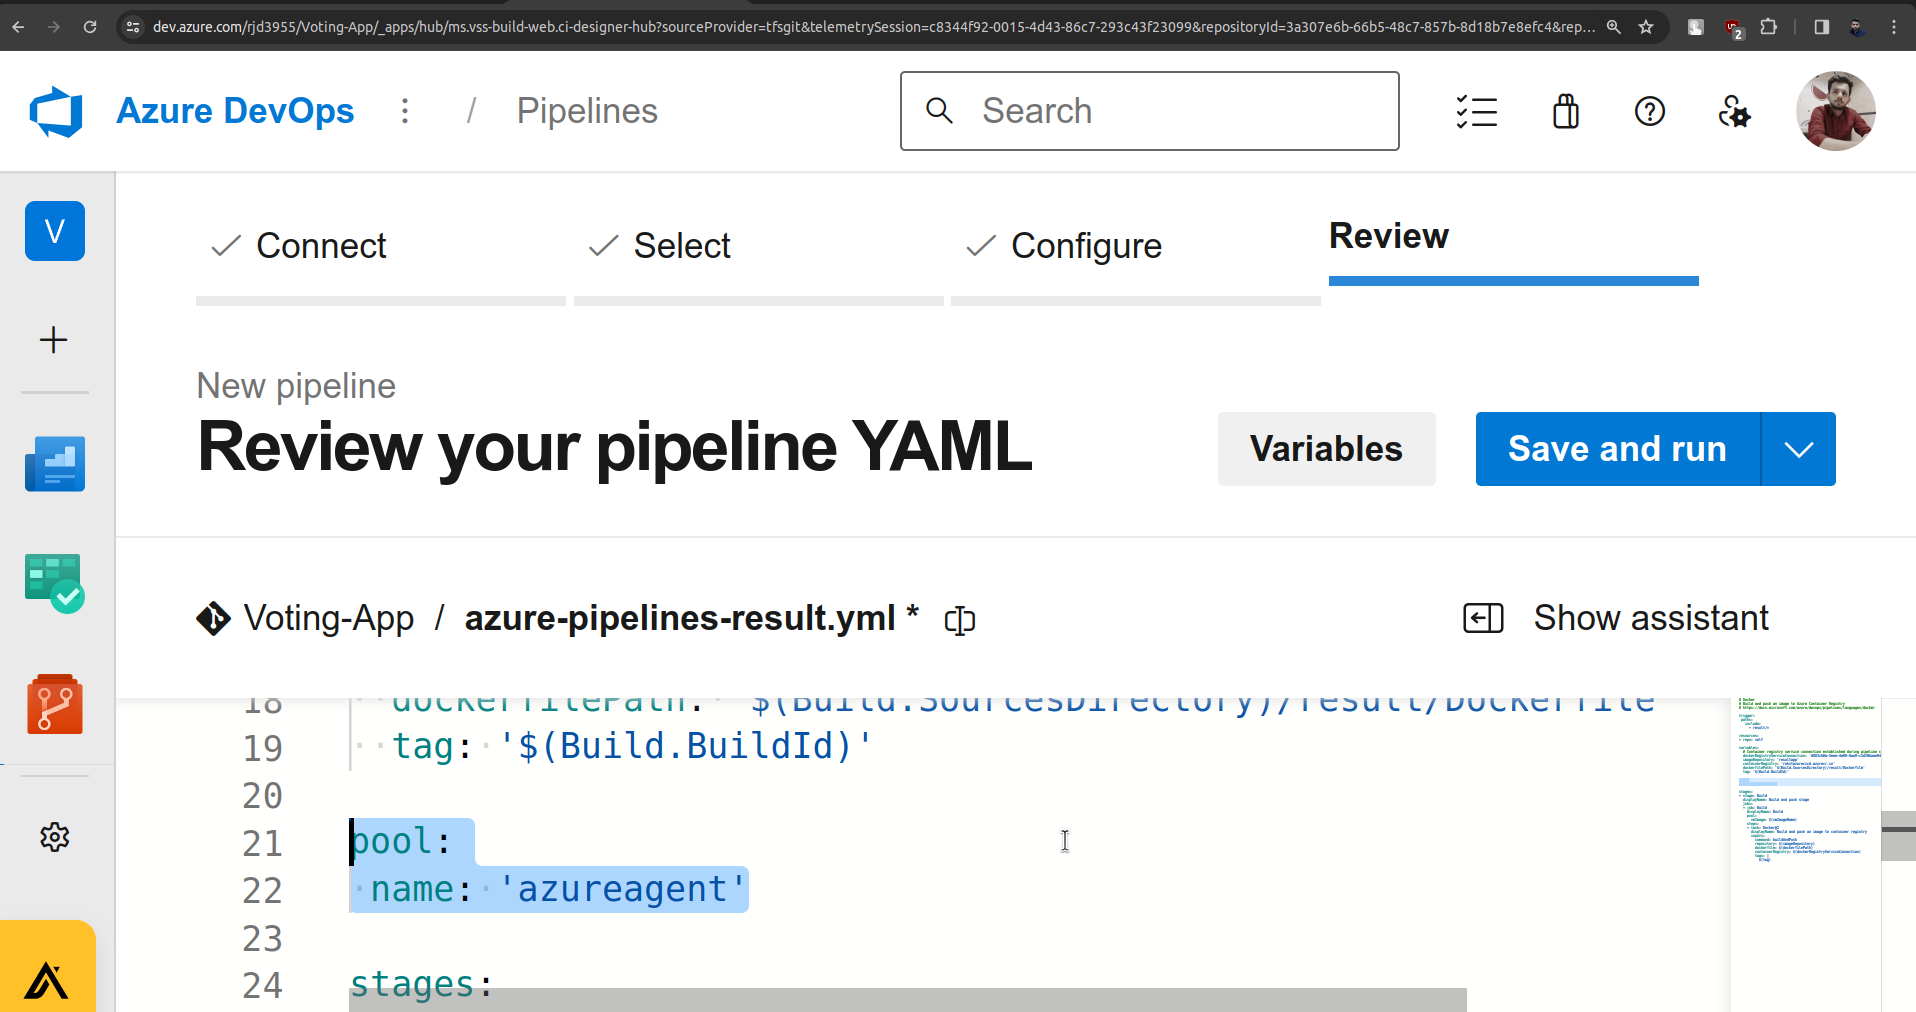
Now below there is a pool, remove it.
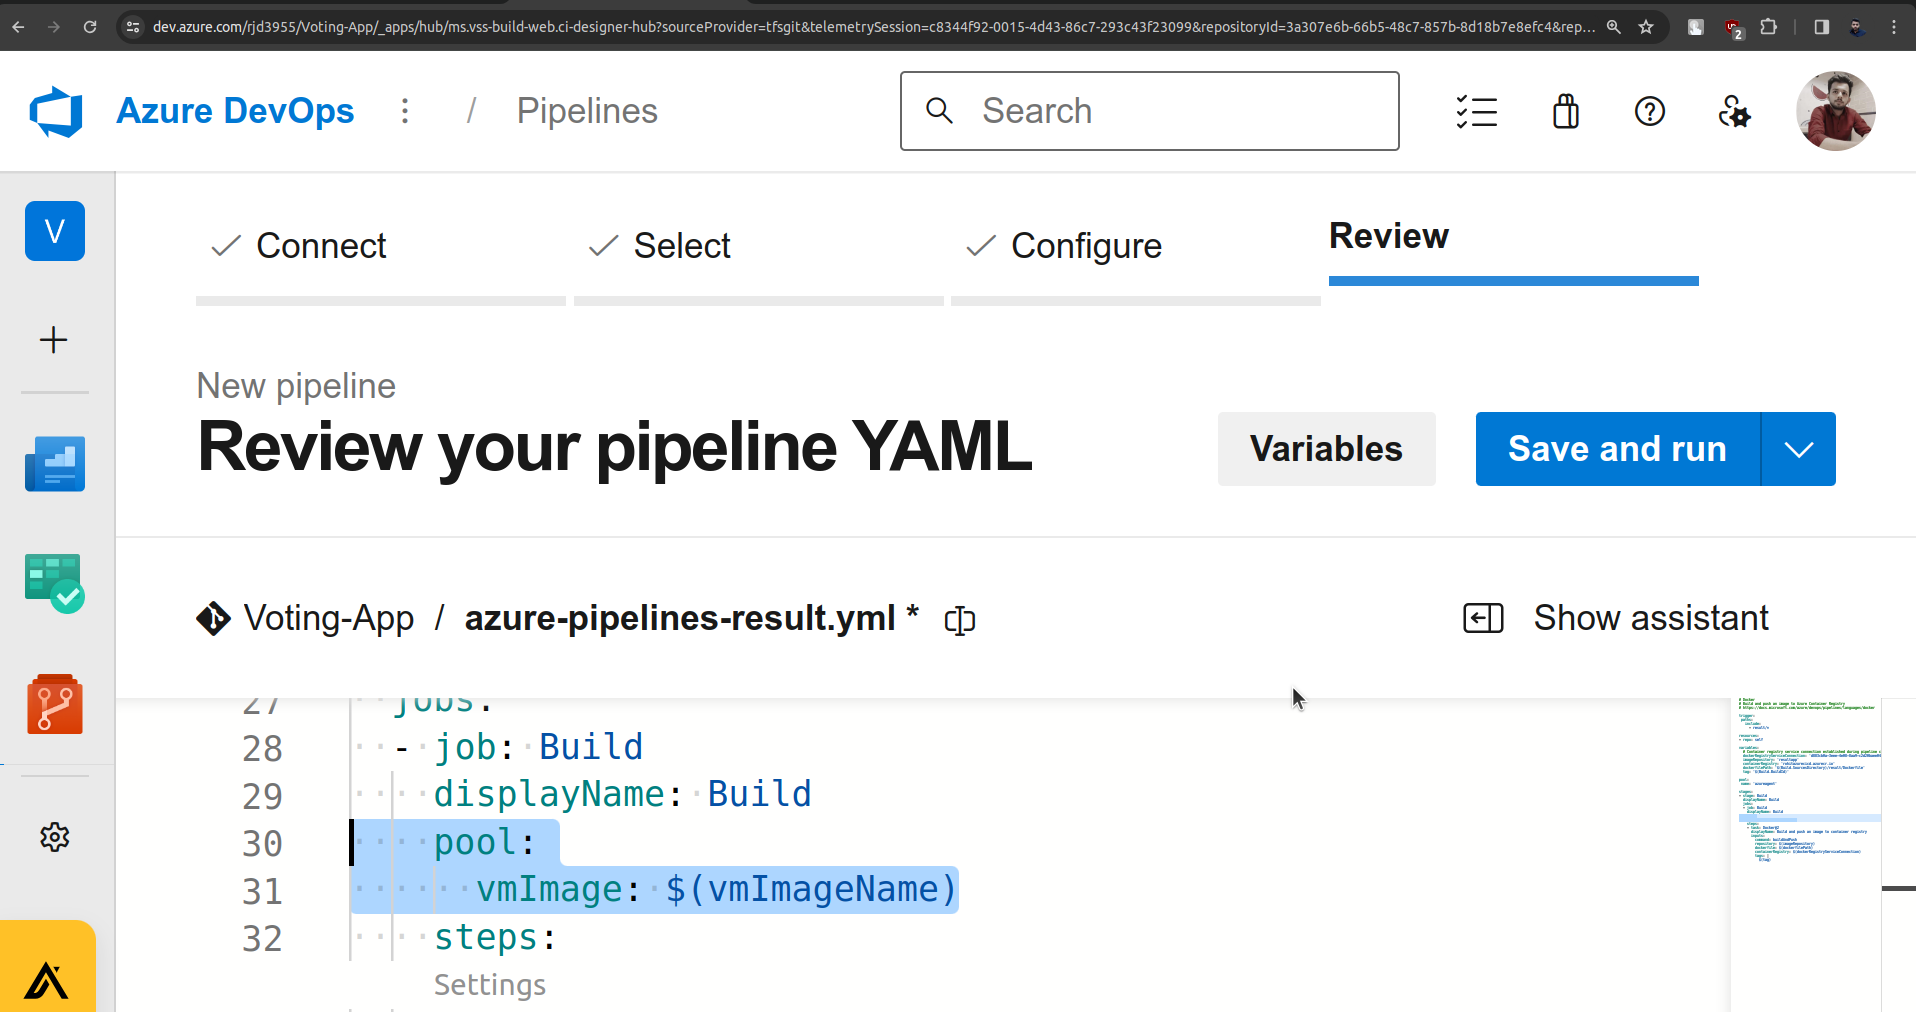
( remove the highlighted part as you see in the above screenshot )
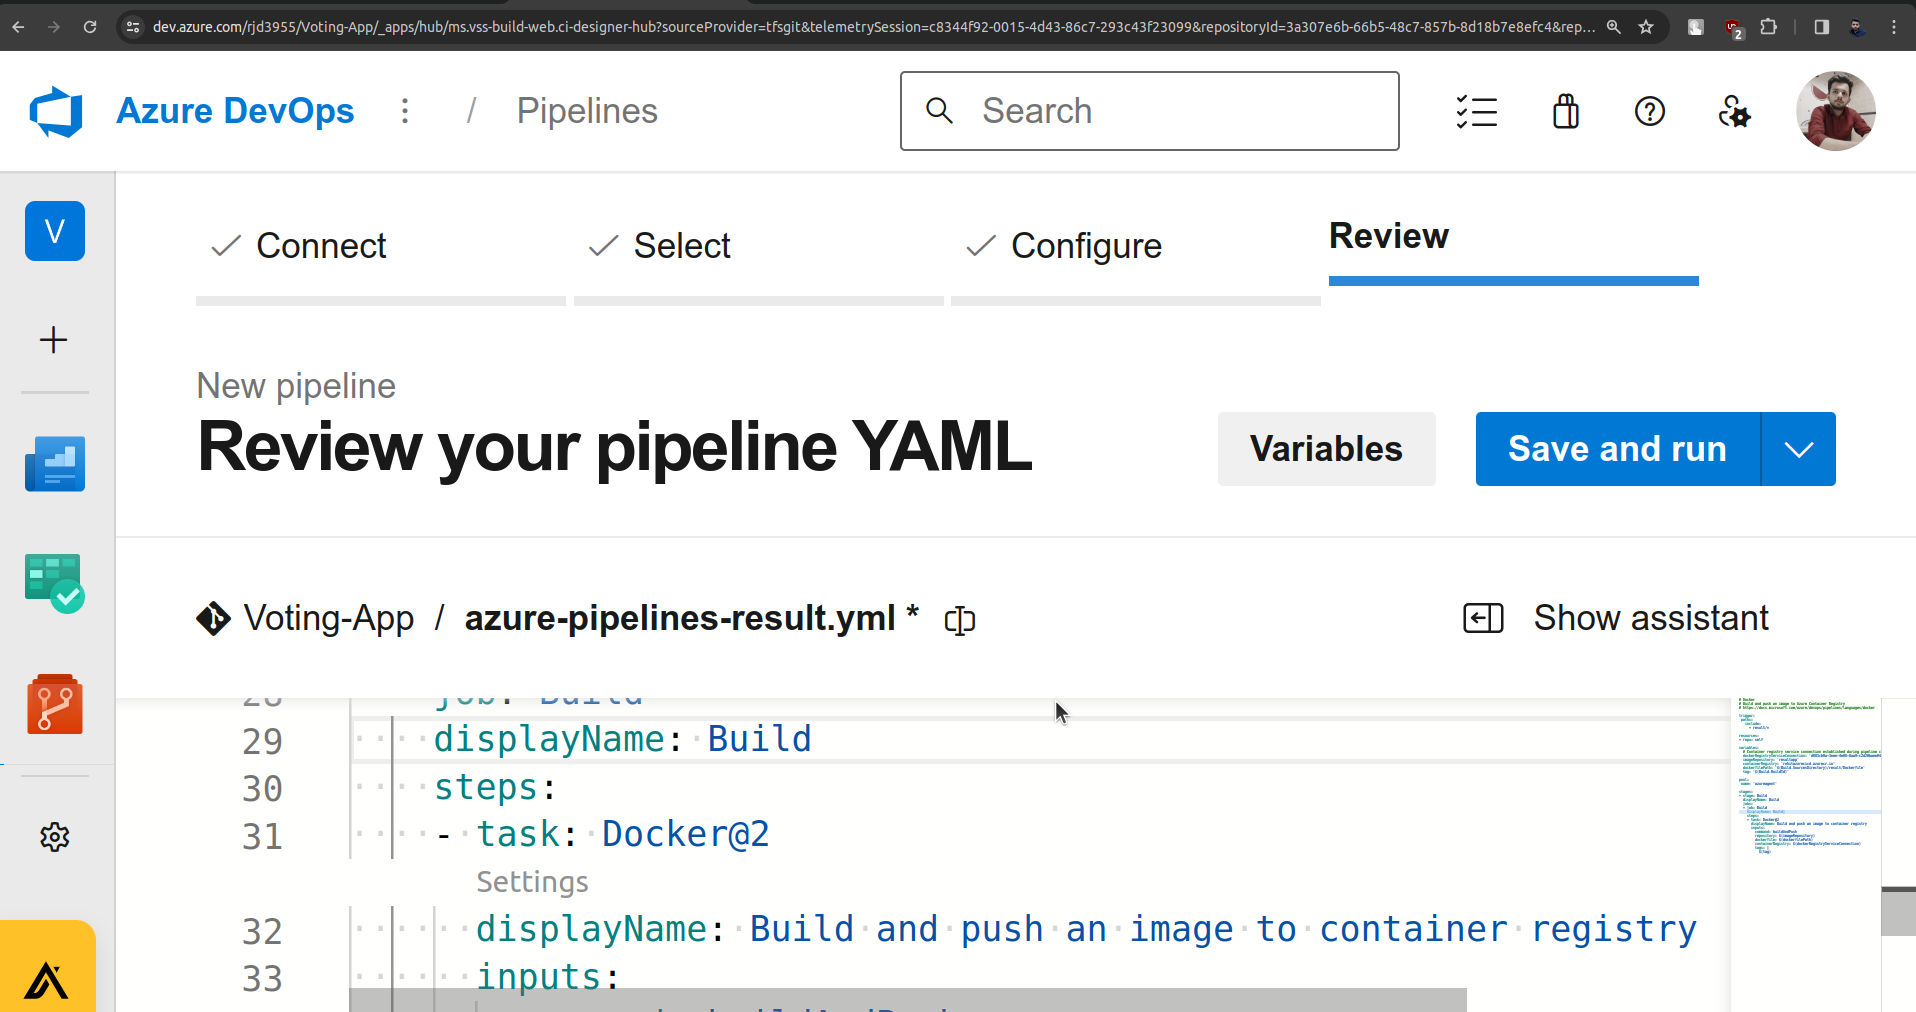
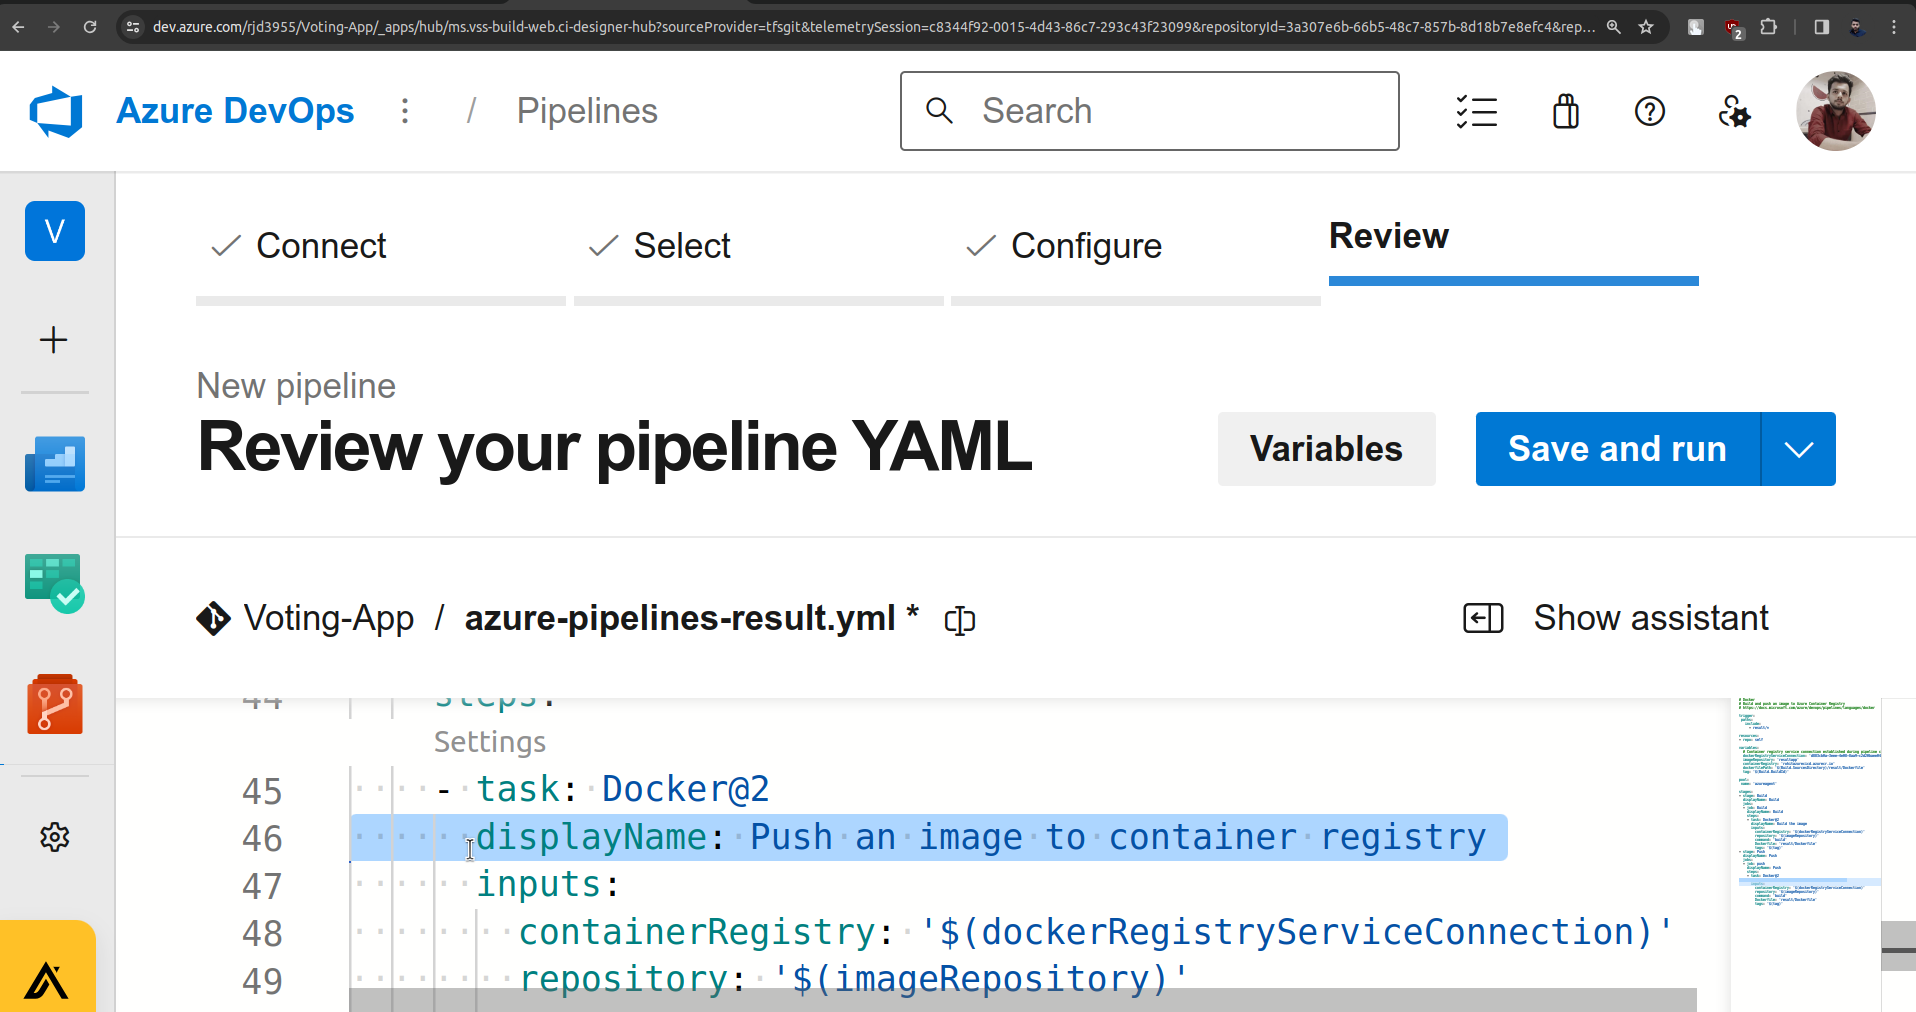
Now there is a settings button click on it.
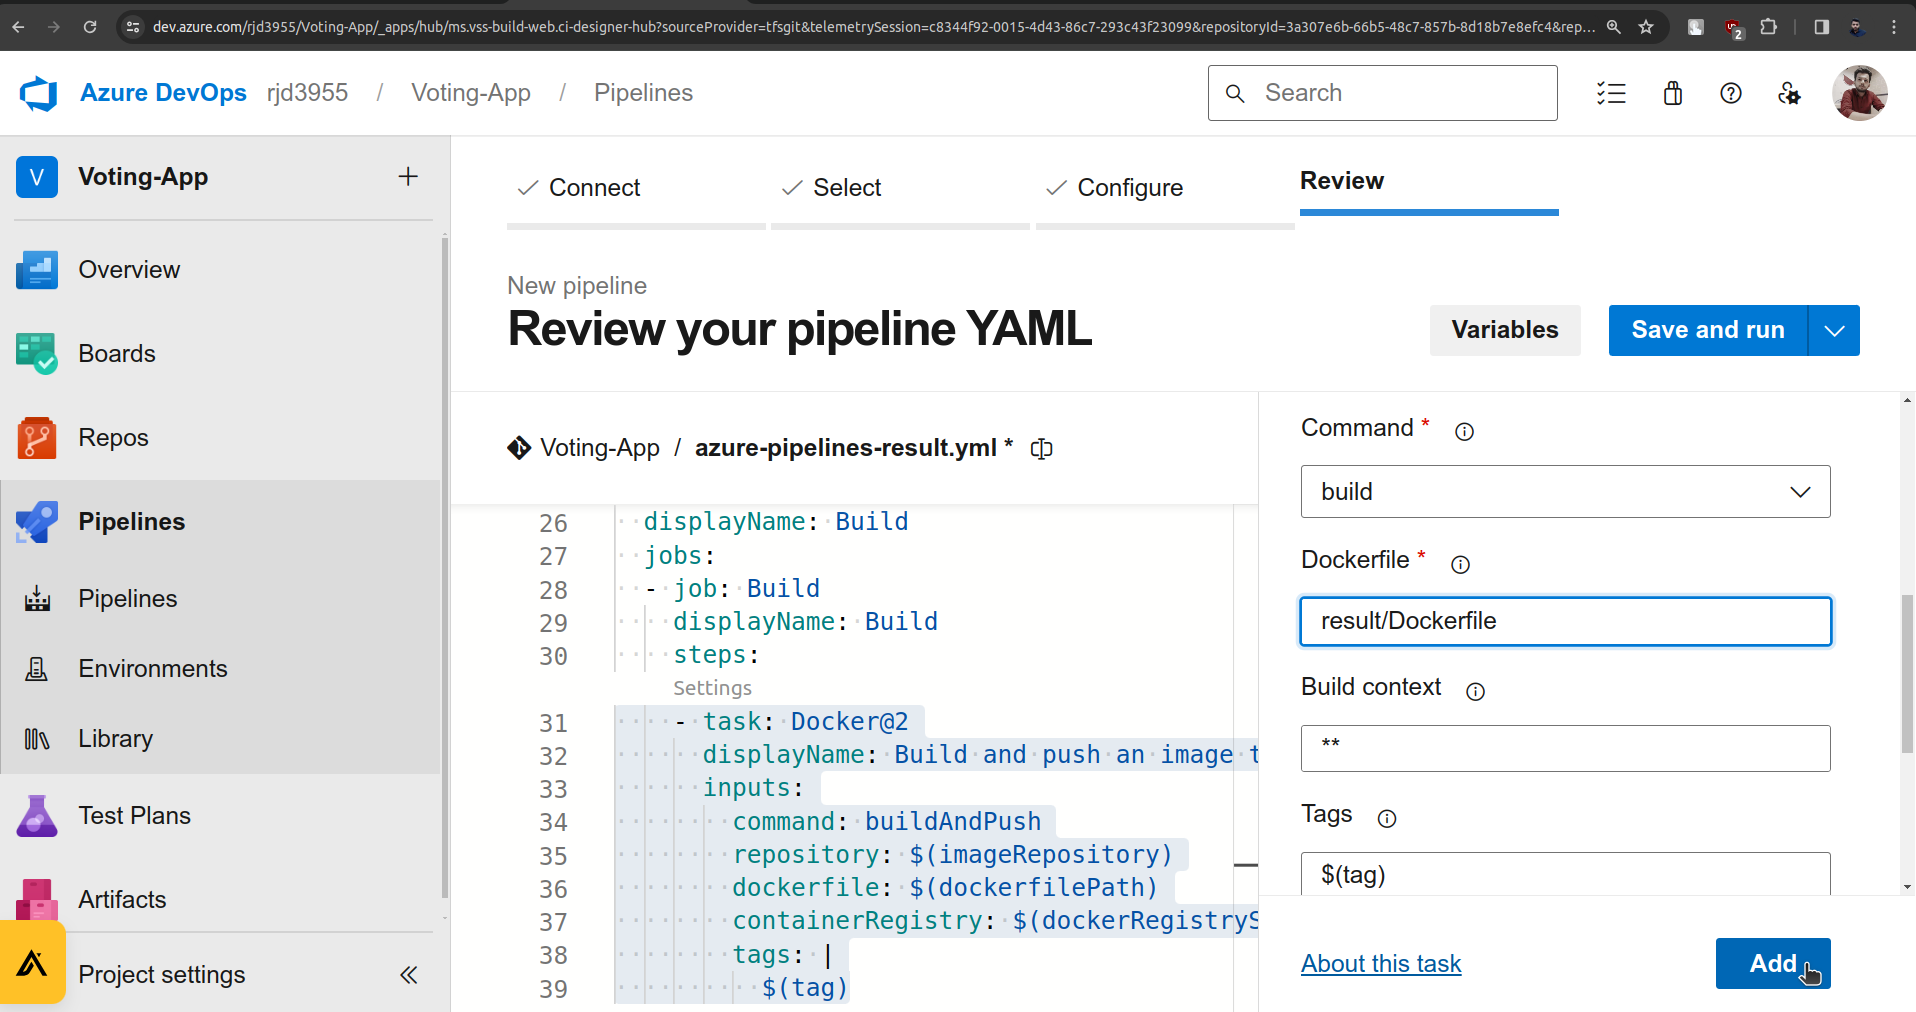
In the command section change the command to build.
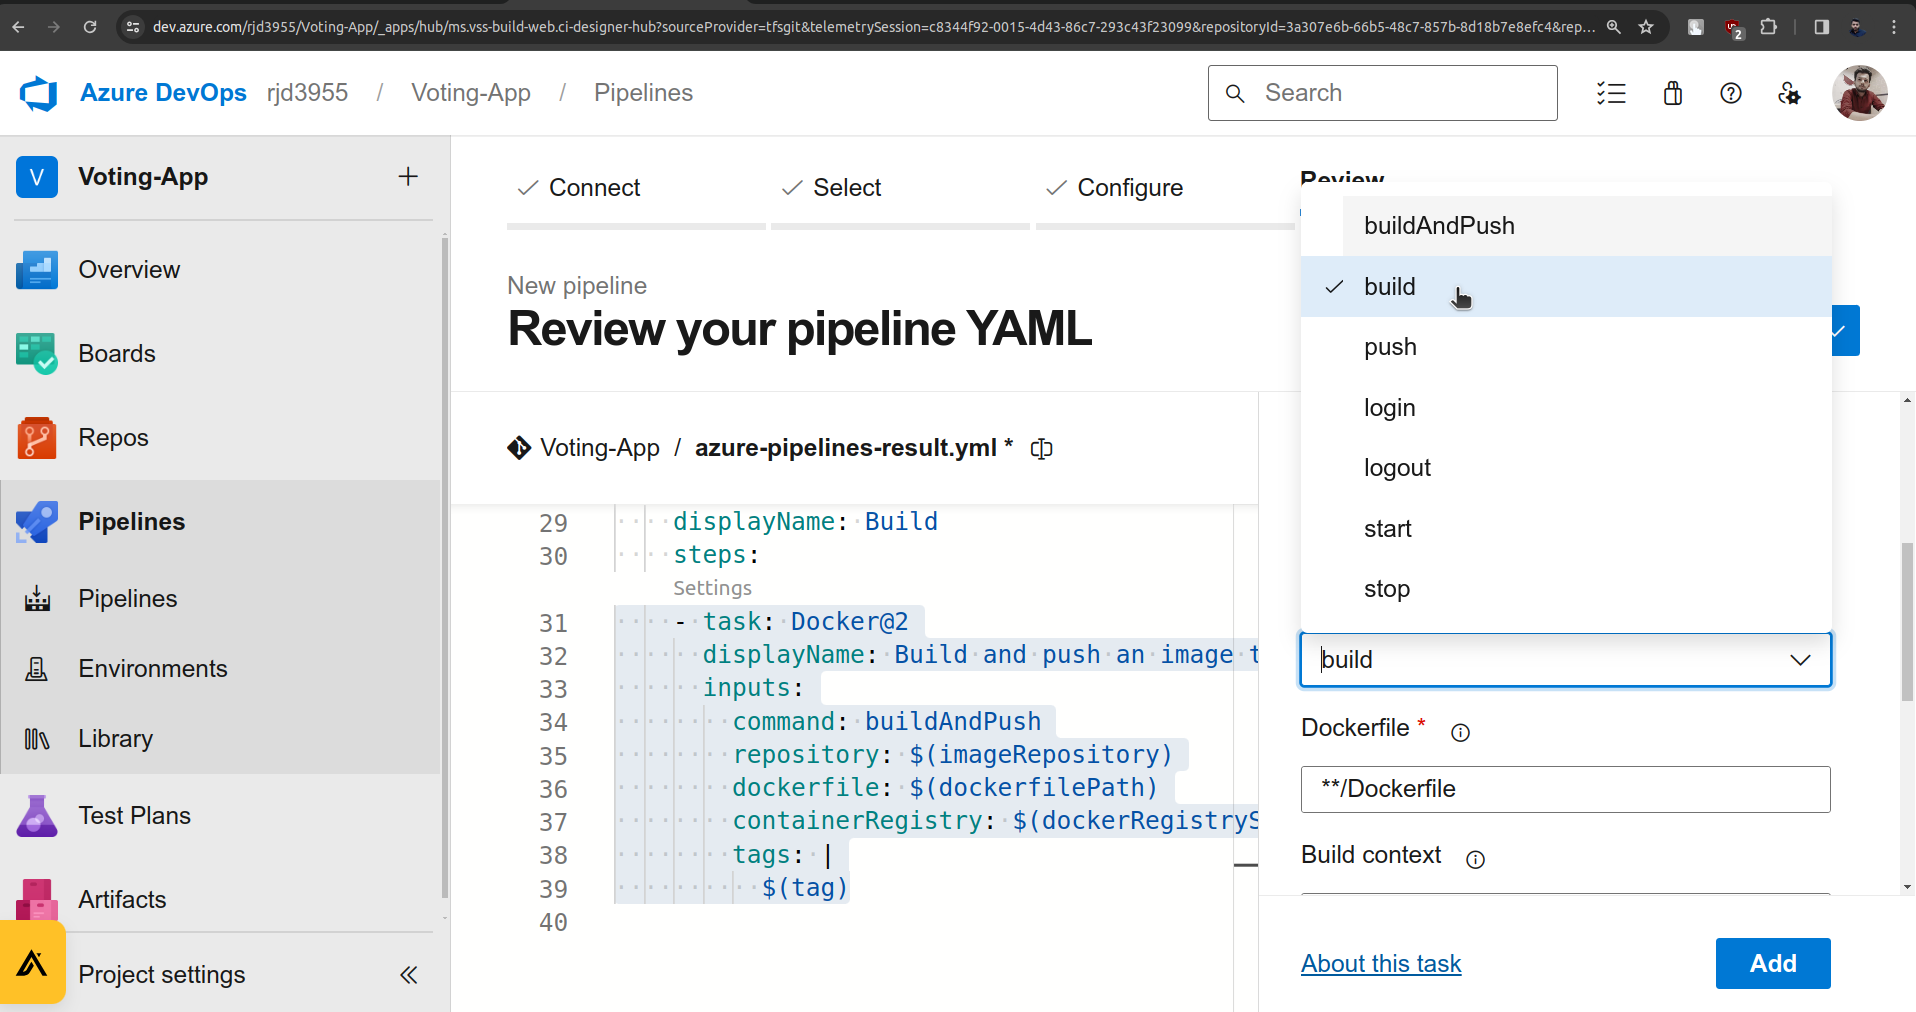
Also, change the path of the Dockerfile.

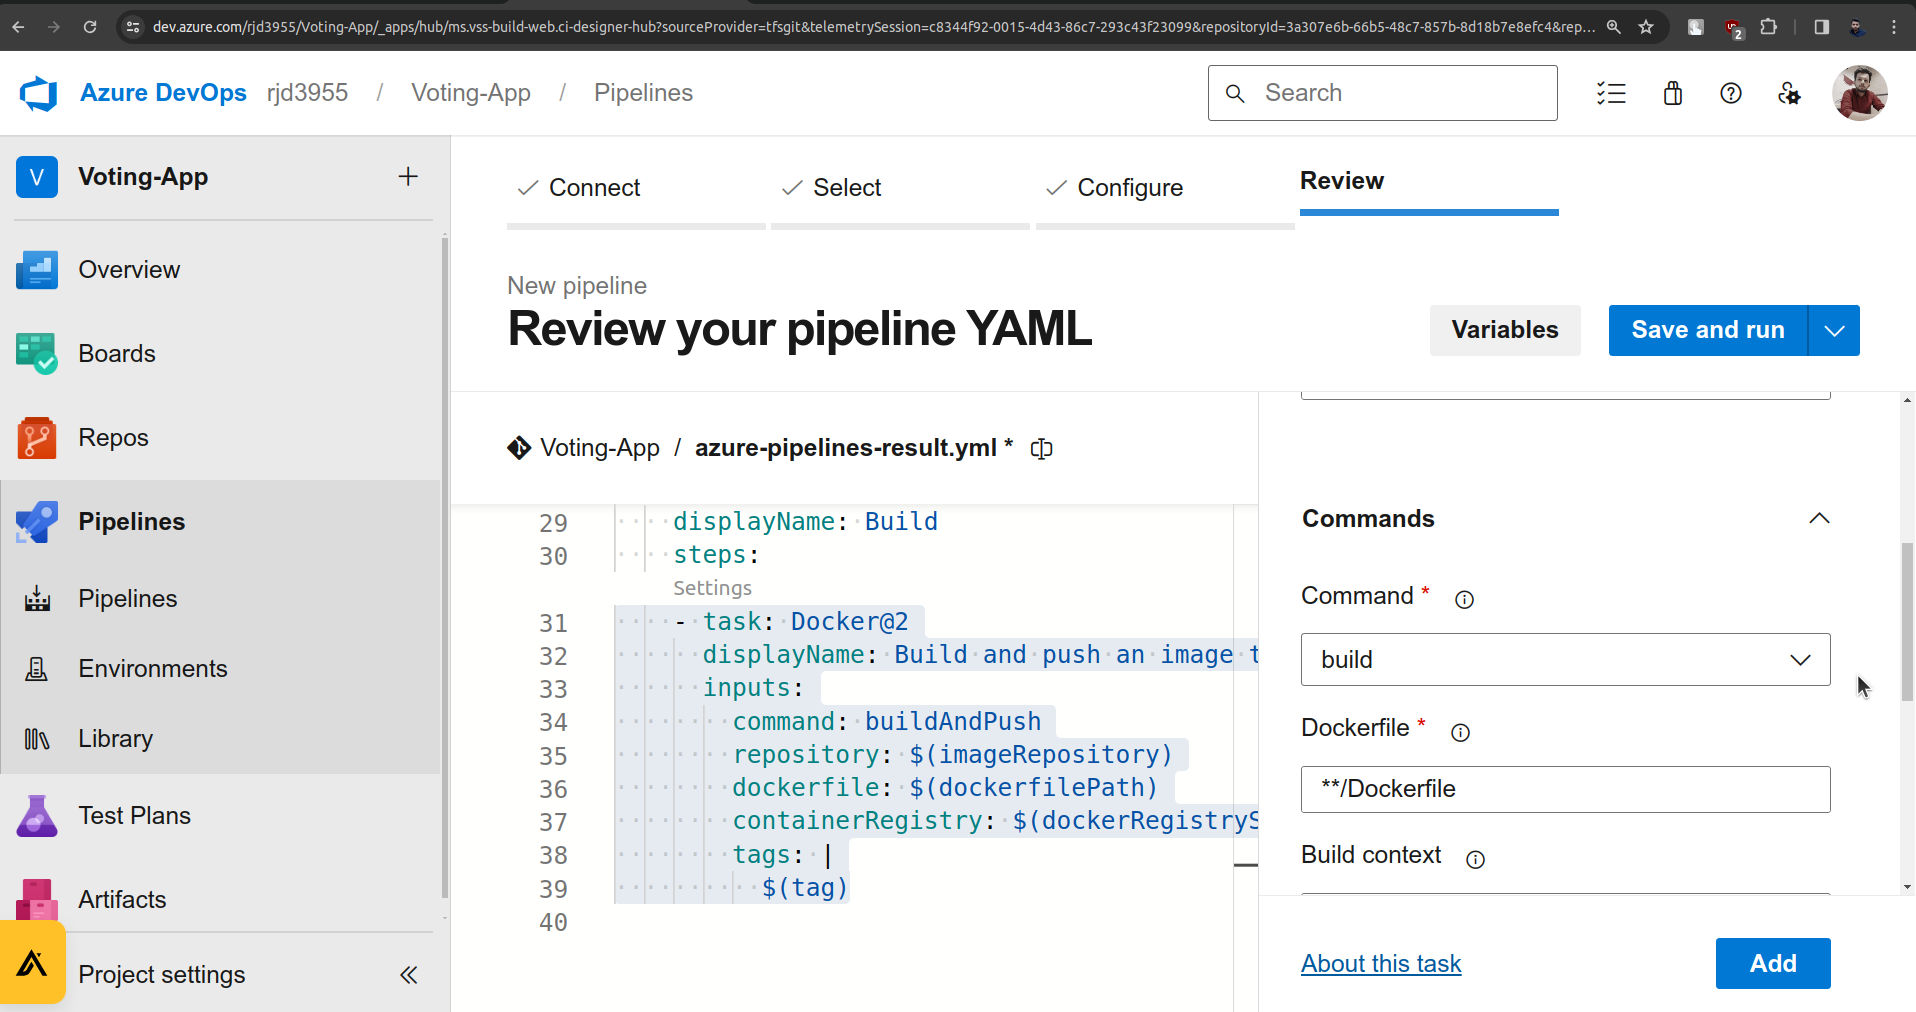
Click on the Add button.
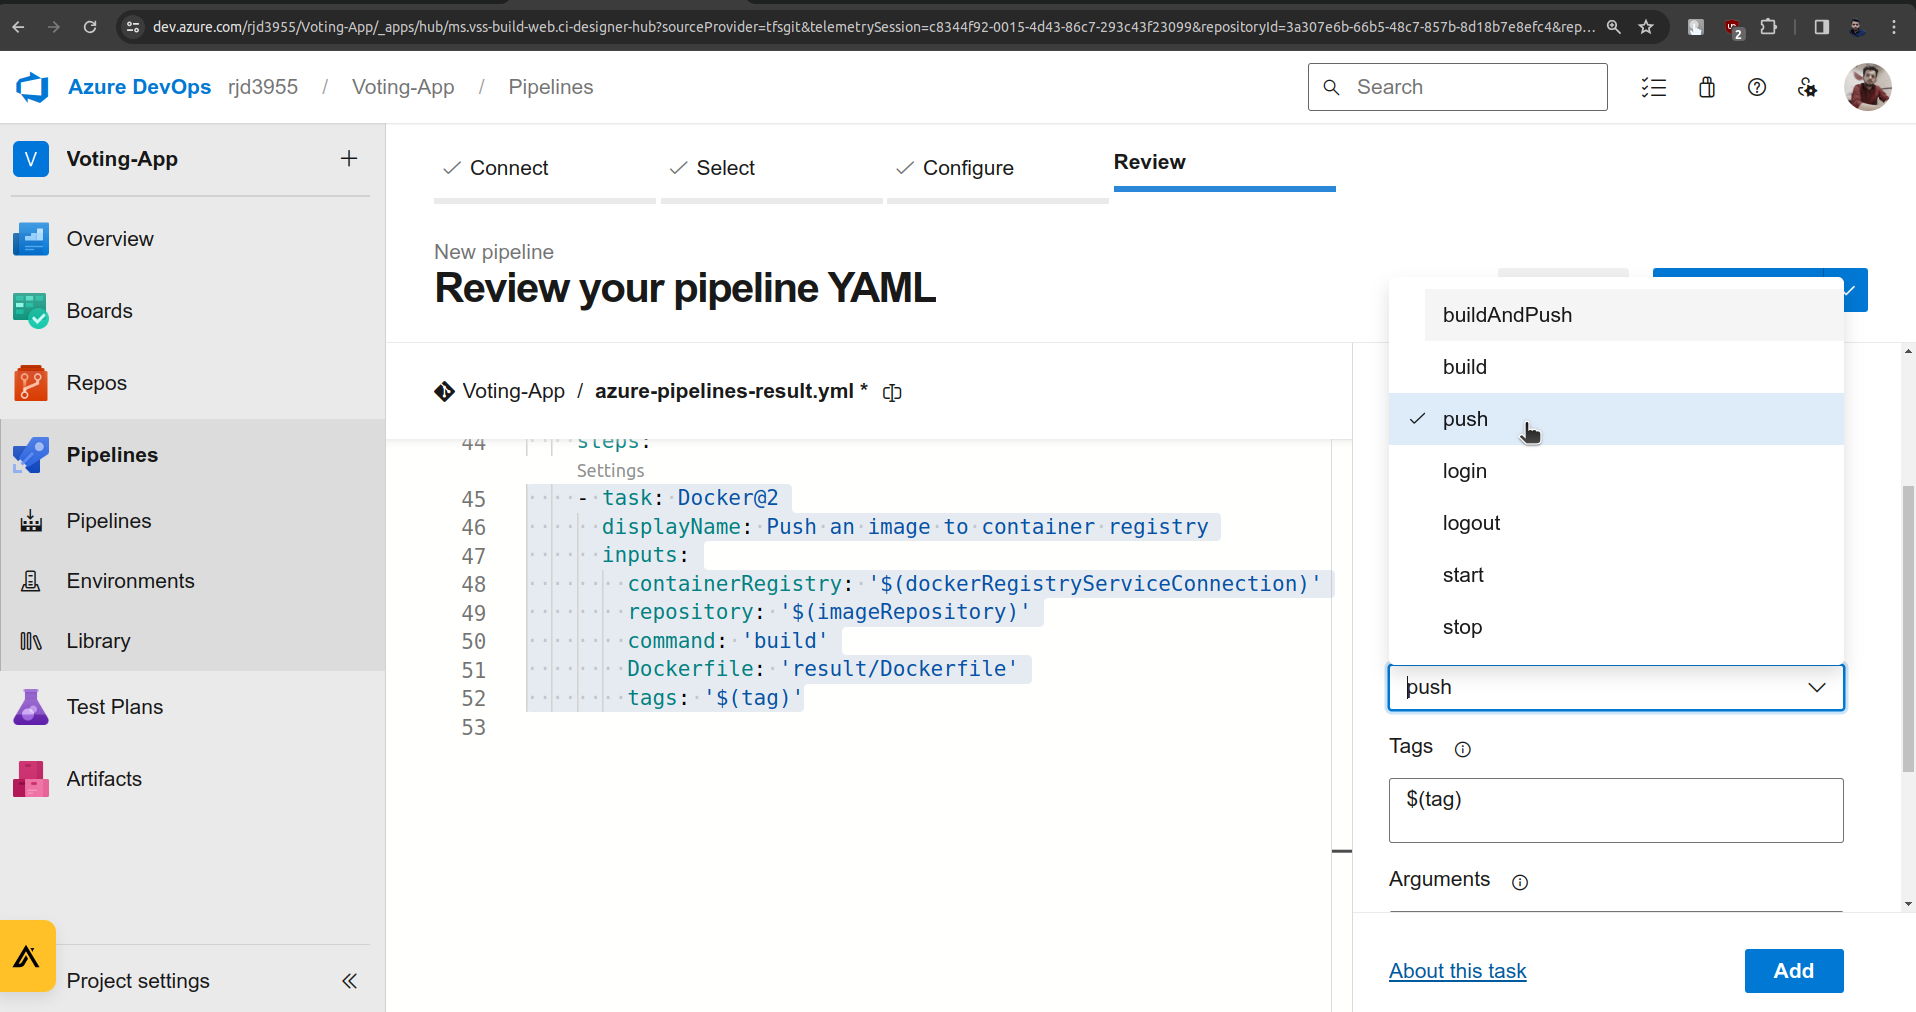
Copy the Build stage and paste it below it and we will modify it for the Push stage.
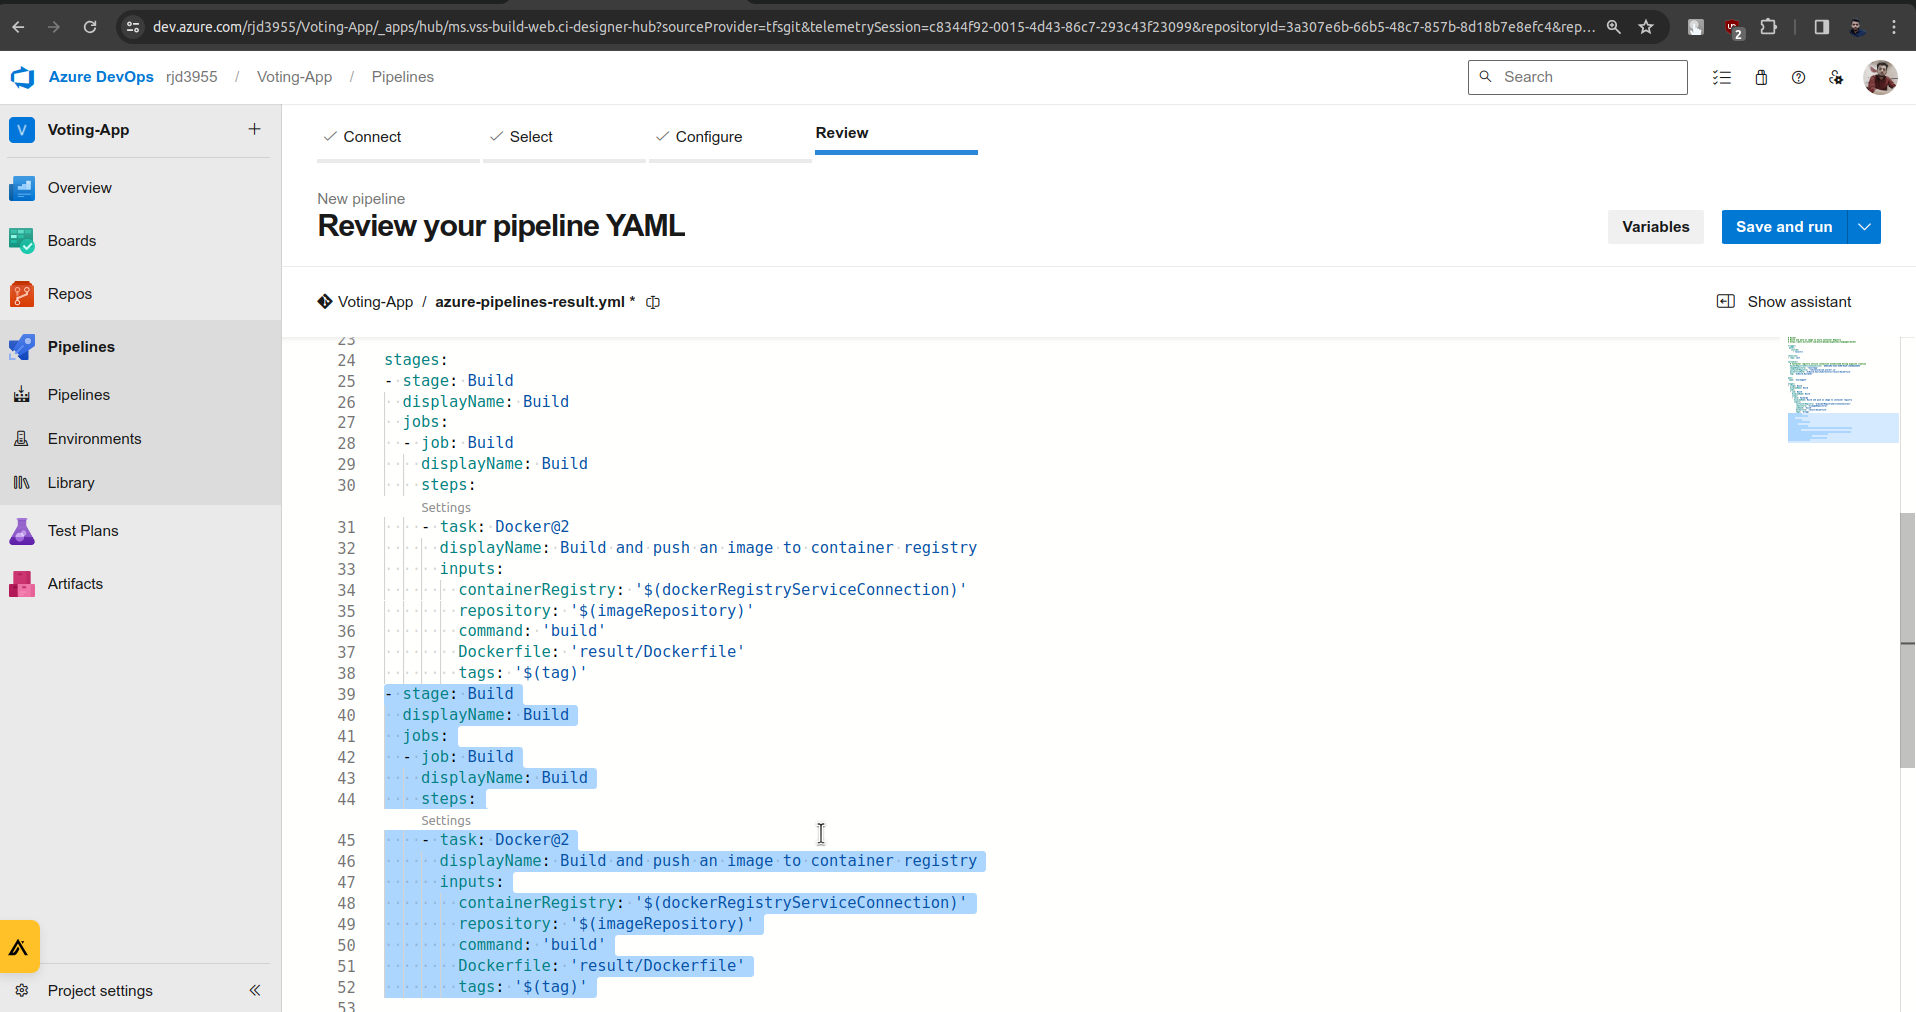
Now I will make changes there.
( Changes are highlighted )
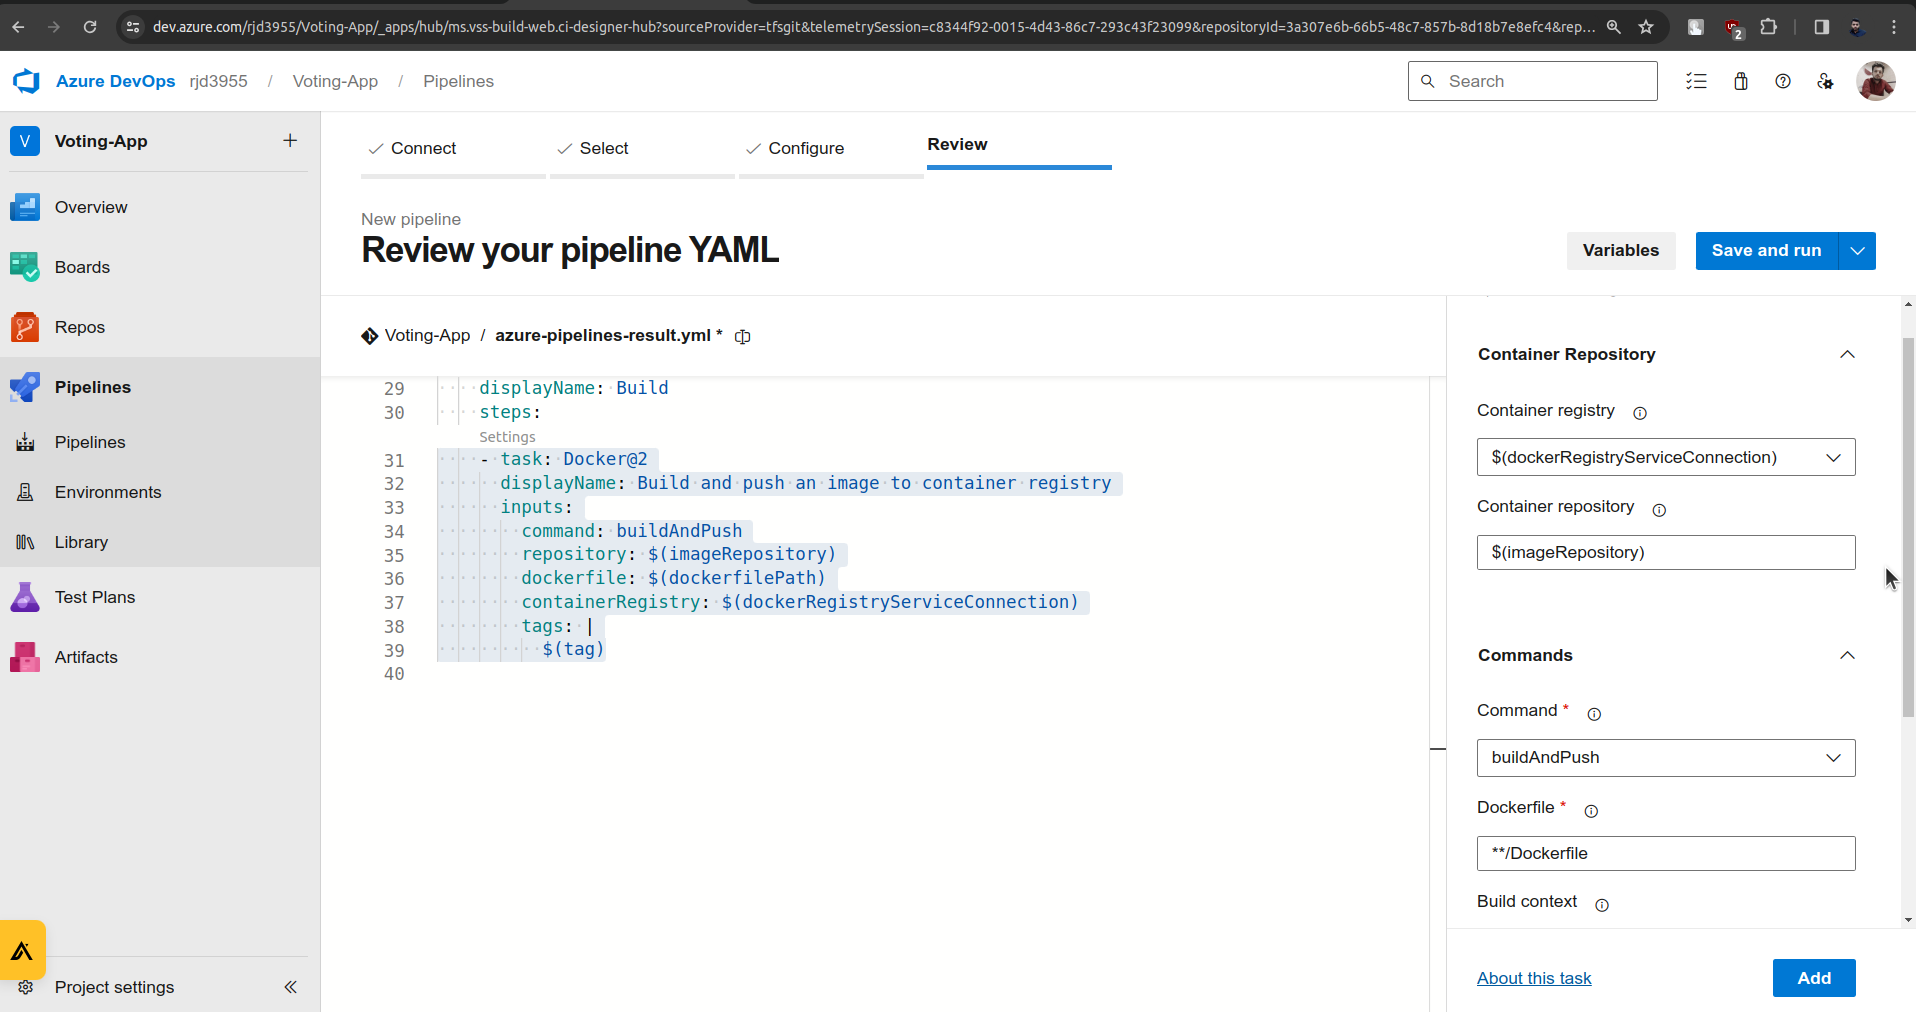
Now again here also, click on the settings button and make the changes that you will see in the below screenshots.
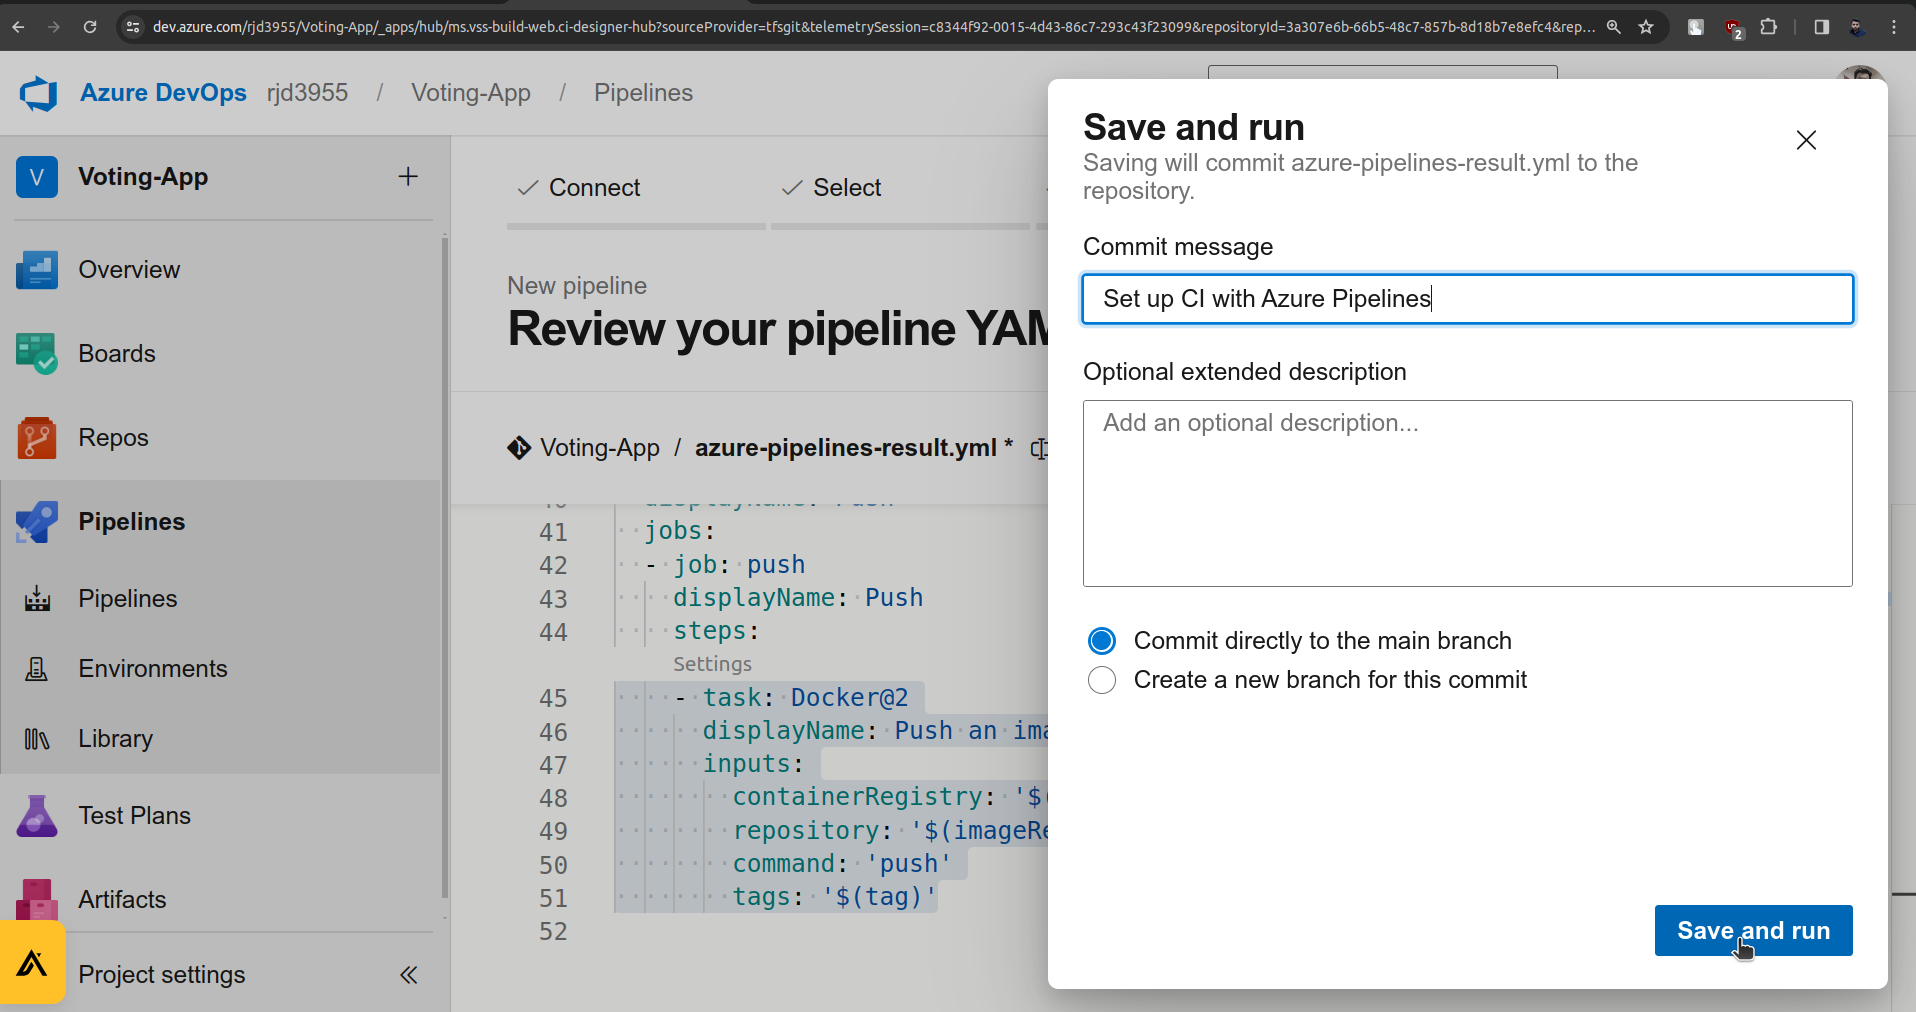
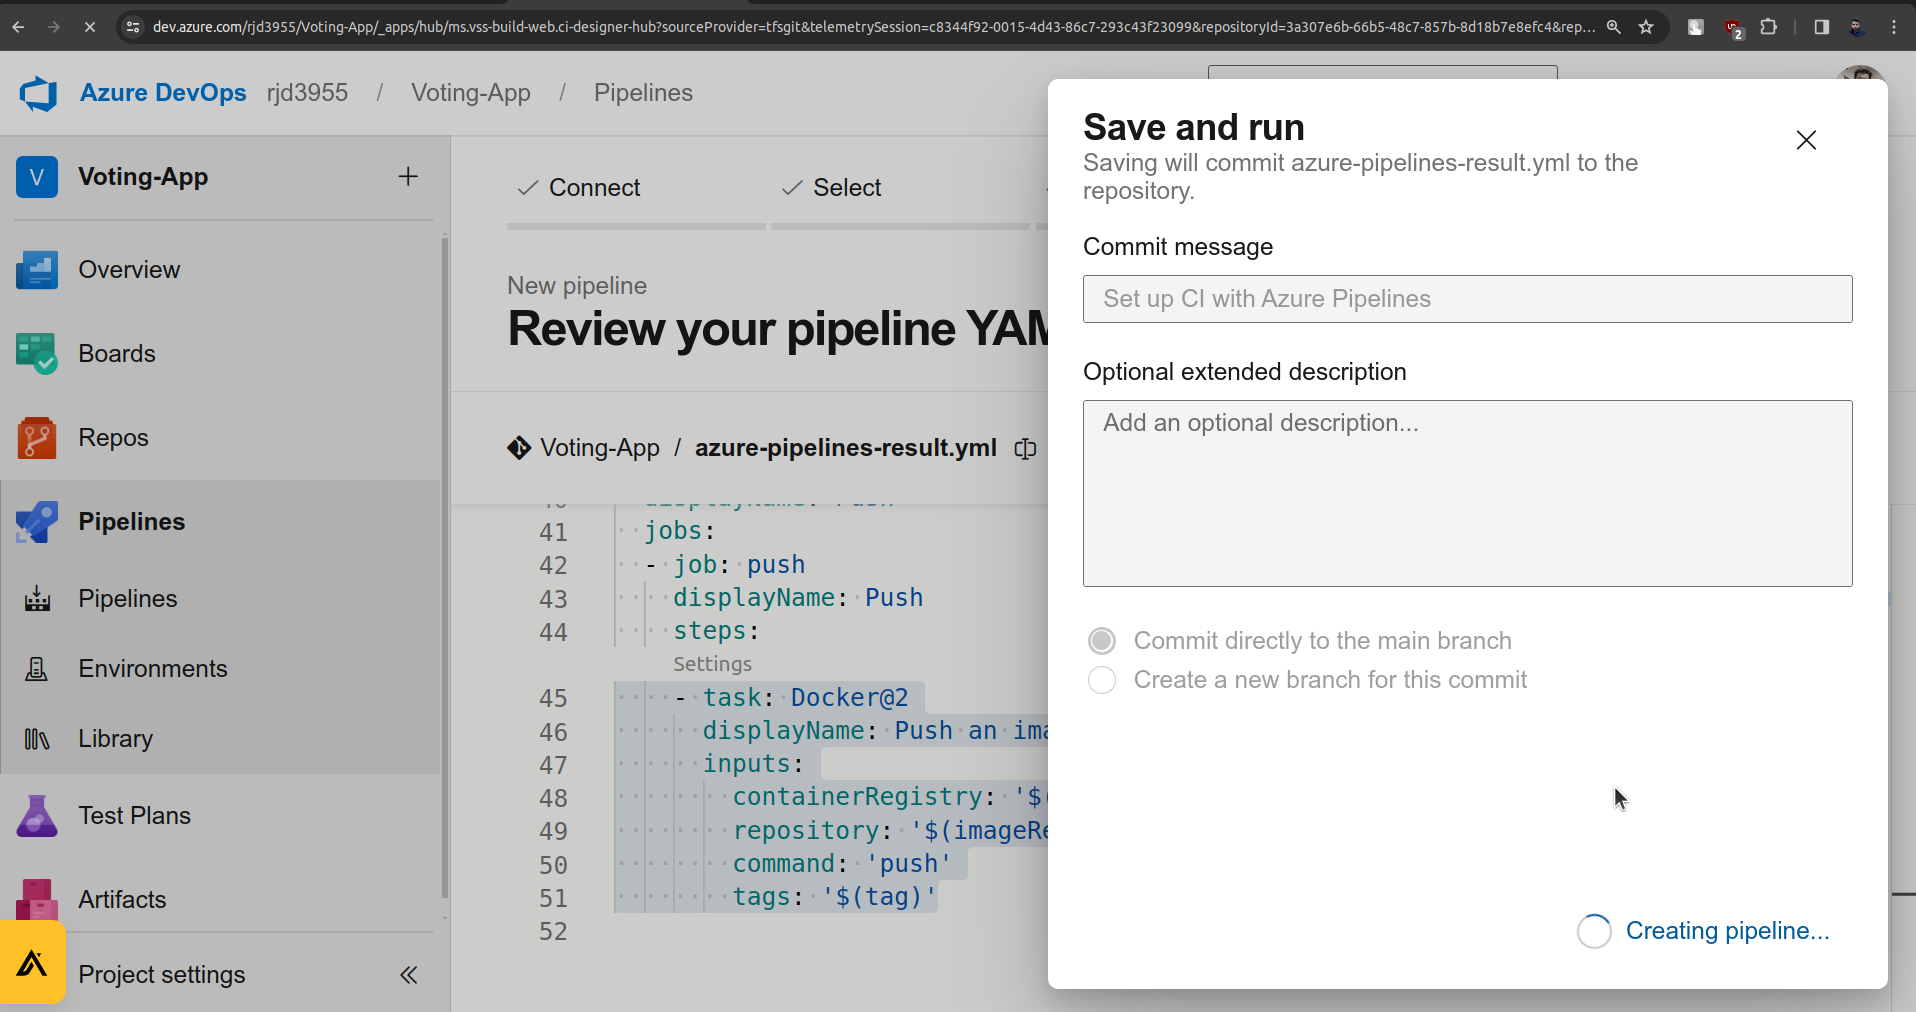
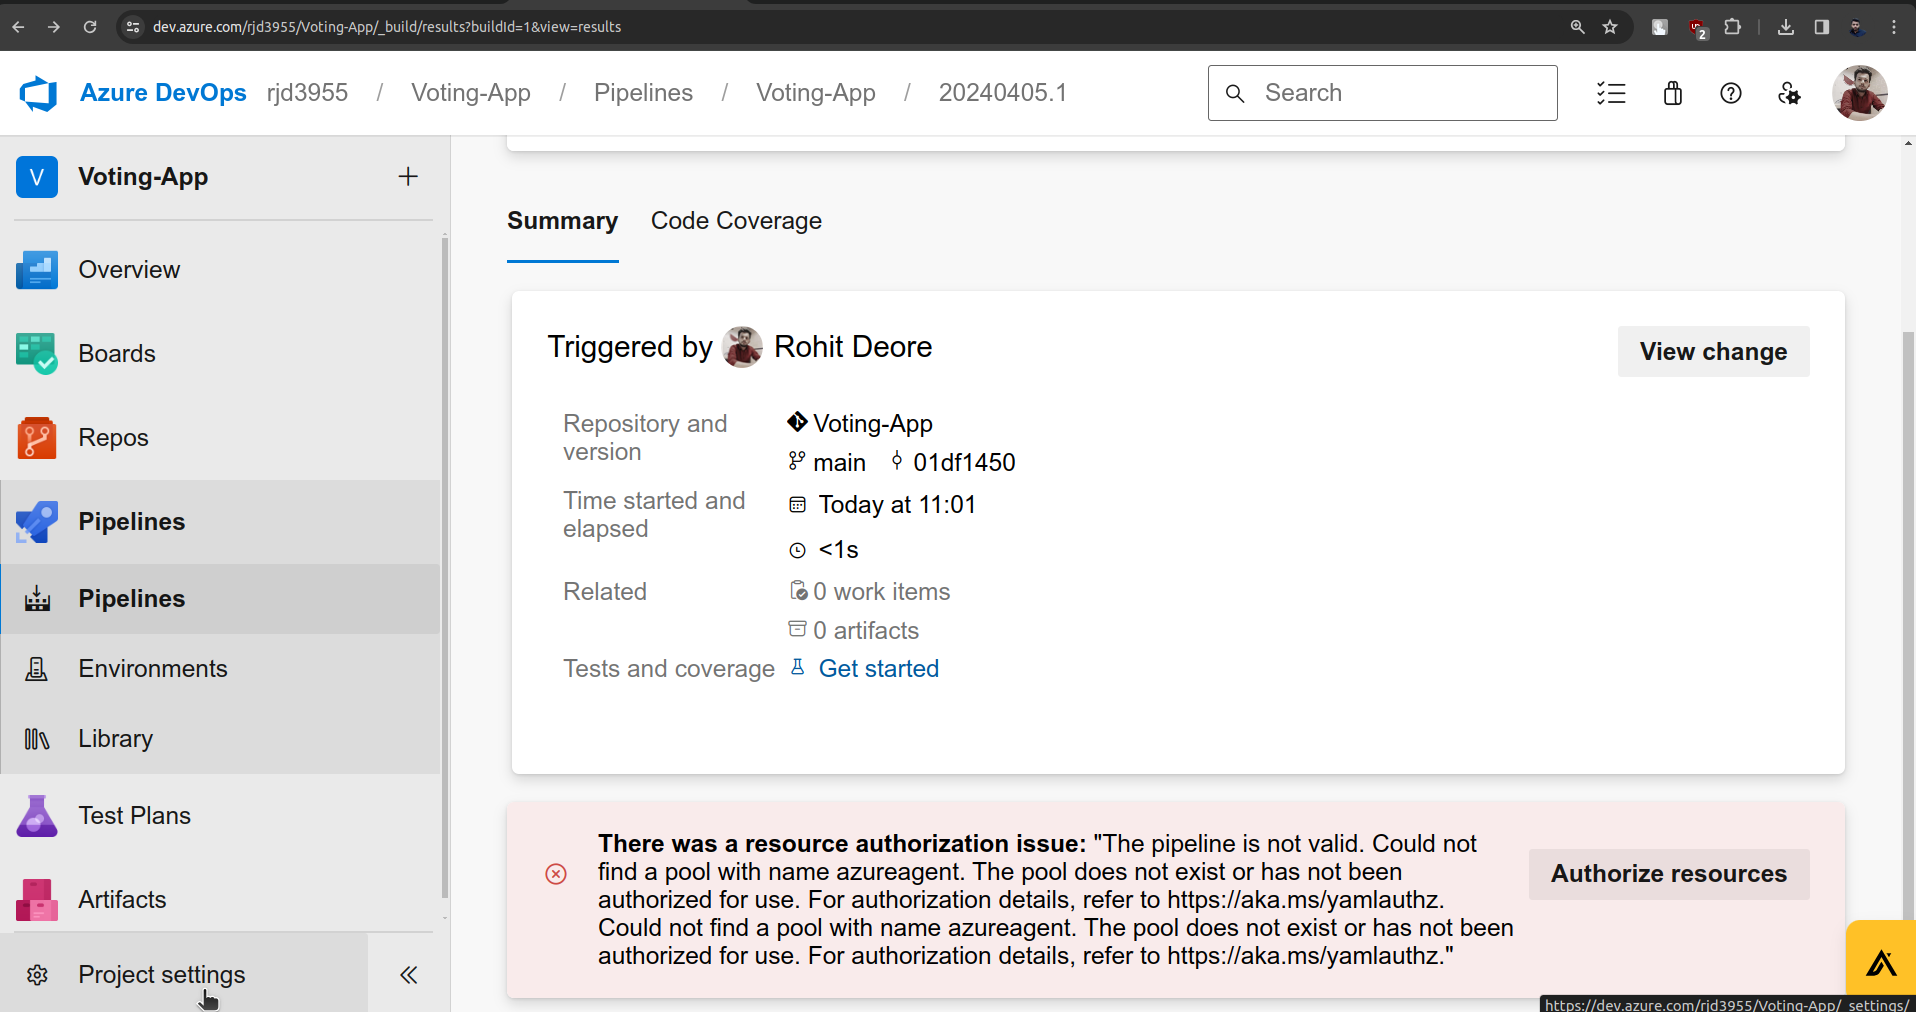
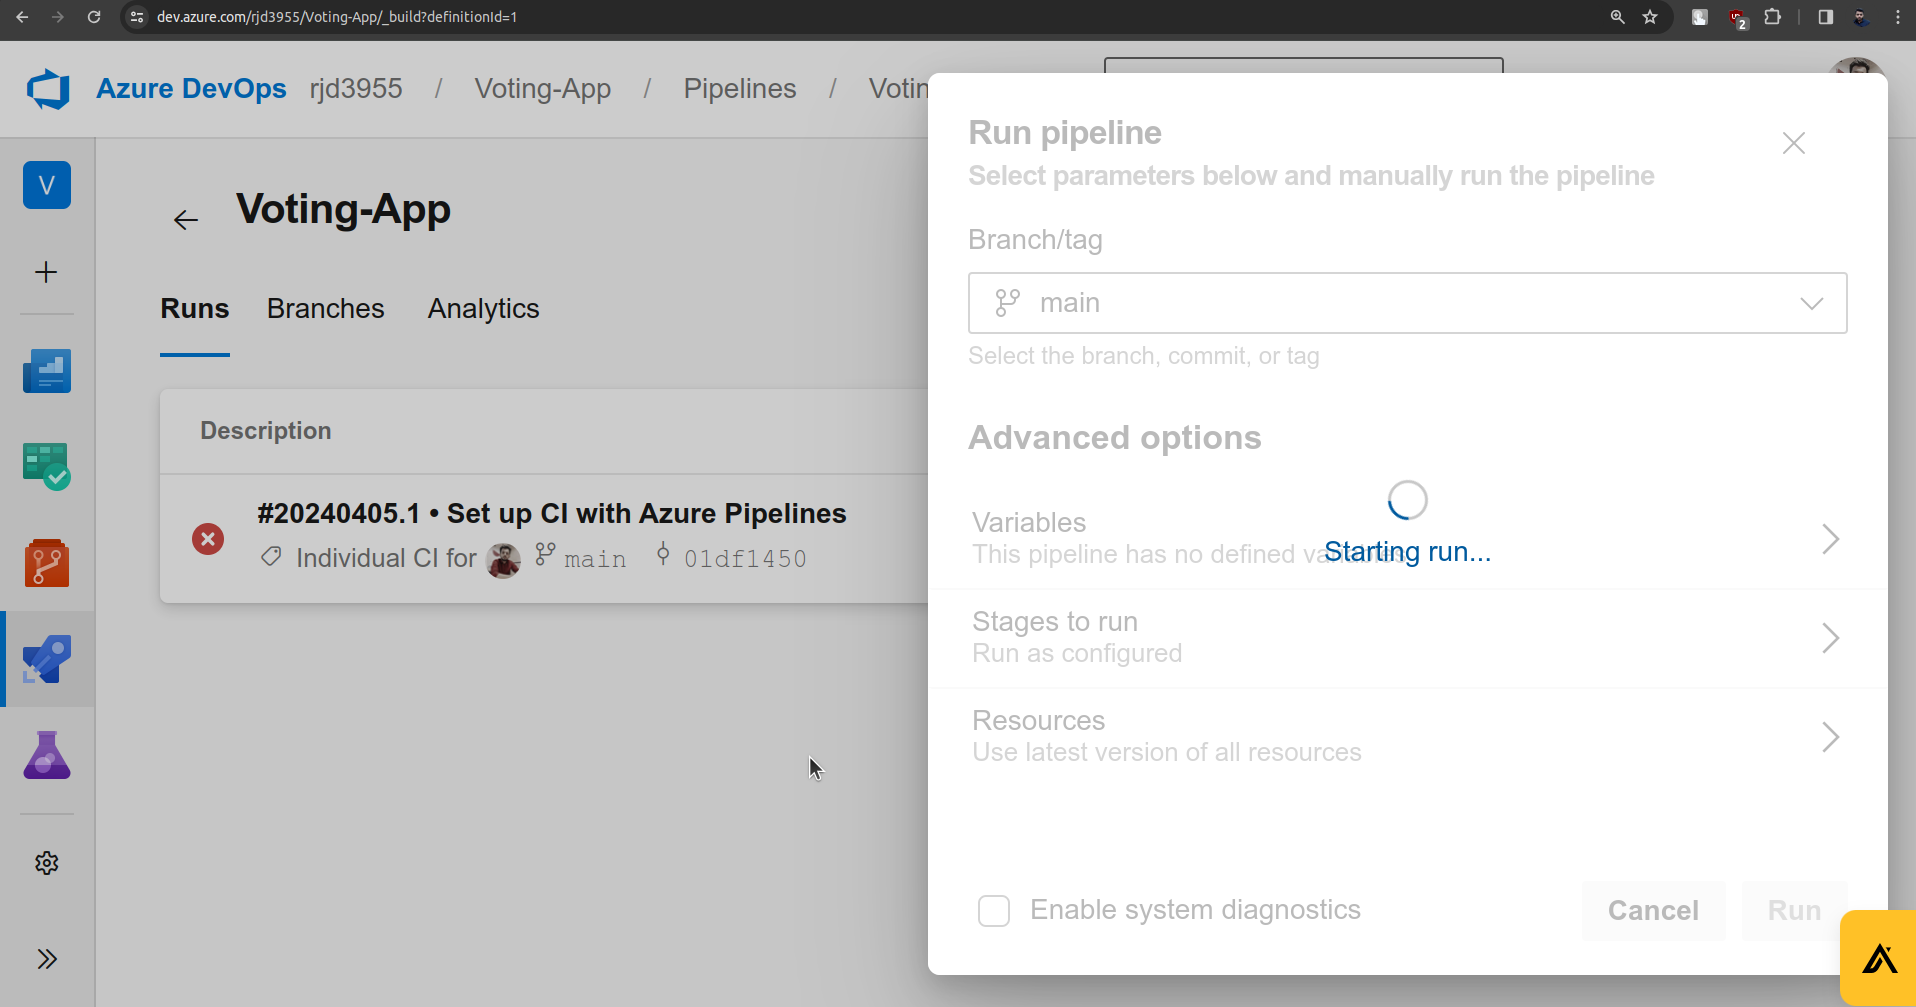
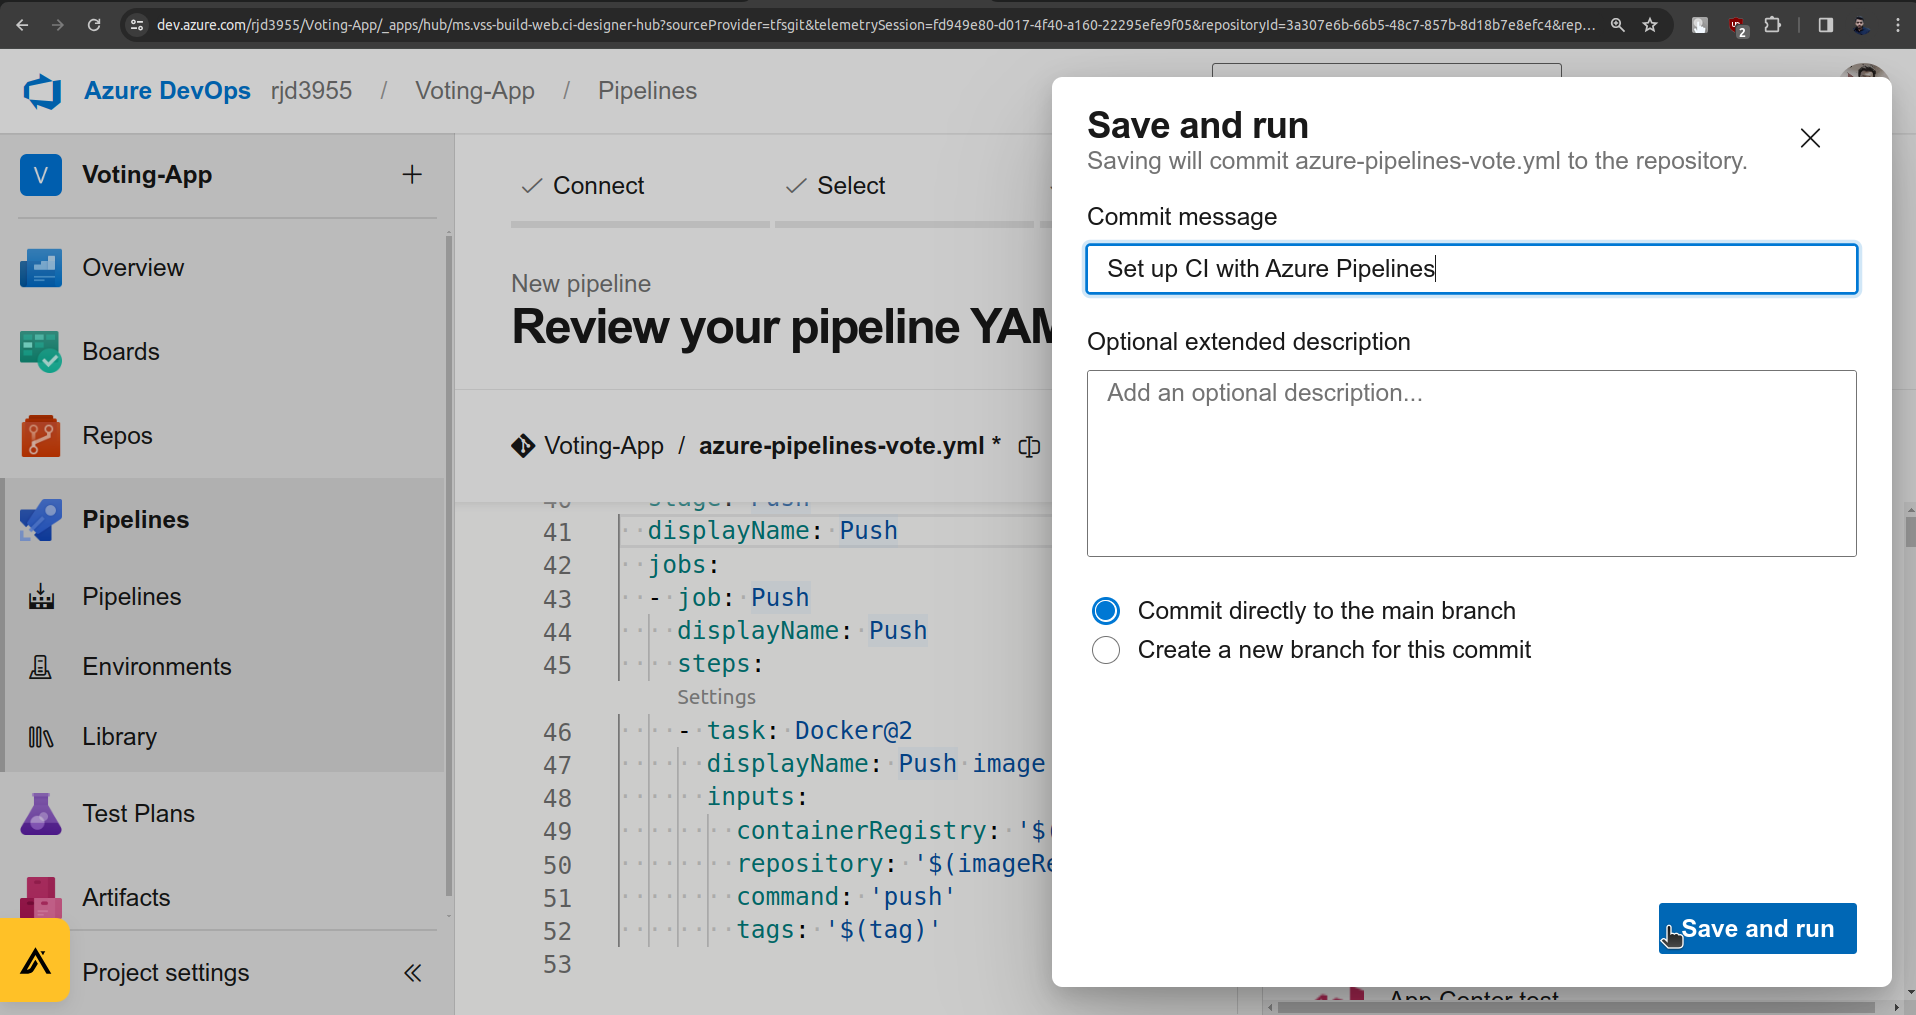
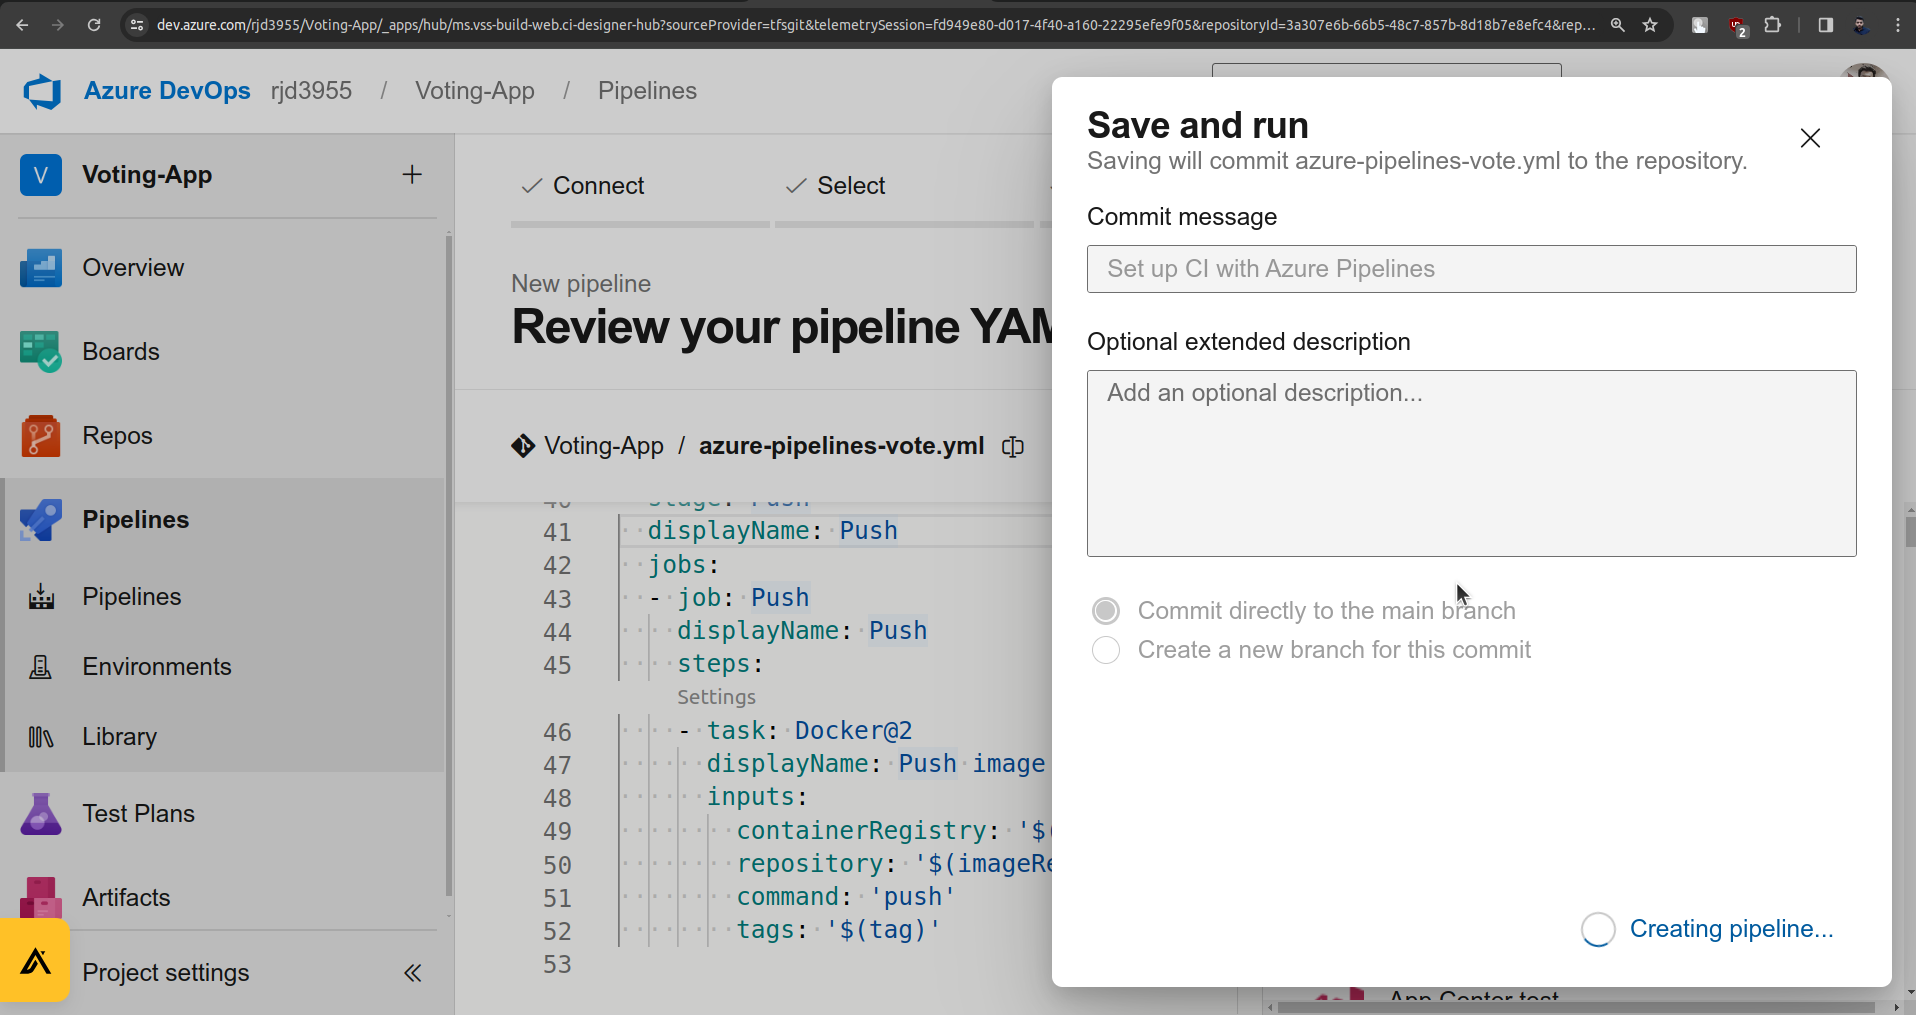
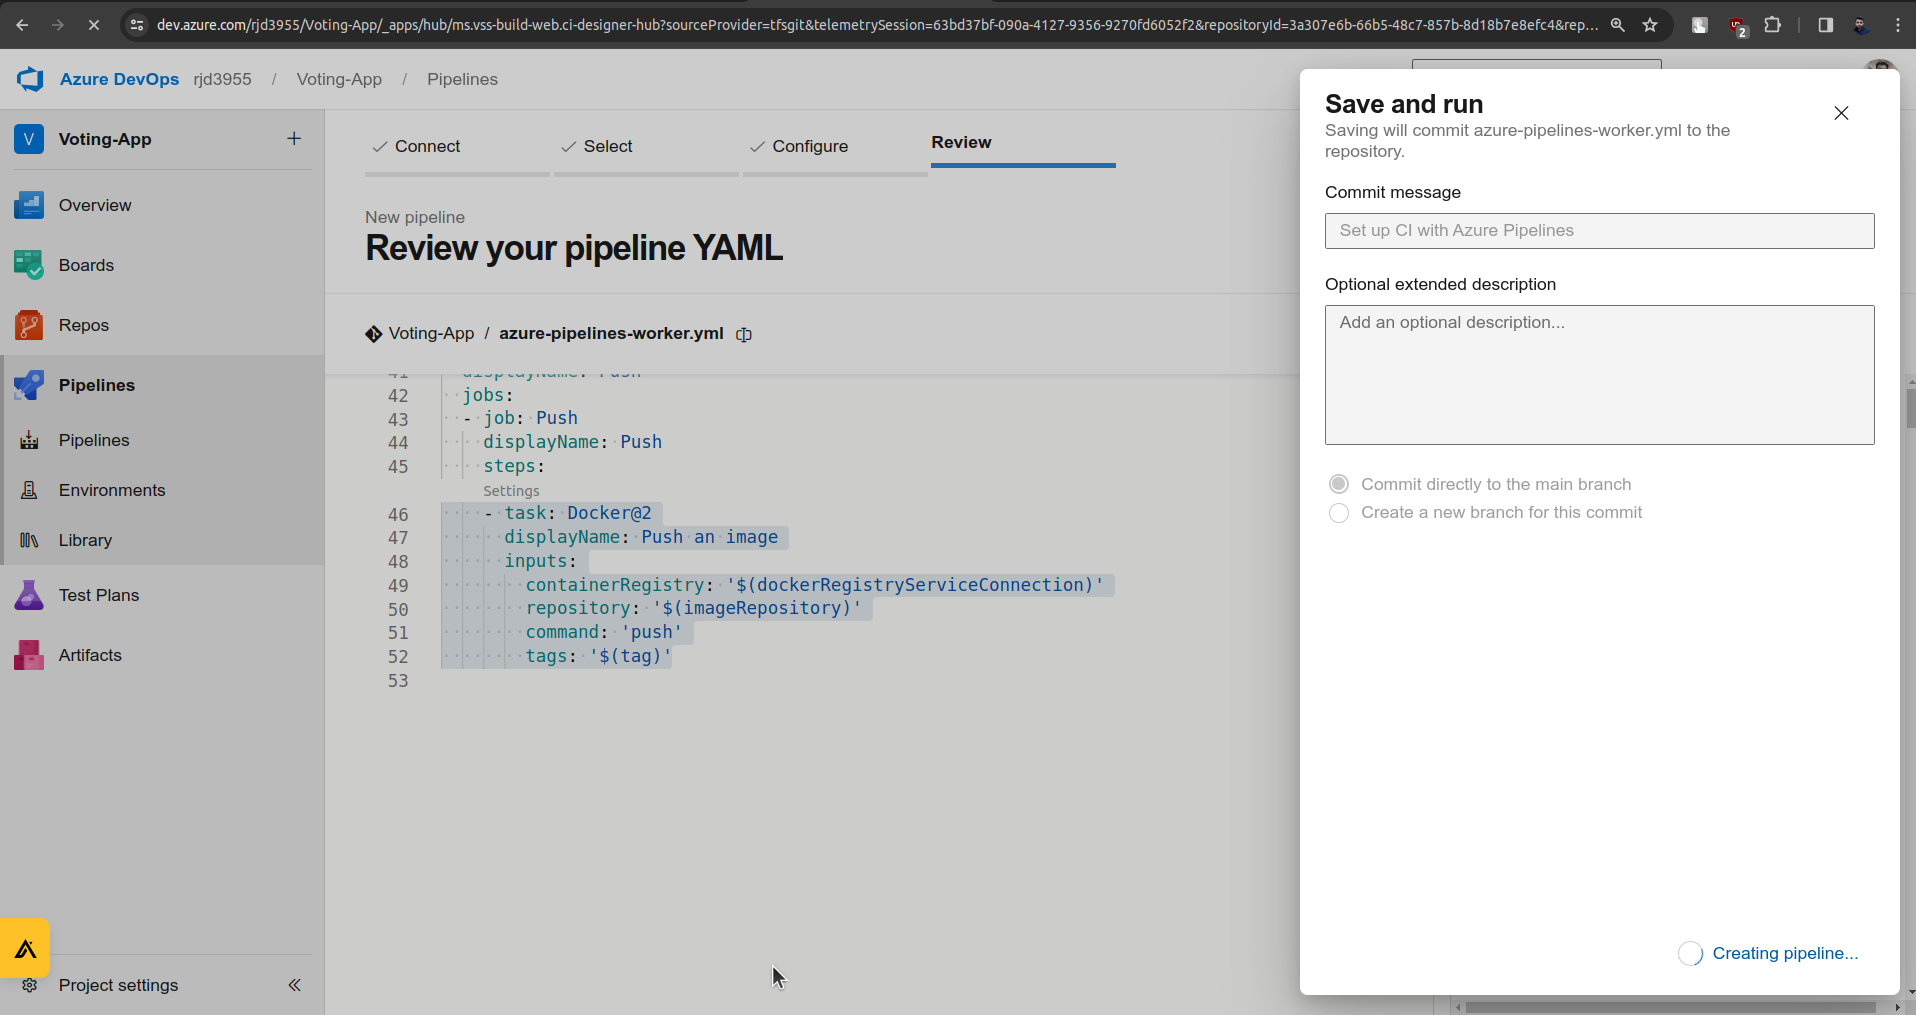
Click on the Add button and once it is added Click on Save and run.

Click on Save and run.
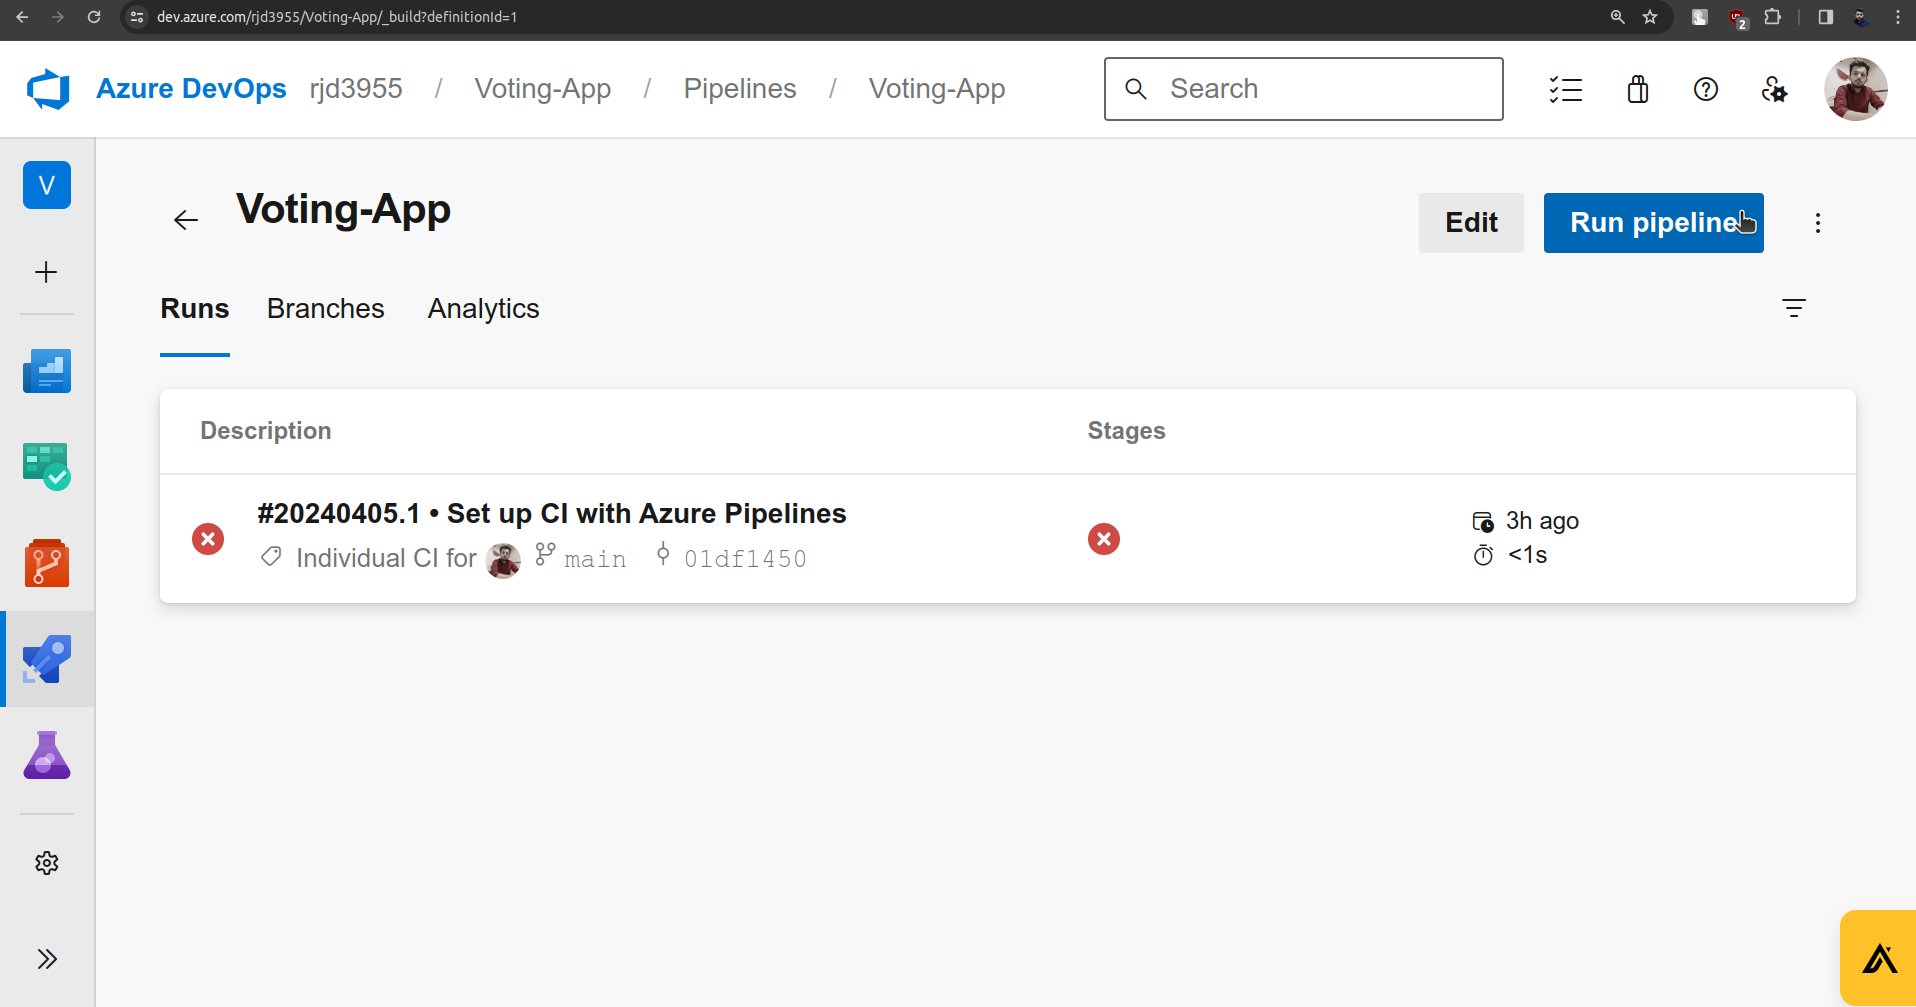
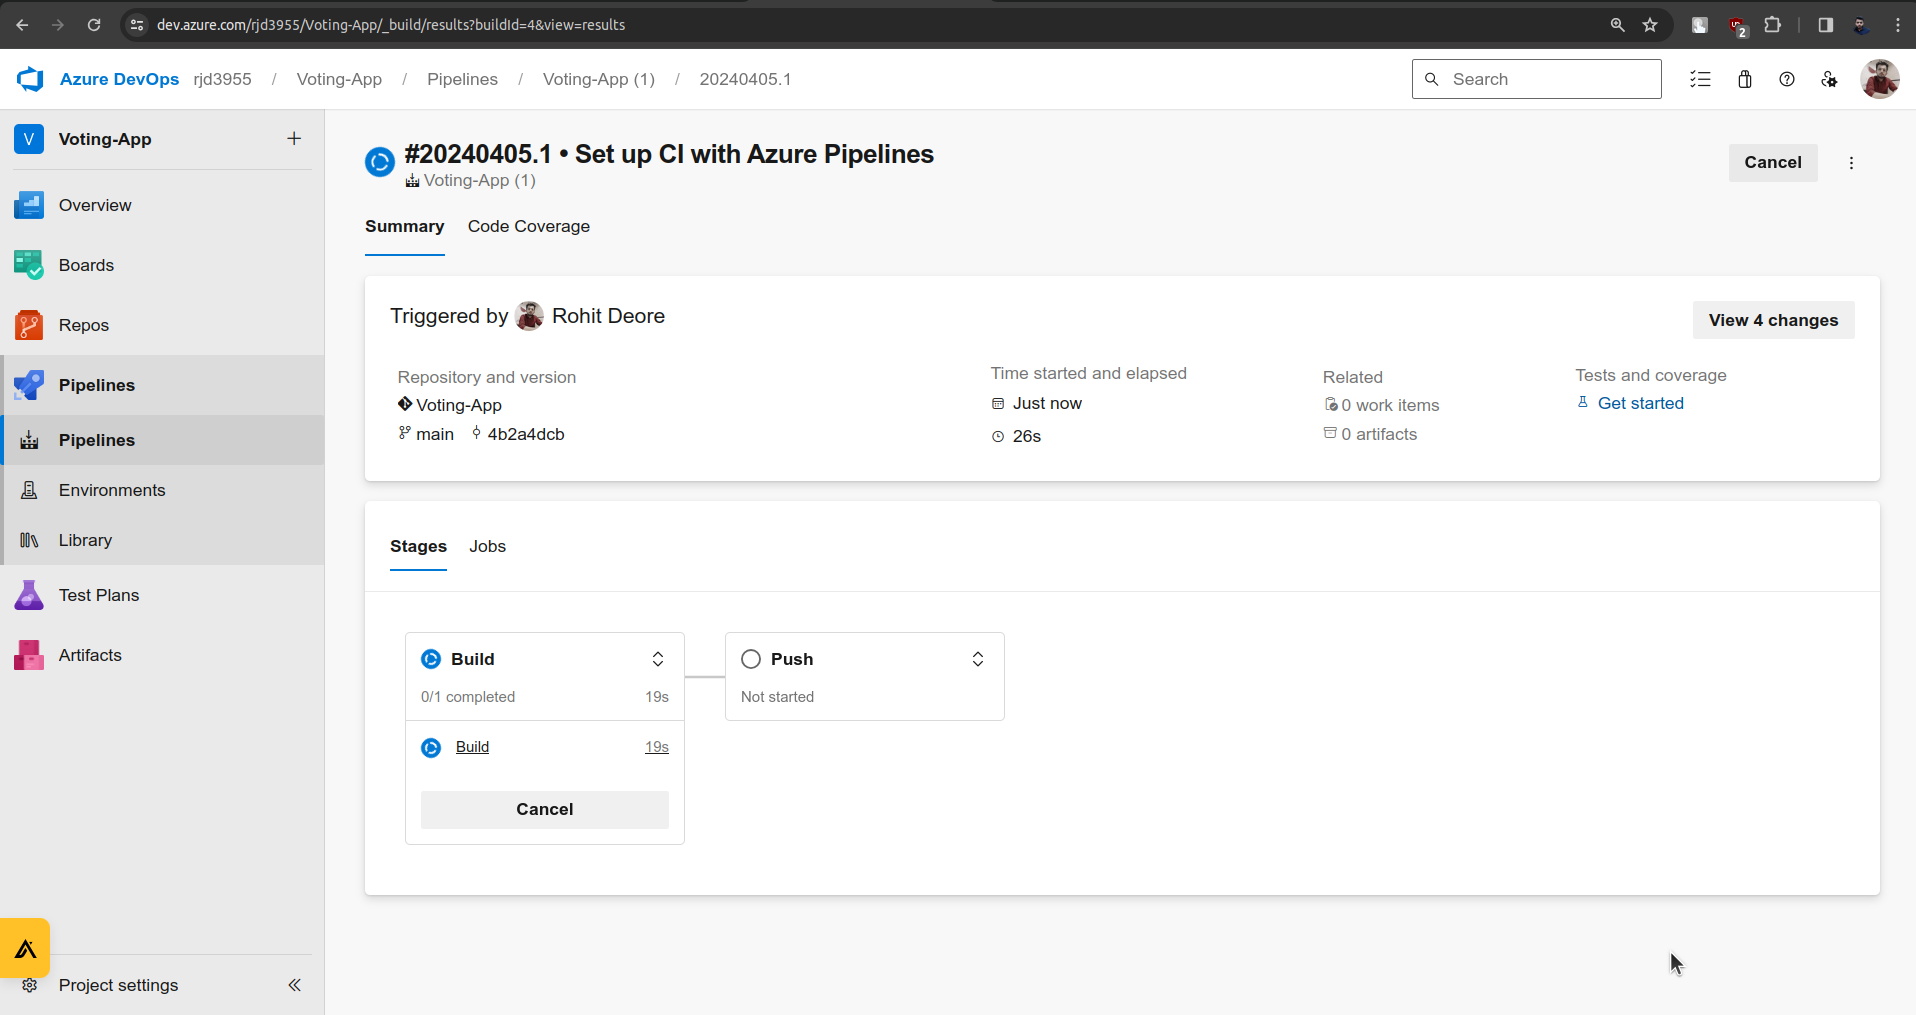
Once you do this it will show an issue that,
"There was a resource authorization issue: "The pipeline is not valid. Could not find a pool with the name azureagent.
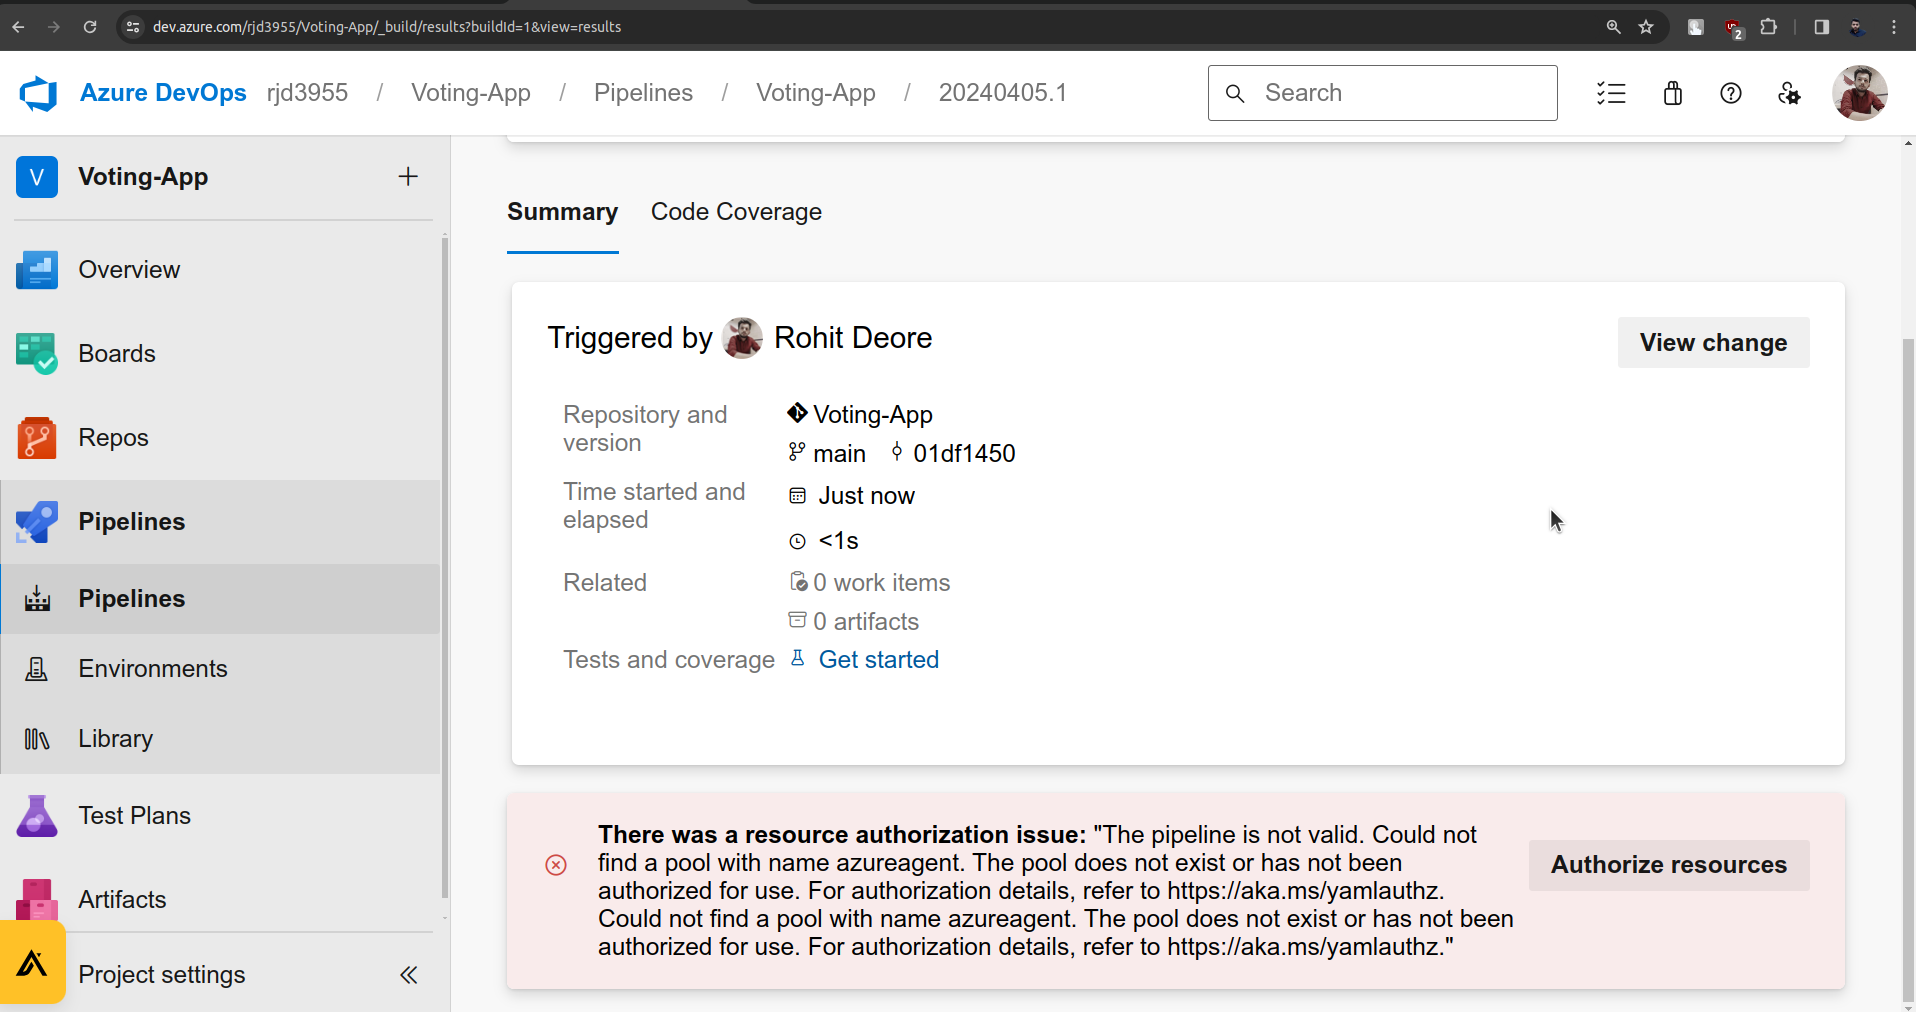
And this is because we have not created the agent at all.
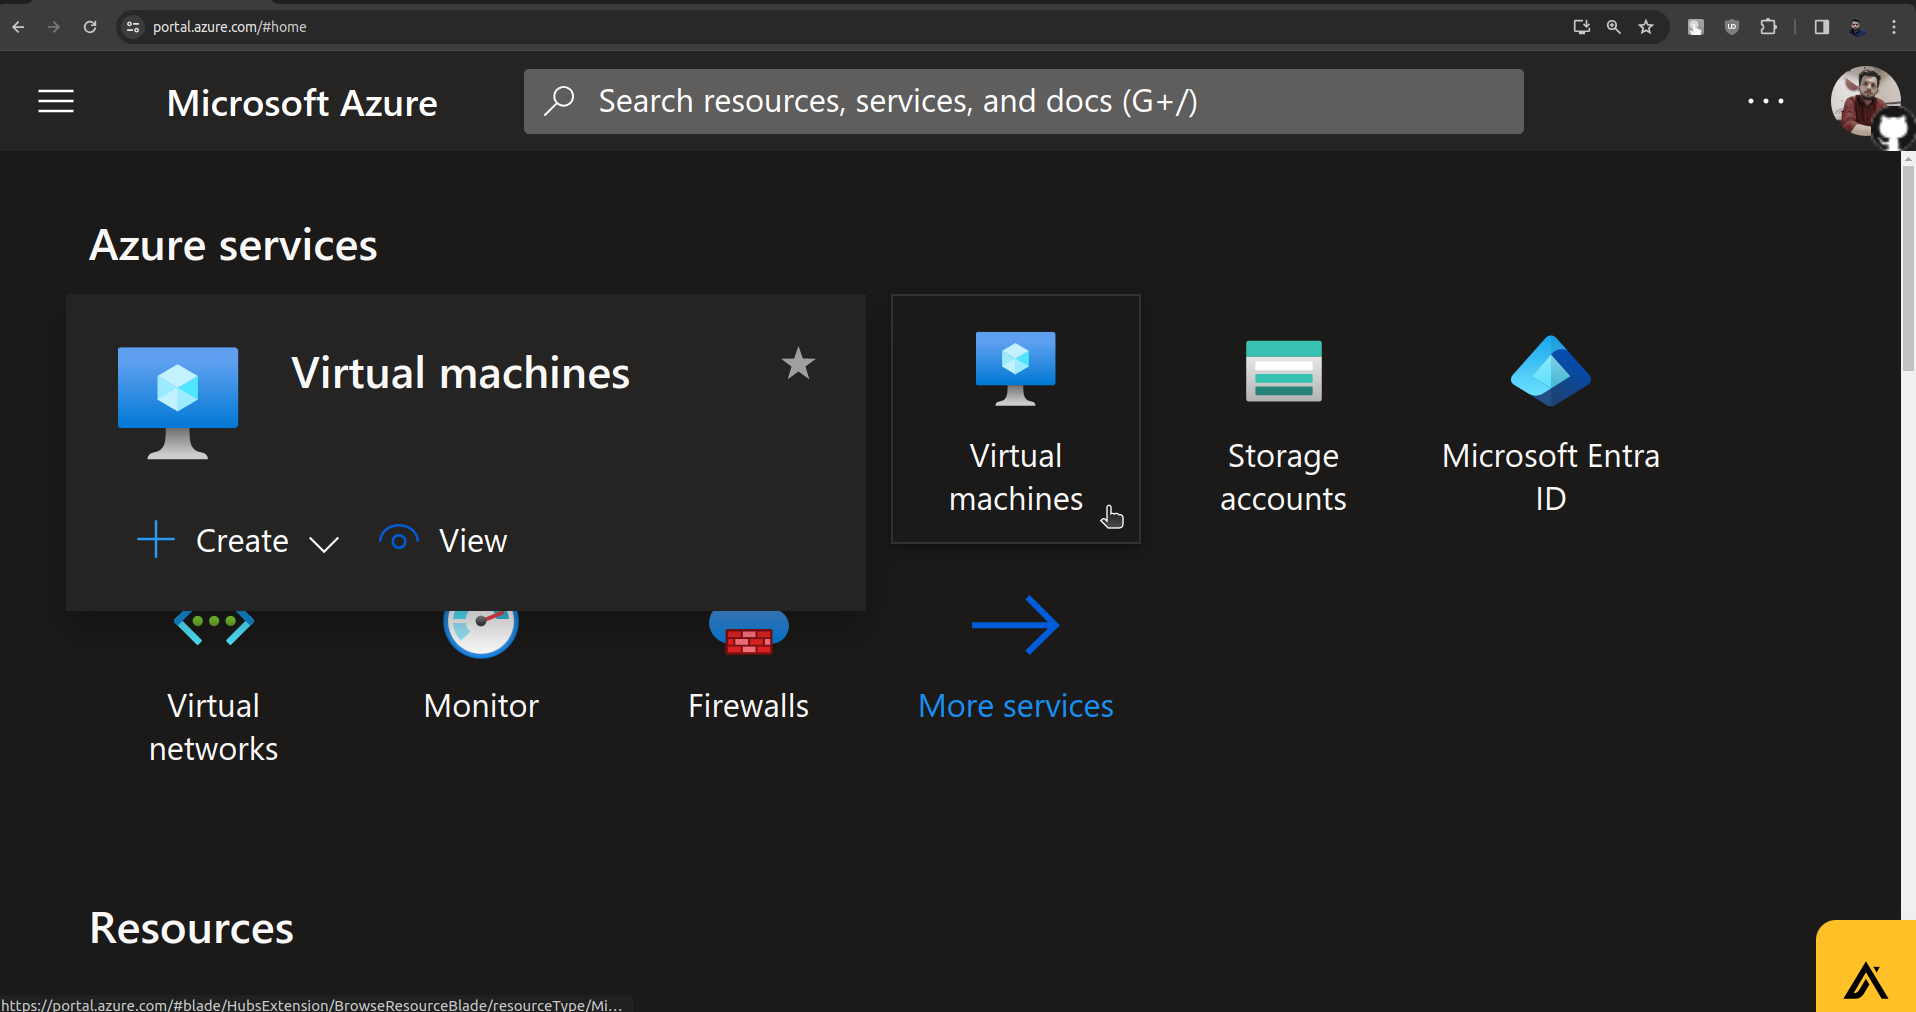
Now let's go to Microsoft Azure to create an agent.
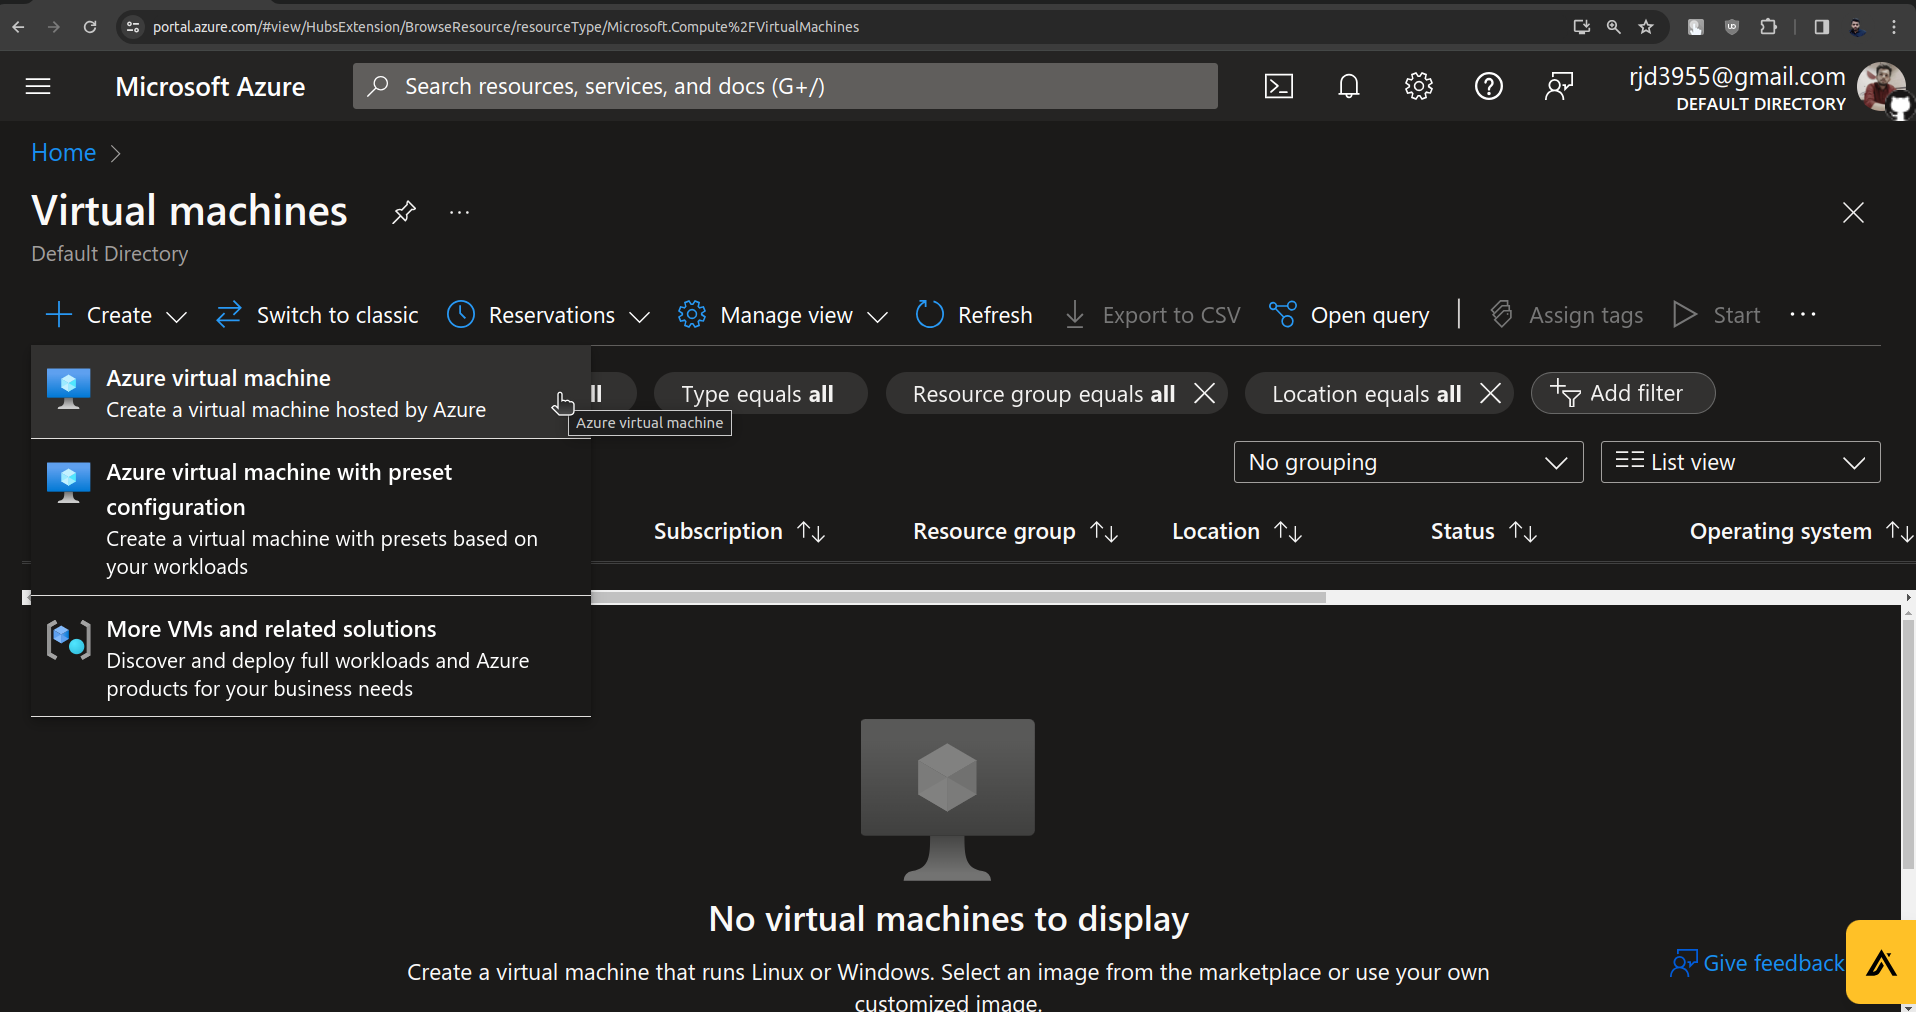
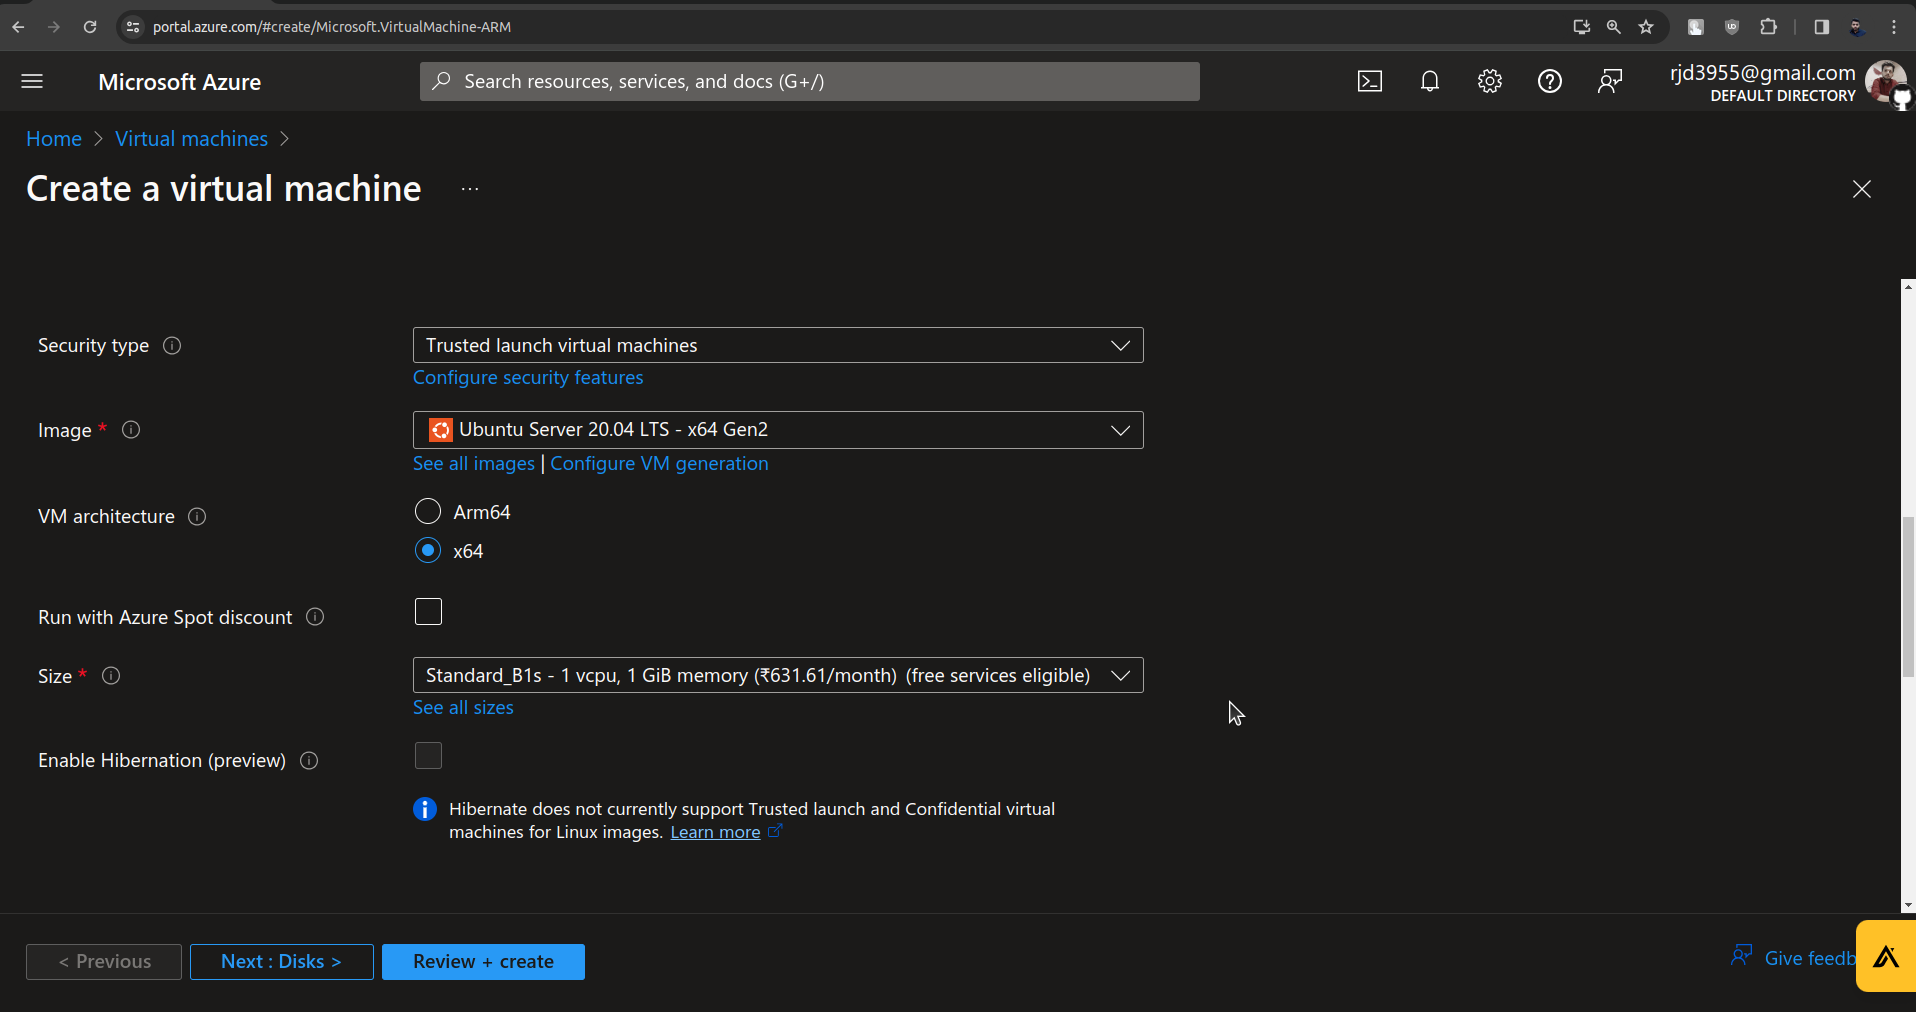
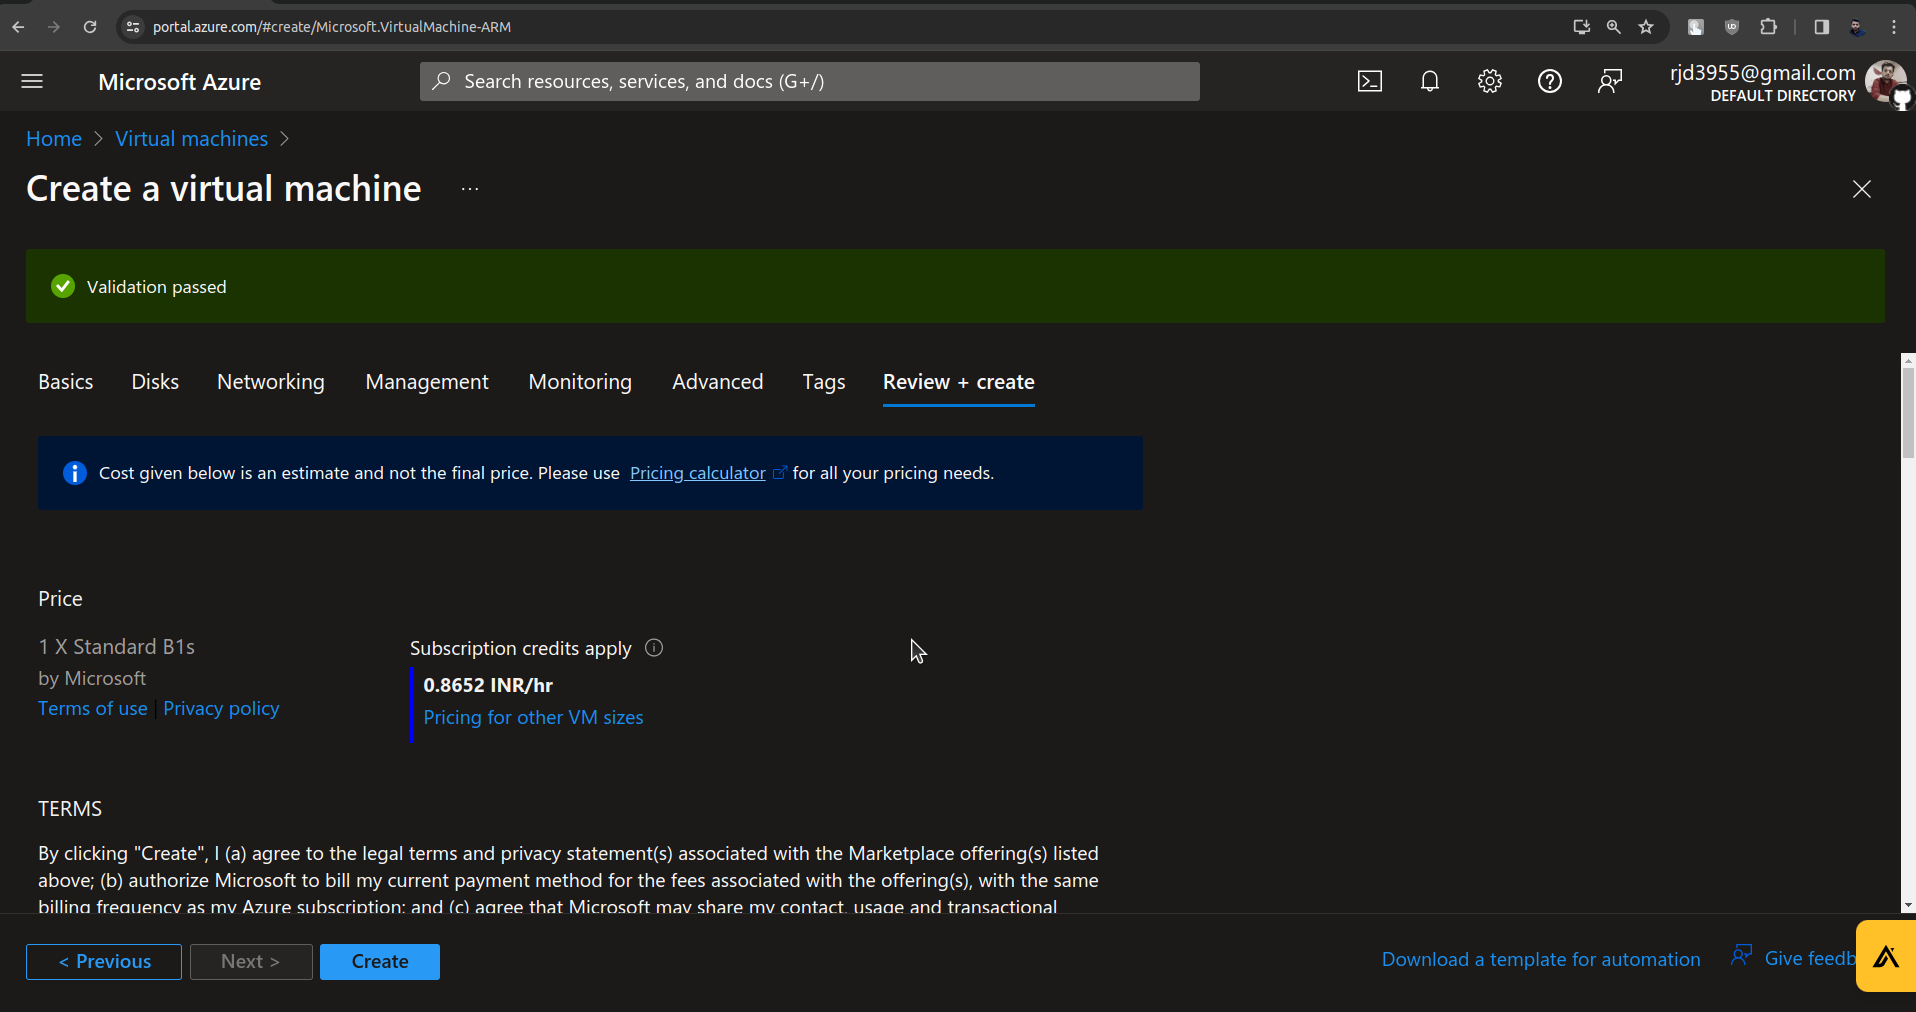
Create a Virtual Machine.
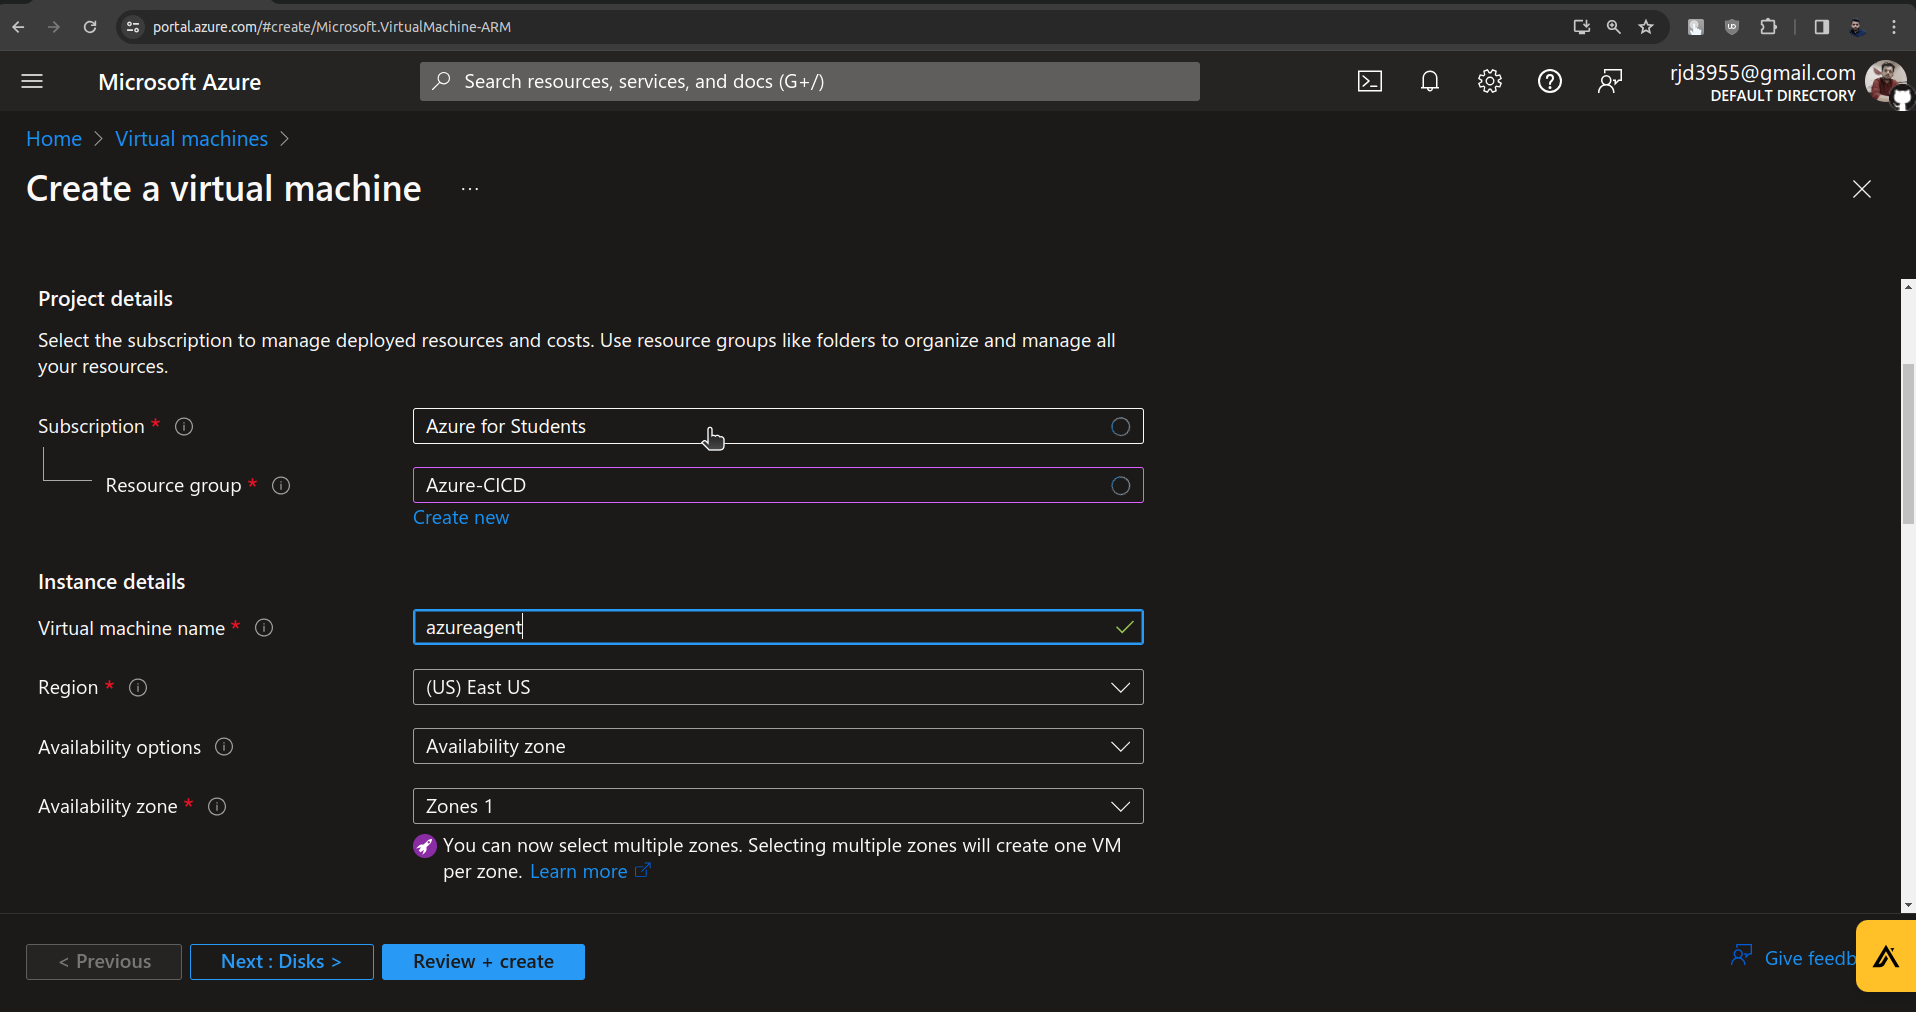


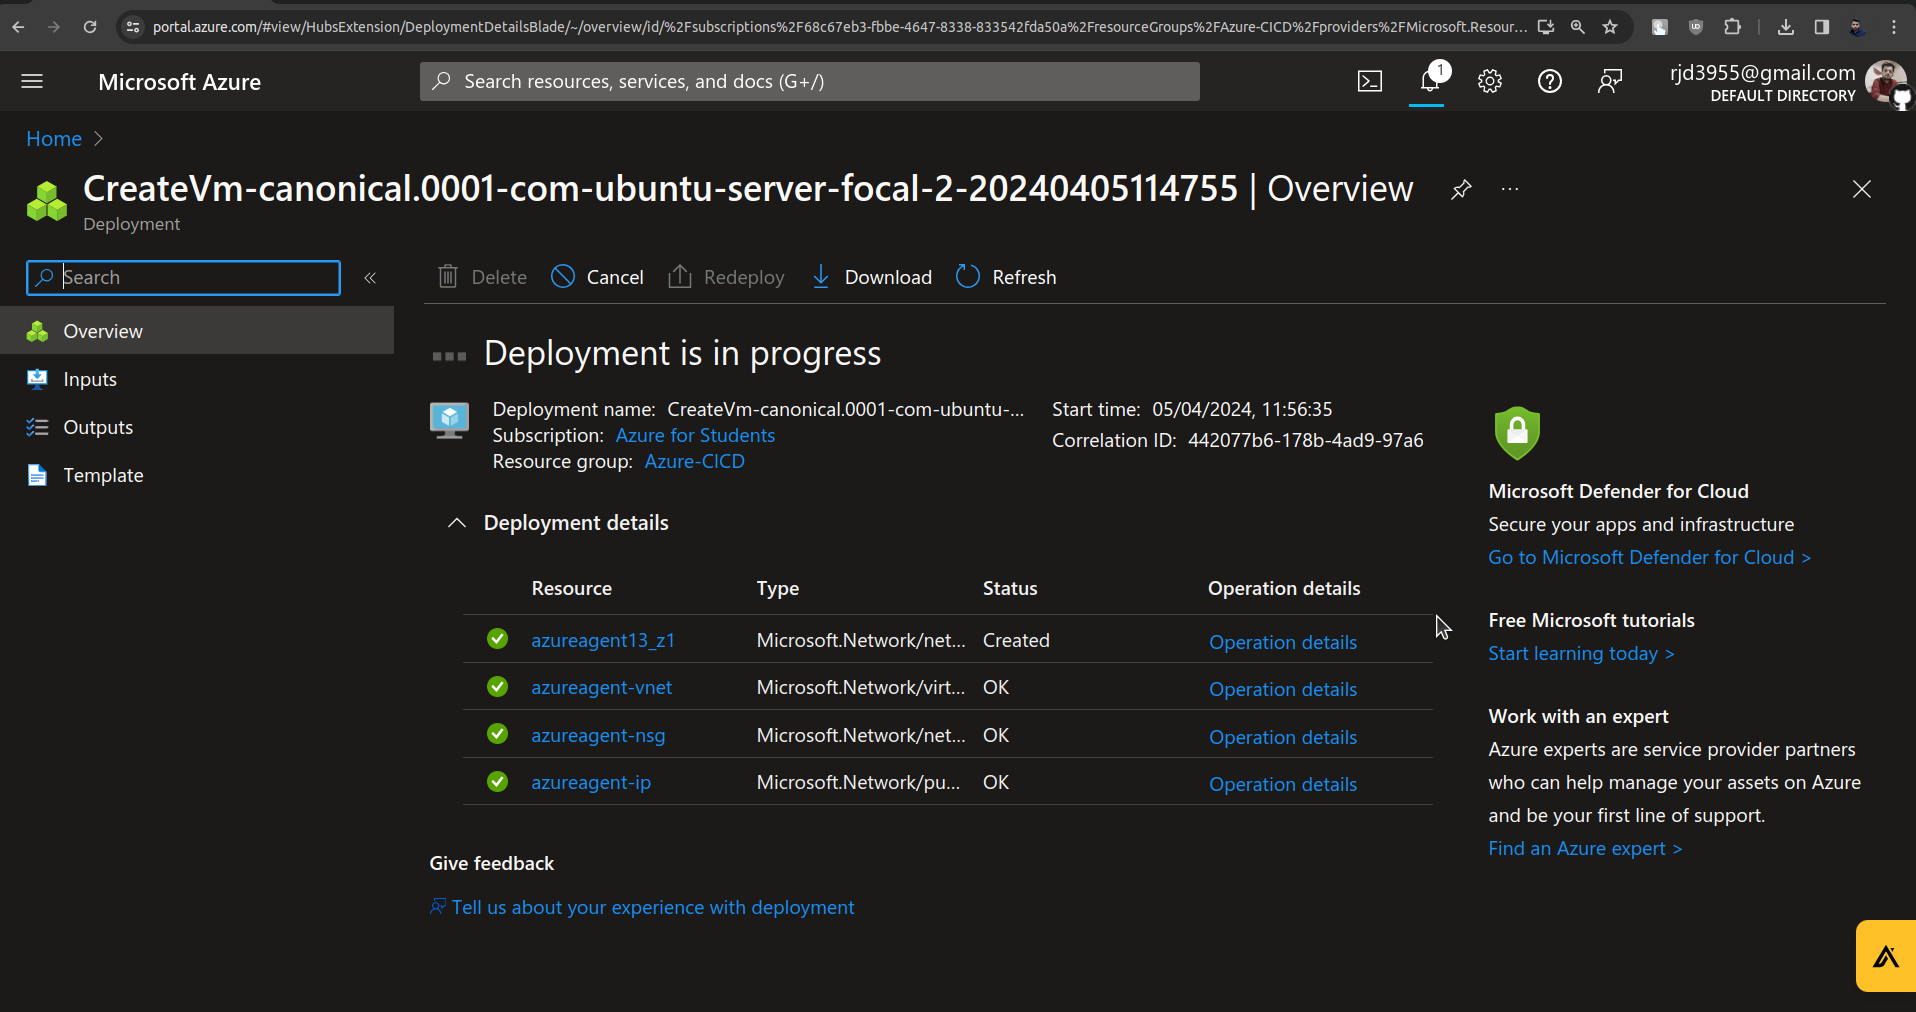
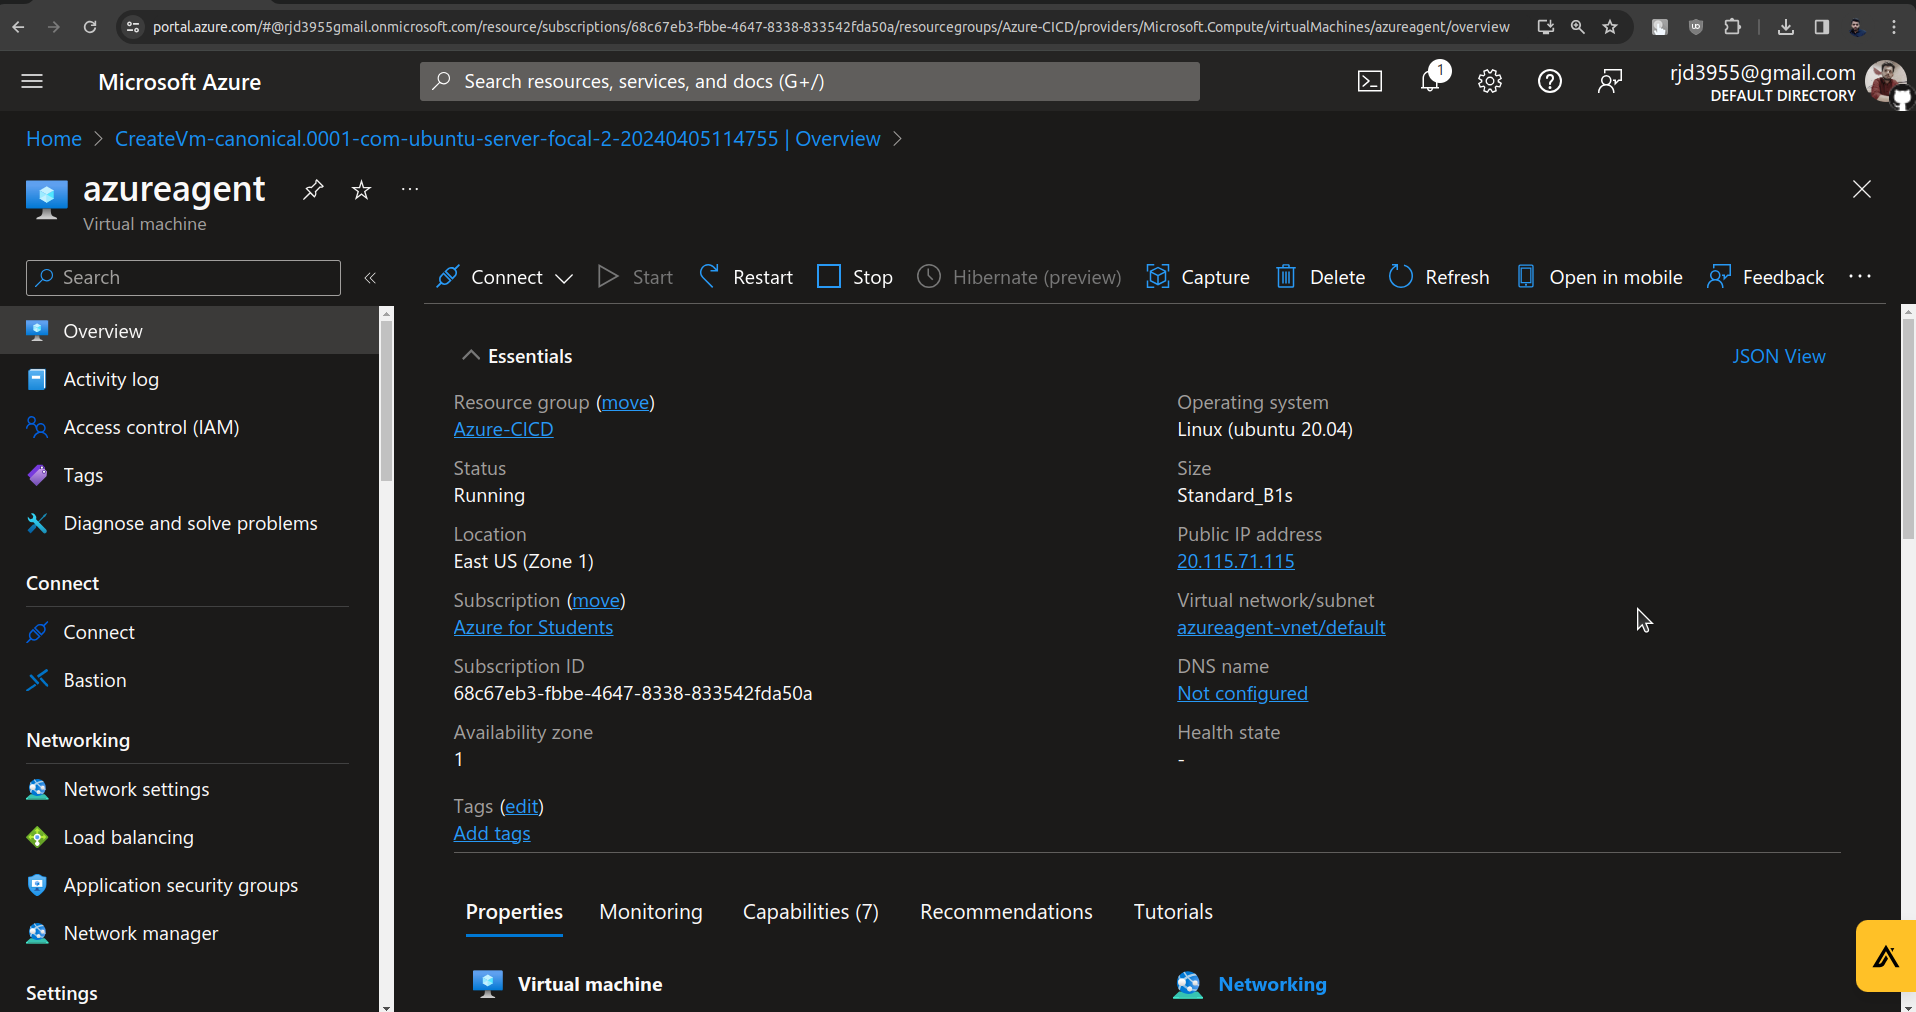
Now we need to integrate this VM called azureagent which is on the Microsoft Azure platform with the pipelines that are on the Azure DevOps Platform.
For this, there are some commands which you will get from Azure DevOps documentation.
Link For Azure DevOps Docs:https://learn.microsoft.com/en-us/azure/devops/pipelines/?view=azure-devops
Direct Link to Self-hosted Linux agents:https://learn.microsoft.com/en-us/azure/devops/pipelines/agents/linux-agent?view=azure-devops
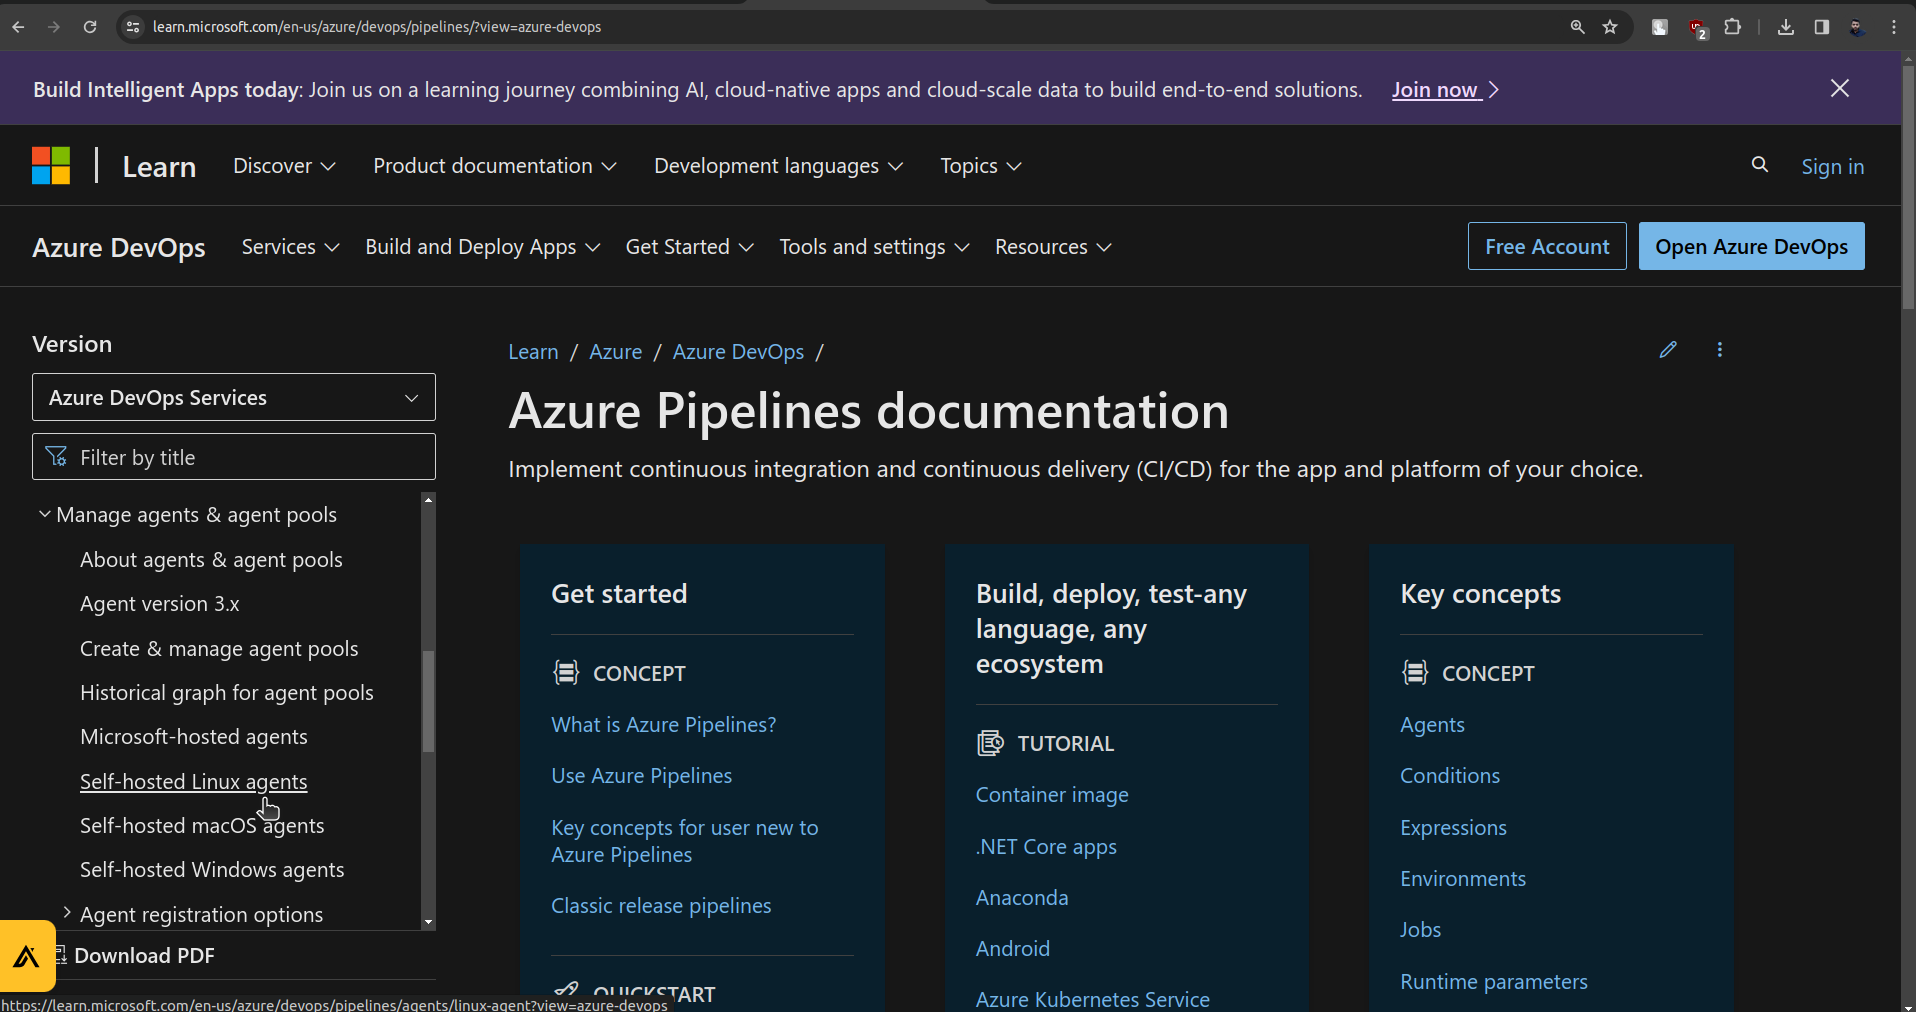
There are some steps we need to perform as per the documentation.
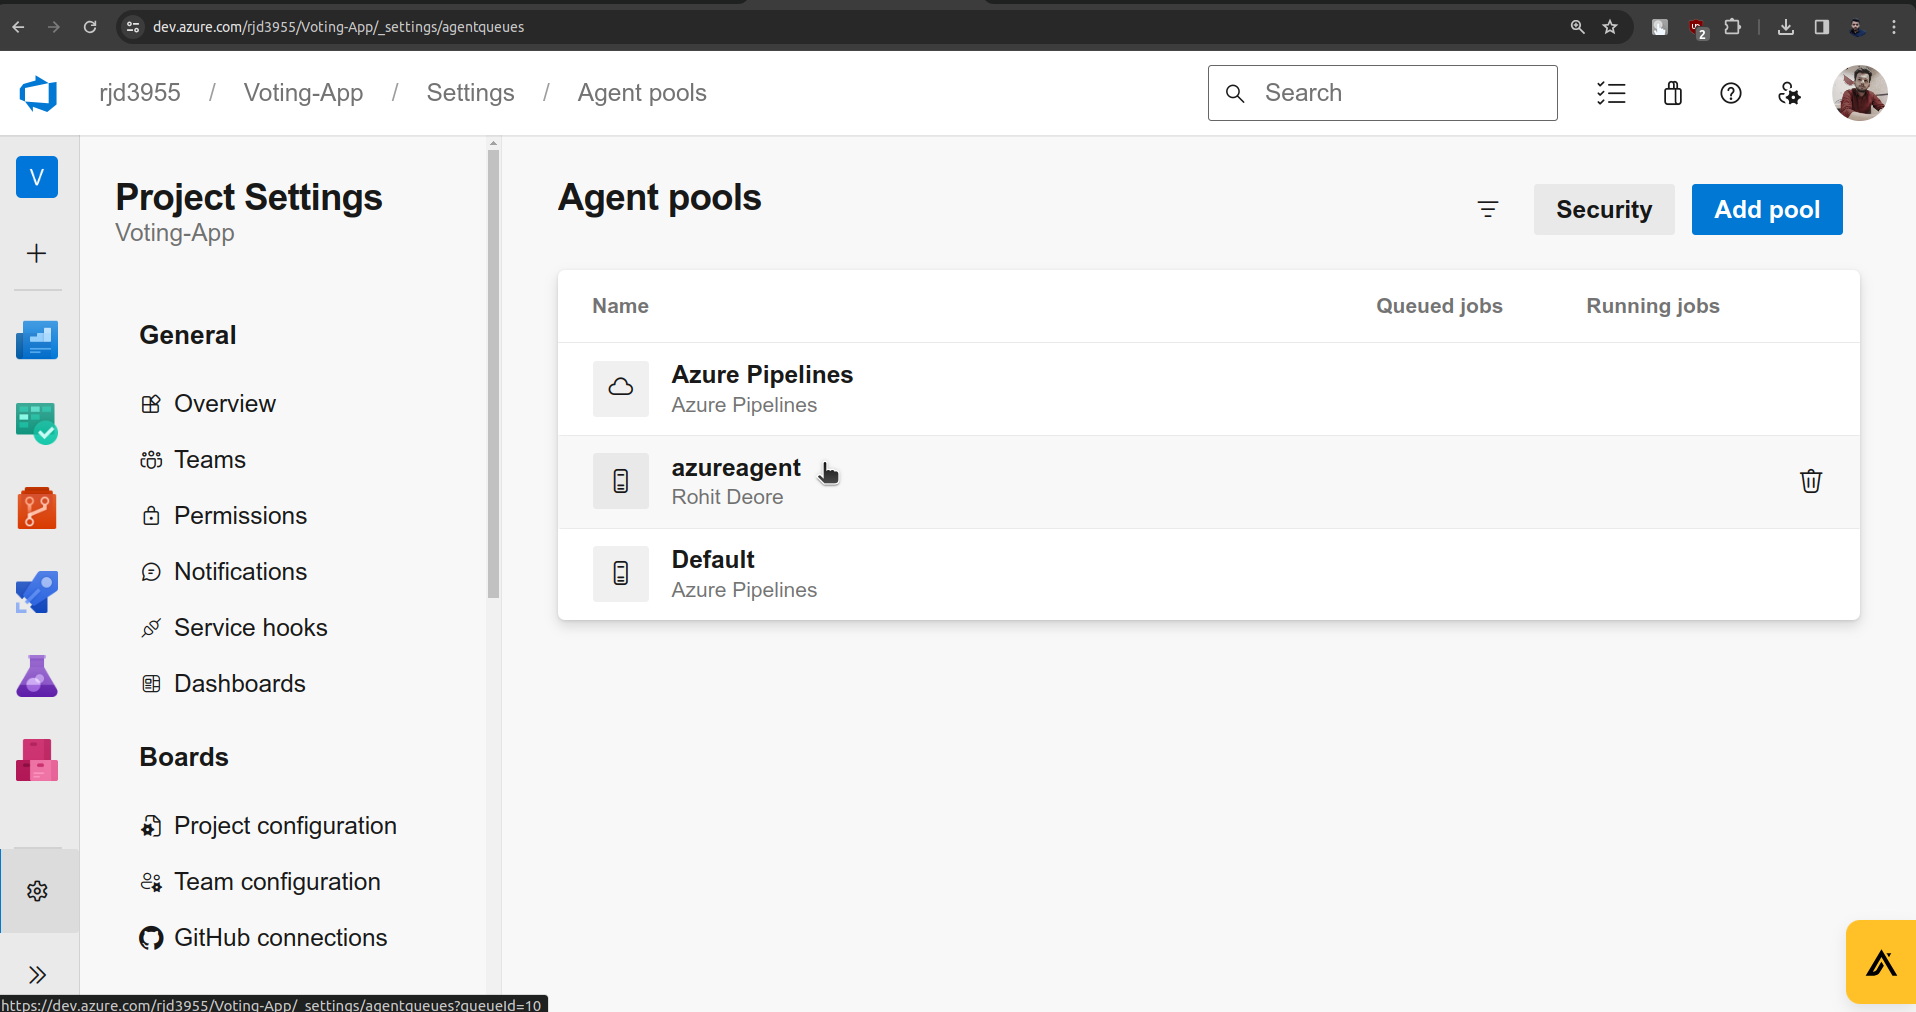
Go to Project settings.
In the Pipelines section Click on Agent pools.
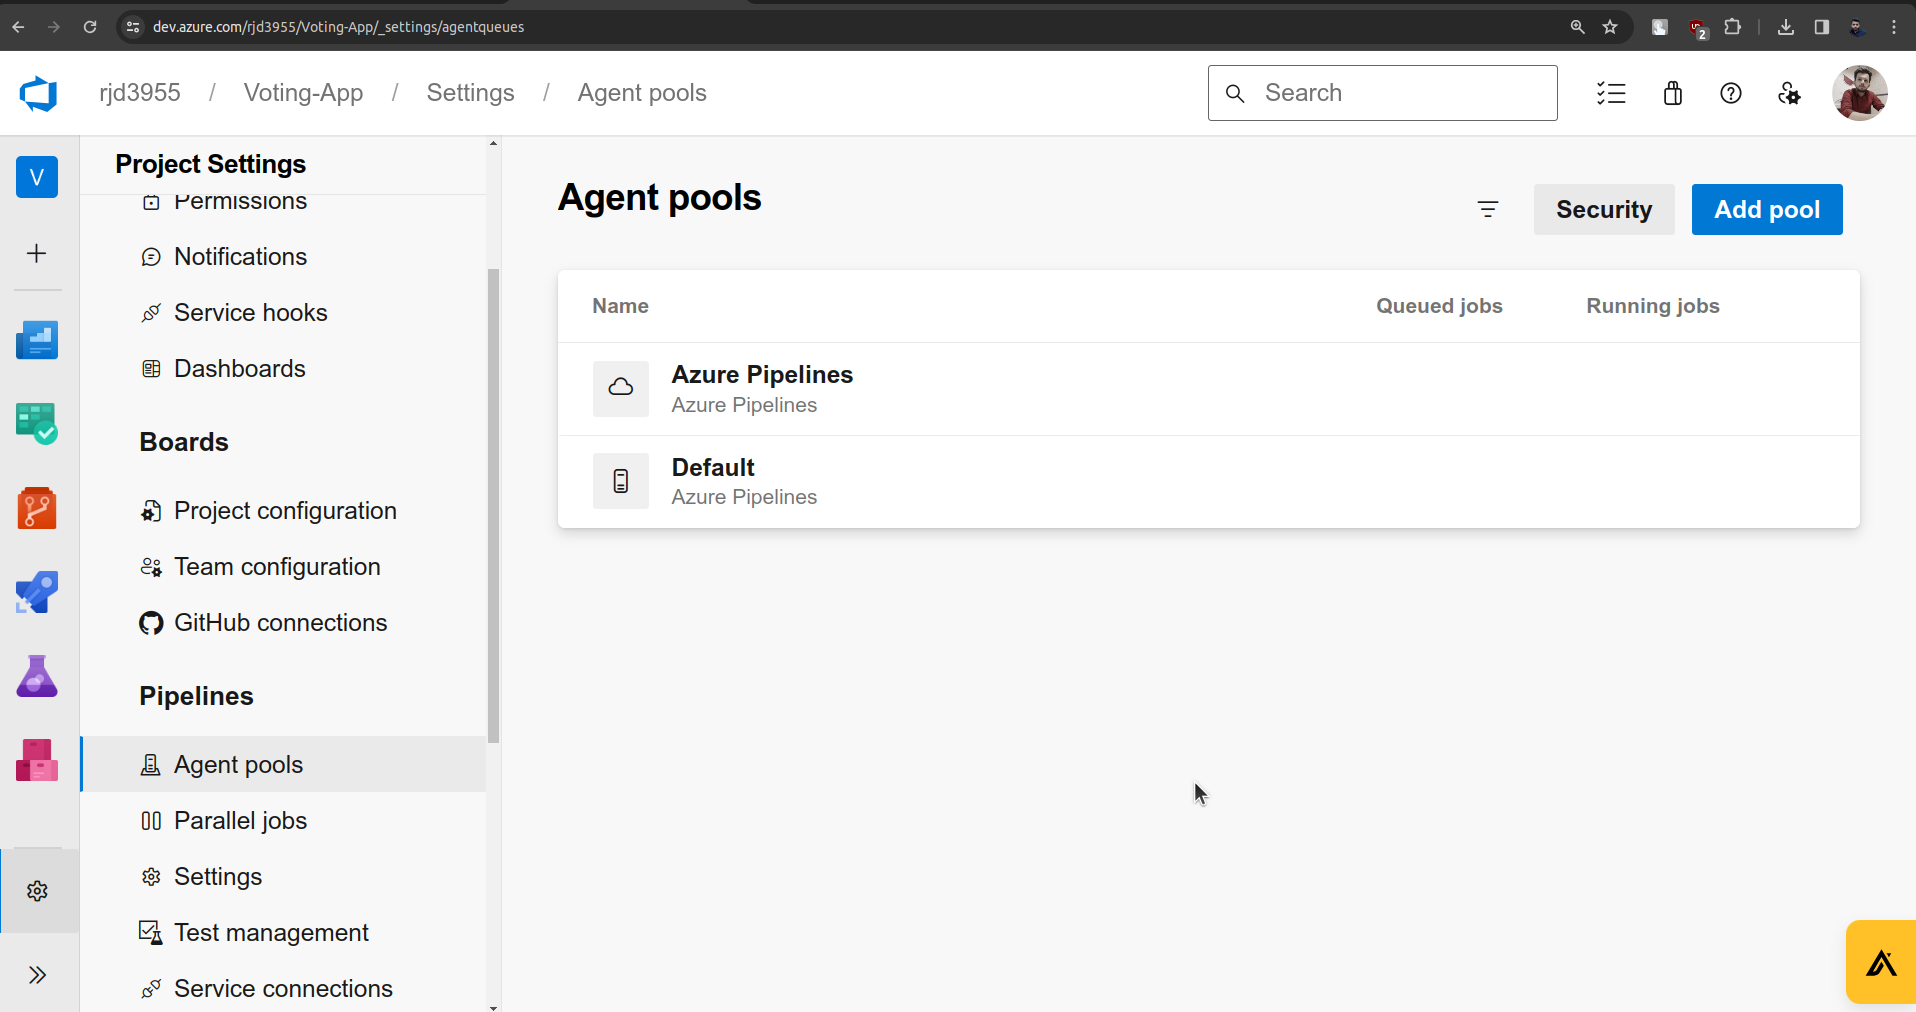
Click on Add pool.
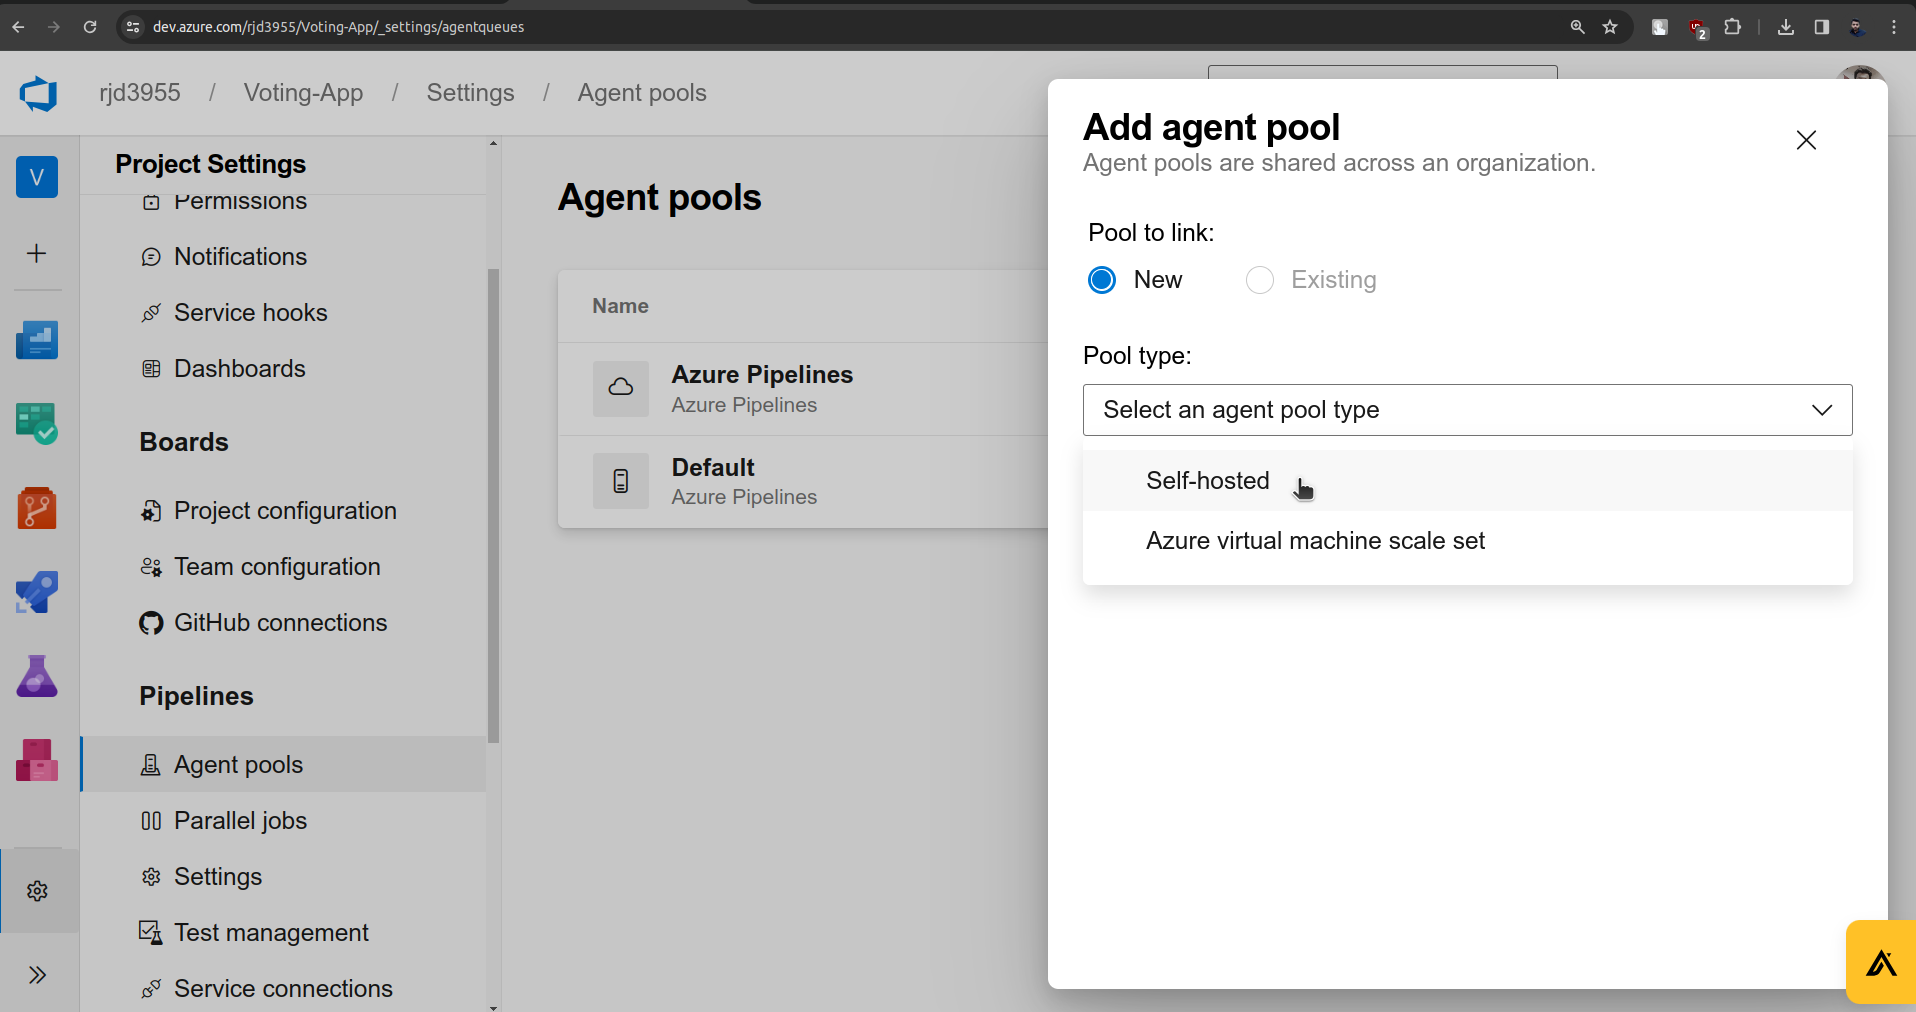
Select self-hosted.
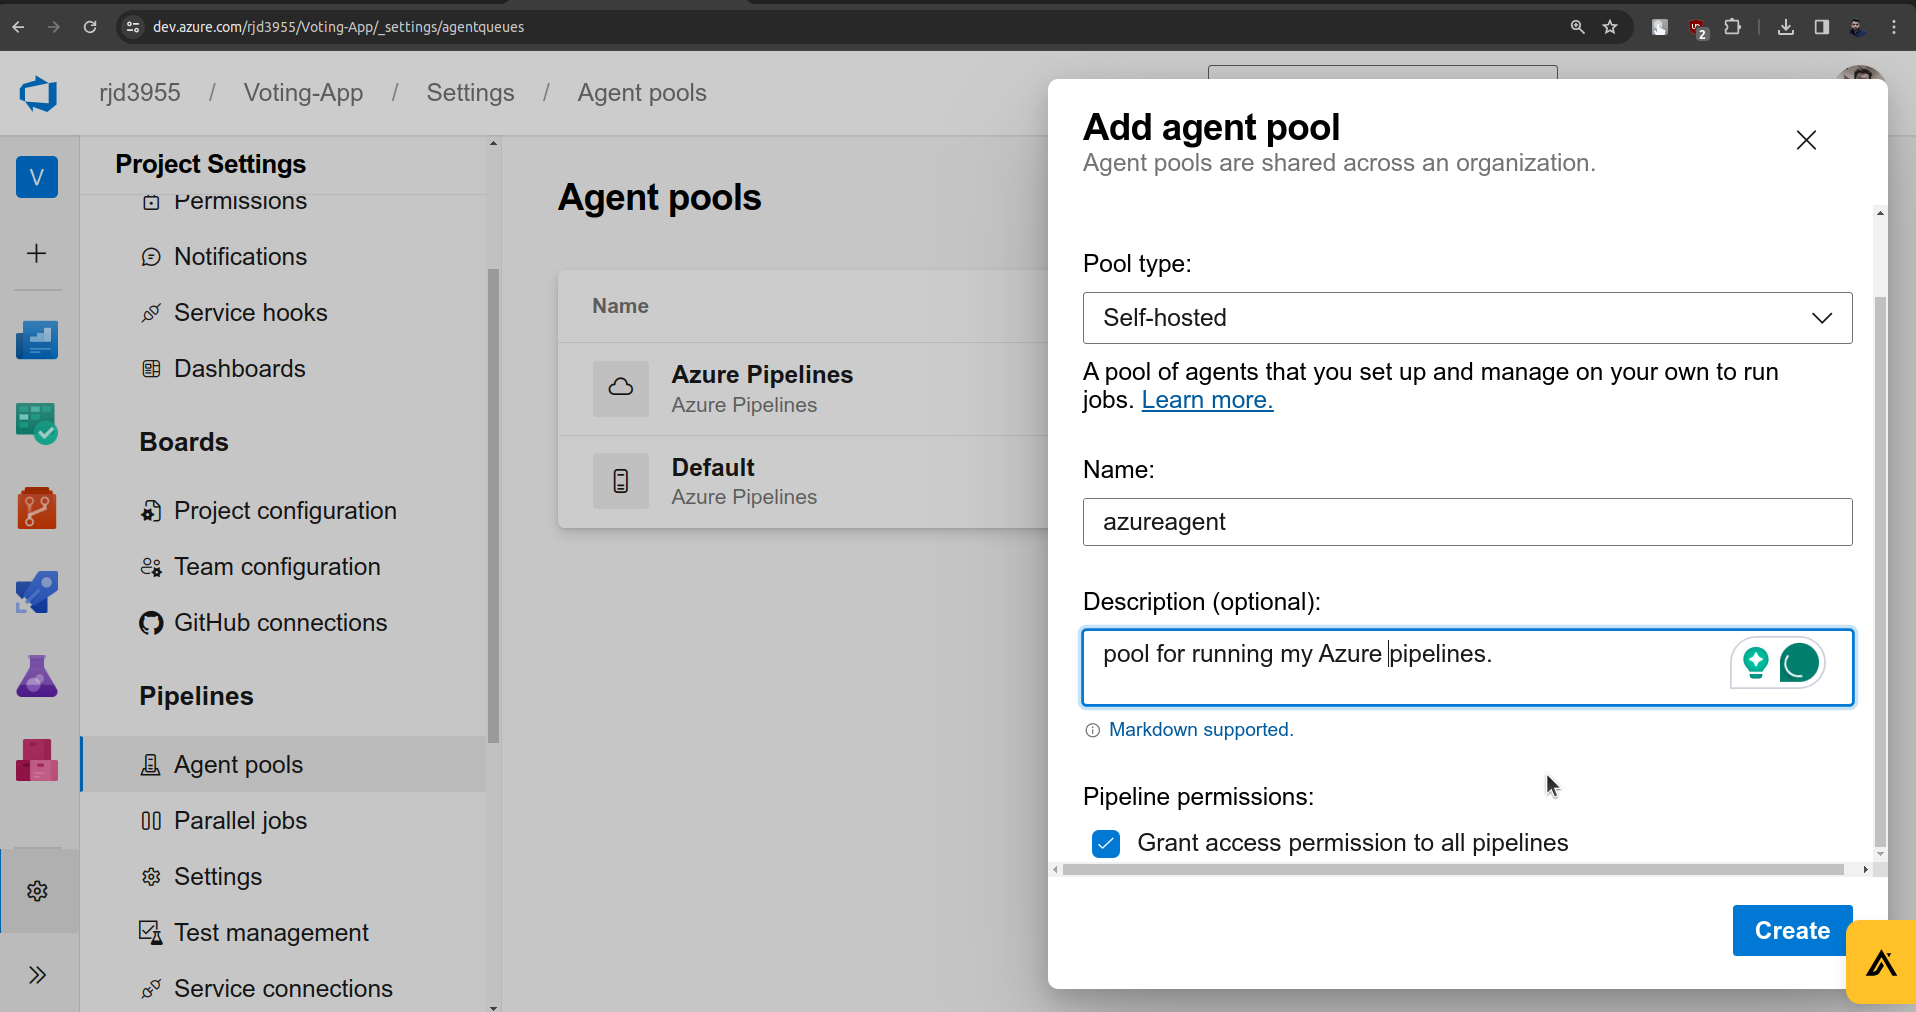
Click on Create. We will get an agent pool named azureagent.
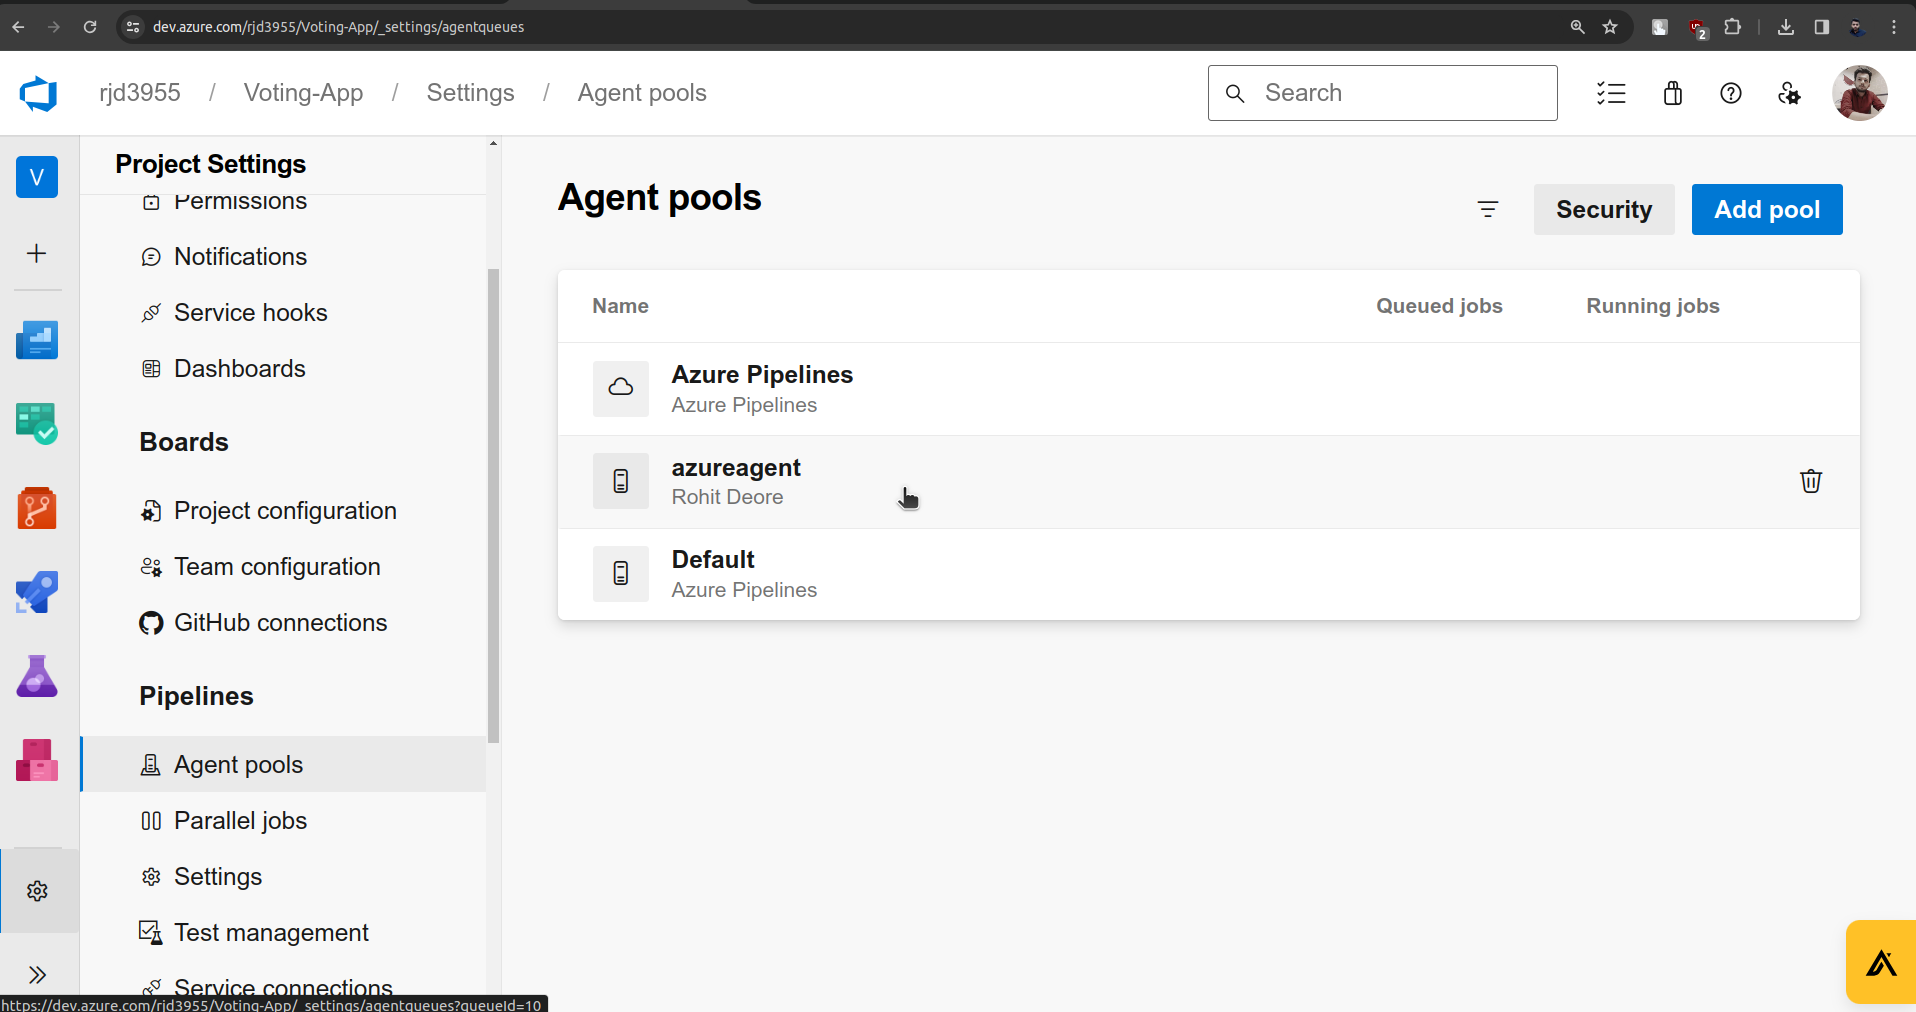
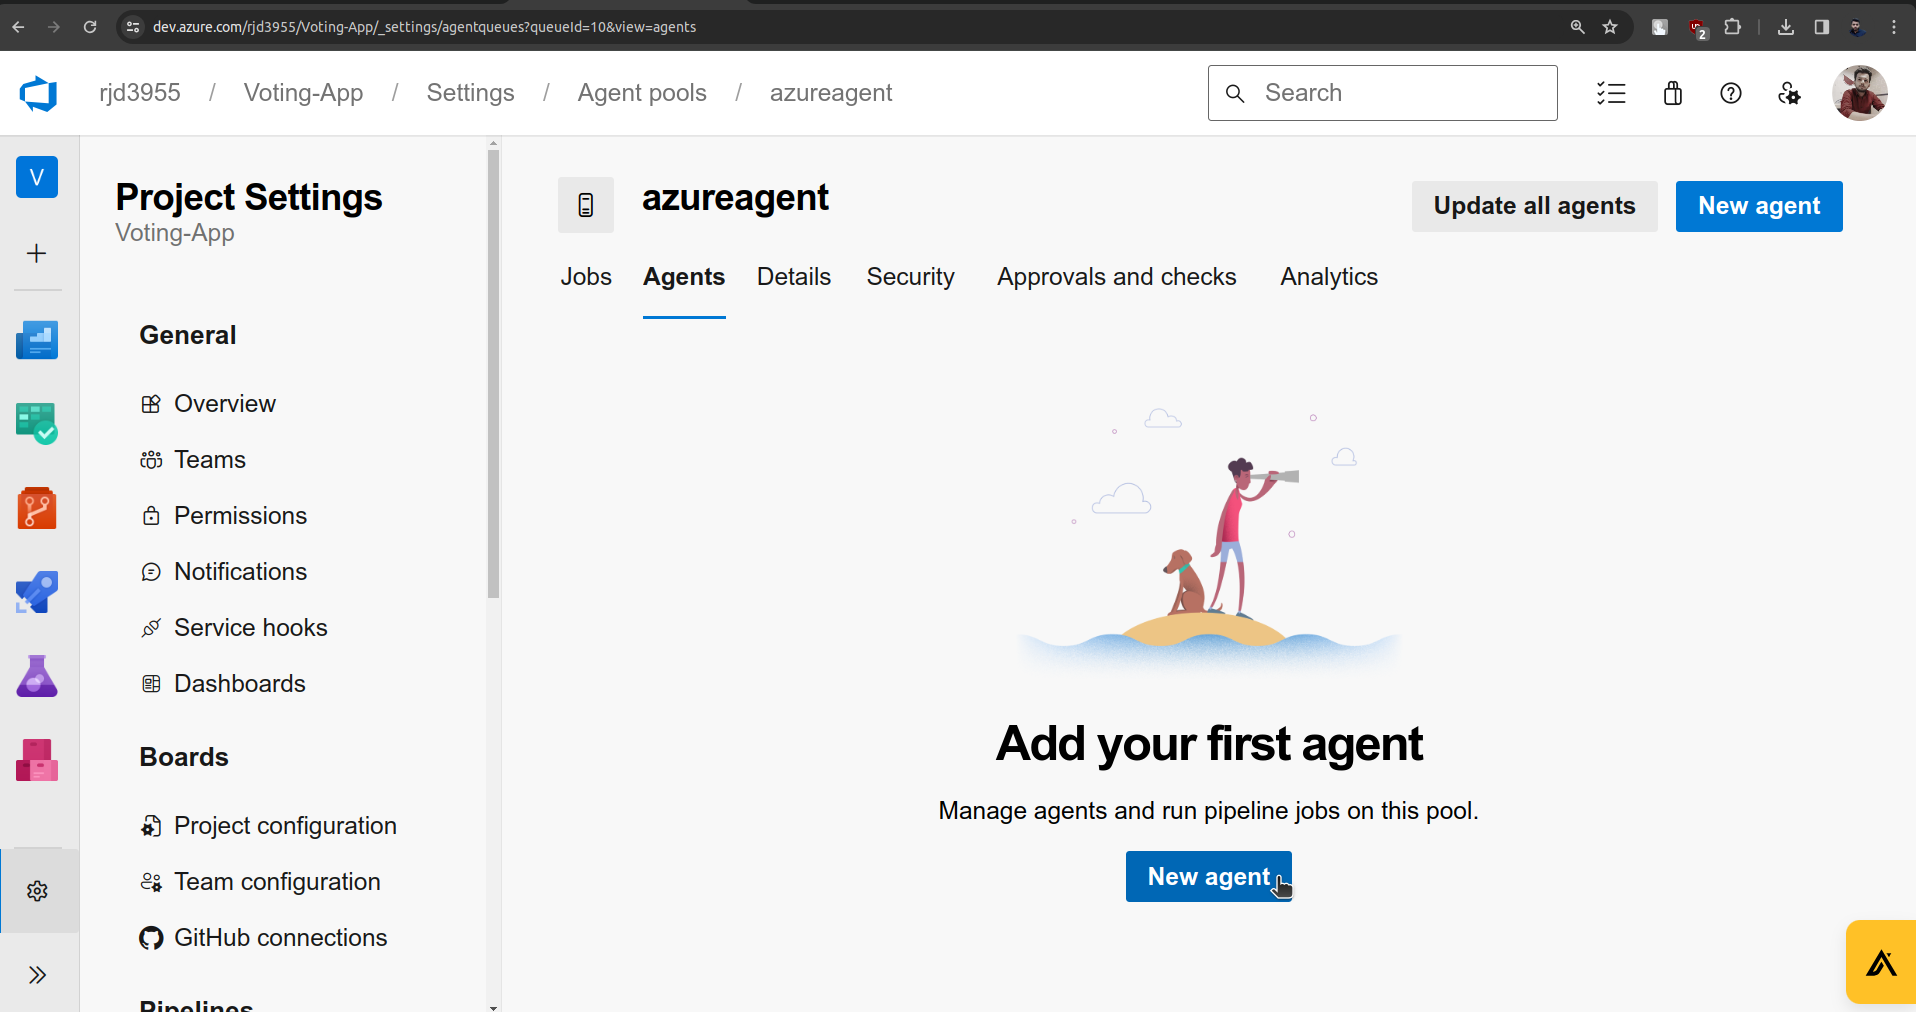
Now Click on Agent pool which we just created.
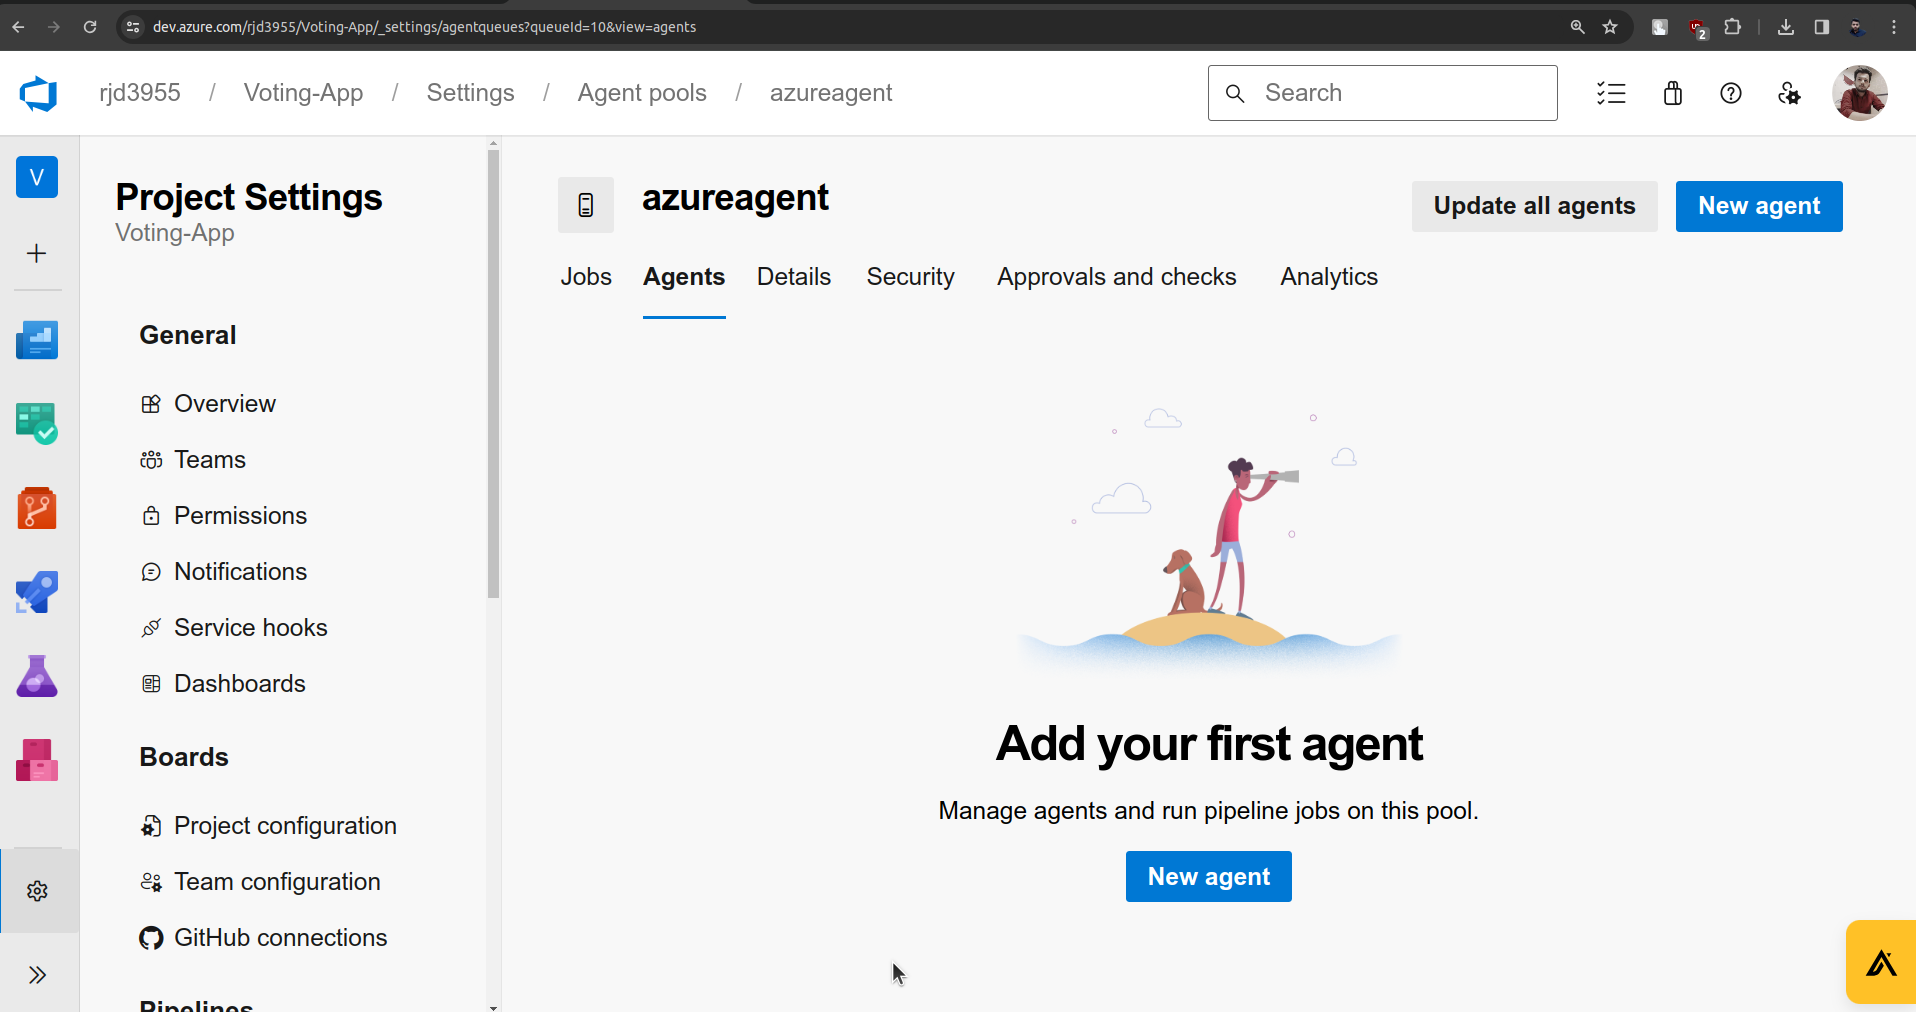
Here click on the New Agent.
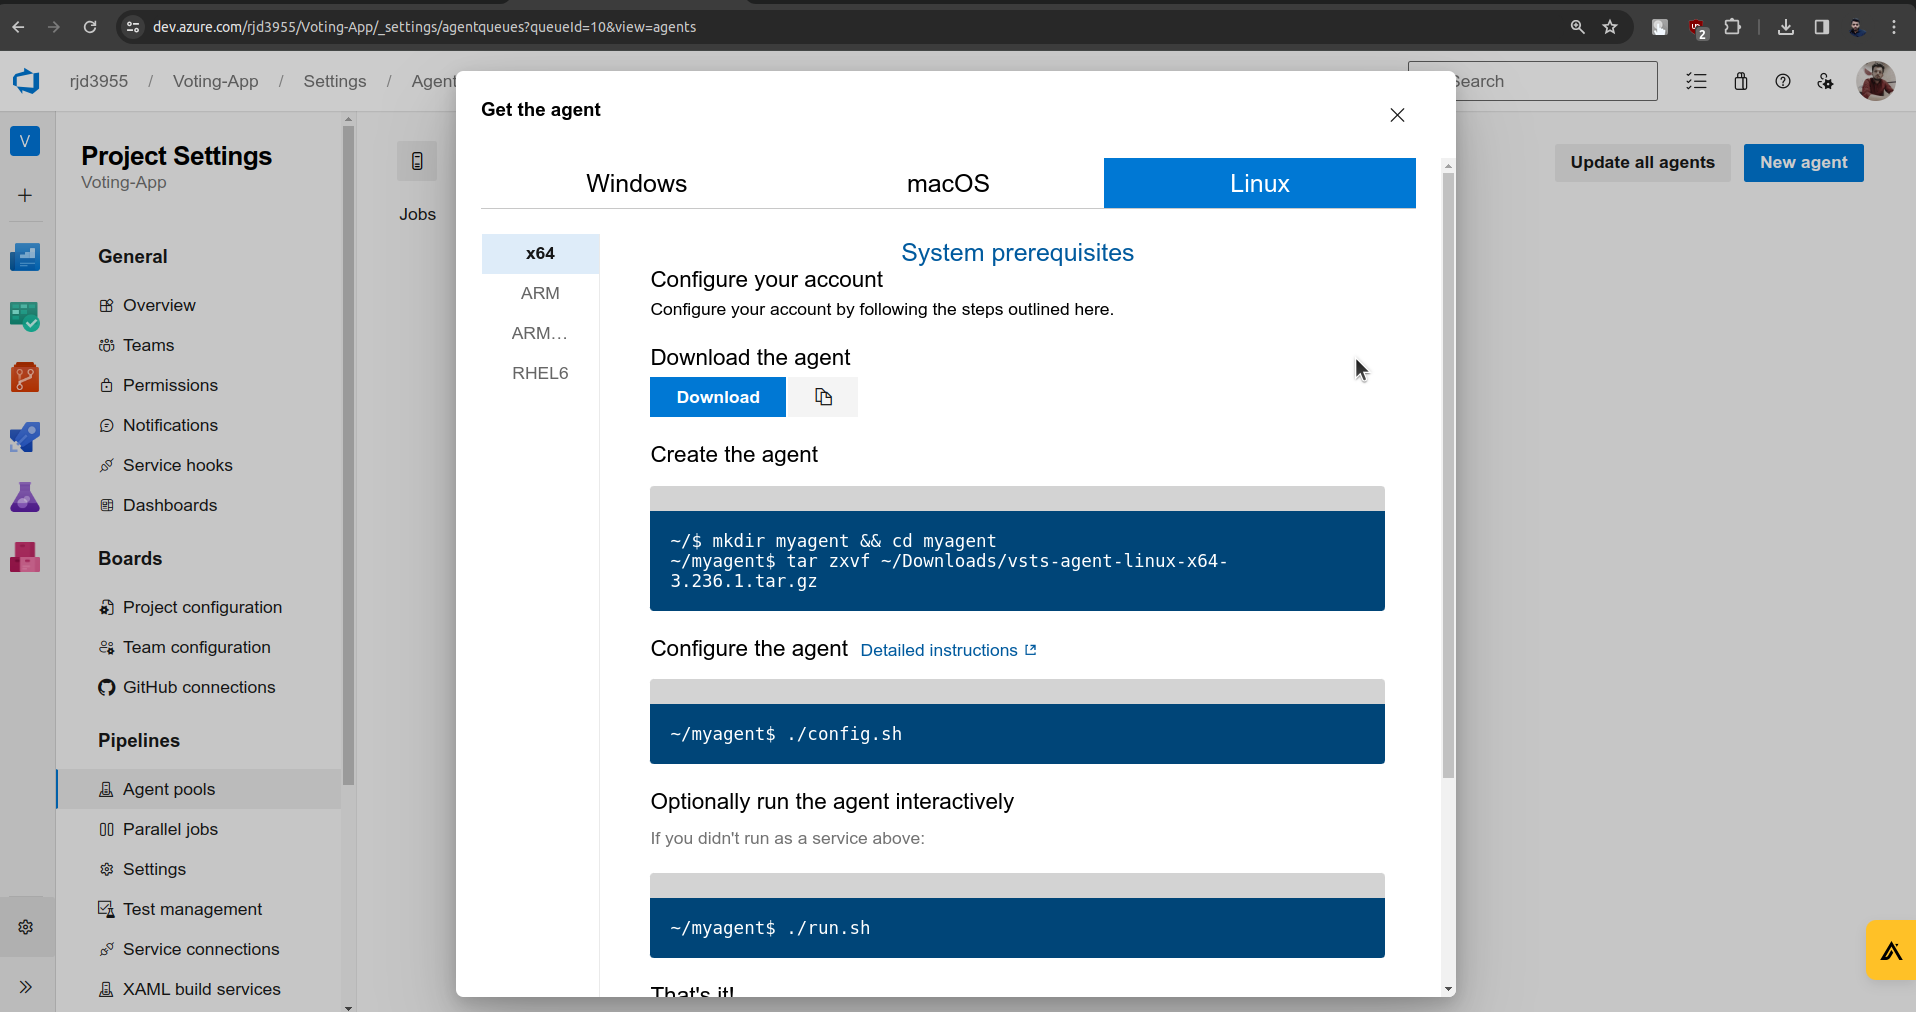
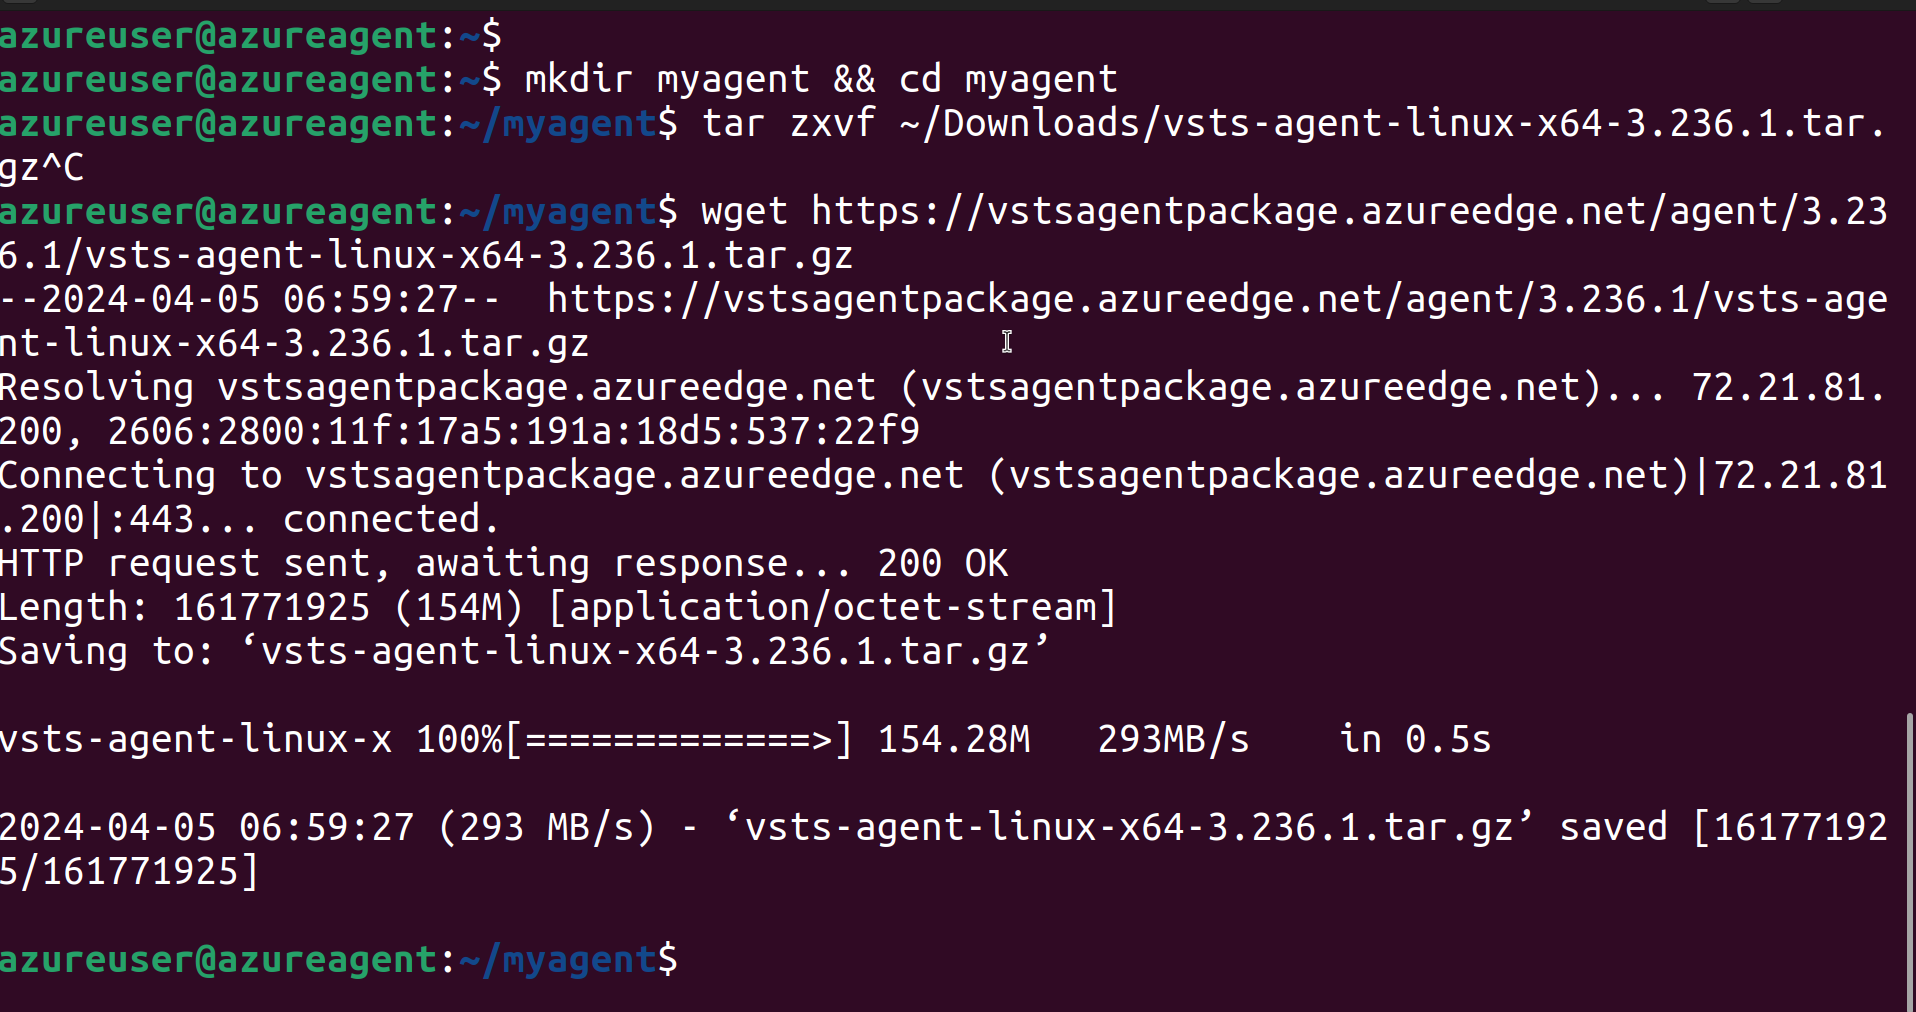
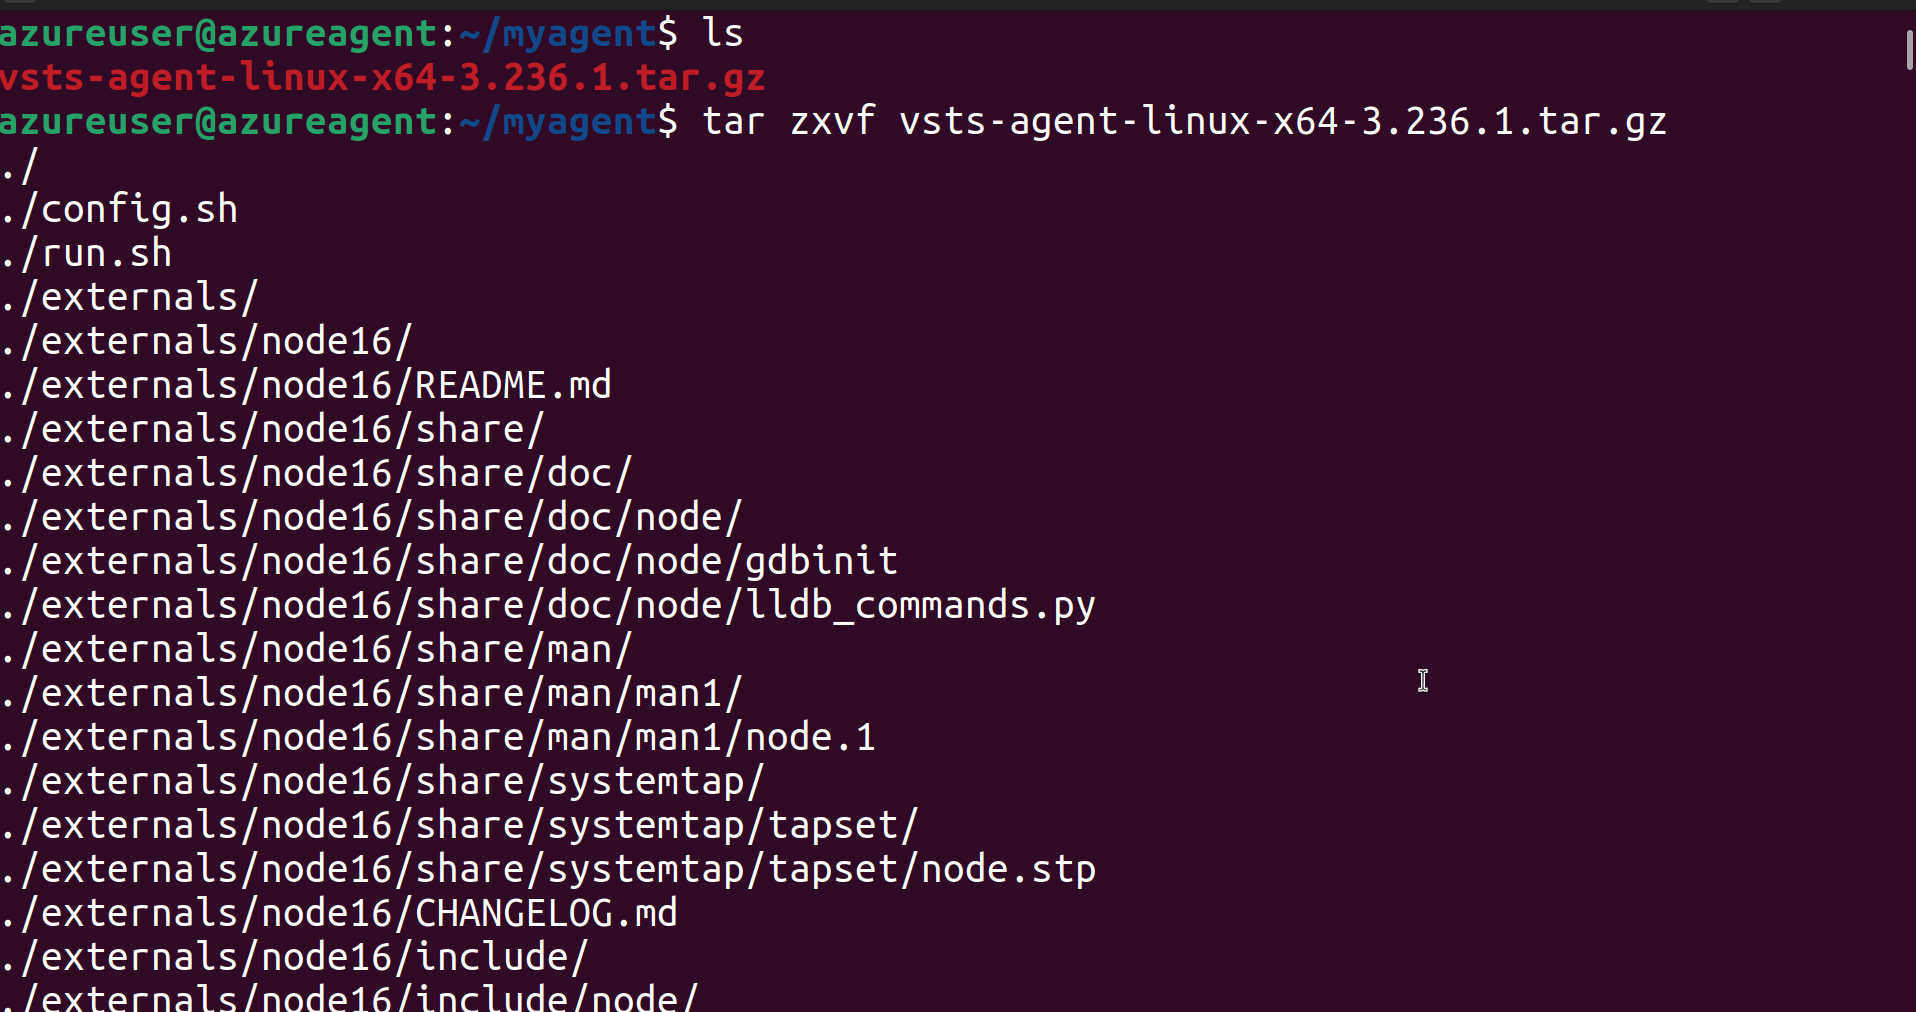
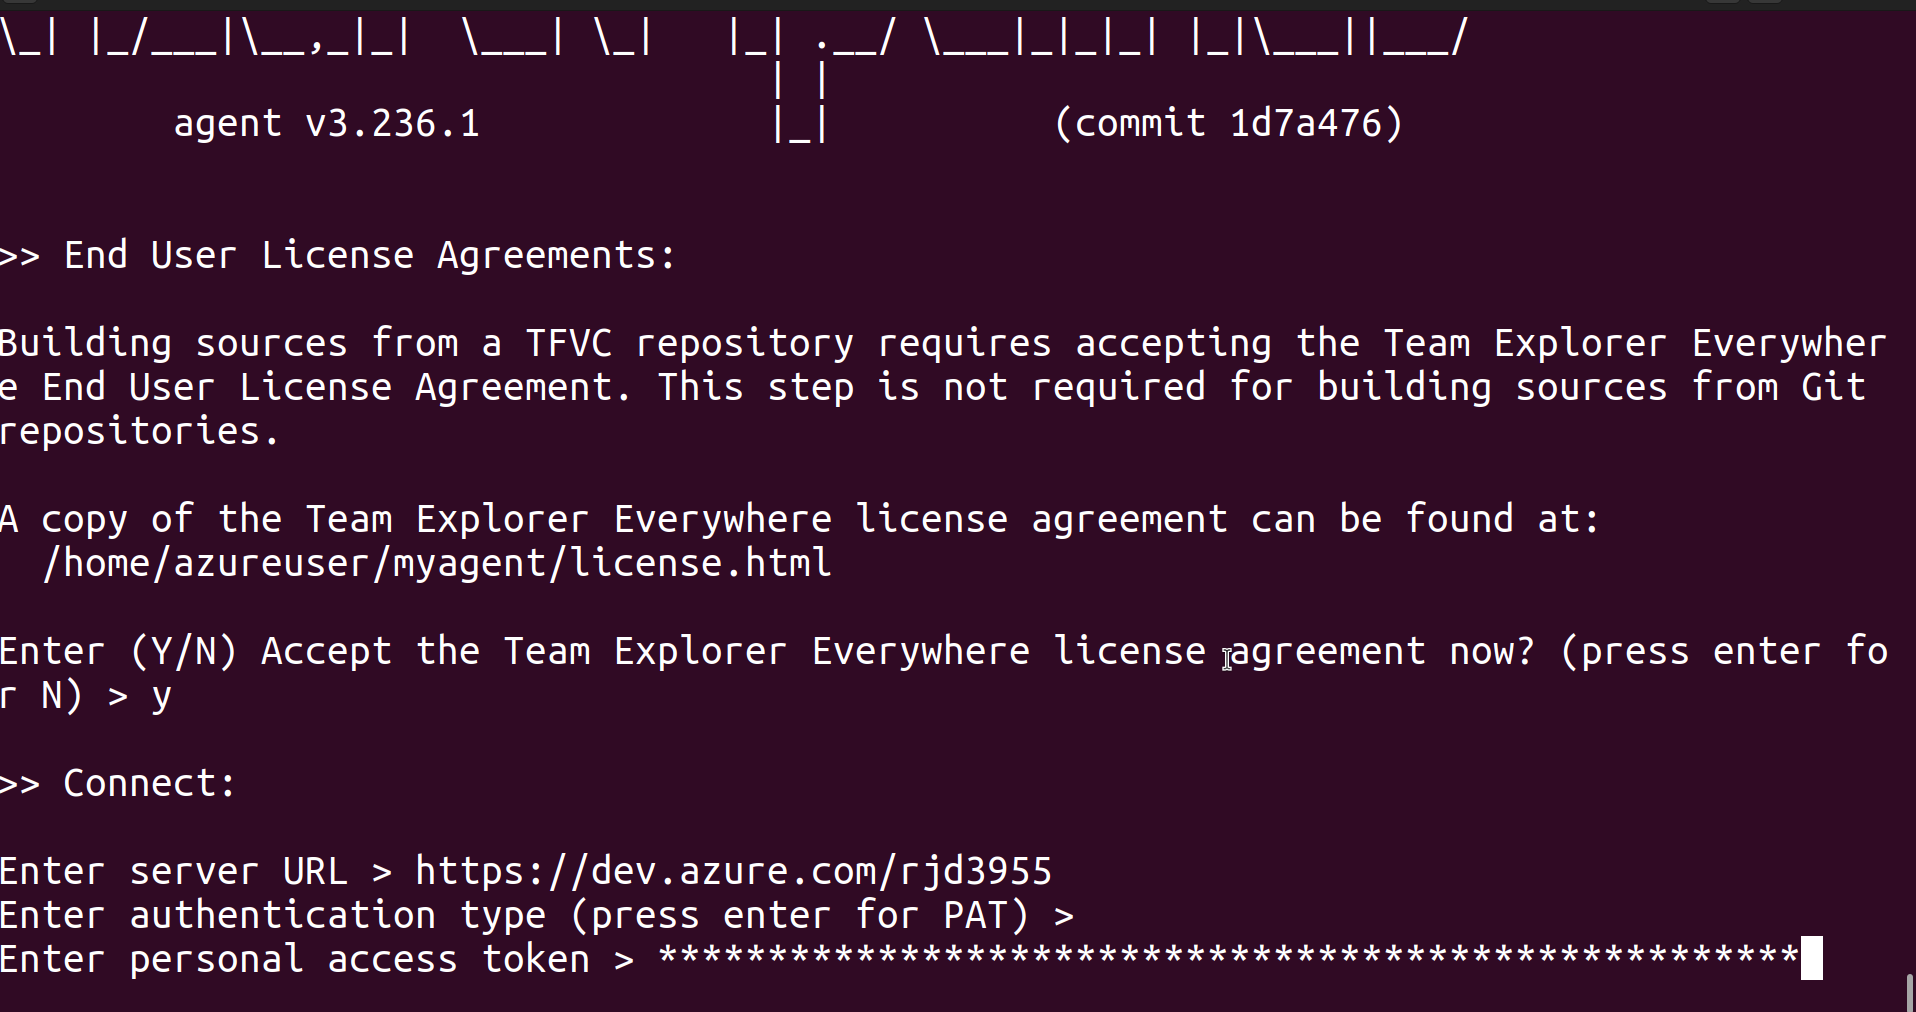
Now go to VM and ssh into it.
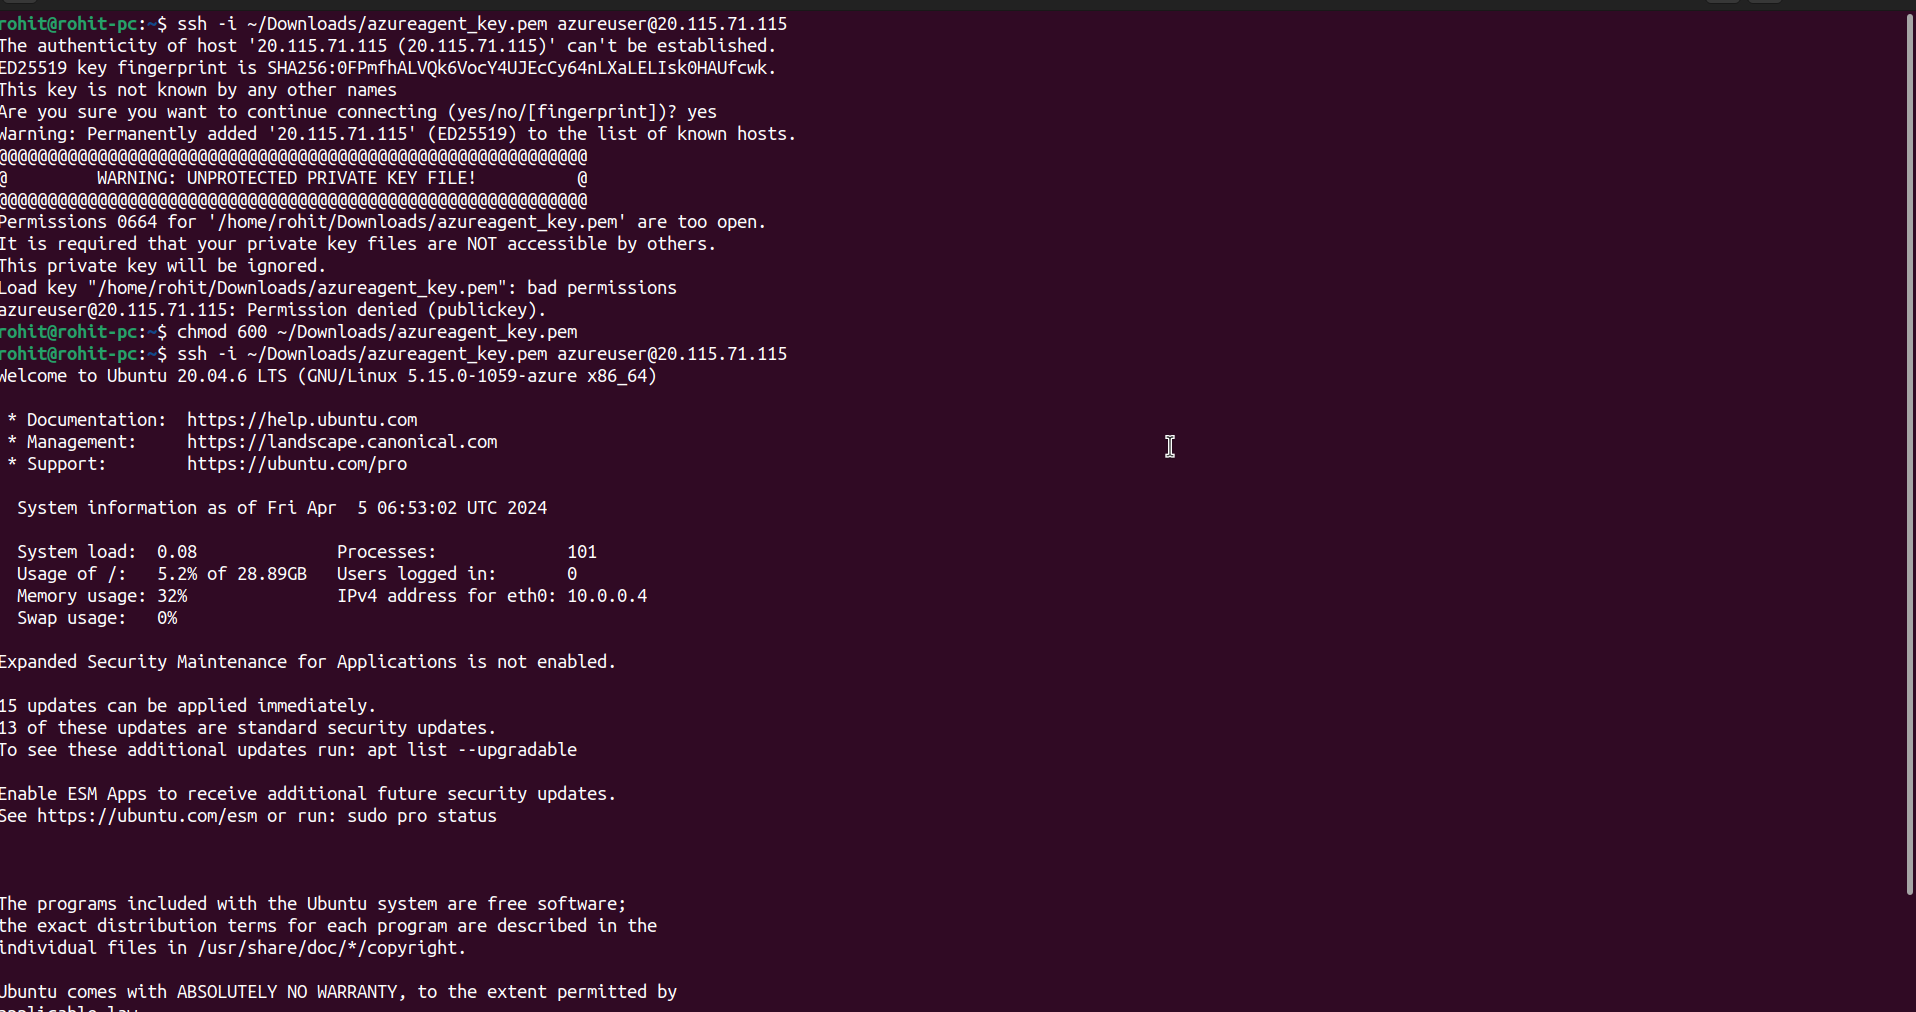
Copy the commands from Azure DevOps Platform paste them into the VM Terminal and execute those one by one.
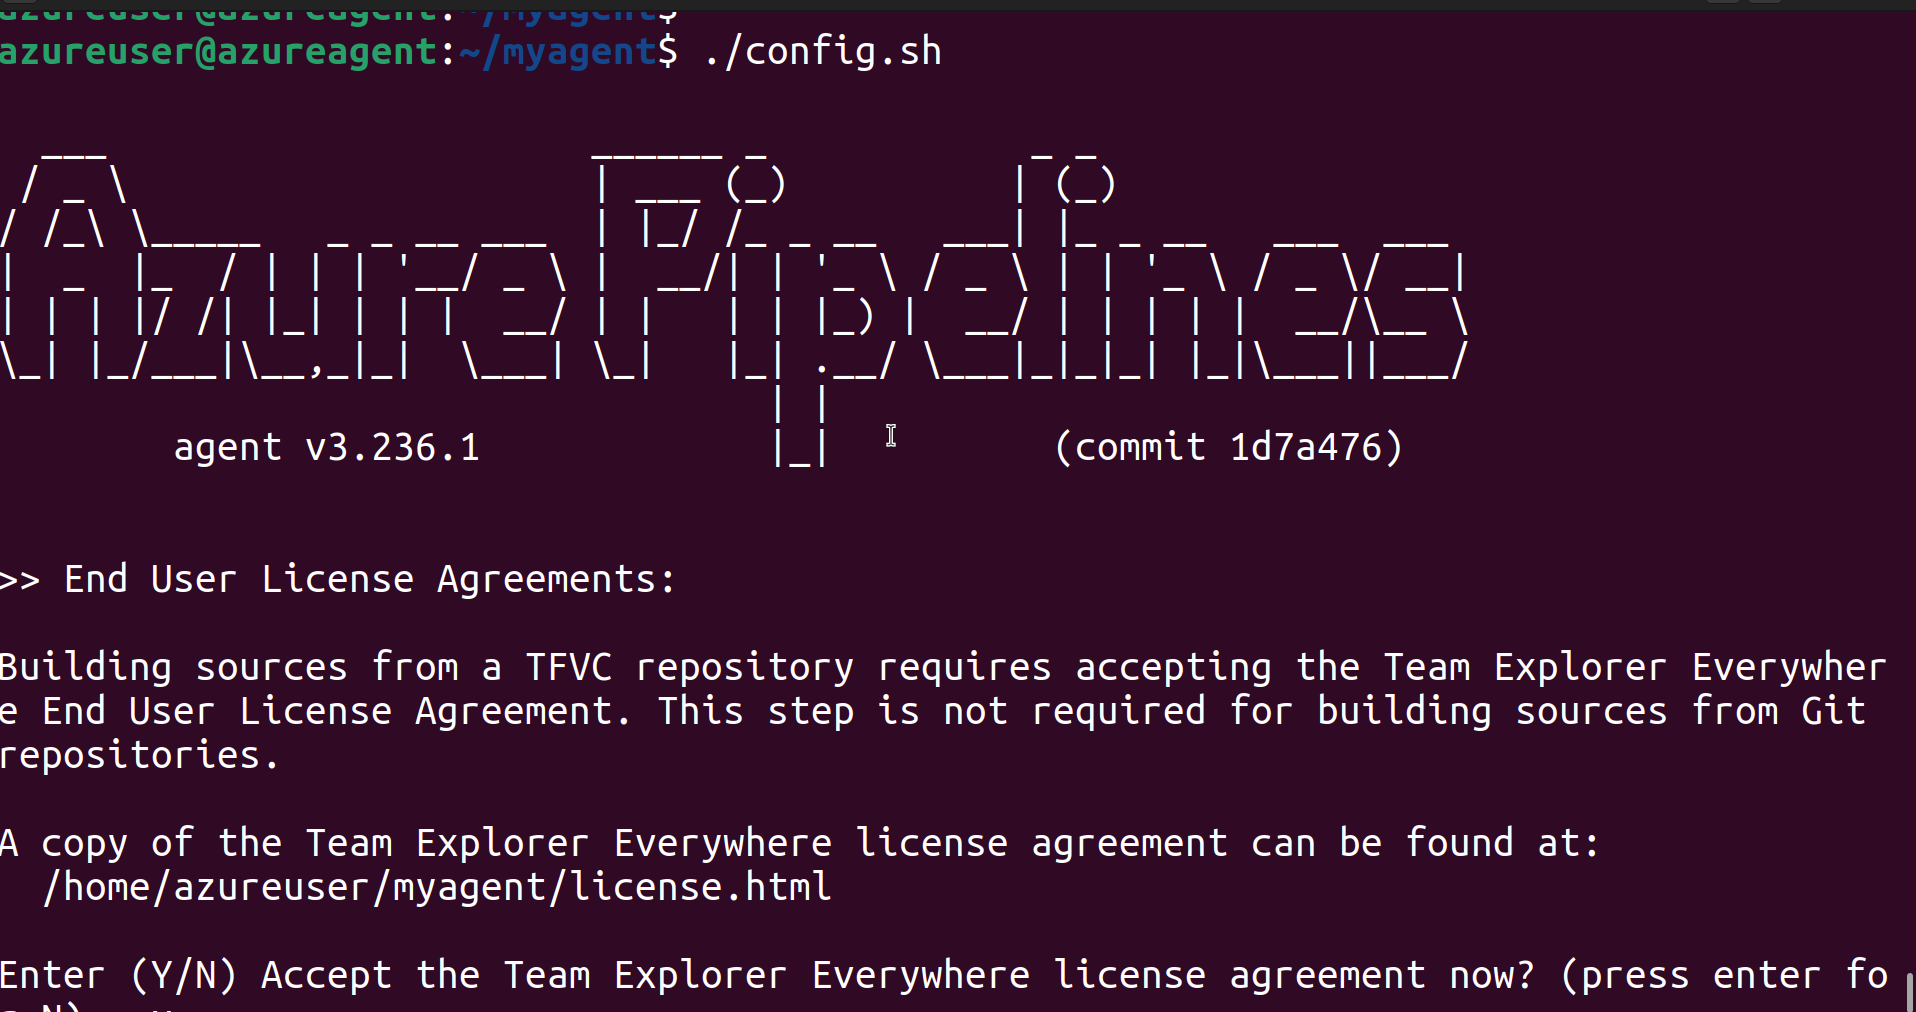
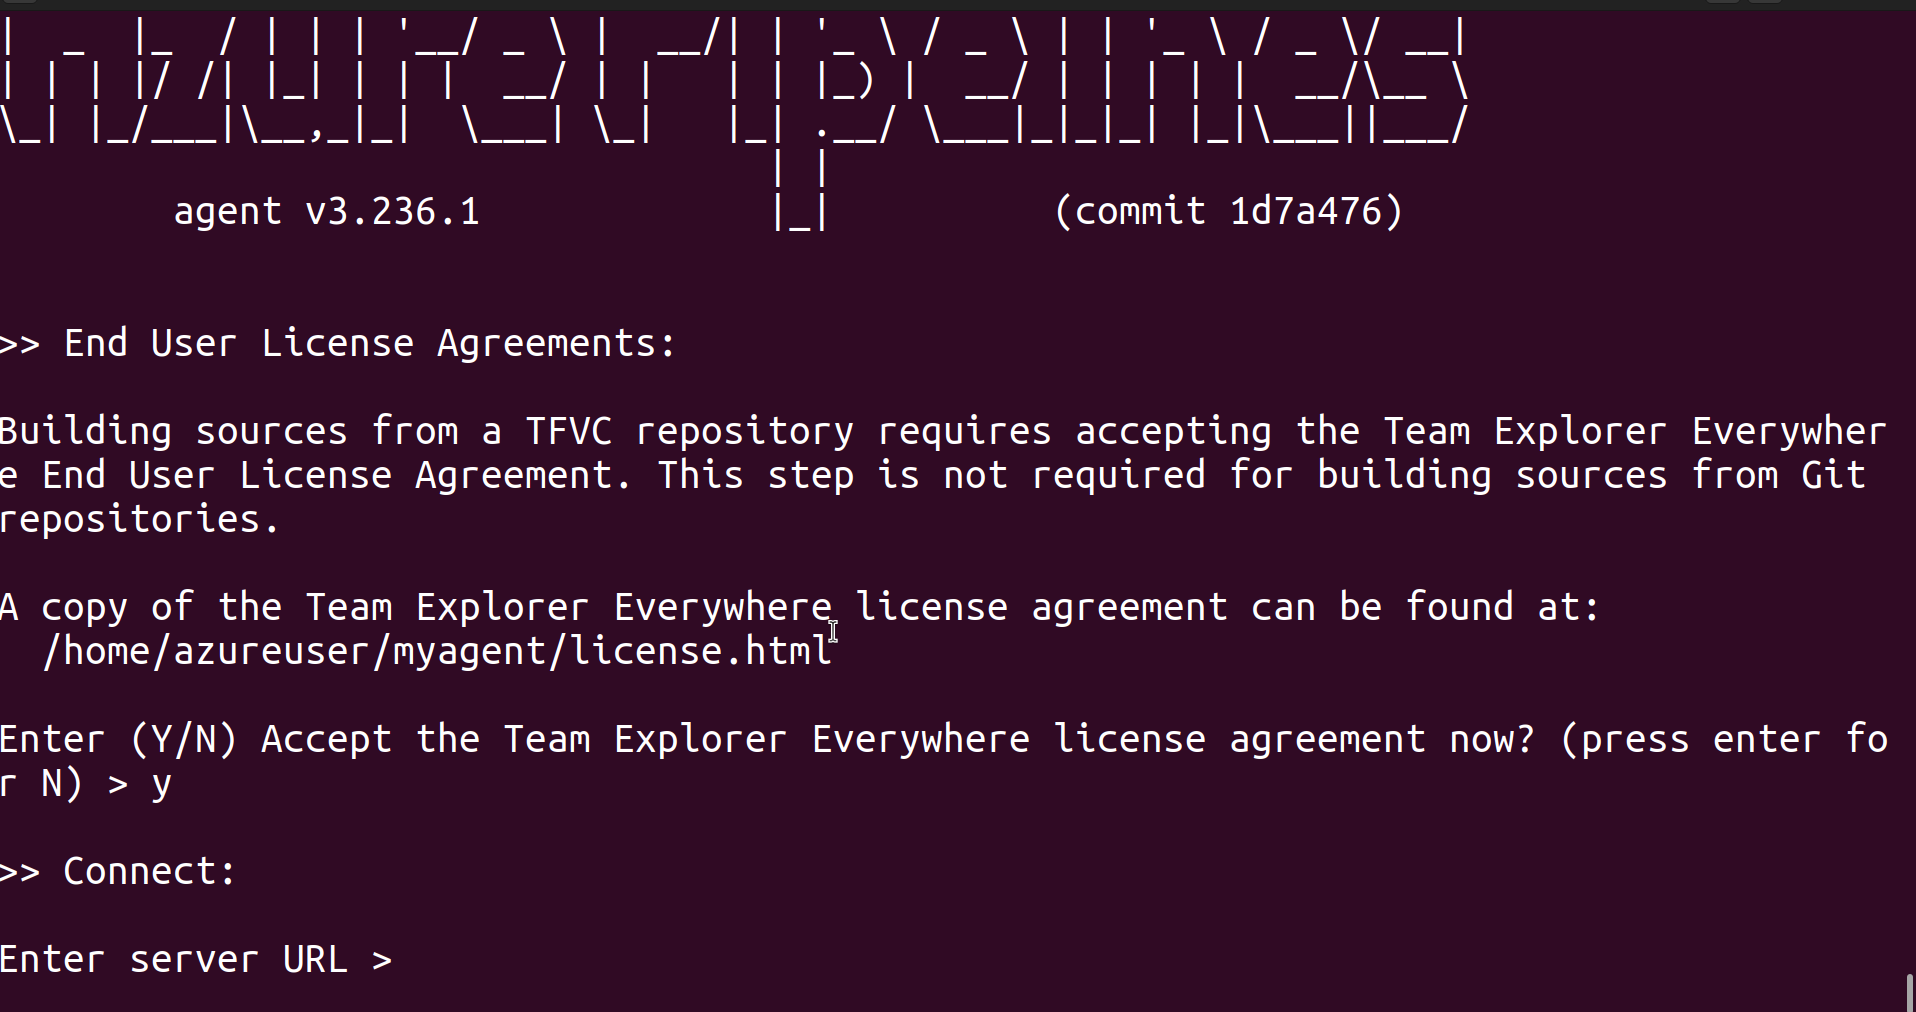
Asking for the server URL, it will be available in the documentation.
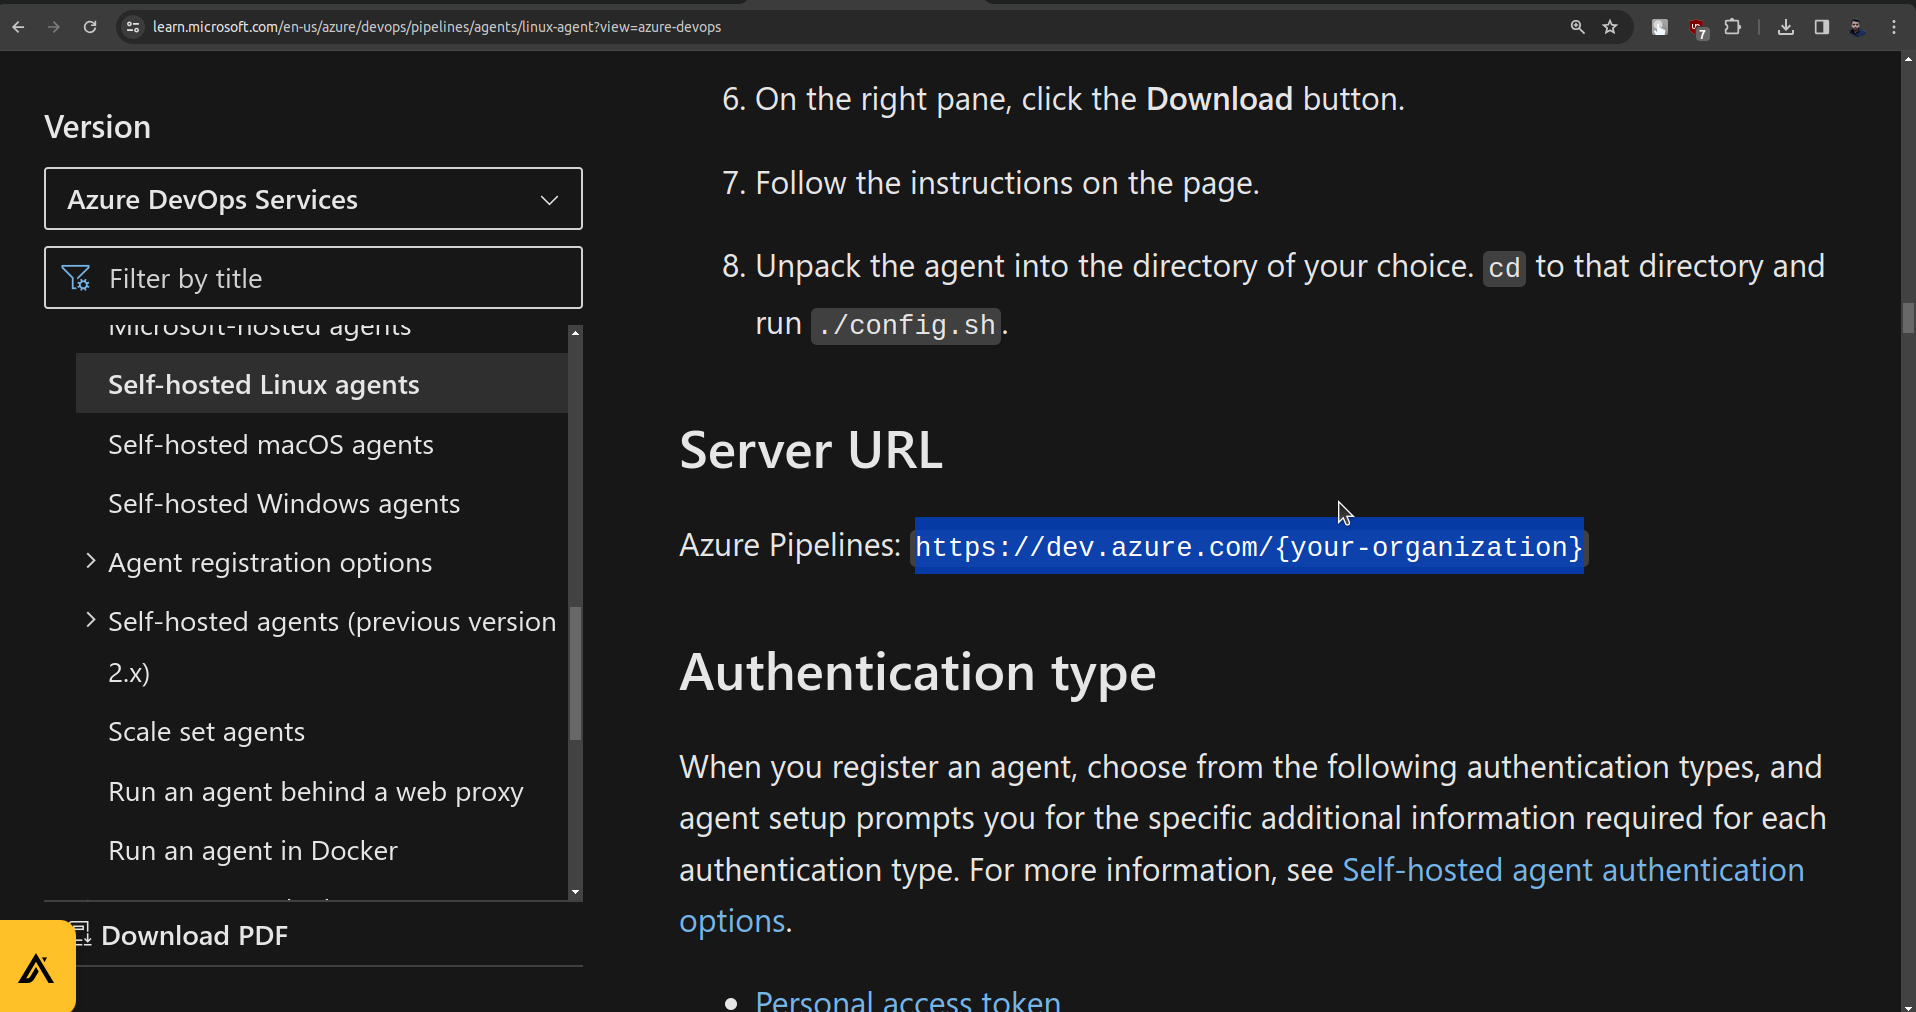
" https://dev.azure.com/{your-organization} "
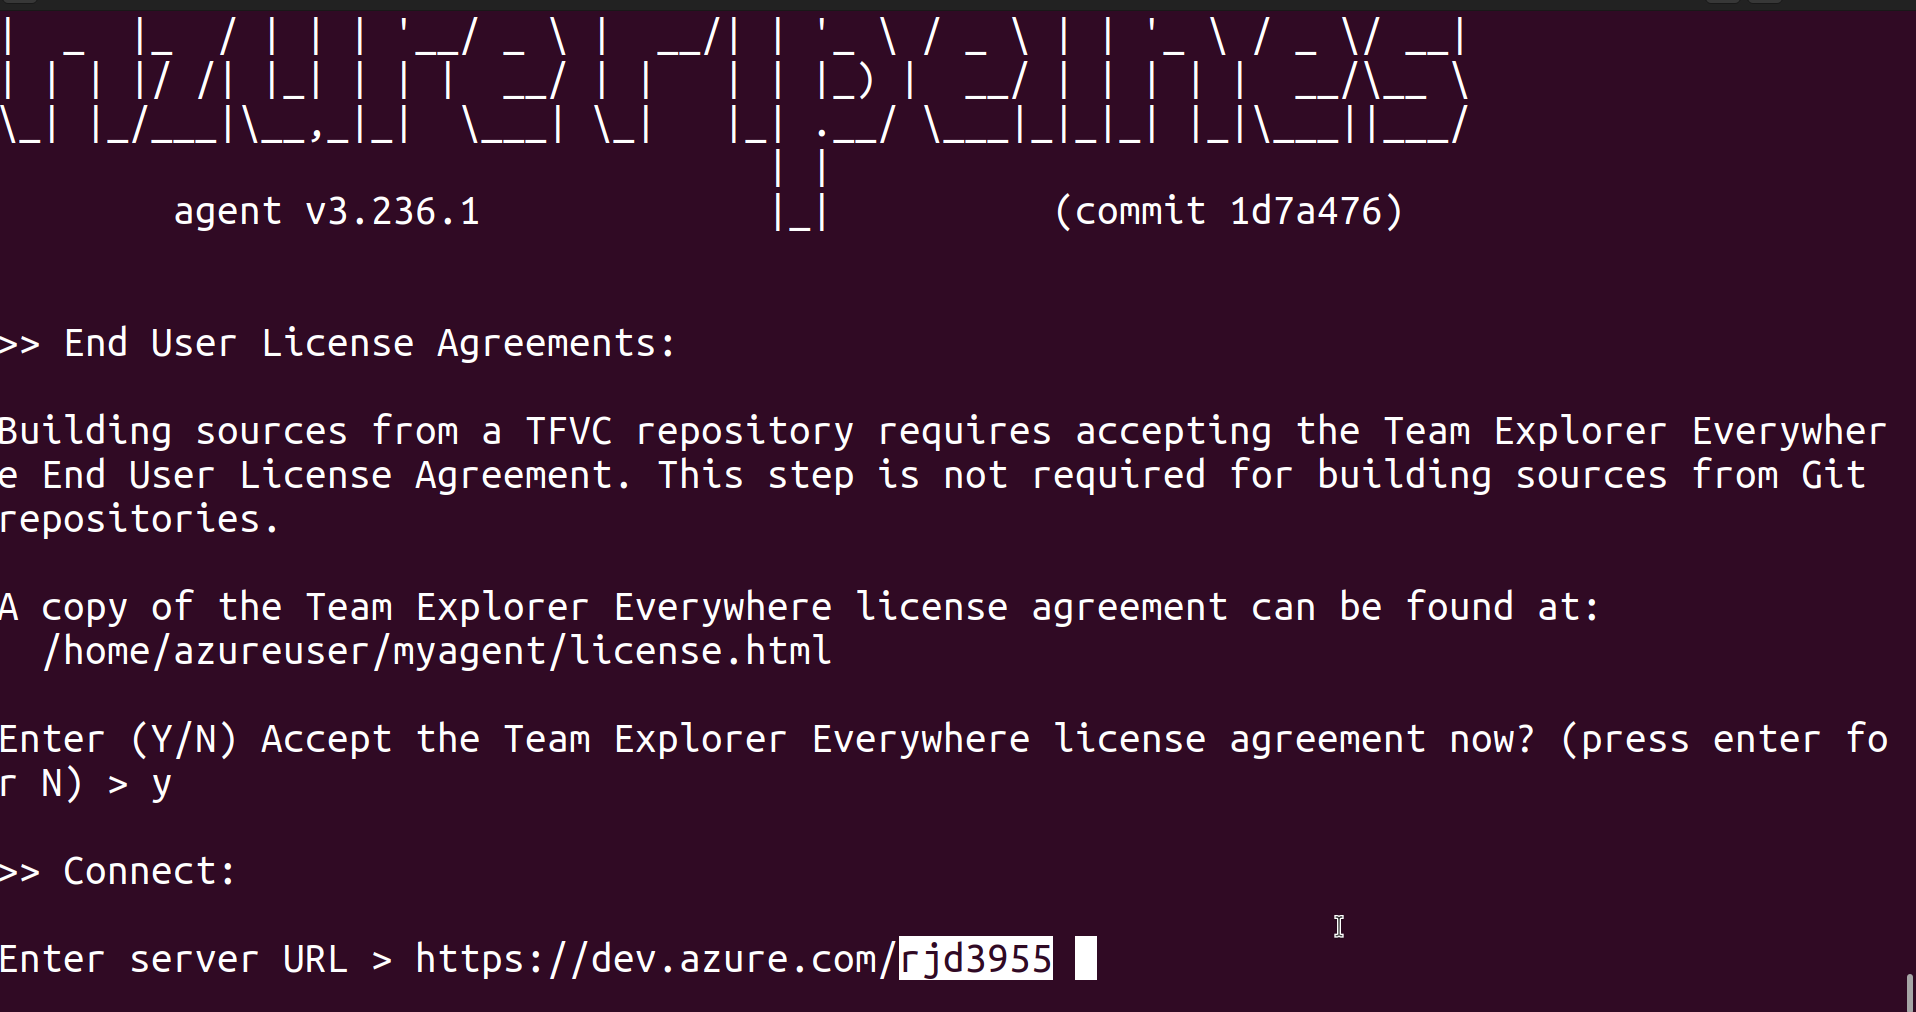

Now it is asking for PAT (Personal Access Token), to create PAT go to Azure DevOps.
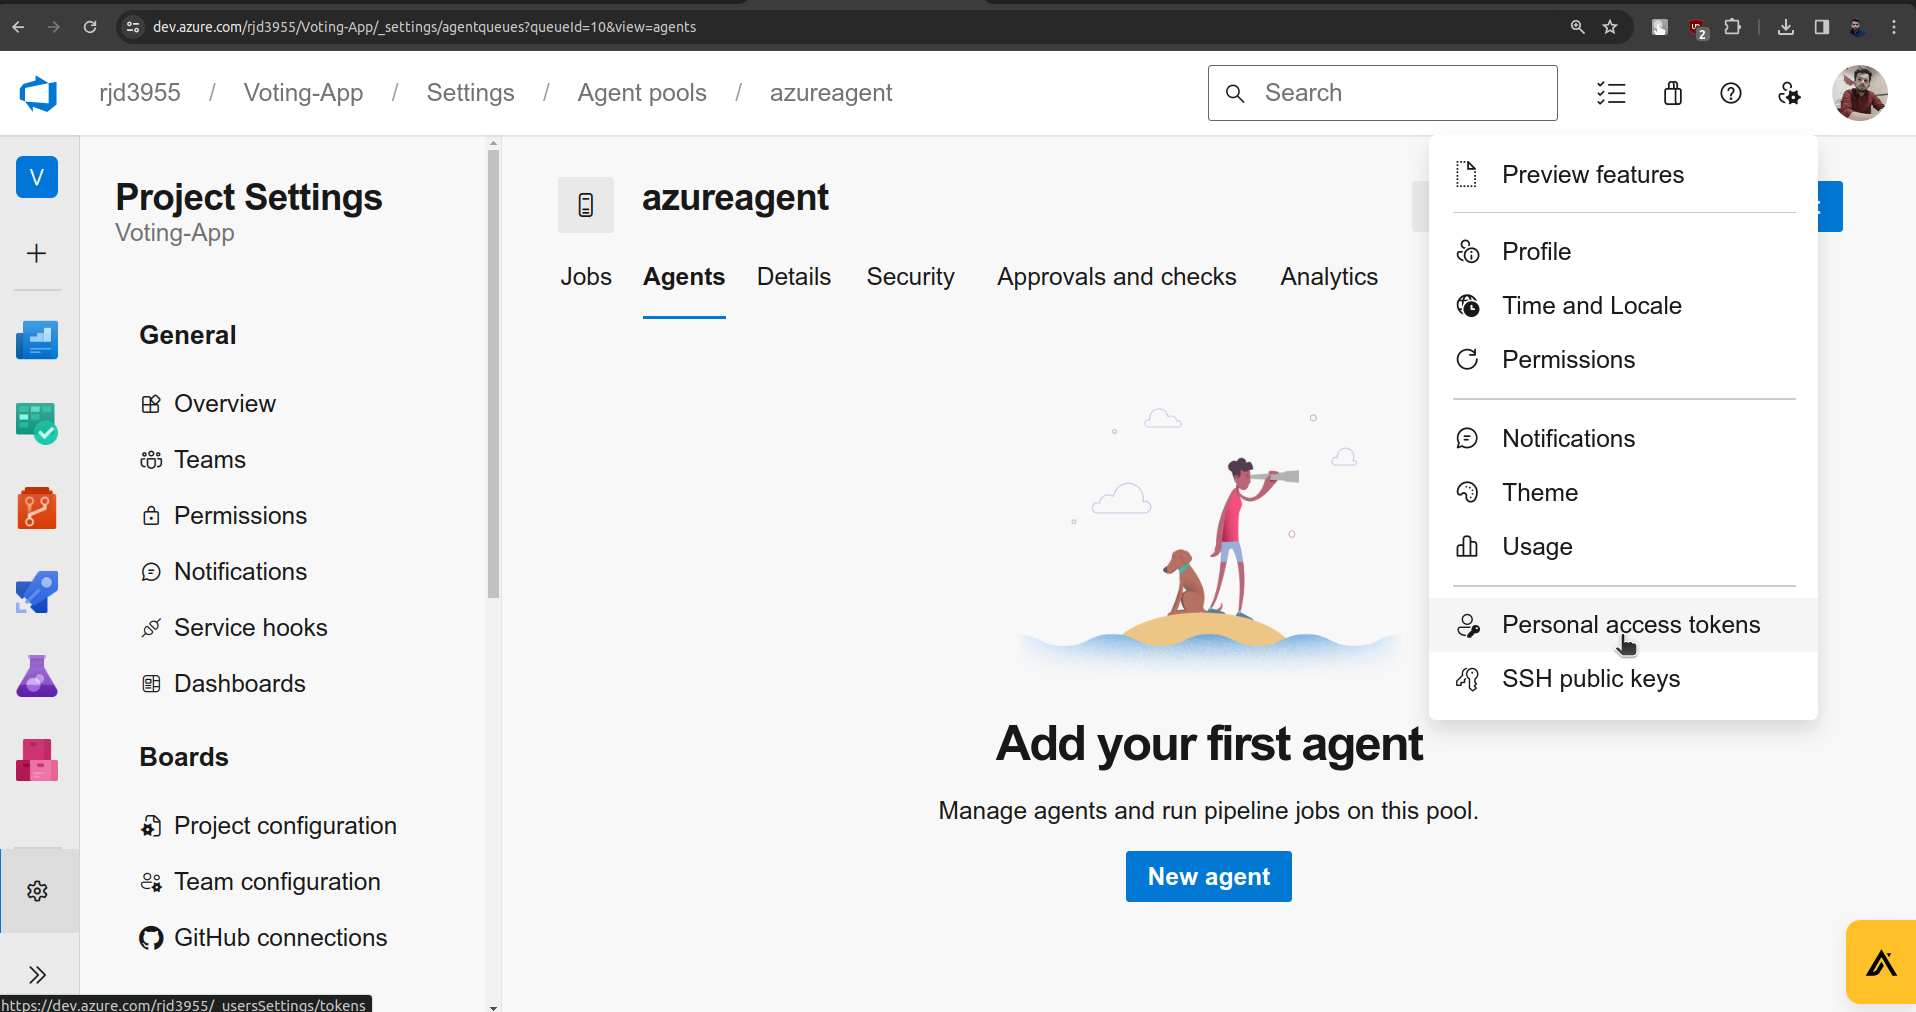
Click on Create New Token.
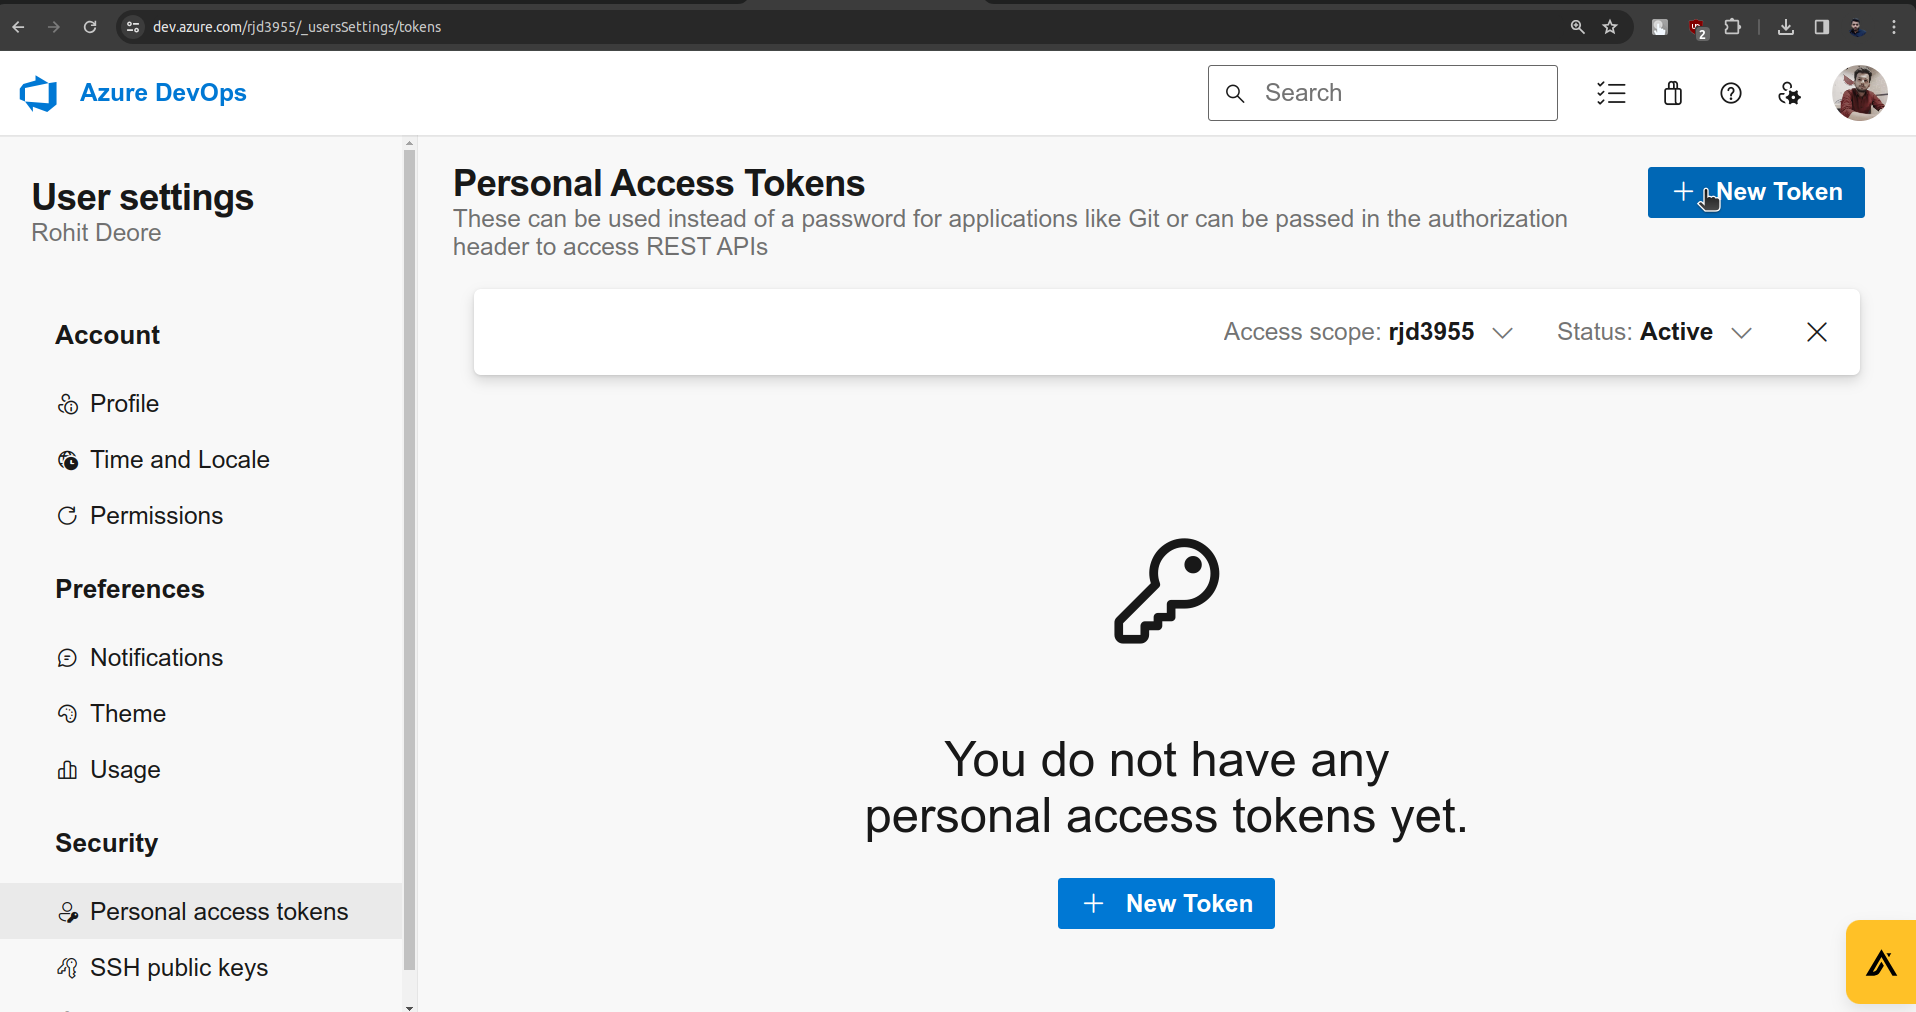

Once you click on create it provides a token you just need to copy and store it.

Put the access token in the terminal.
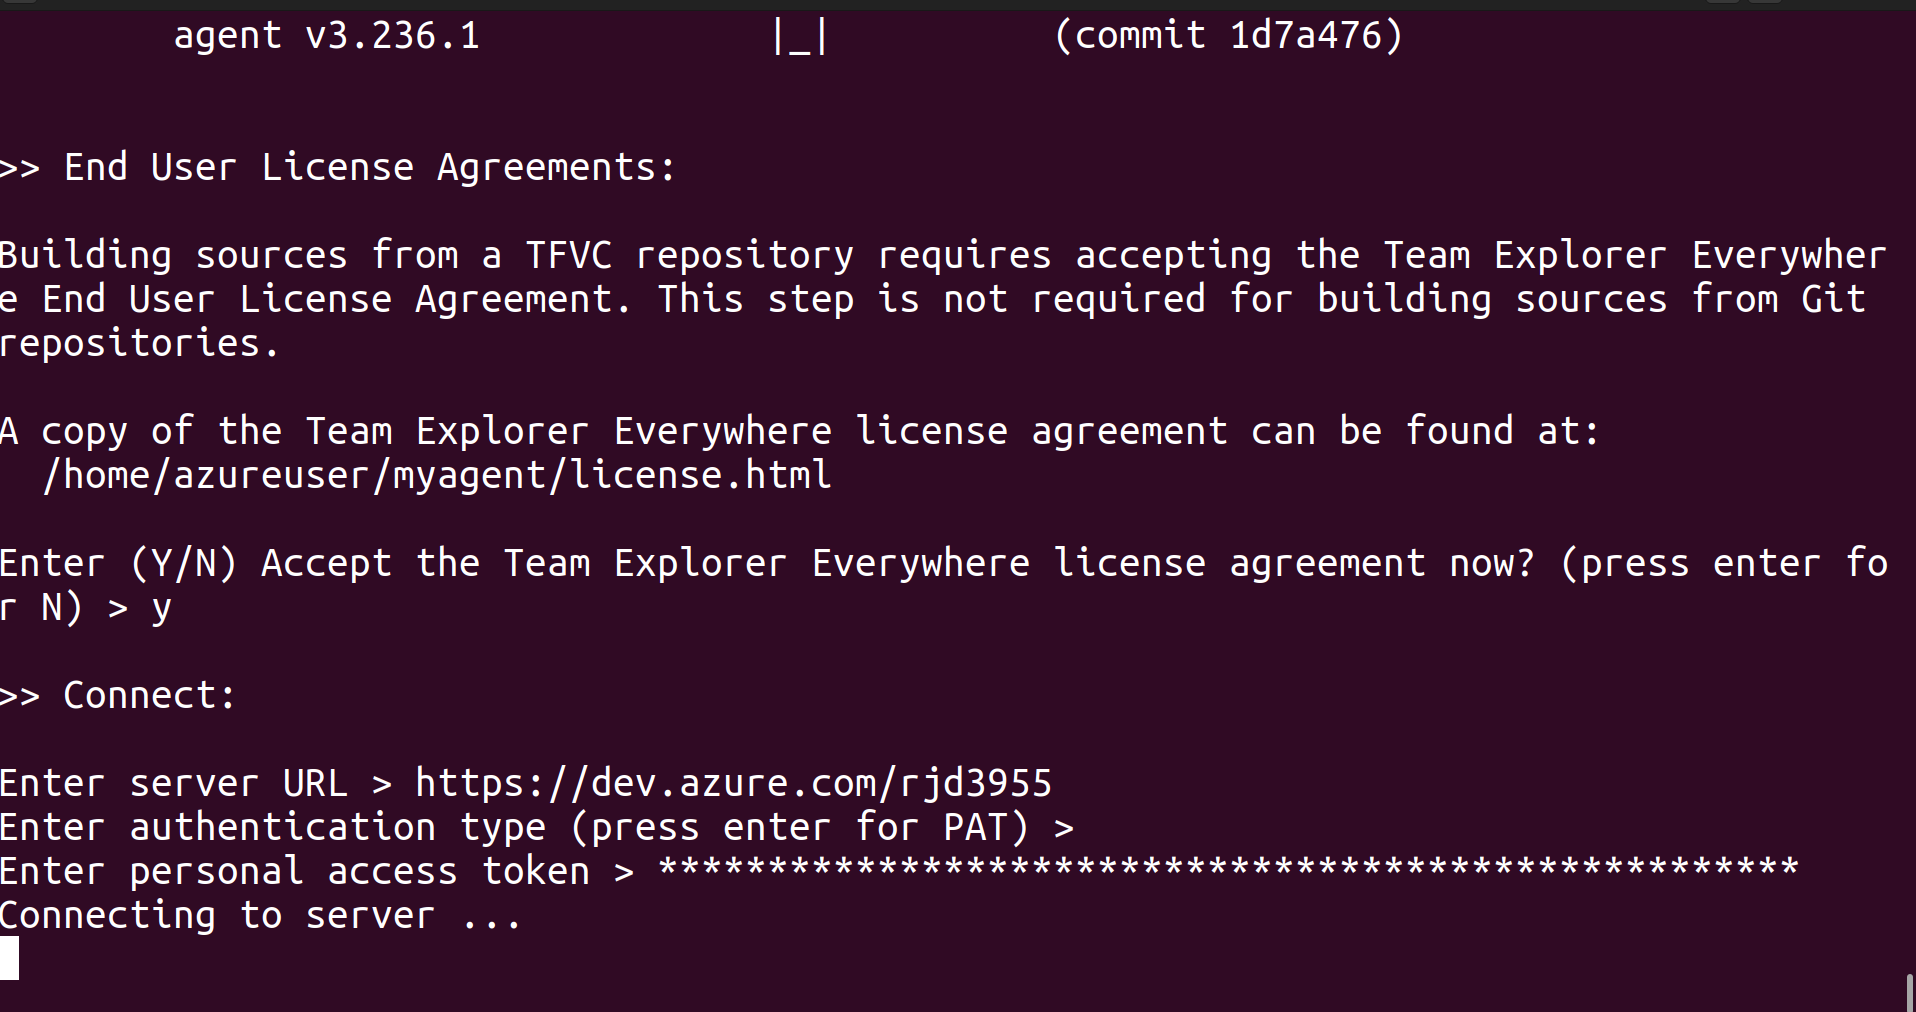
Now it will ask for " Enter agent pool "
we named it azureagent.
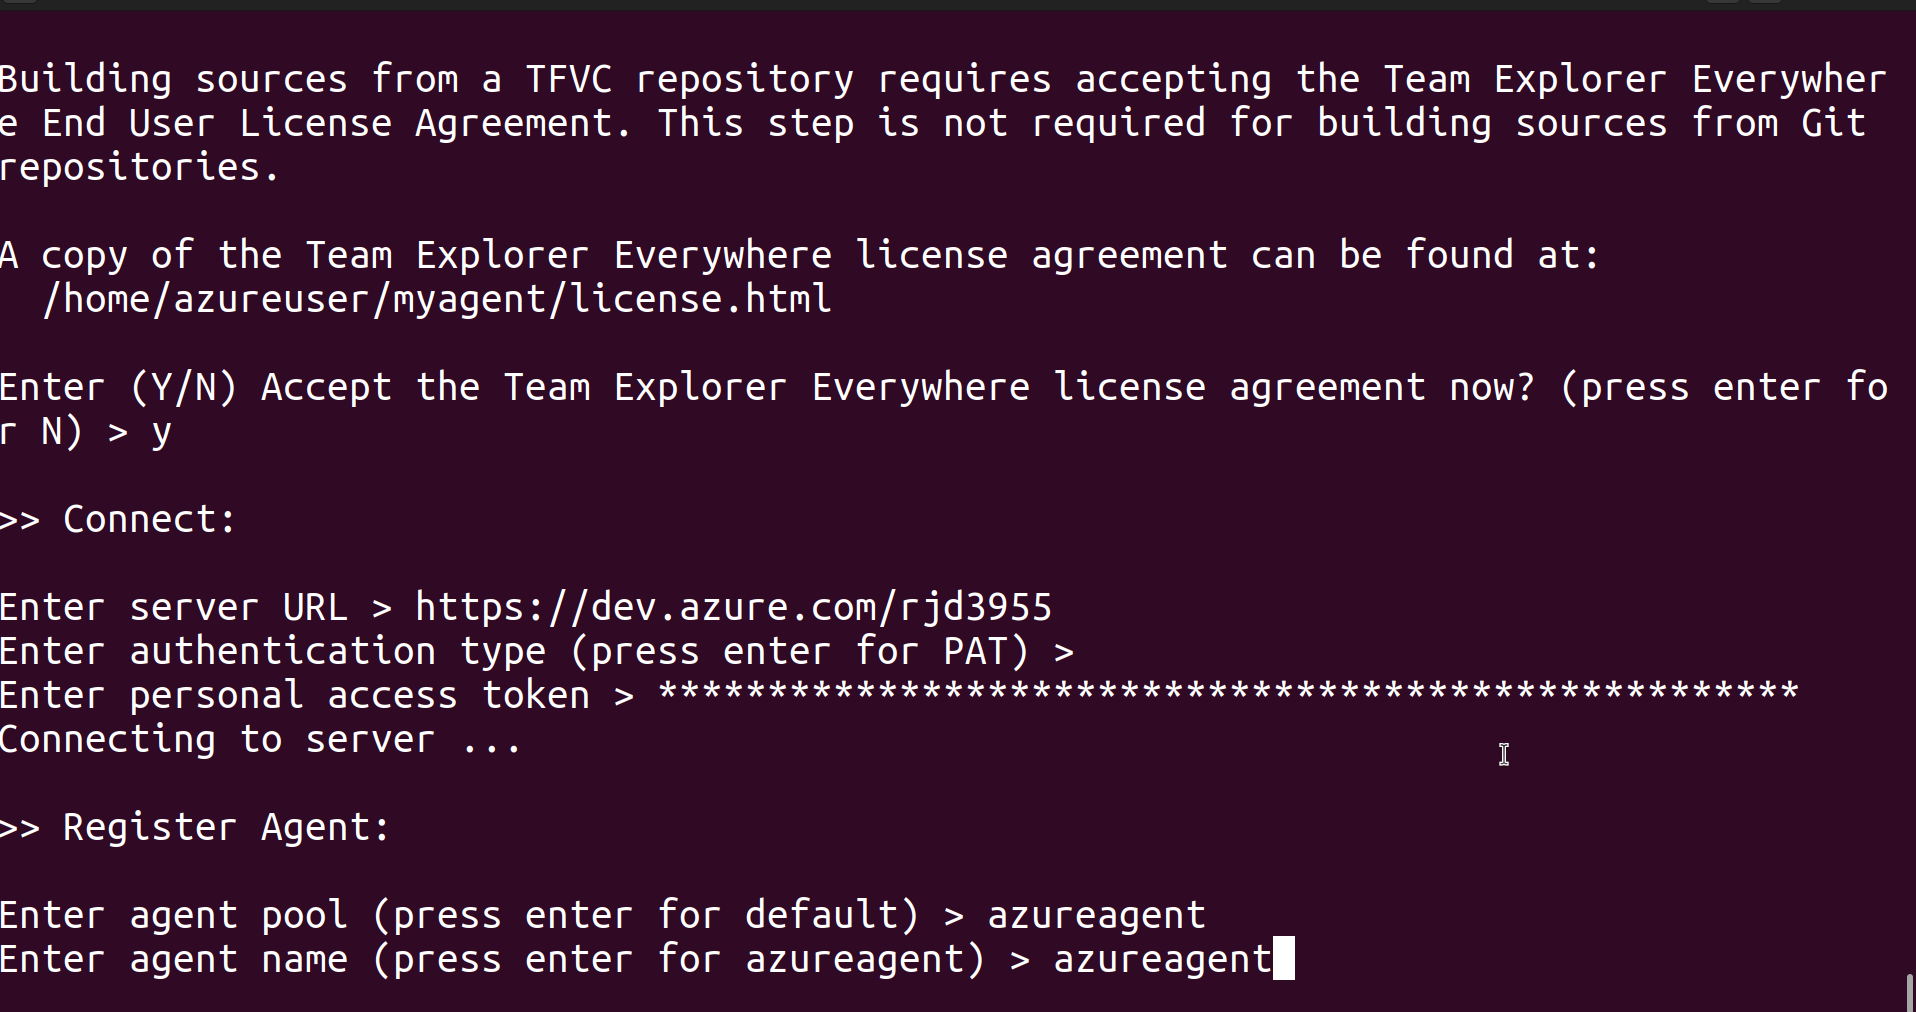

Connection or agent is successfully added.
Go to Azure DevOps and check for Azure agent, you will find that it is offline.
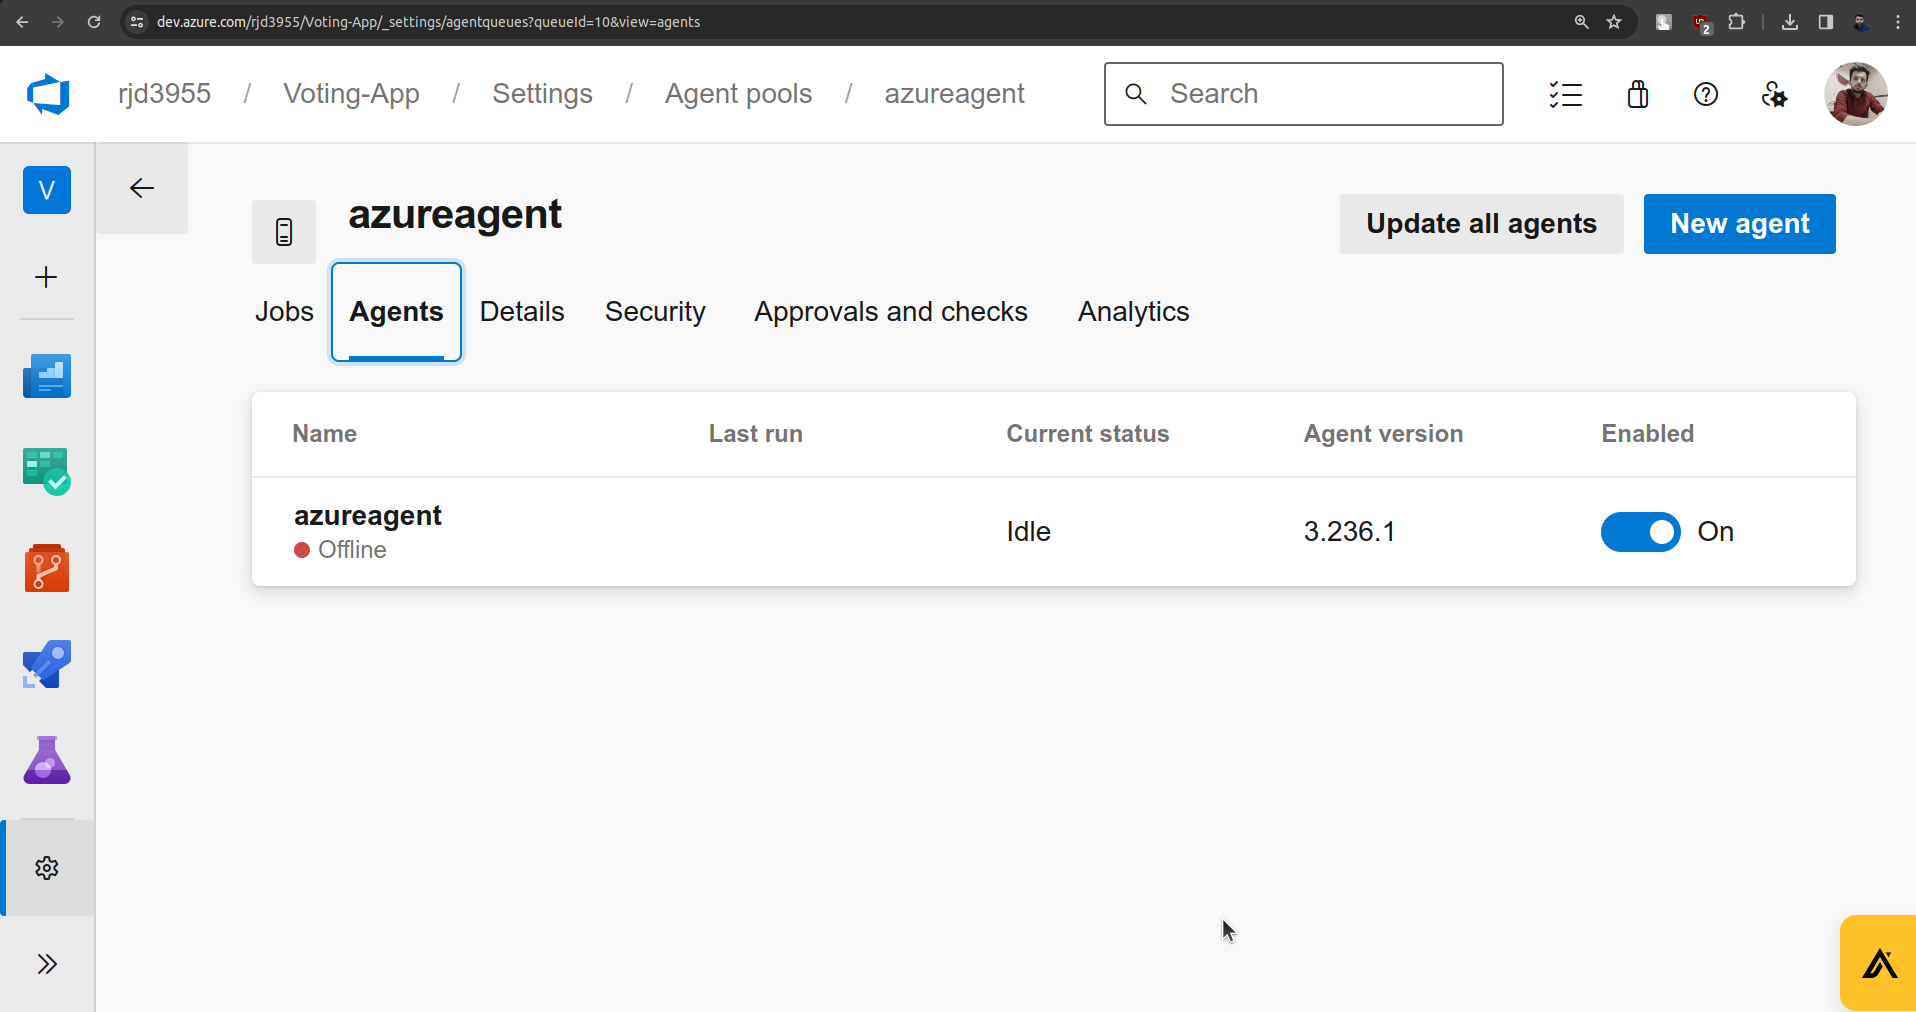
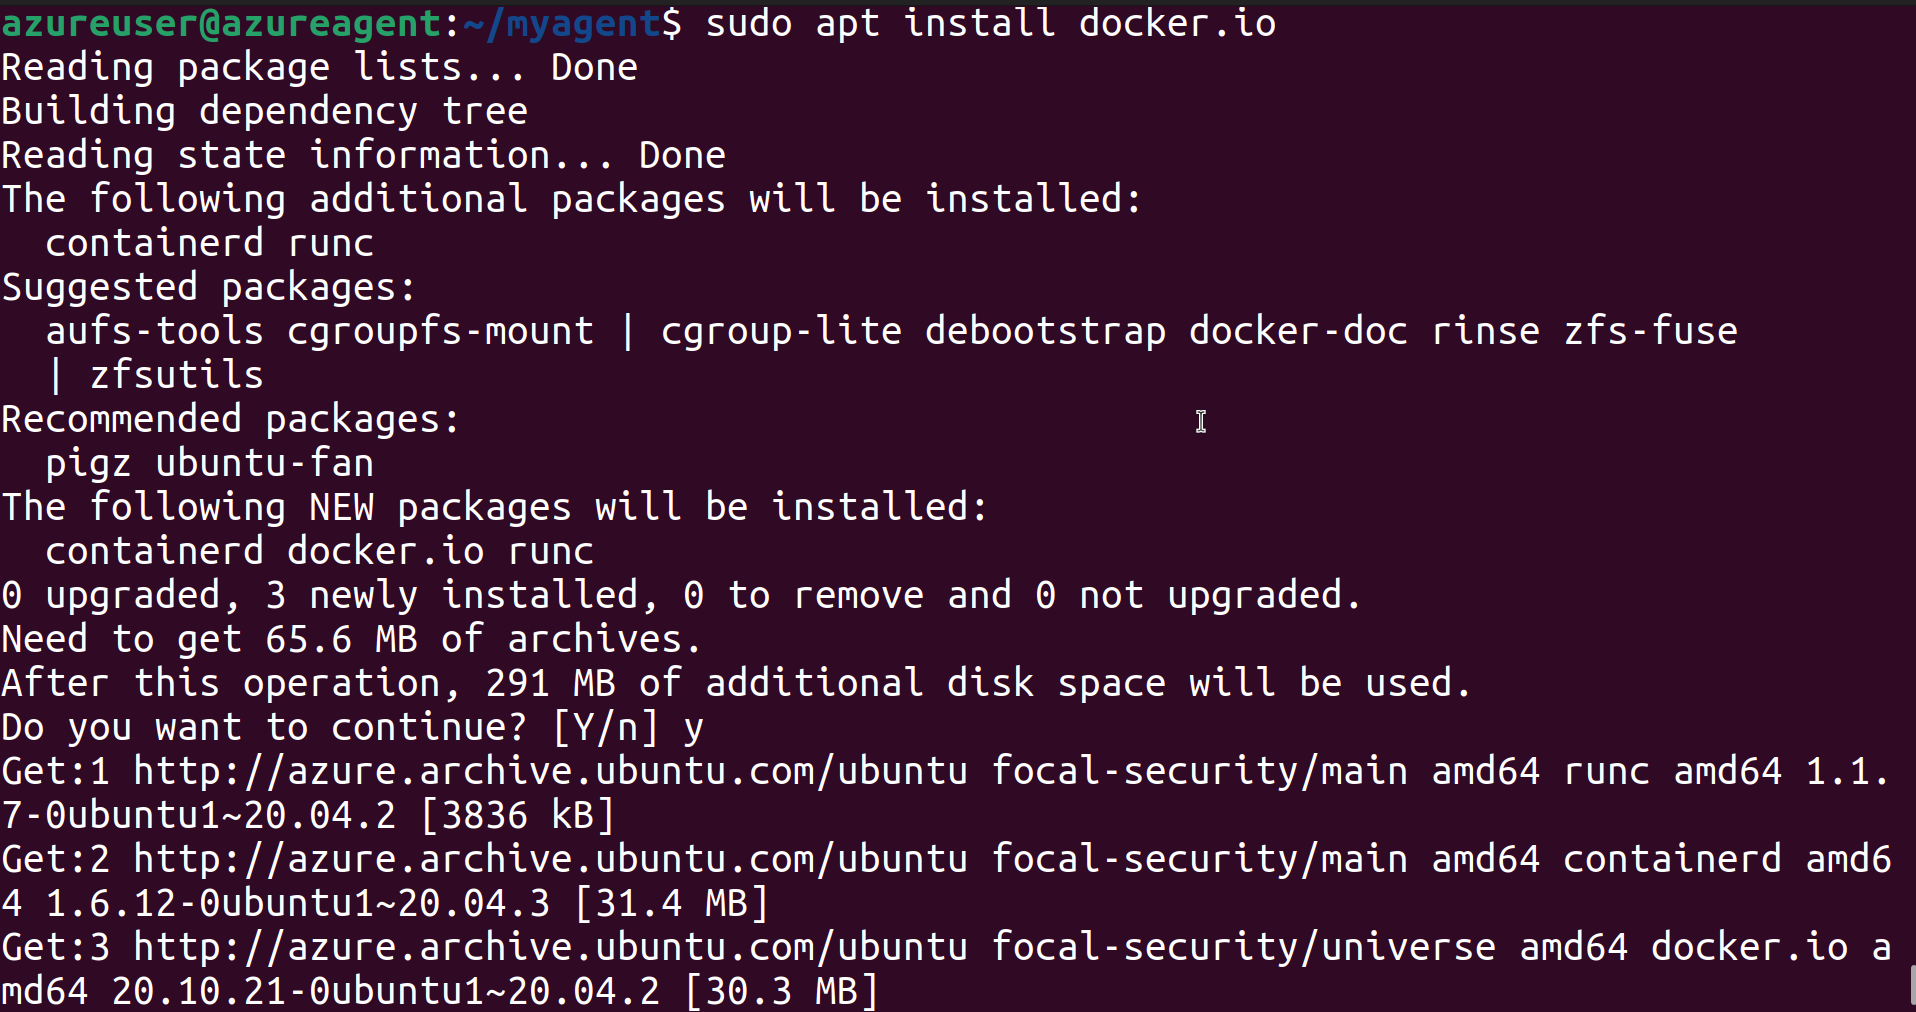
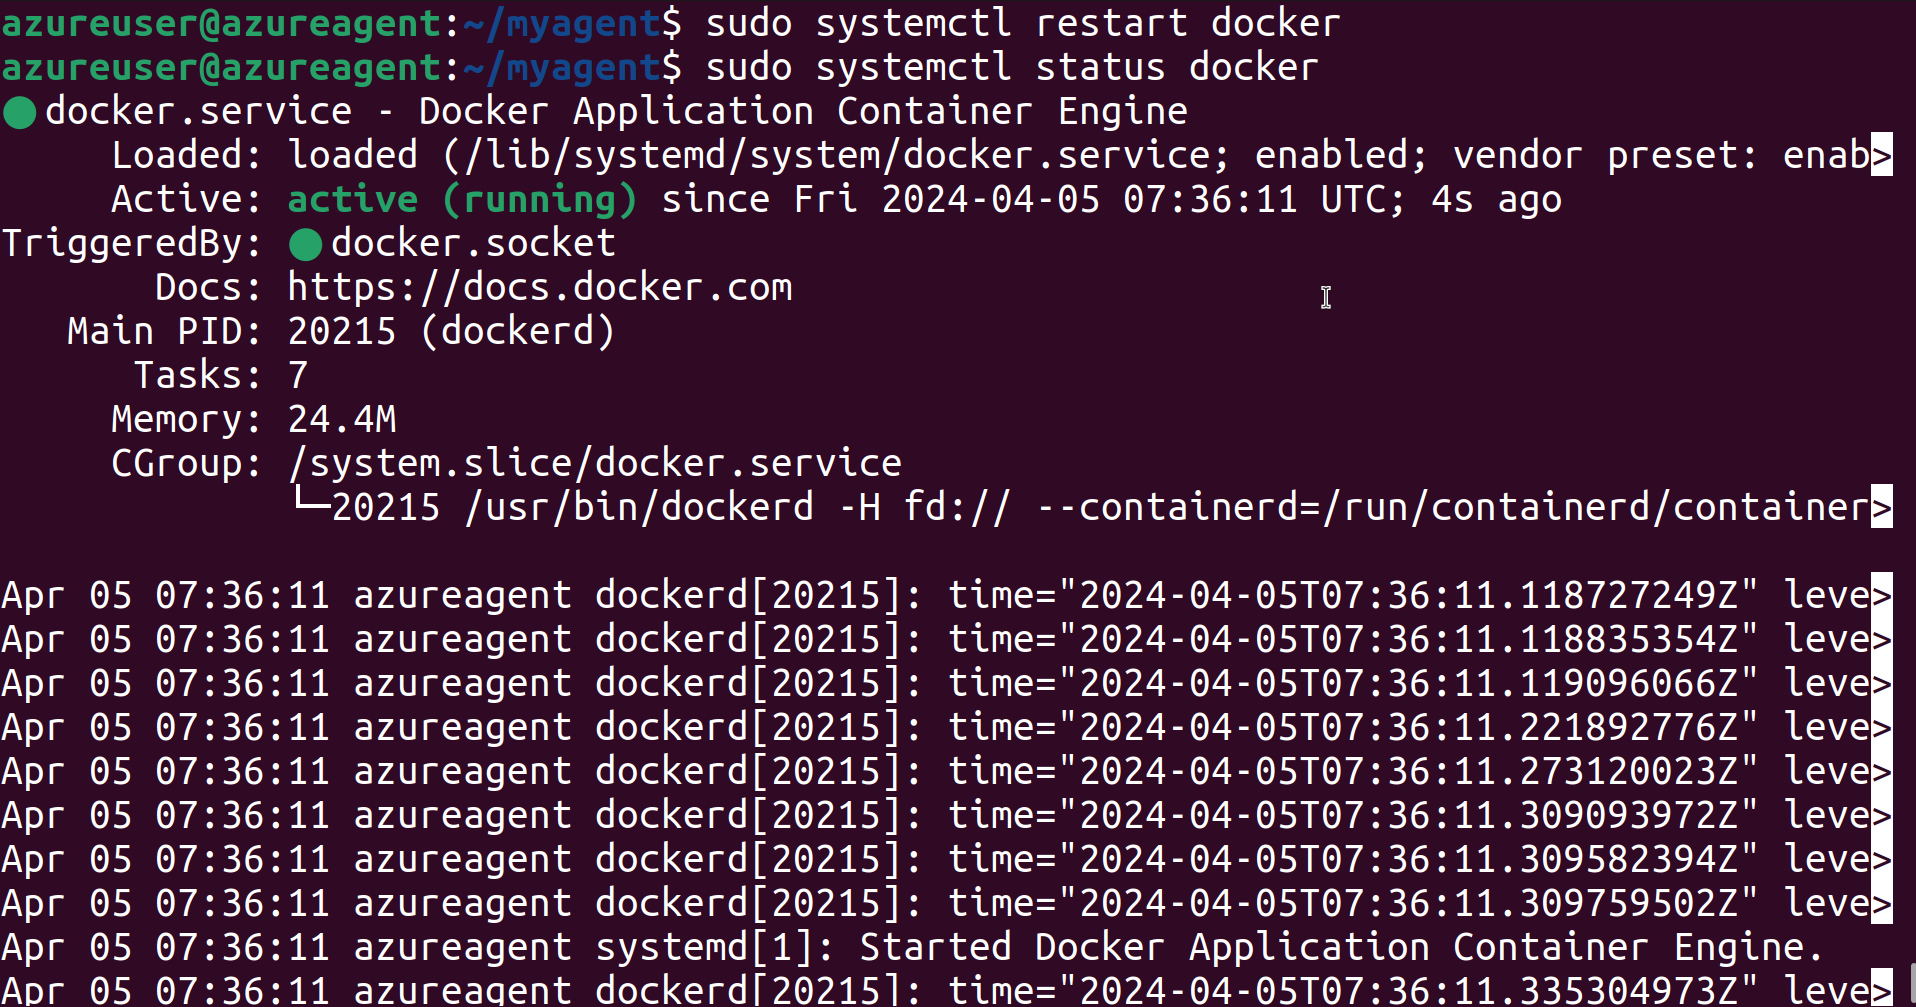
To make it online there are some commands before that just install docker.
sudo apt install docker.io
Now we need to grant the azureuser permissions to the docker daemon.
sudo usermod -aG docker azureuser

Restart Docker sudo systemctl restart docker
Now Start the agent using ./run.sh
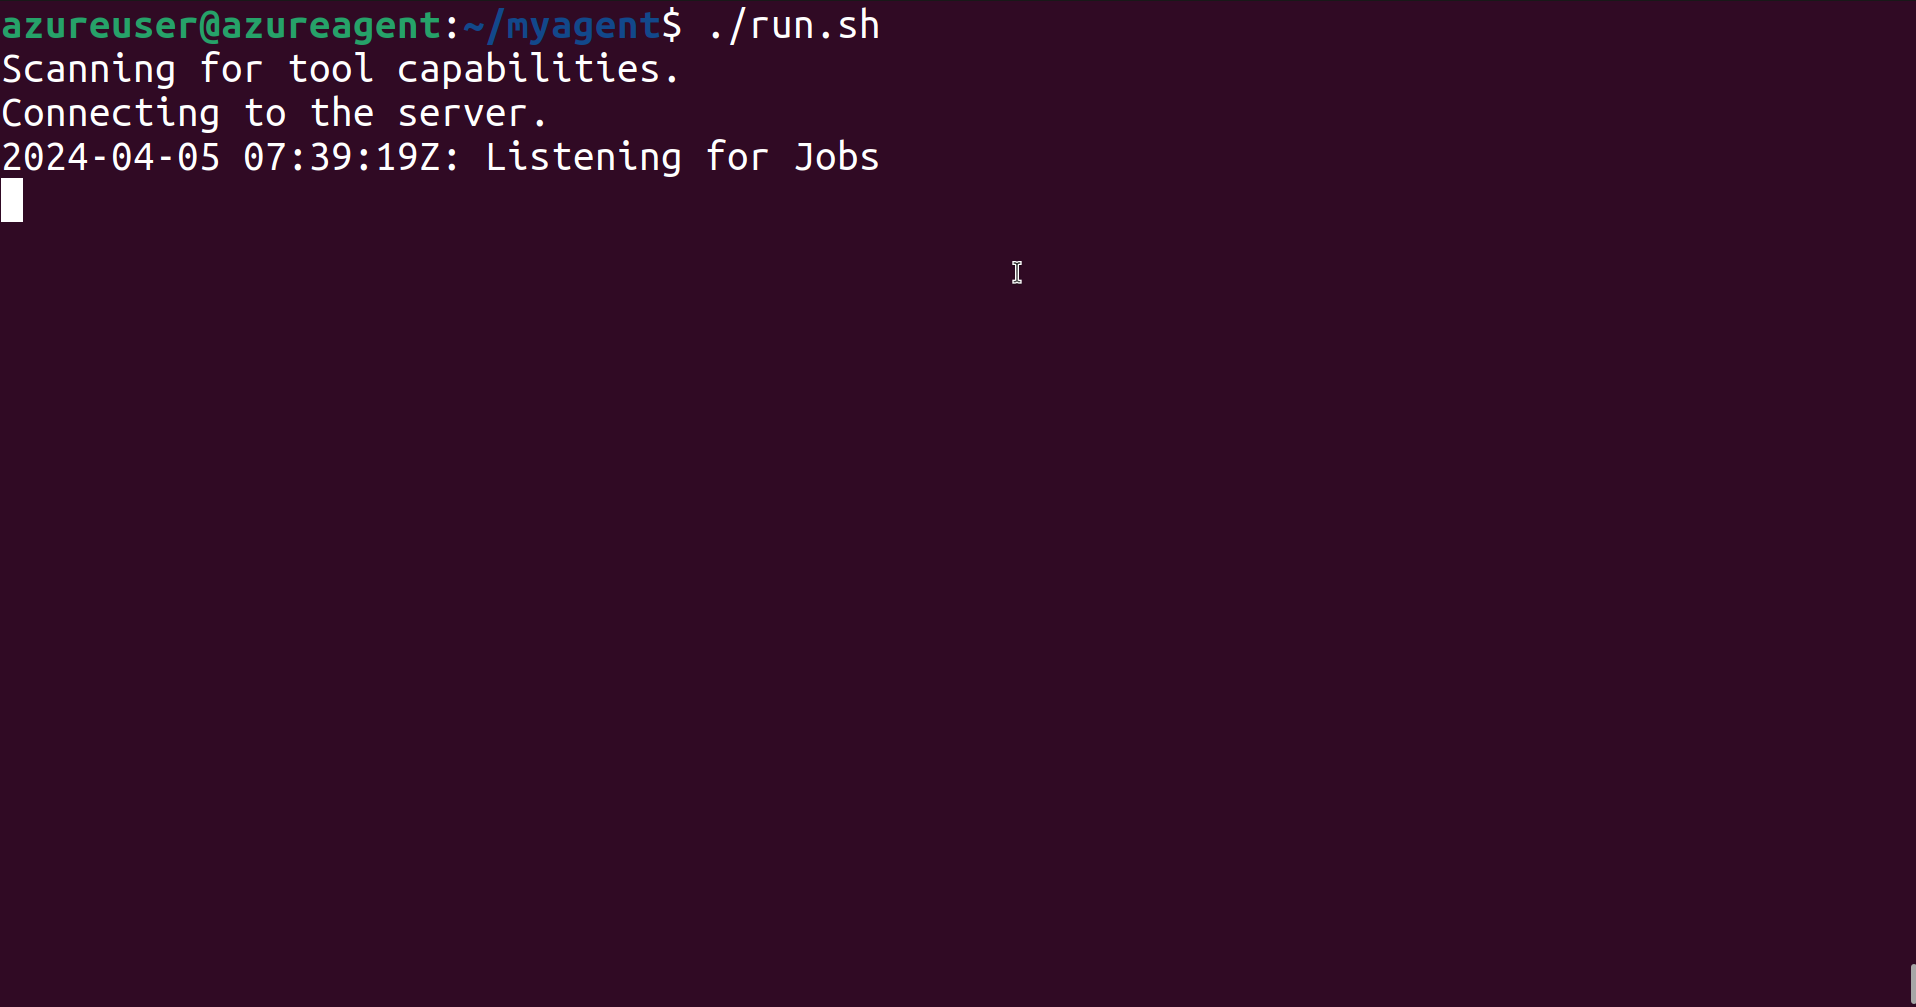
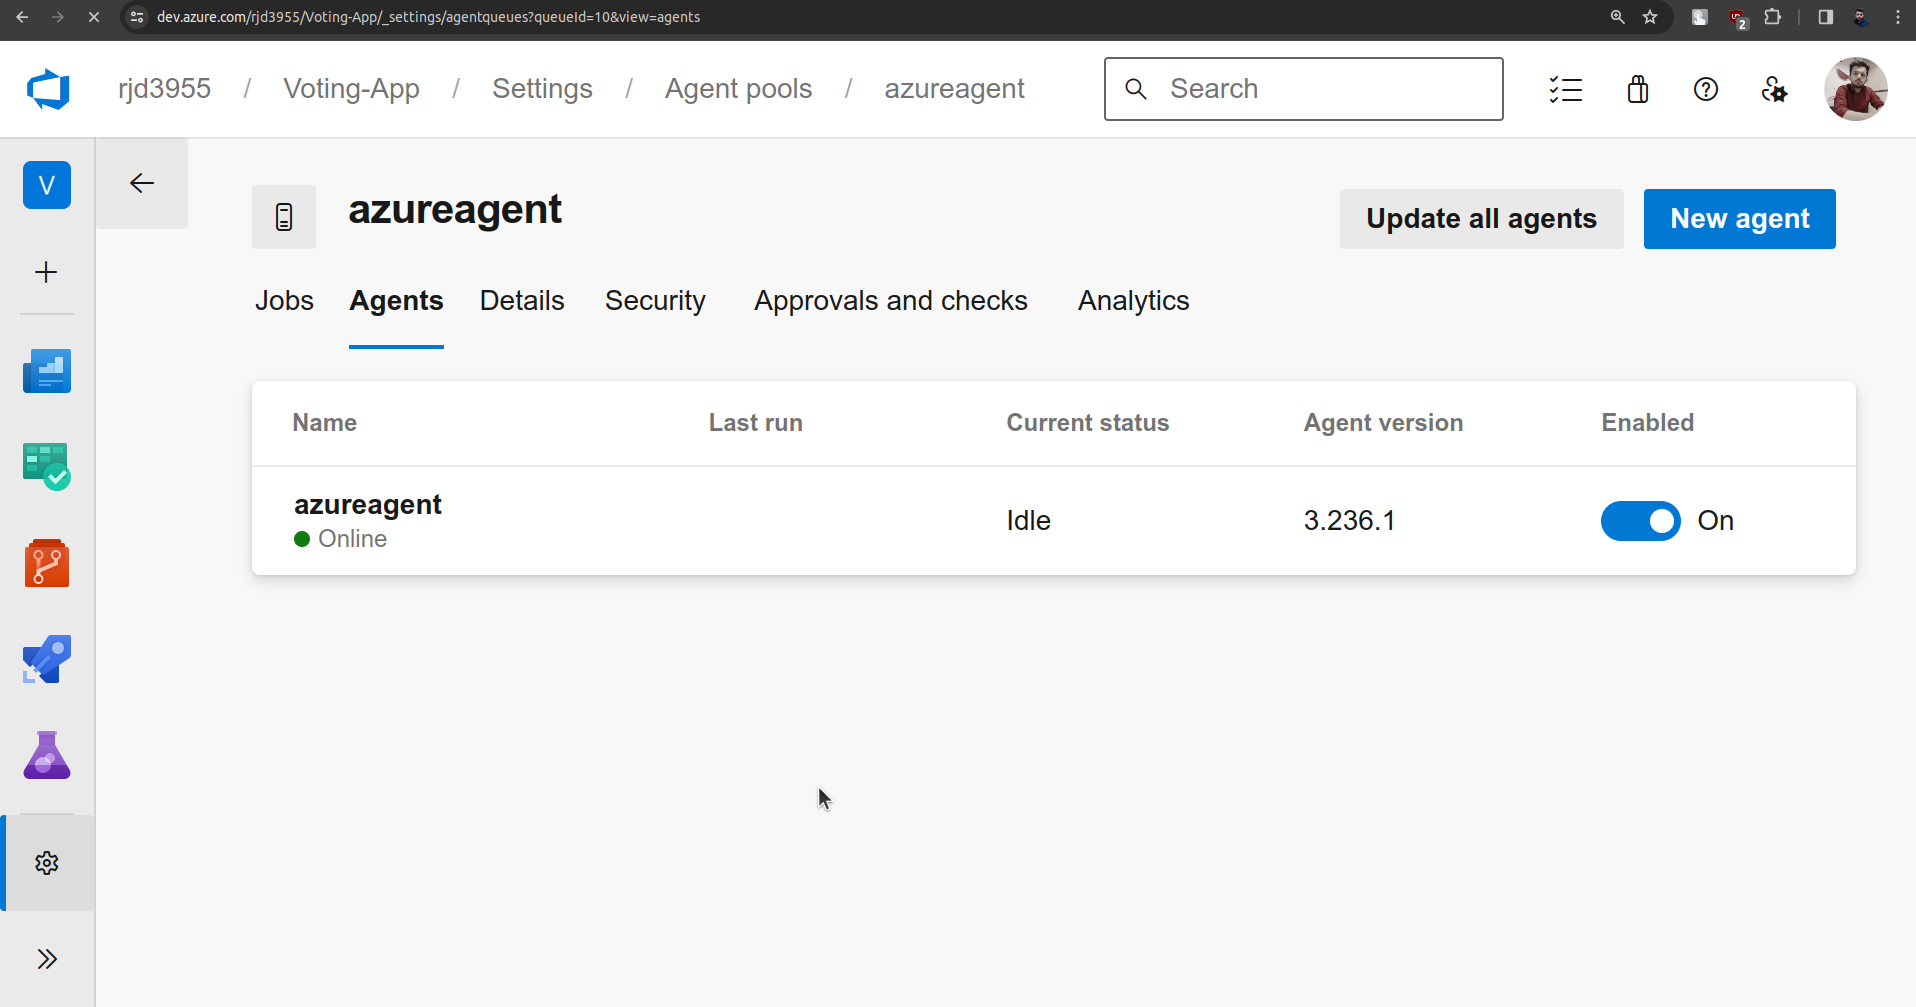
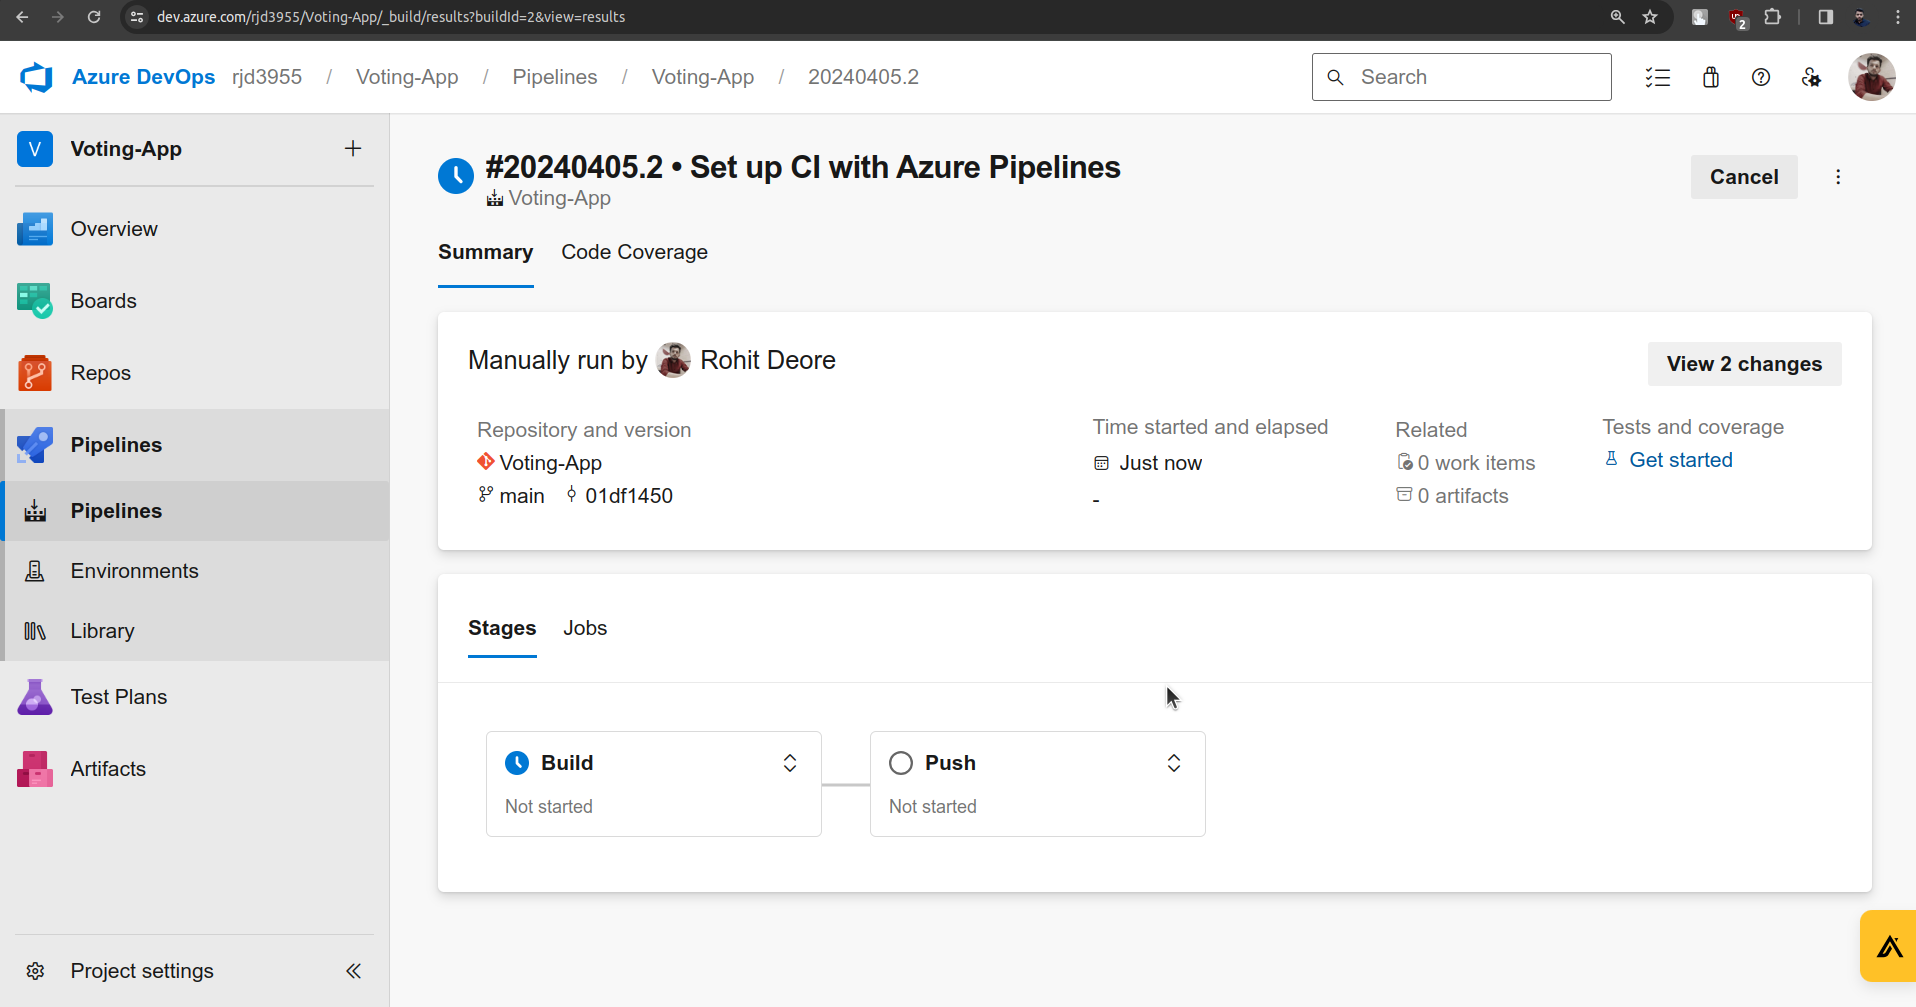
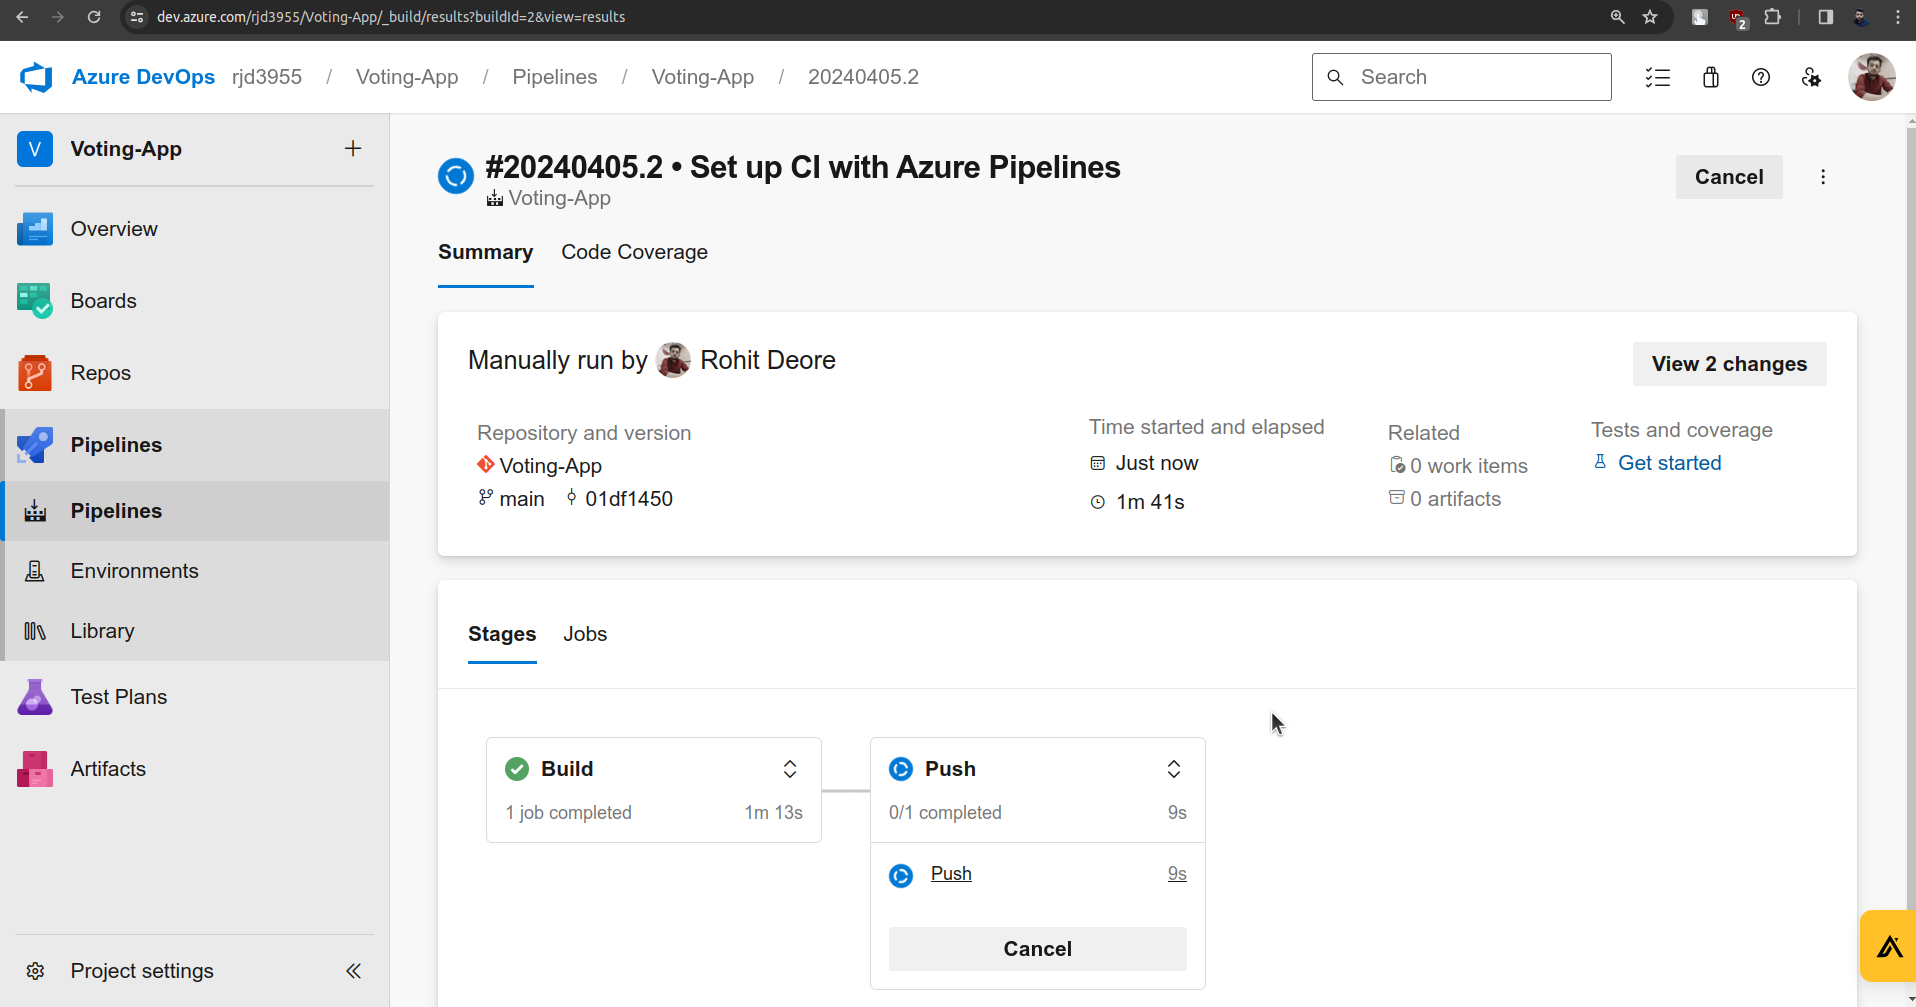
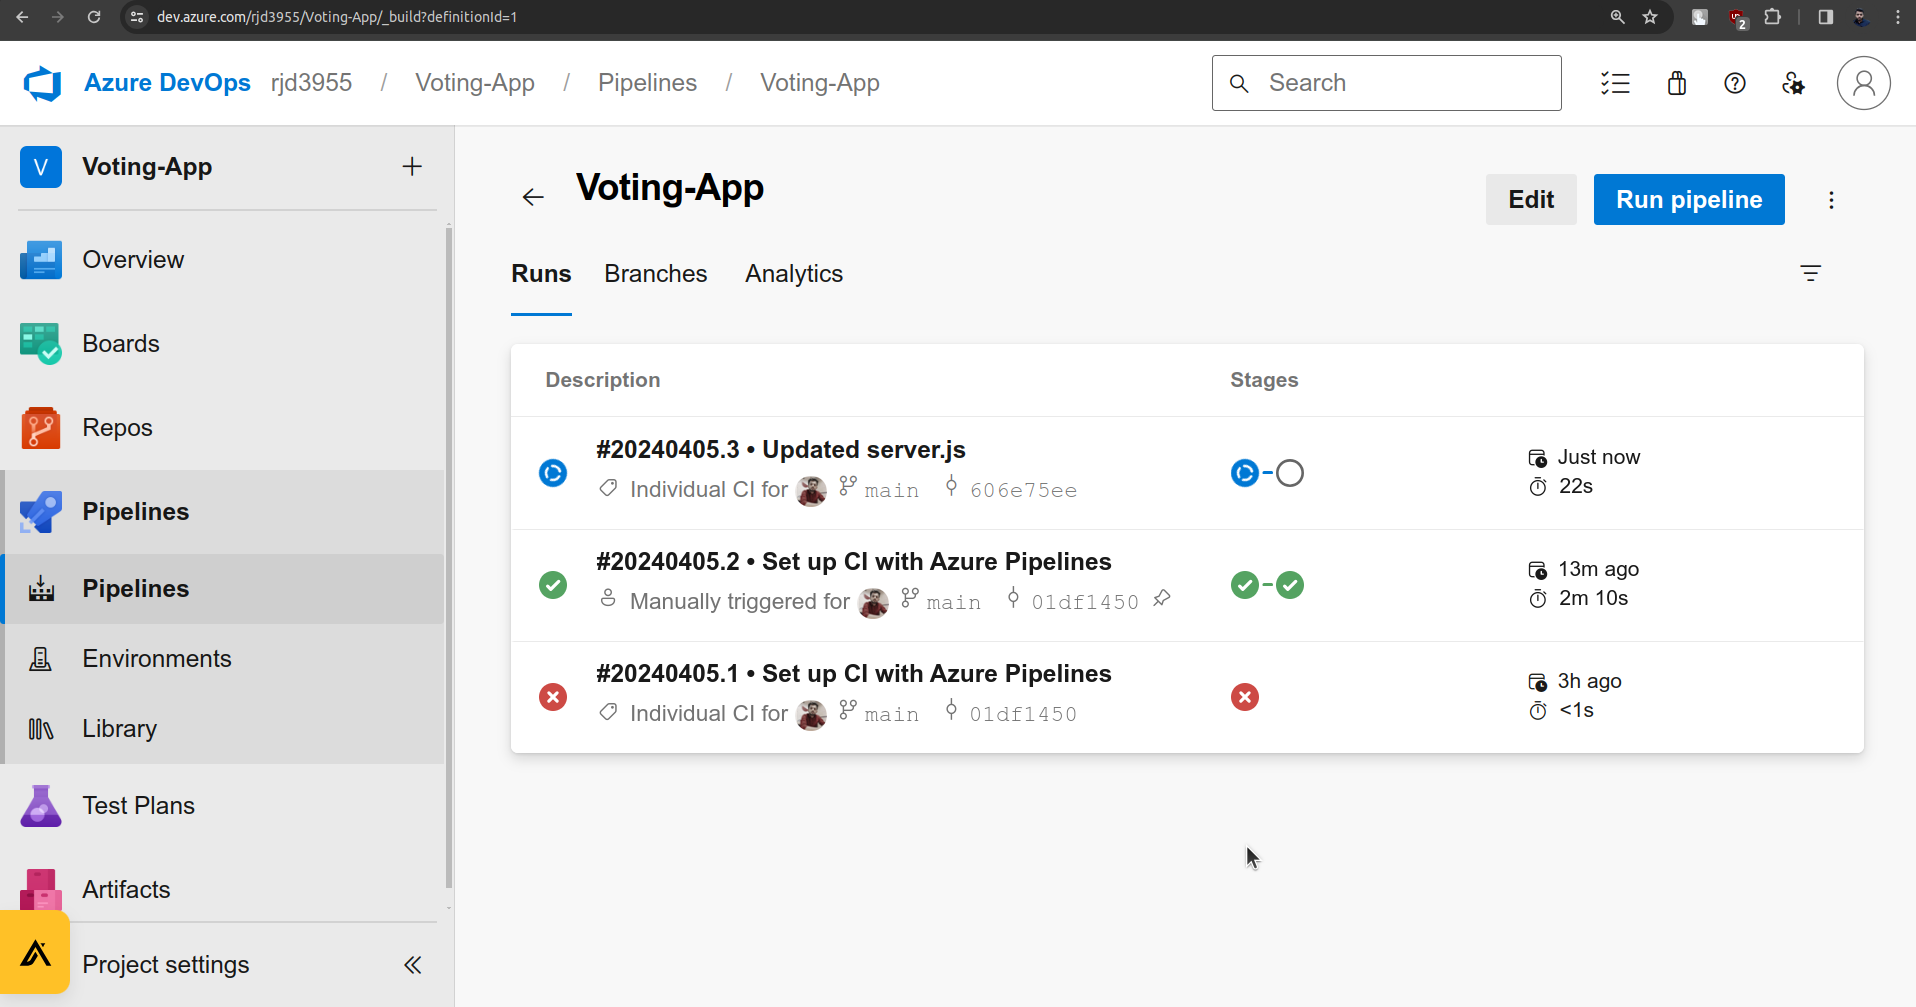
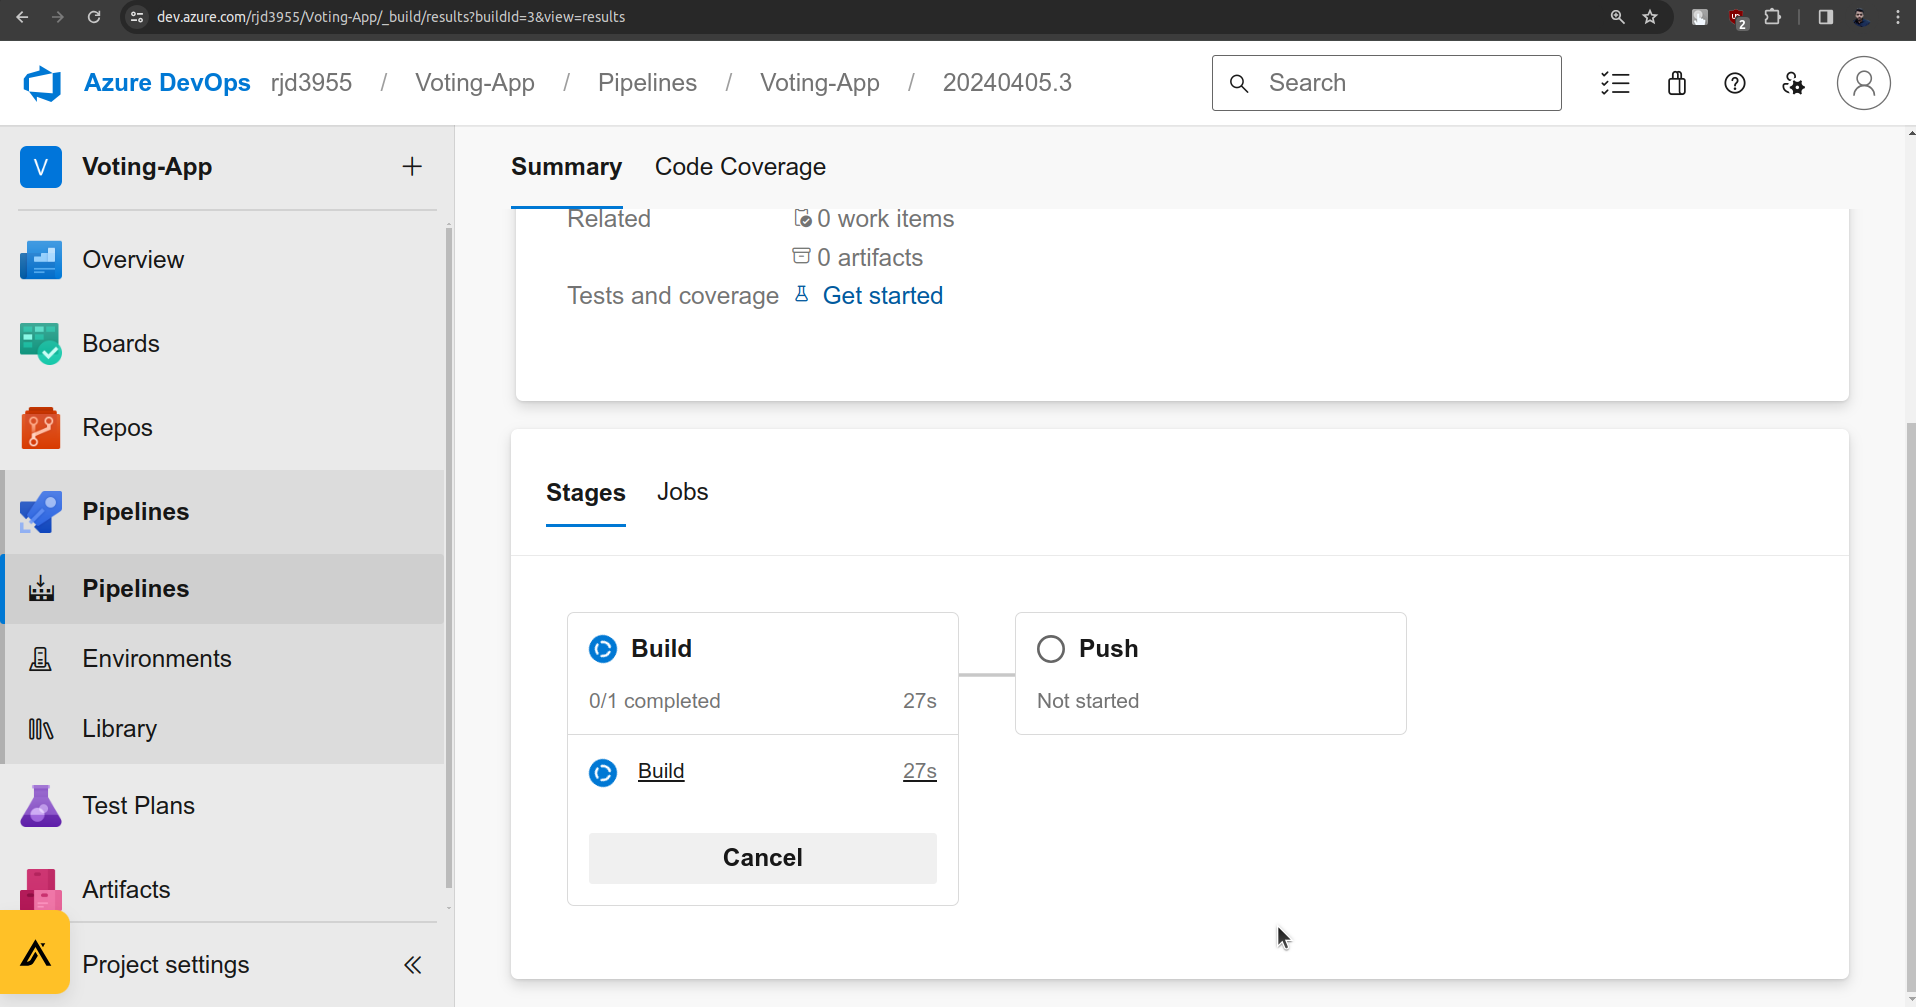
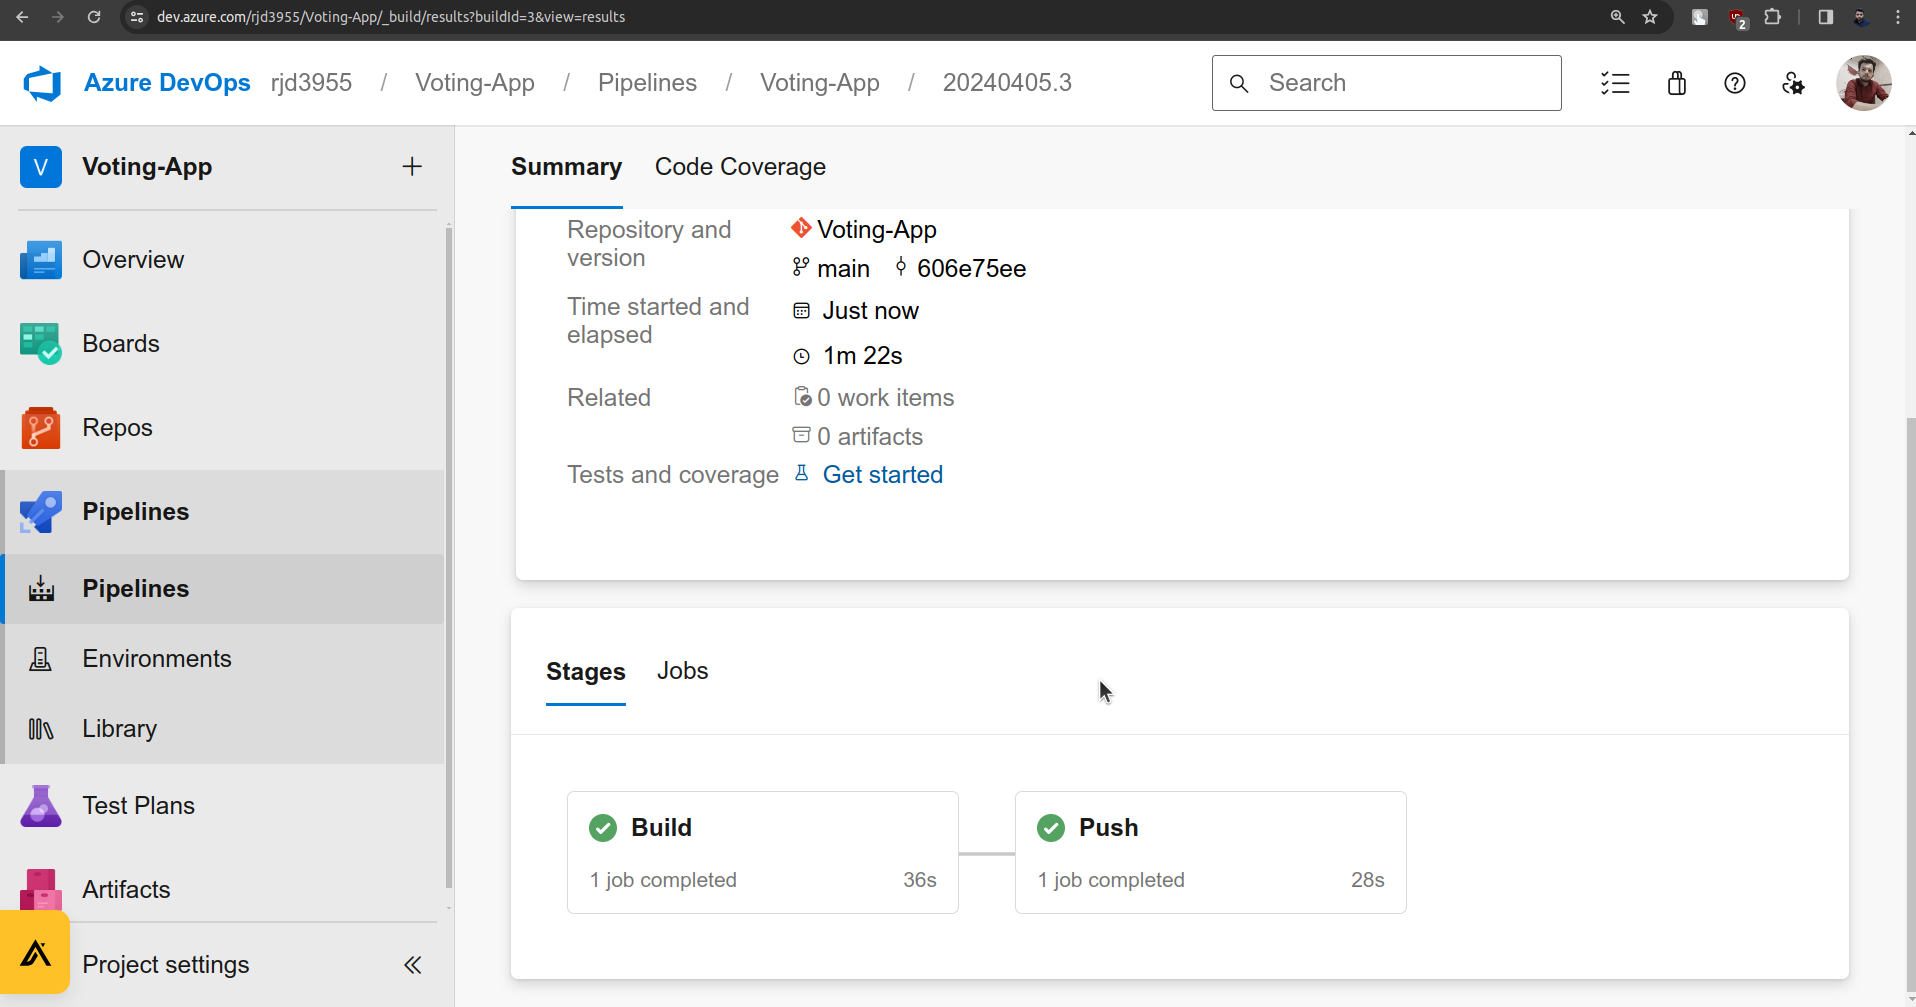
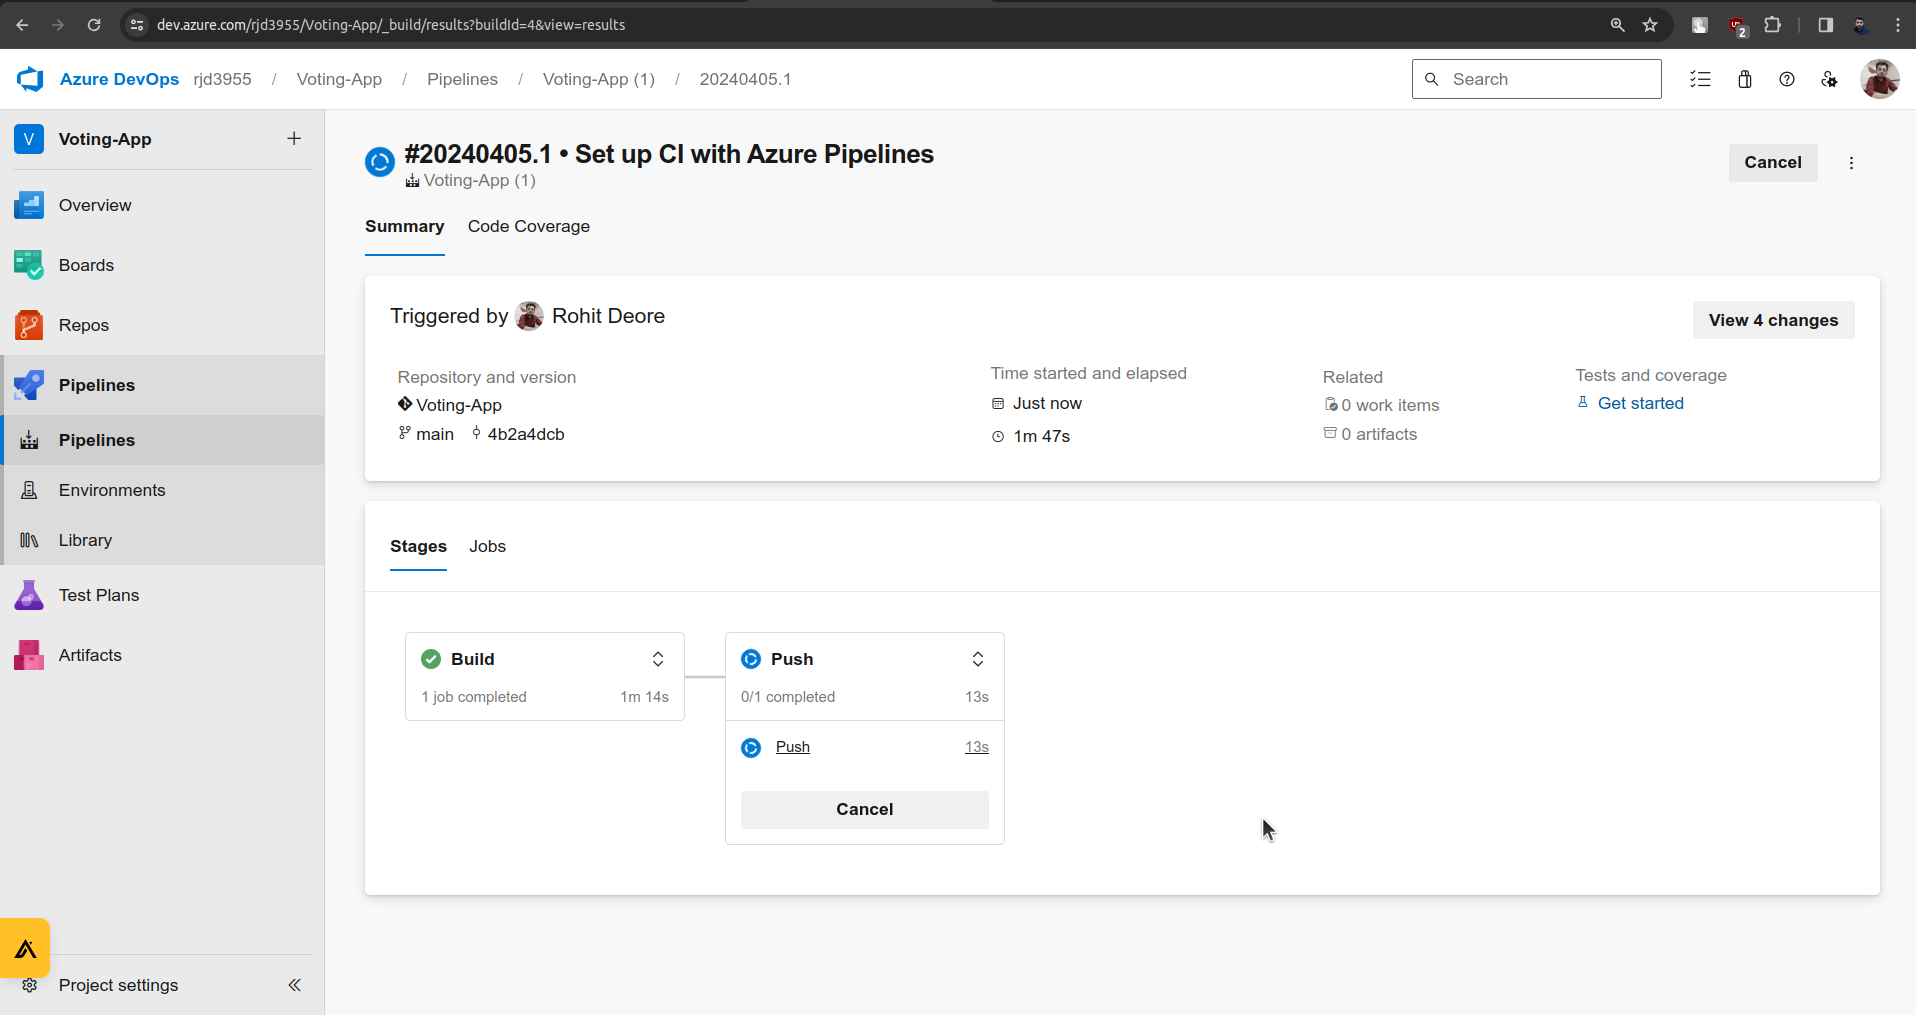
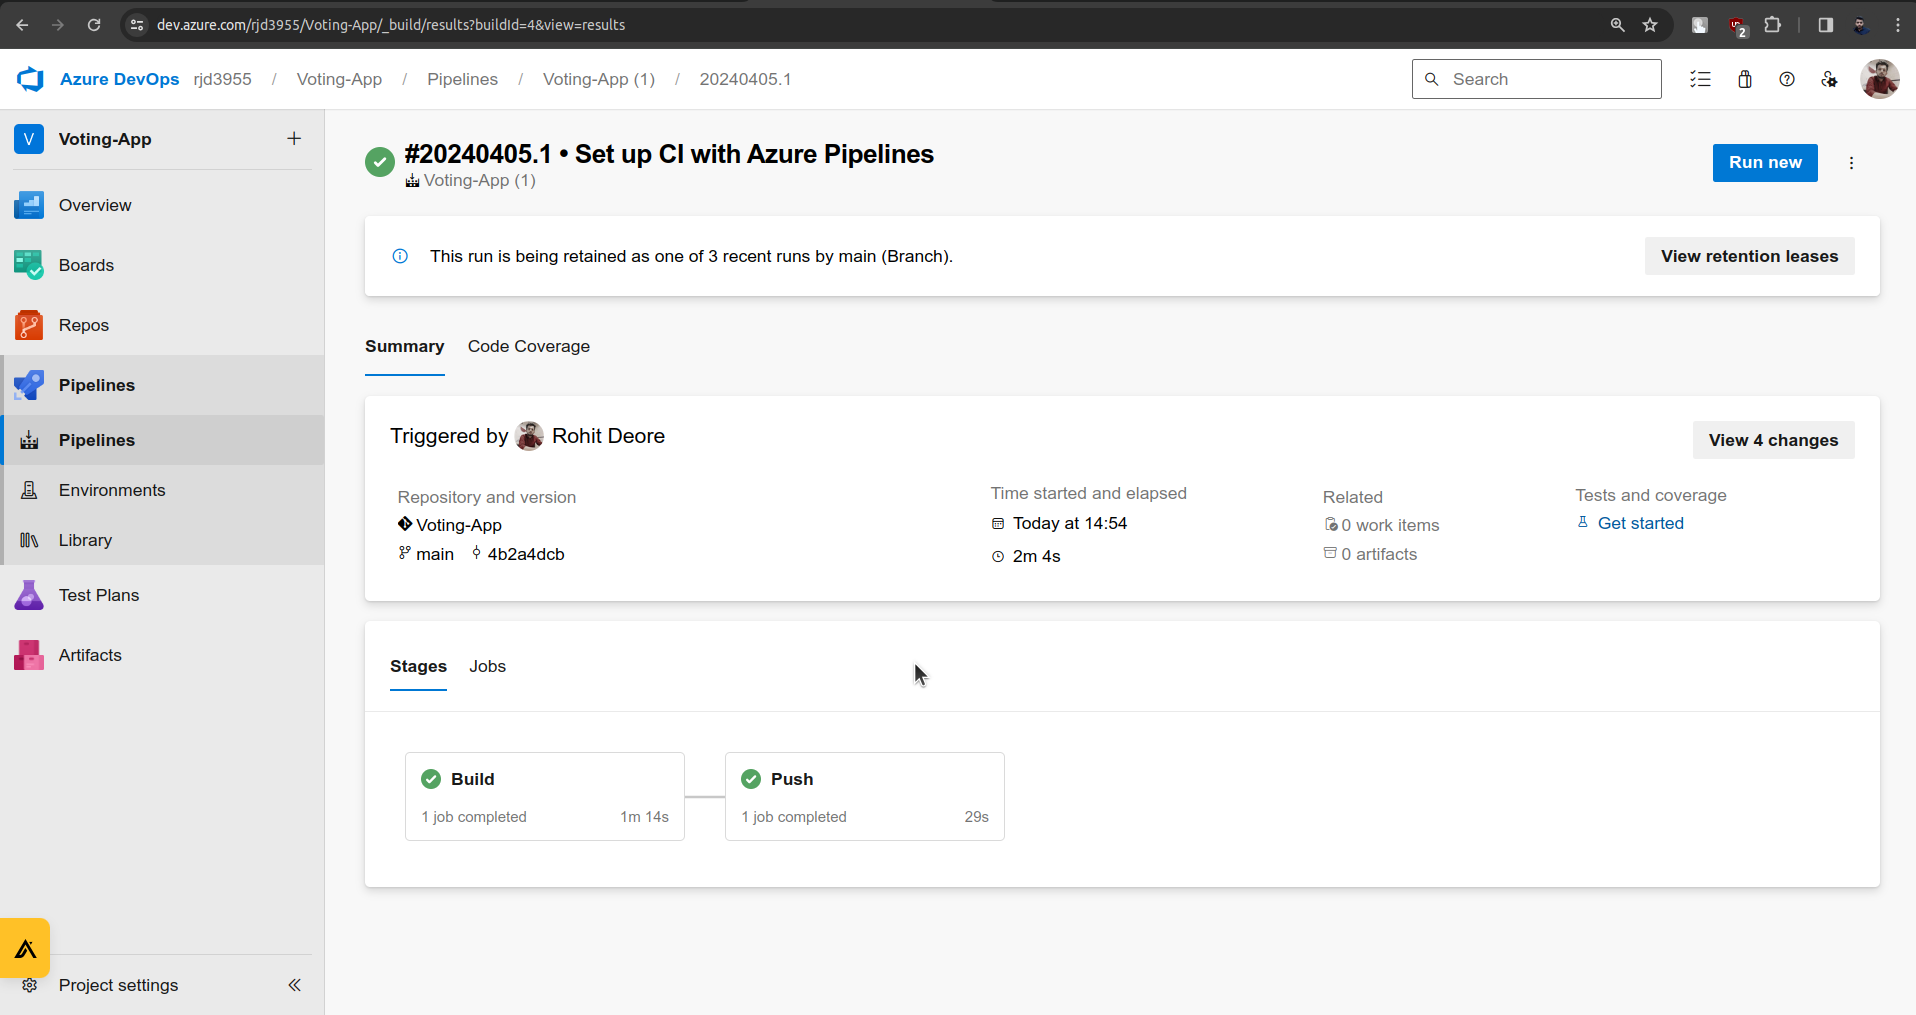
Now Go to pipelines and run it.
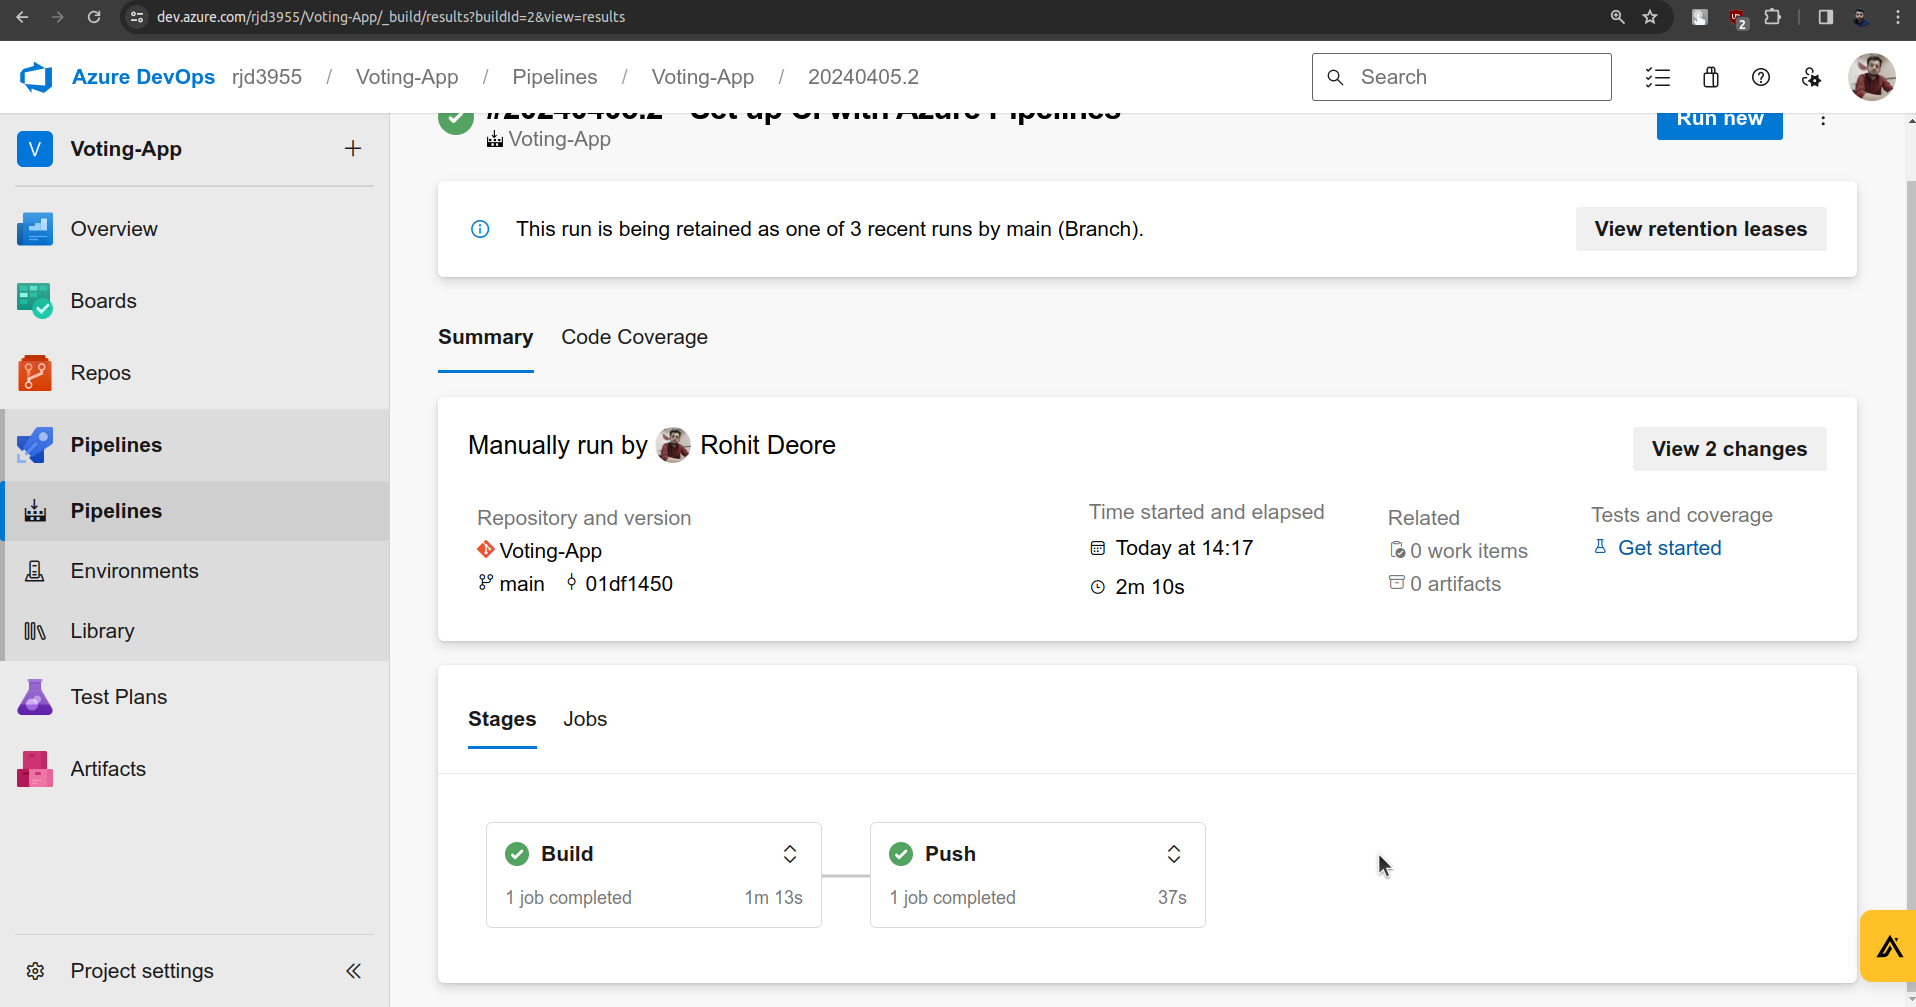
Amazing! Pipeline completed the jobs successfully.
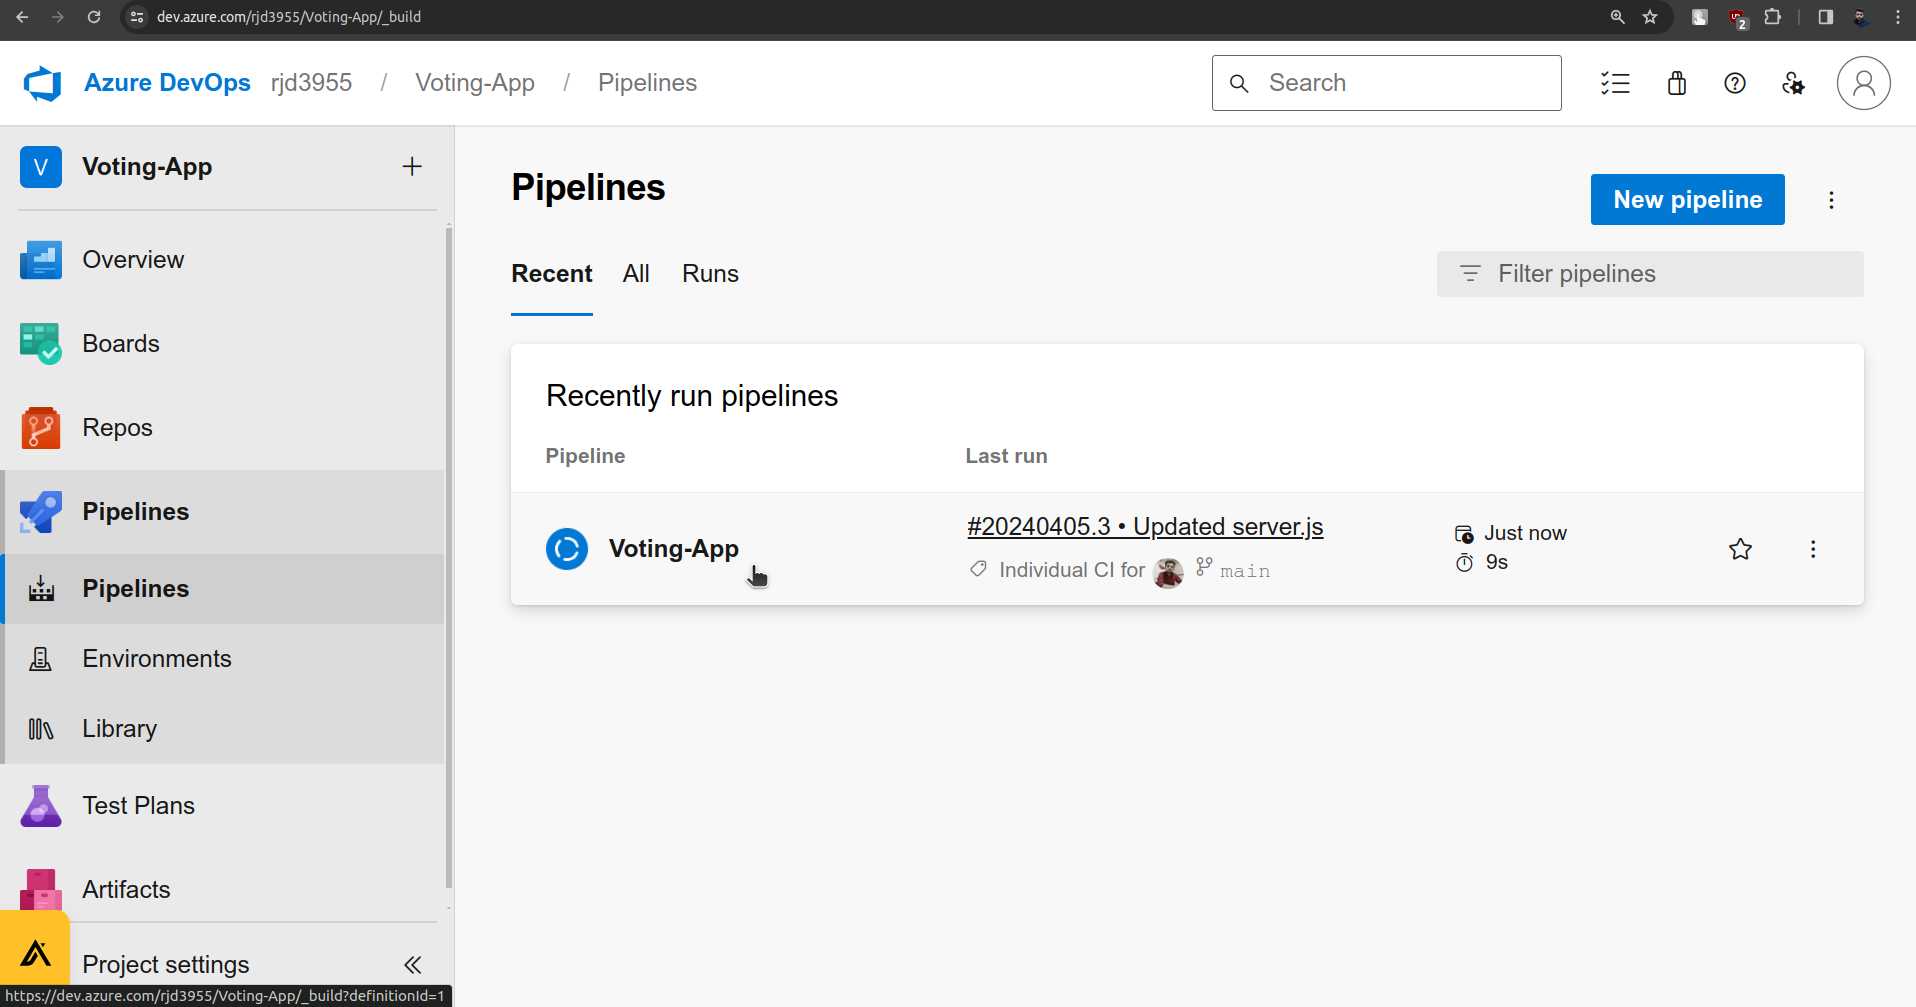
Now you try to make changes in the result microservice from the repo.
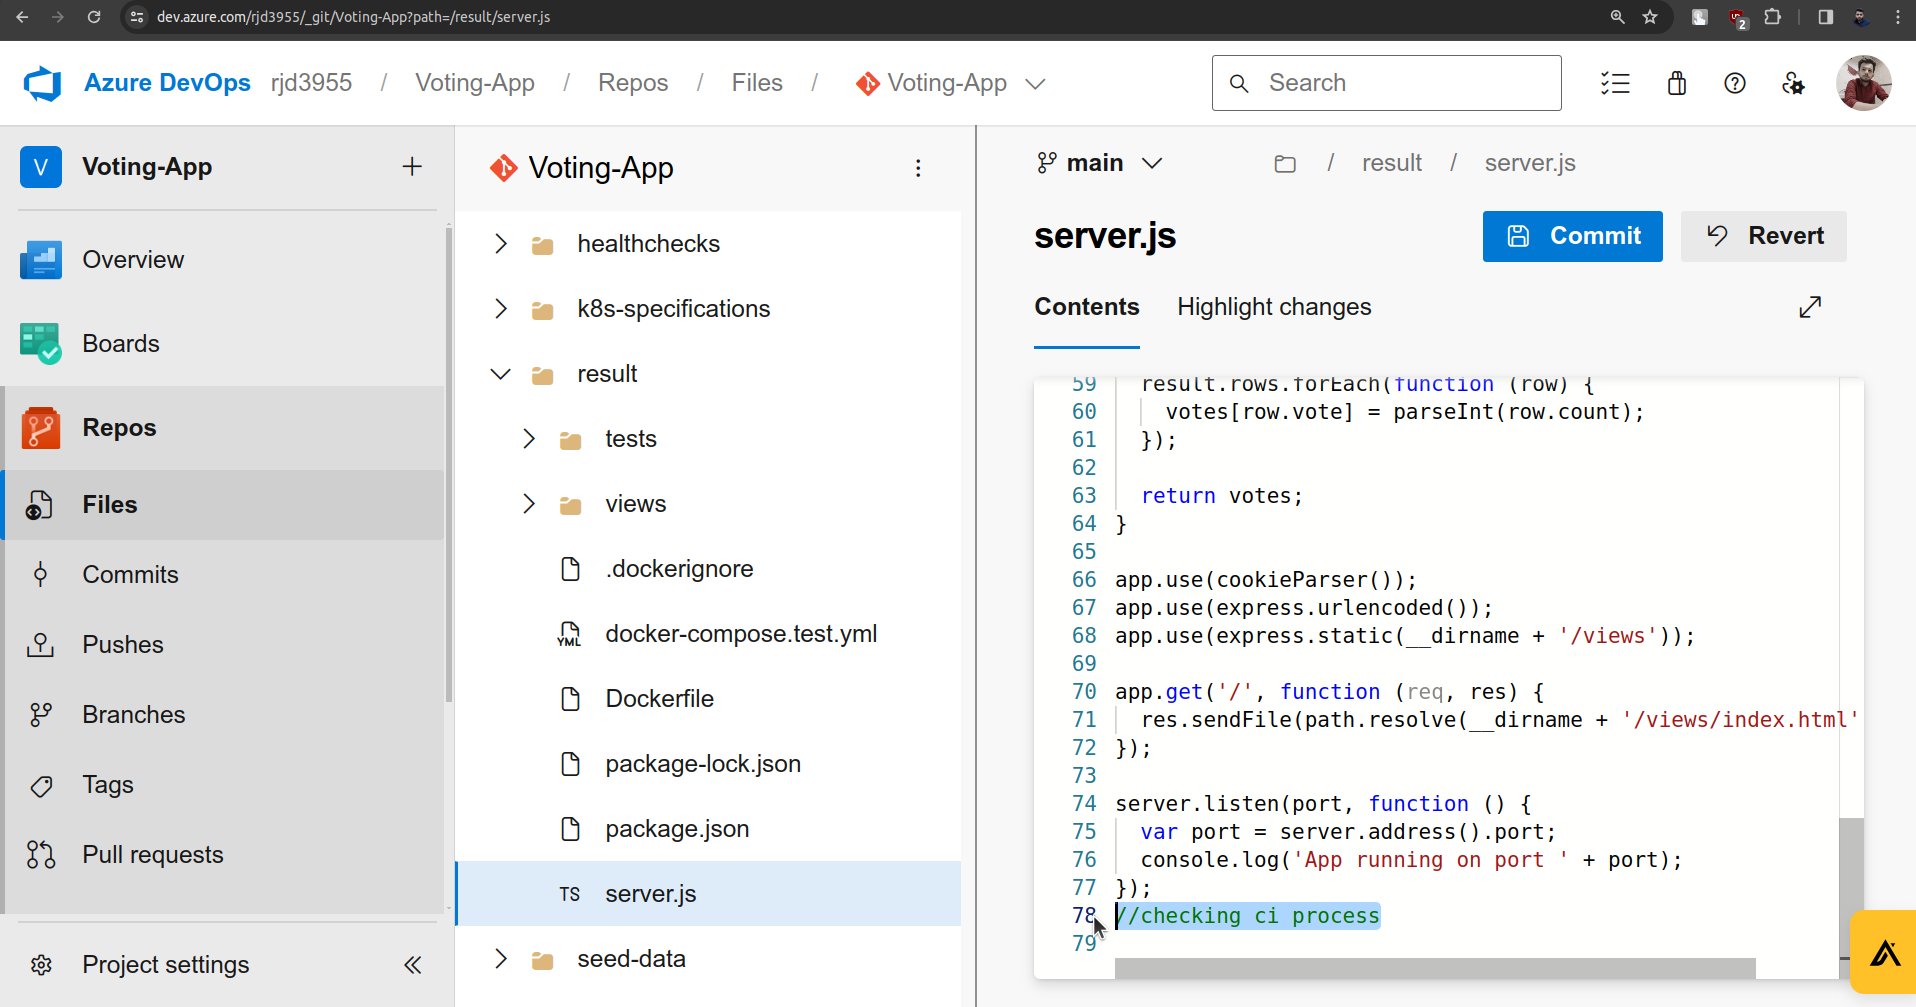
I just have added the comment in files server.js which is inside the result service and now as soon as we make a commit the CI pipeline will get a trigger.
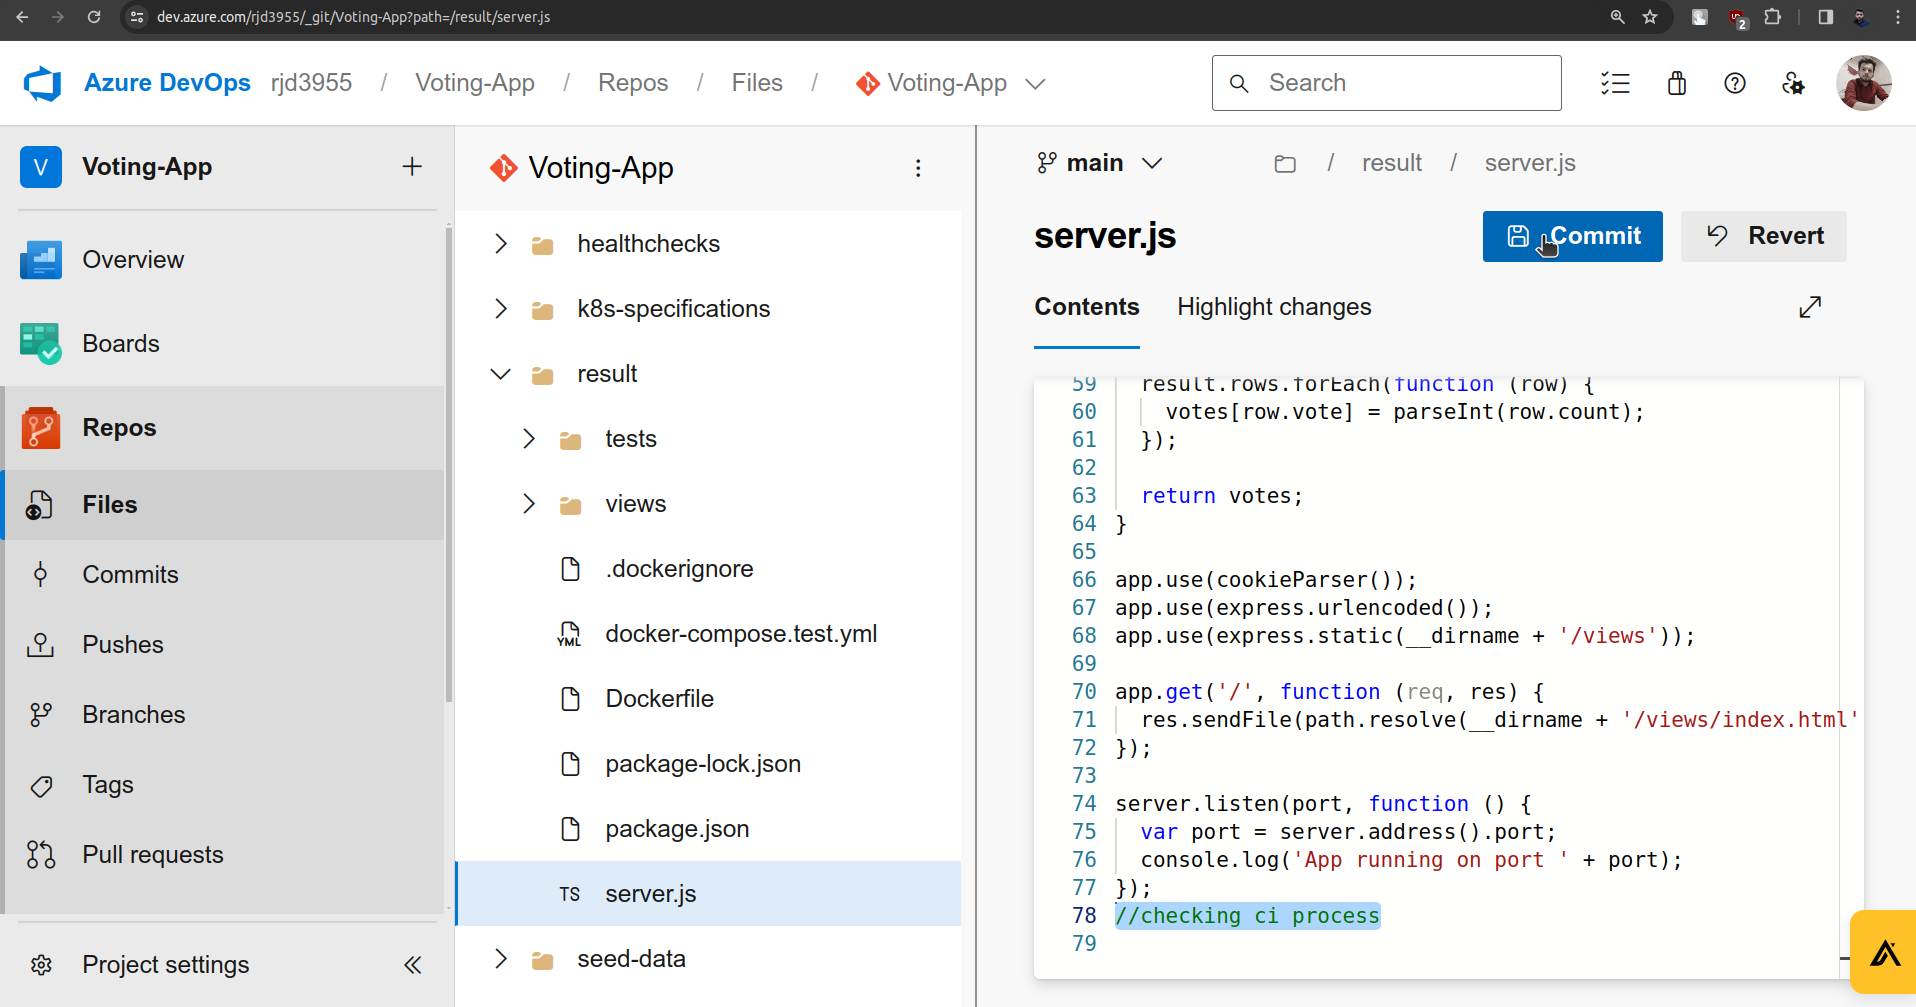
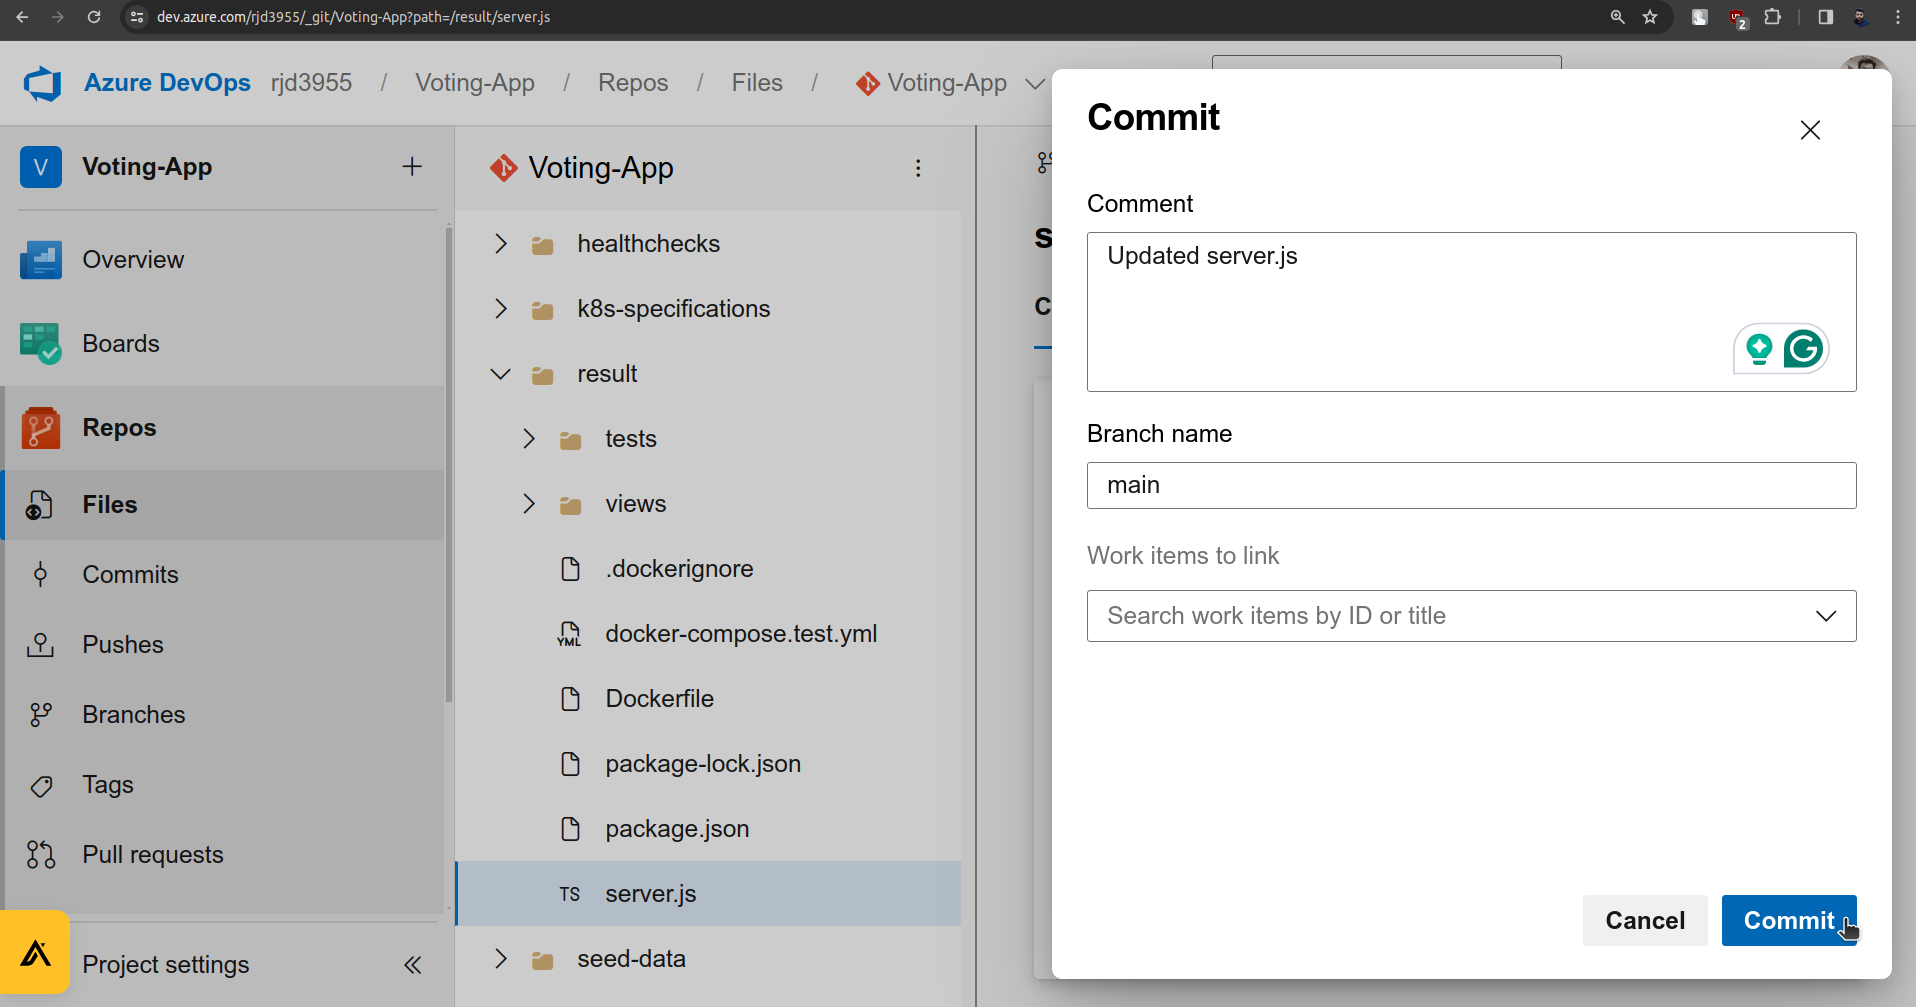
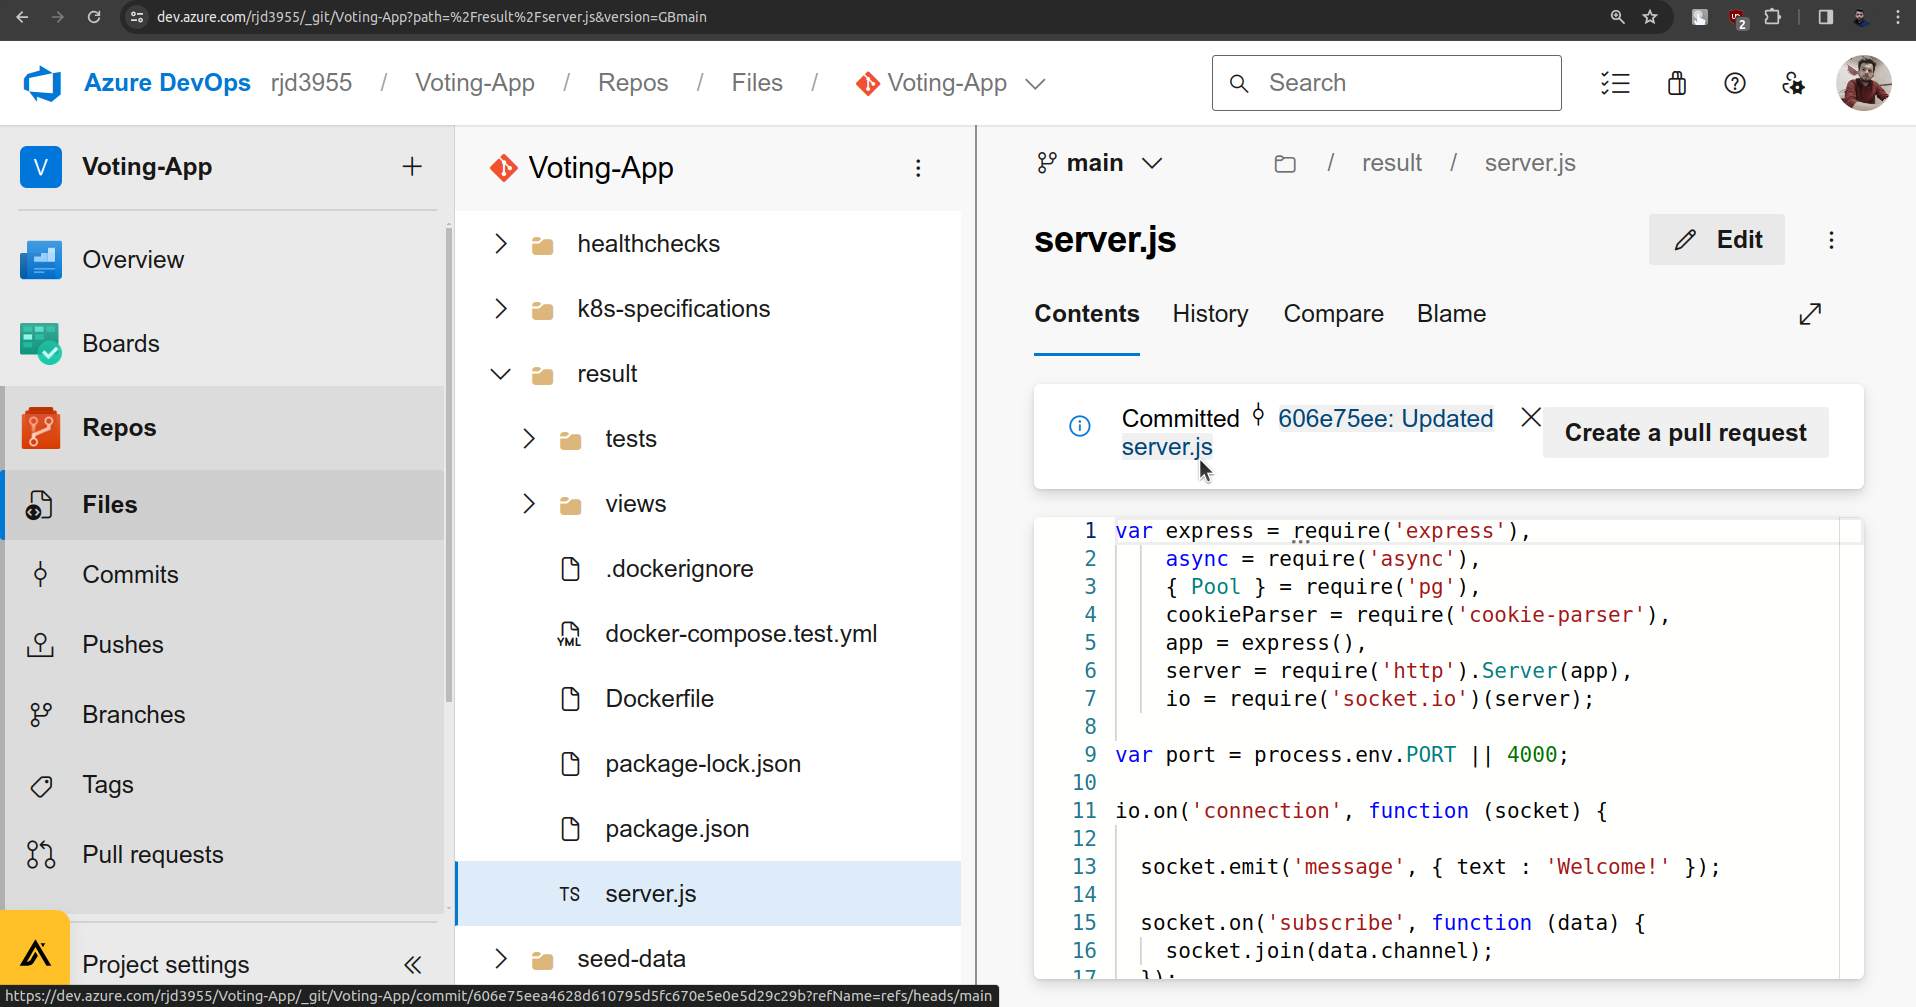
CI gets executed as soon as I make a commitment.
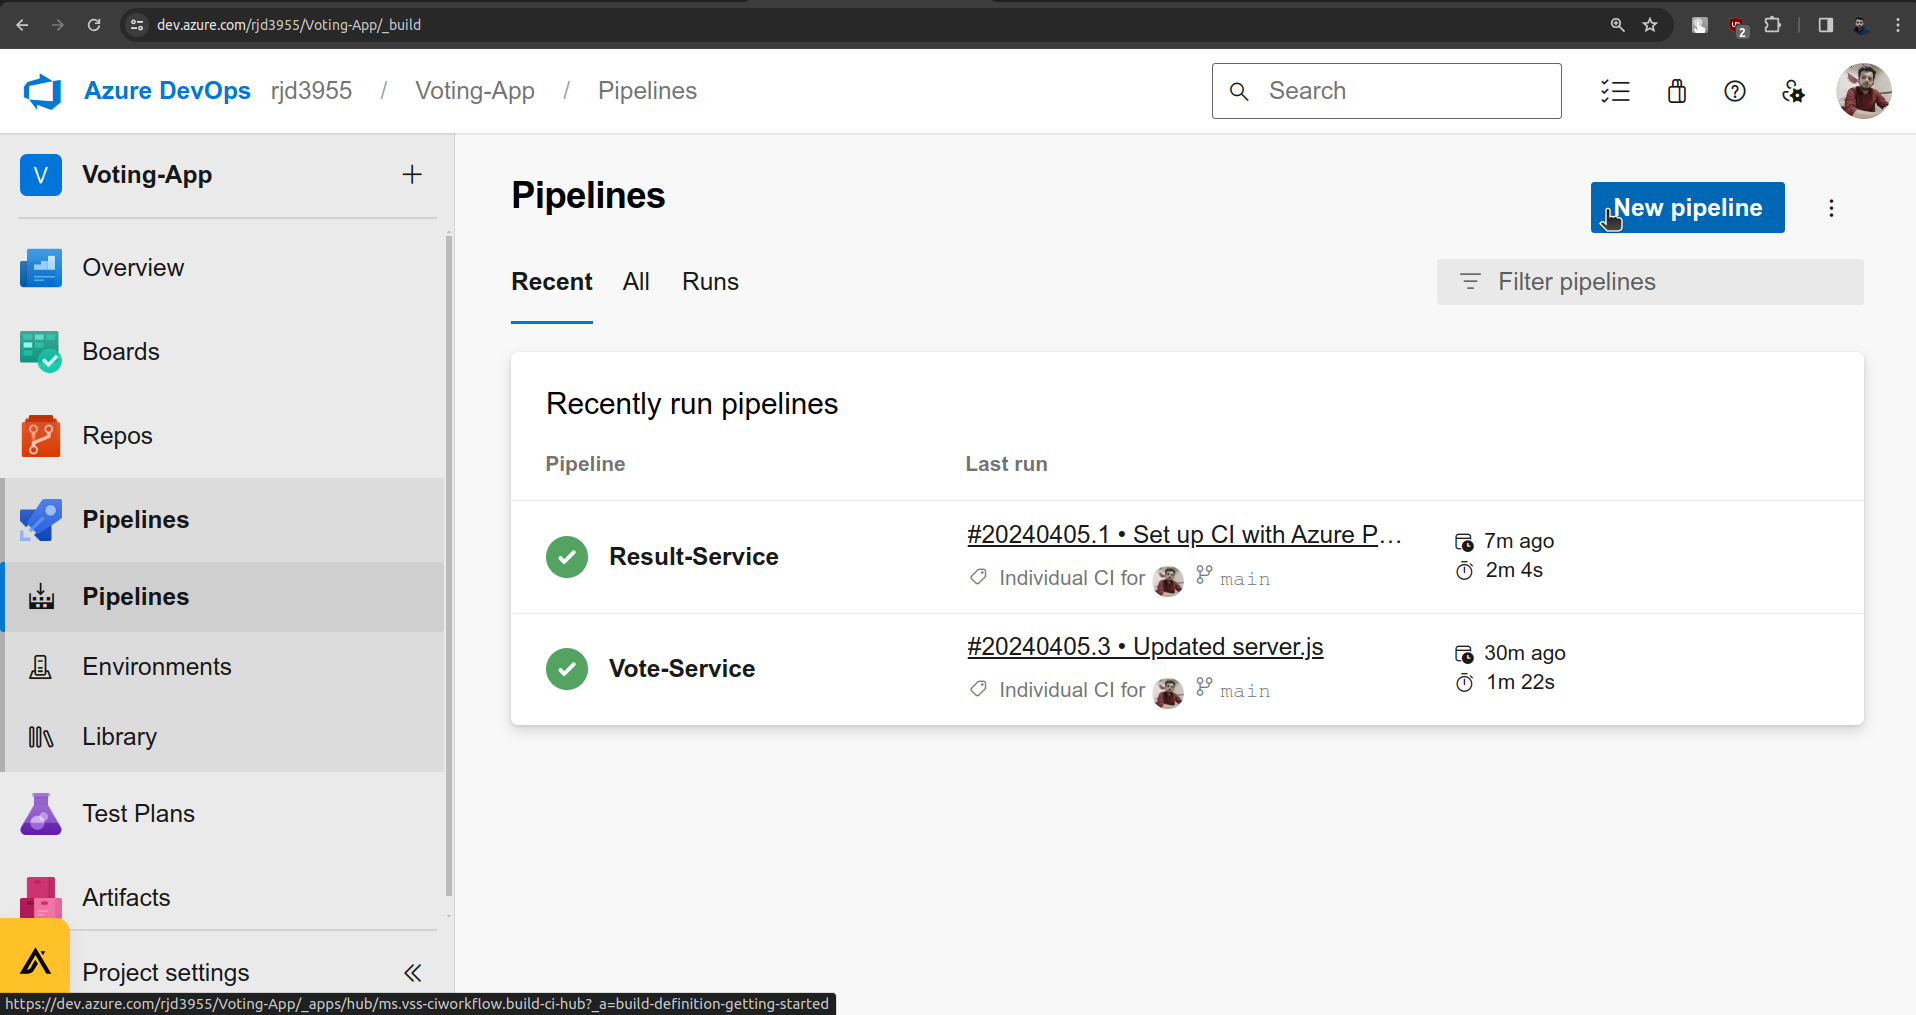
5. Now for the remaining two pipelines we will write a code and will follow the same steps.
Go to Pipelines and create a new pipeline for the Vote service.
Now I will update the YML file and the code will be available below.
Before pasting the code which I will provide change the file name to "azure-pipelines-vote.yml".
# Docker
# Build and push an image to Azure Container Registry
# https://docs.microsoft.com/azure/devops/pipelines/languages/docker

trigger:
 paths:
   include:
     - vote/*

resources:
- repo: self

variables:
  # Container registry service connection established during pipeline creation
  dockerRegistryServiceConnection: 'b45a1d67-7d8c-4e5e-b9e2-42d8d1e2f57b'
  imageRepository: 'votingapp'
  containerRegistry: 'rohitazurecicd.azurecr.io'
  dockerfilePath: '$(Build.SourcesDirectory)/result/Dockerfile'
  tag: '$(Build.BuildId)'

pool:
 name: 'azureagent'

stages:
- stage: Build
  displayName: Build
  jobs:
  - job: Build
    displayName: Build
    steps:
    - task: Docker@2
      displayName: Build image
      inputs:
        containerRegistry: '$(dockerRegistryServiceConnection)'
        repository: '$(imageRepository)'
        command: 'build'
        Dockerfile: 'vote/Dockerfile'
        tags: '$(tag)'

- stage: Push
  displayName: Push
  jobs:
  - job: Push
    displayName: Push
    steps:
    - task: Docker@2
      displayName: Push image
      inputs:
        containerRegistry: '$(dockerRegistryServiceConnection)'
        repository: '$(imageRepository)'
        command: 'push'
        tags: '$(tag)'
Once you paste the above code in "azure-pipelines-vote.yml" file. Click save and run.

Run Successful.
Now the same configuration is for our last pipeline.
Go to pipelines and create a new pipeline for Worker service.
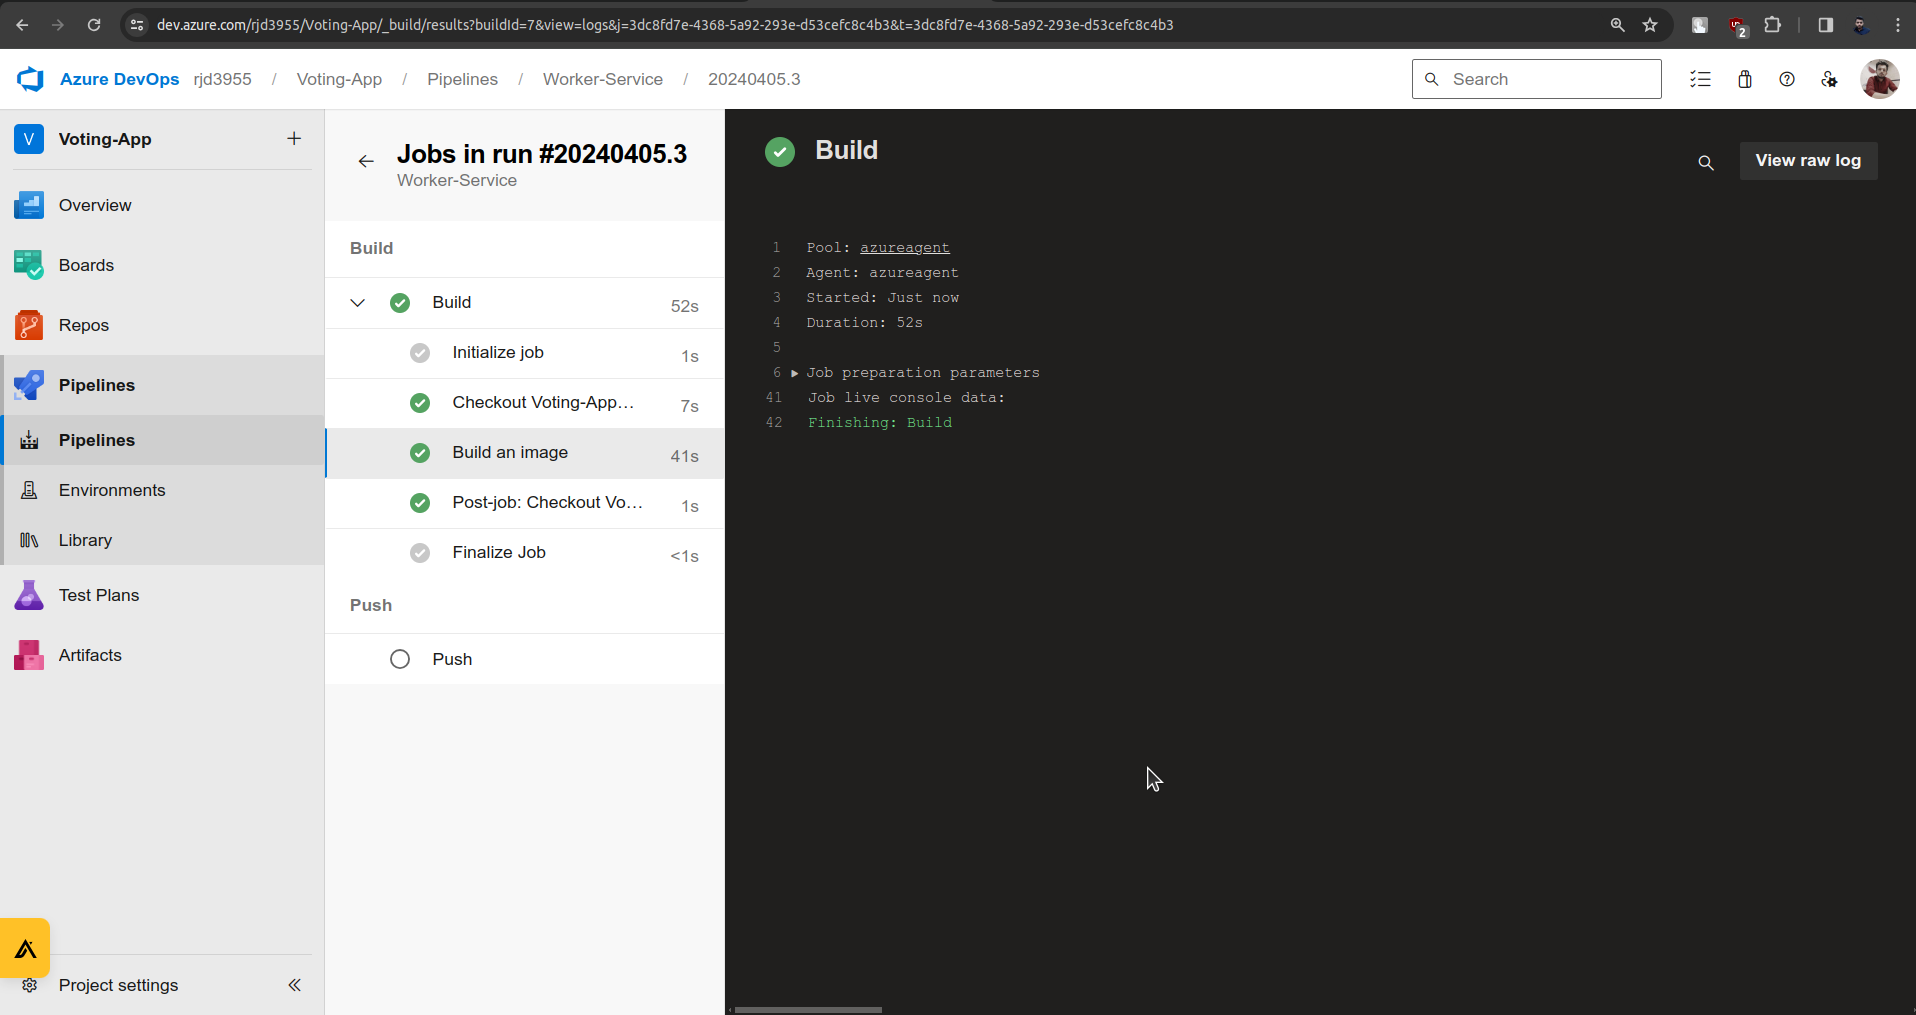
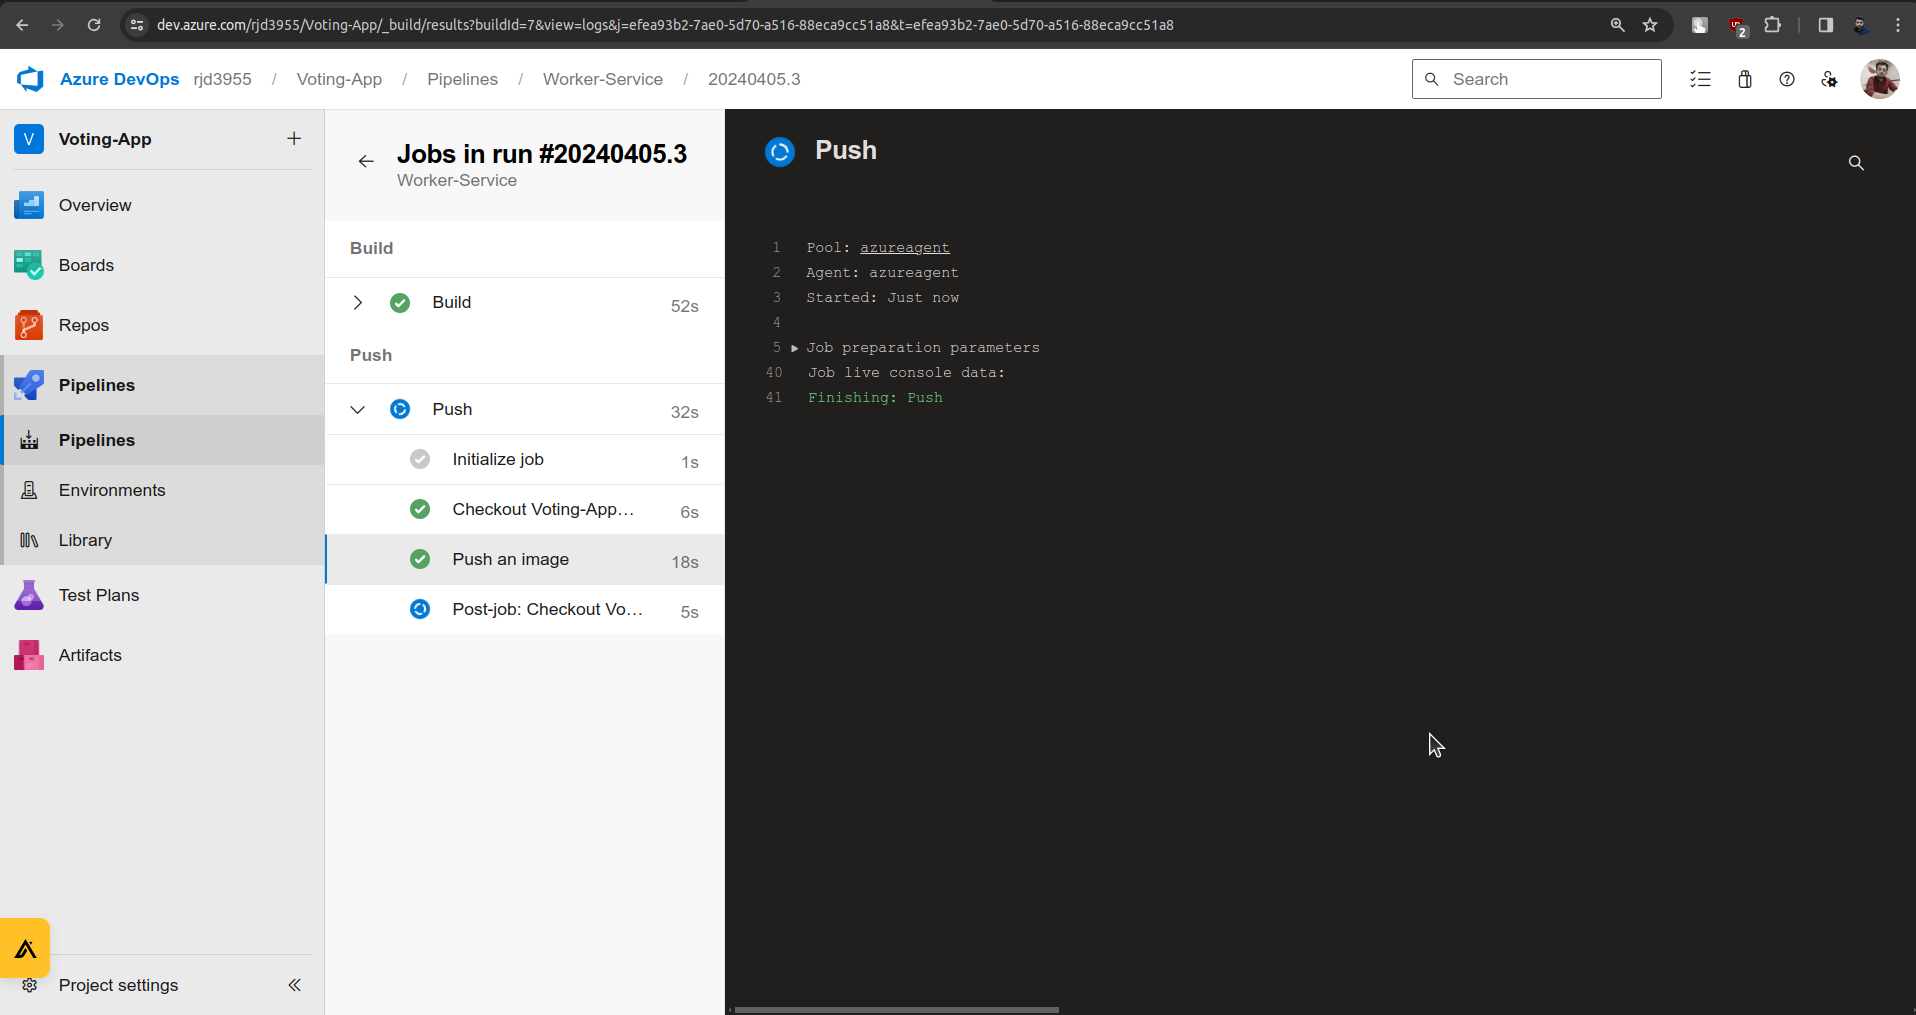
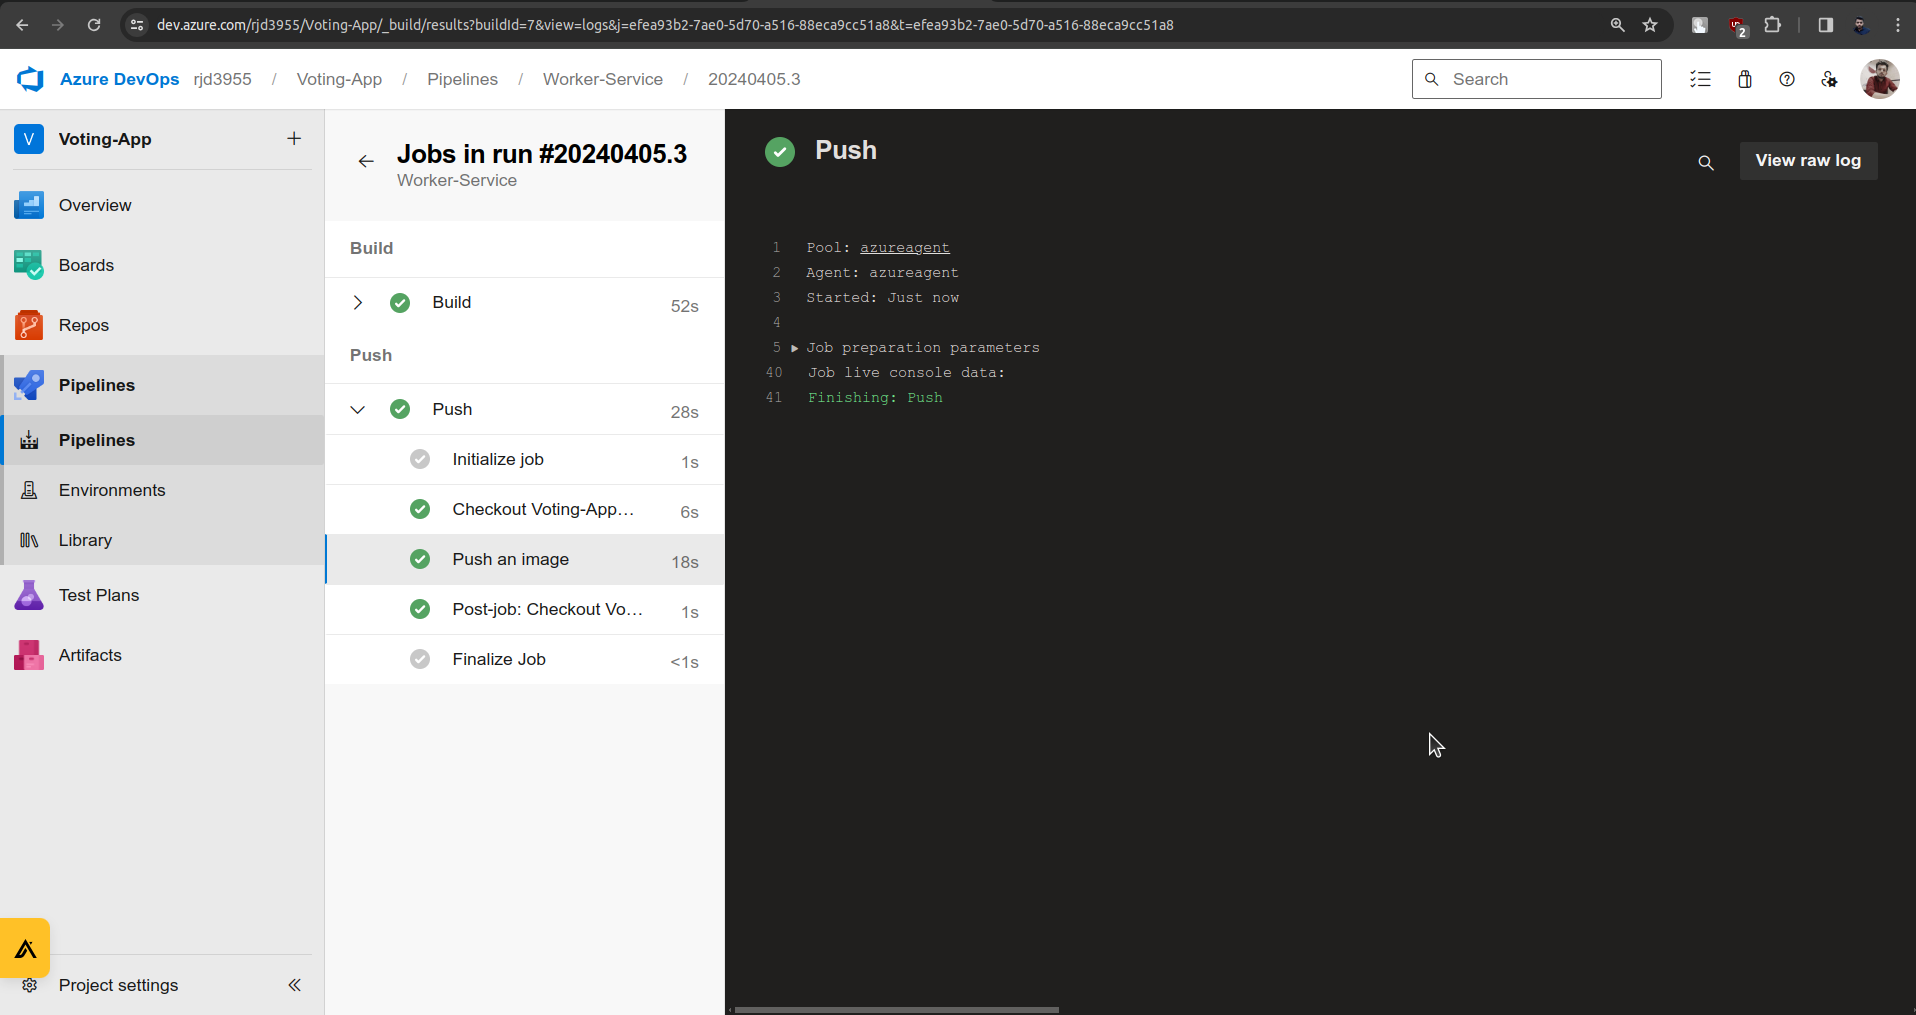
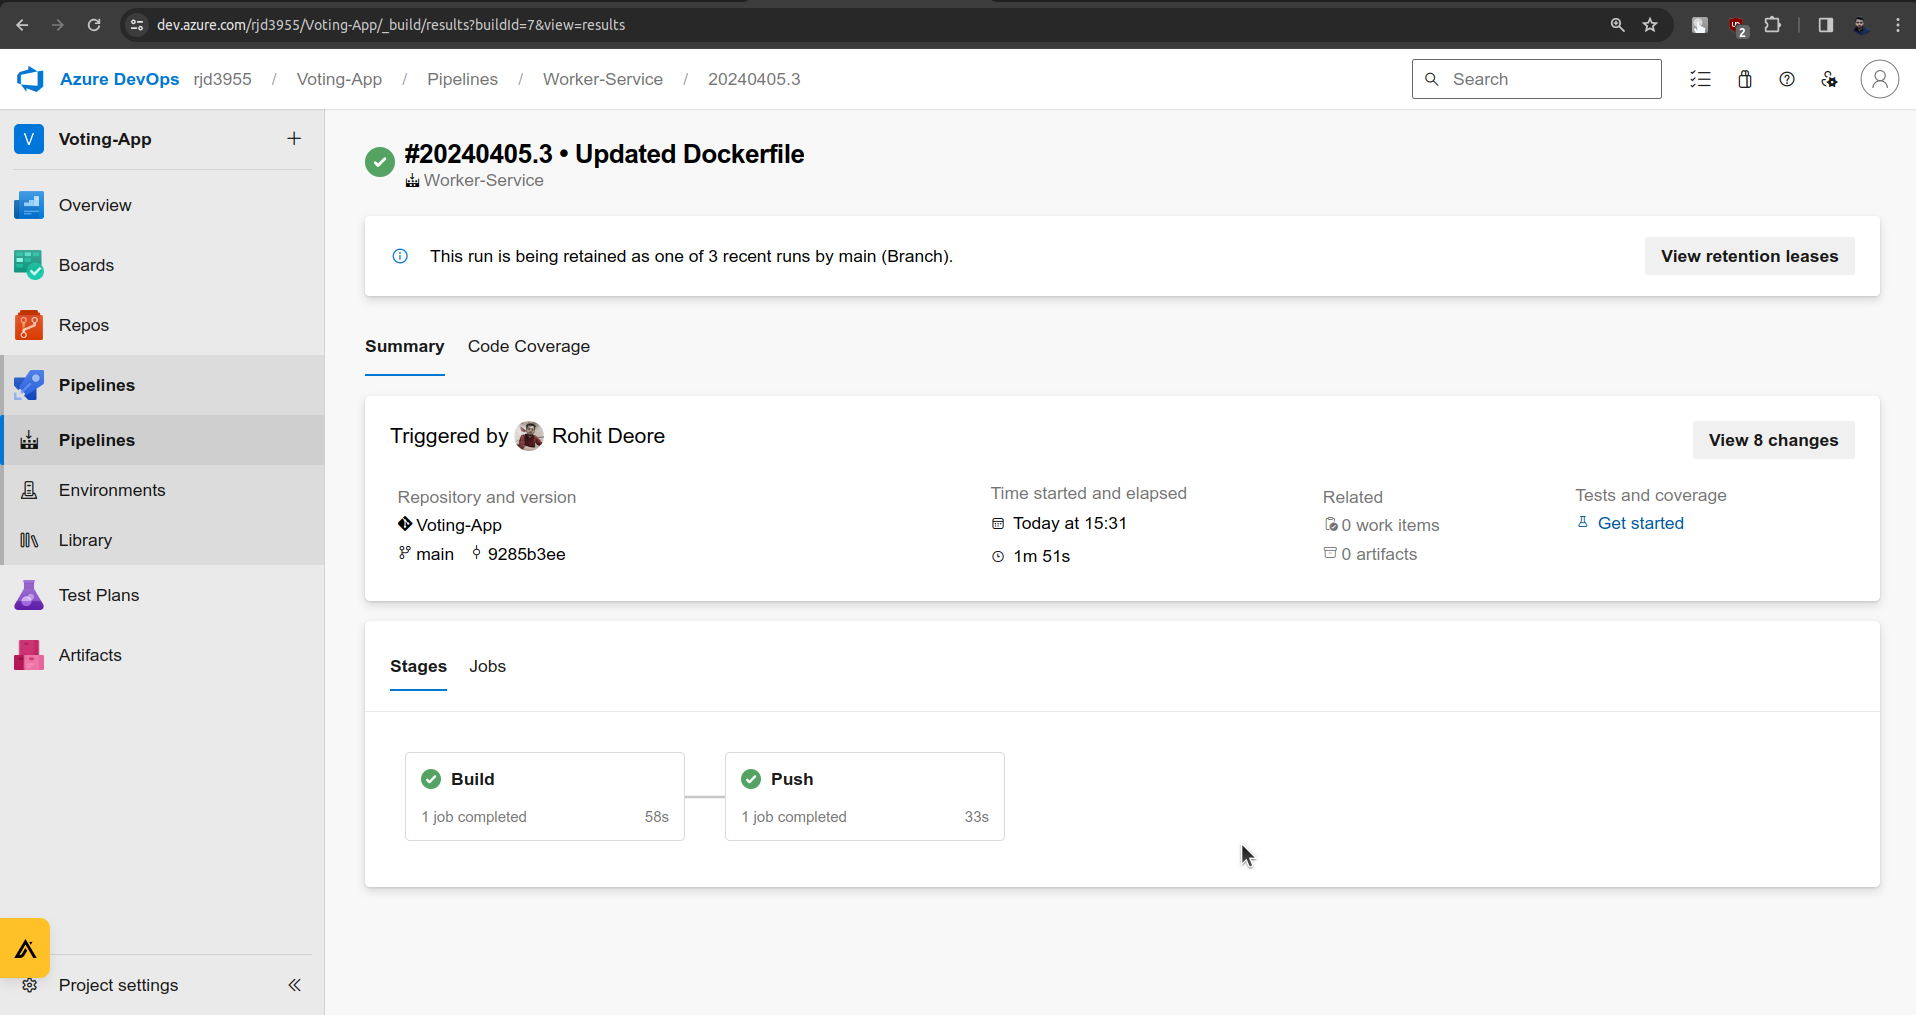
Run Successful🥳.
Here we have implemented our CI part.
Thank you for staying with me for the CI part, we will have our CD part in the next Blog.
Blog Link For CD Part:- Pending
Keep Exploring...


