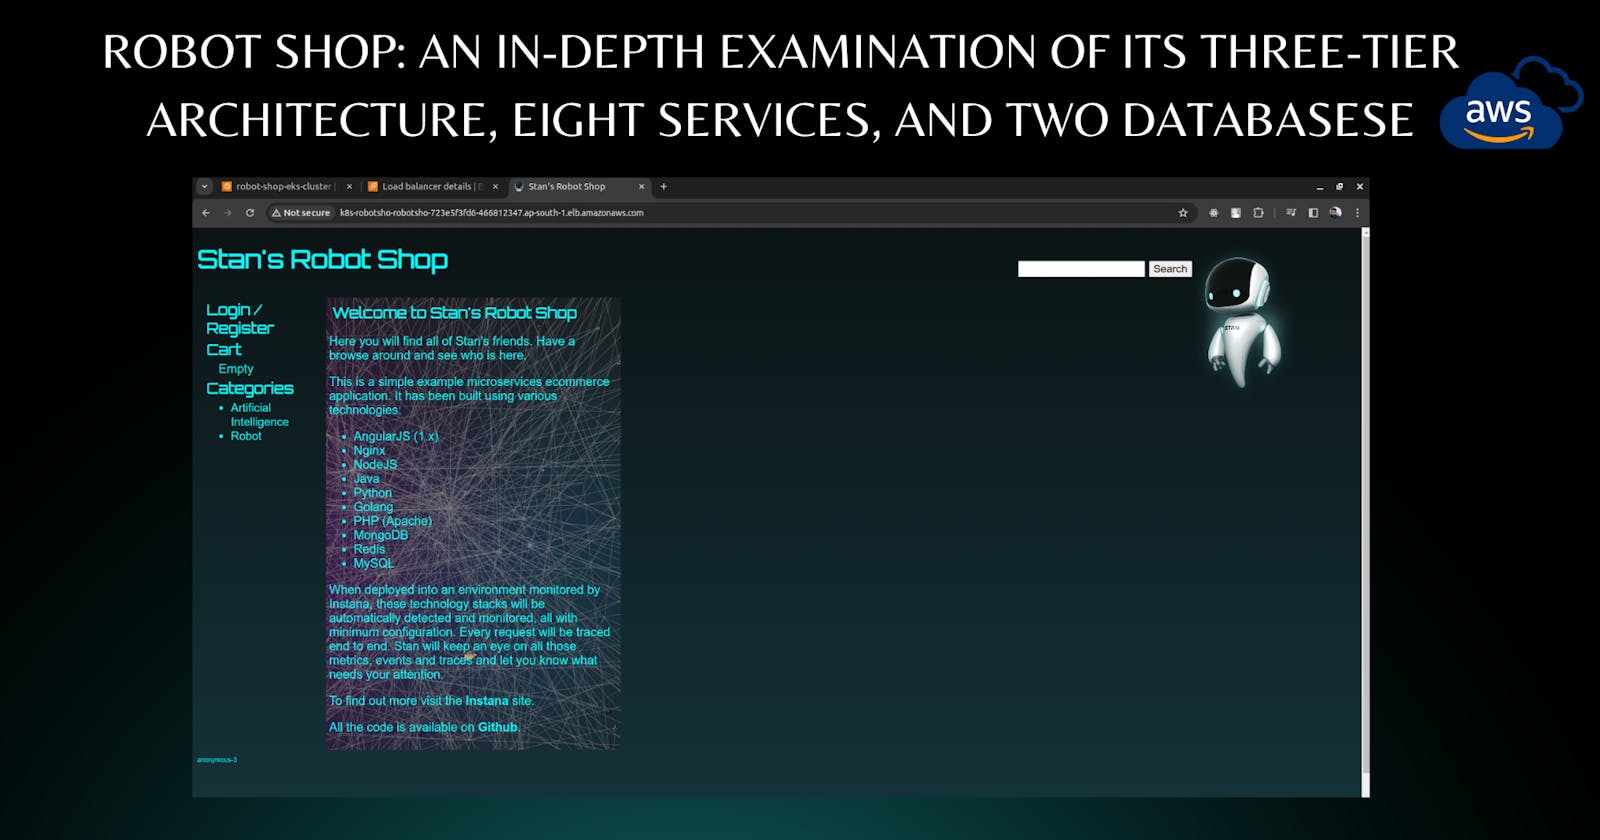
Robot Shop: An In-Depth Examination of Its Three-Tier Architecture, Eight Services, and Two Databases
AWS


Github Repo: https://github.com/DeoreRohit4/AWS-Three-Tire-Architecture-Project/tree/main
Steps:
Prerequisites: You need to have eksctl, kubectl, and AWS CLI installed and configured.
Now using the command create a cluster in the ap-south-1 region
eksctl create cluster --name robot-shop-eks-cluster --region ap-south-1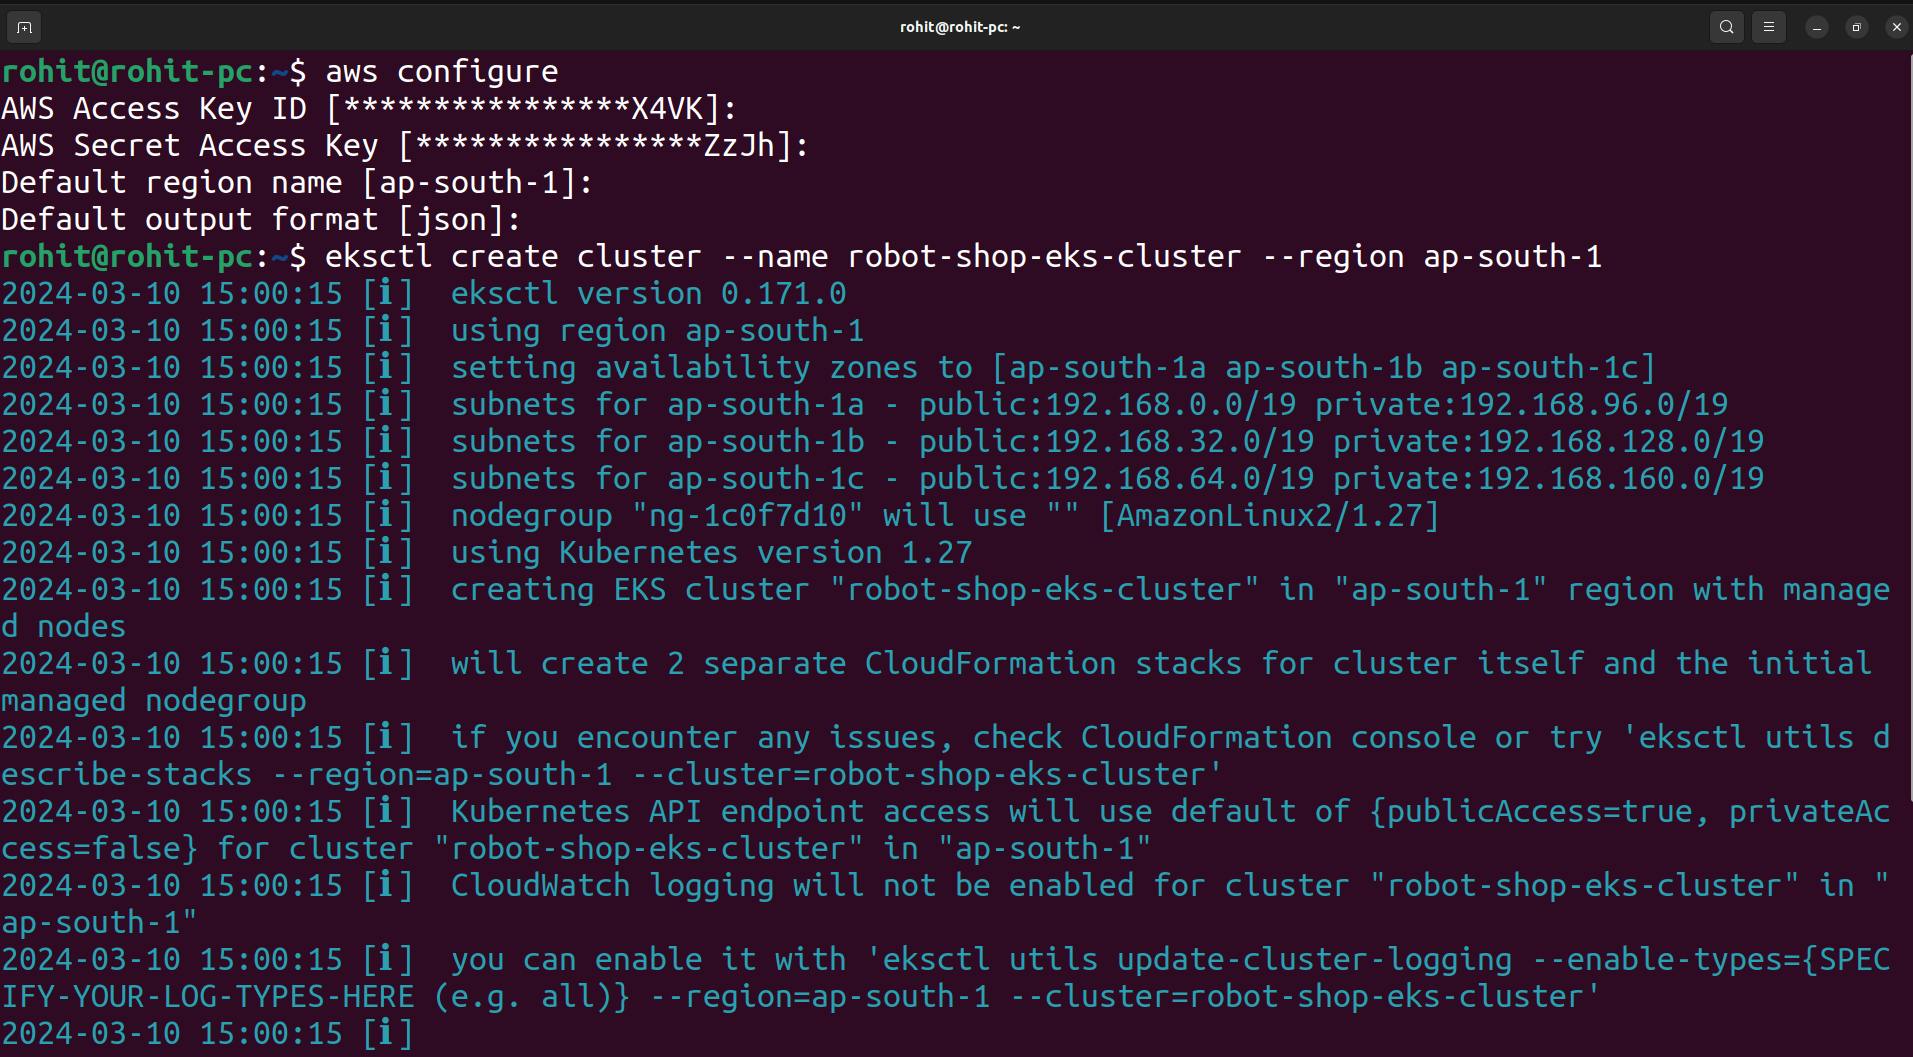
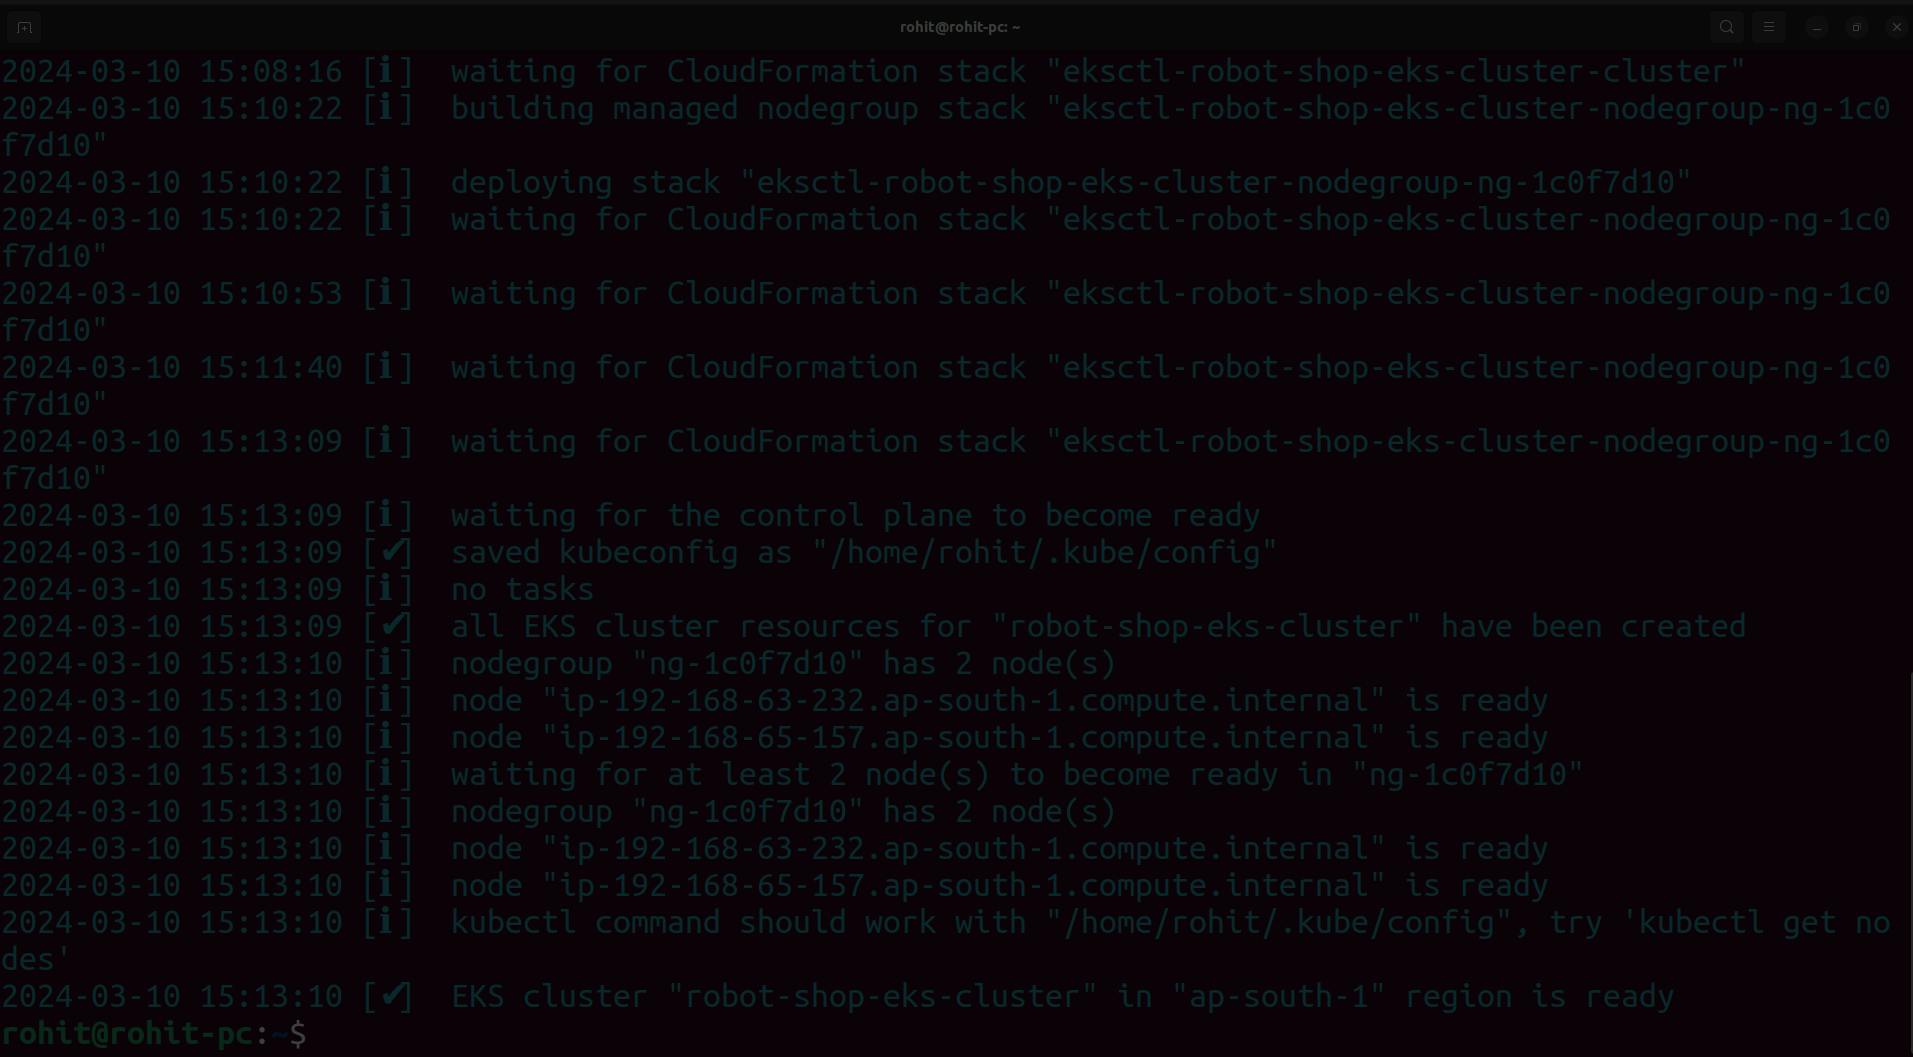
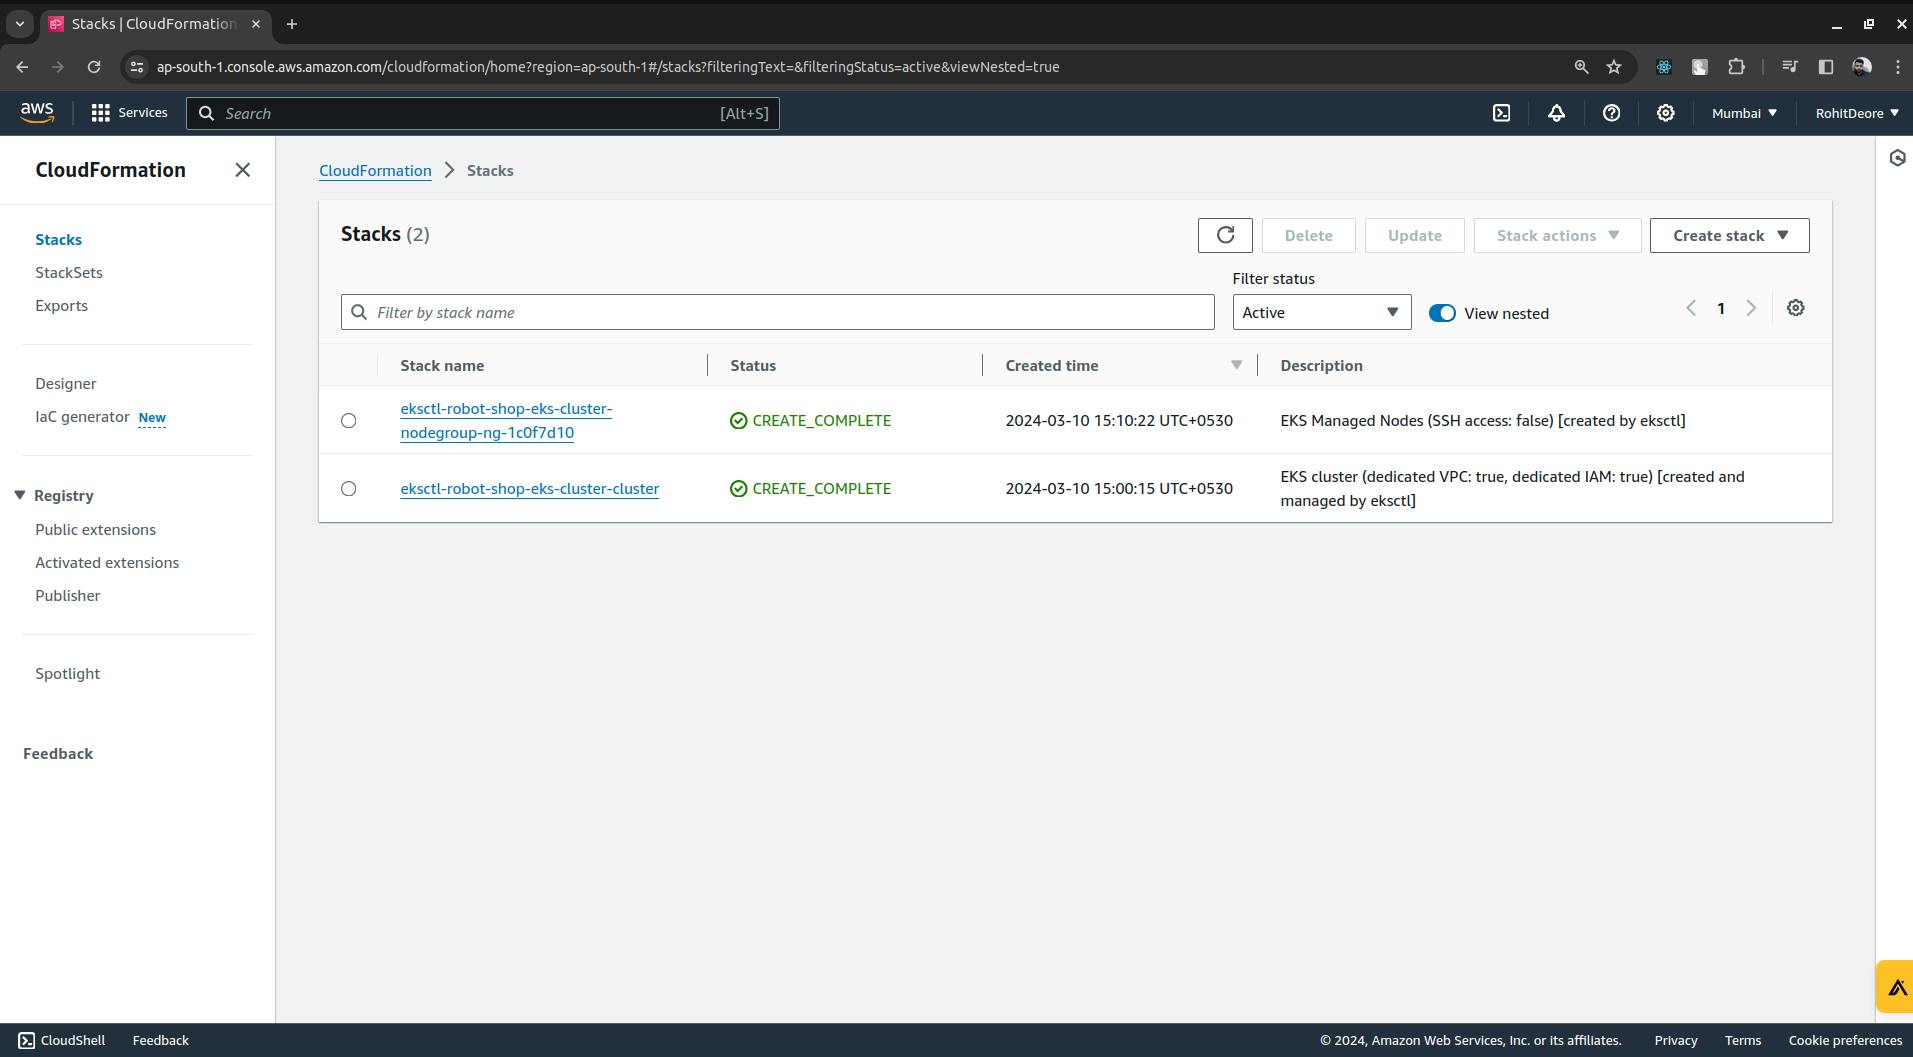
you can see that the EKS cluster is ready.

Now we will configure the IAM OIDC provider.
export cluster_name=<CLUSTER-NAME>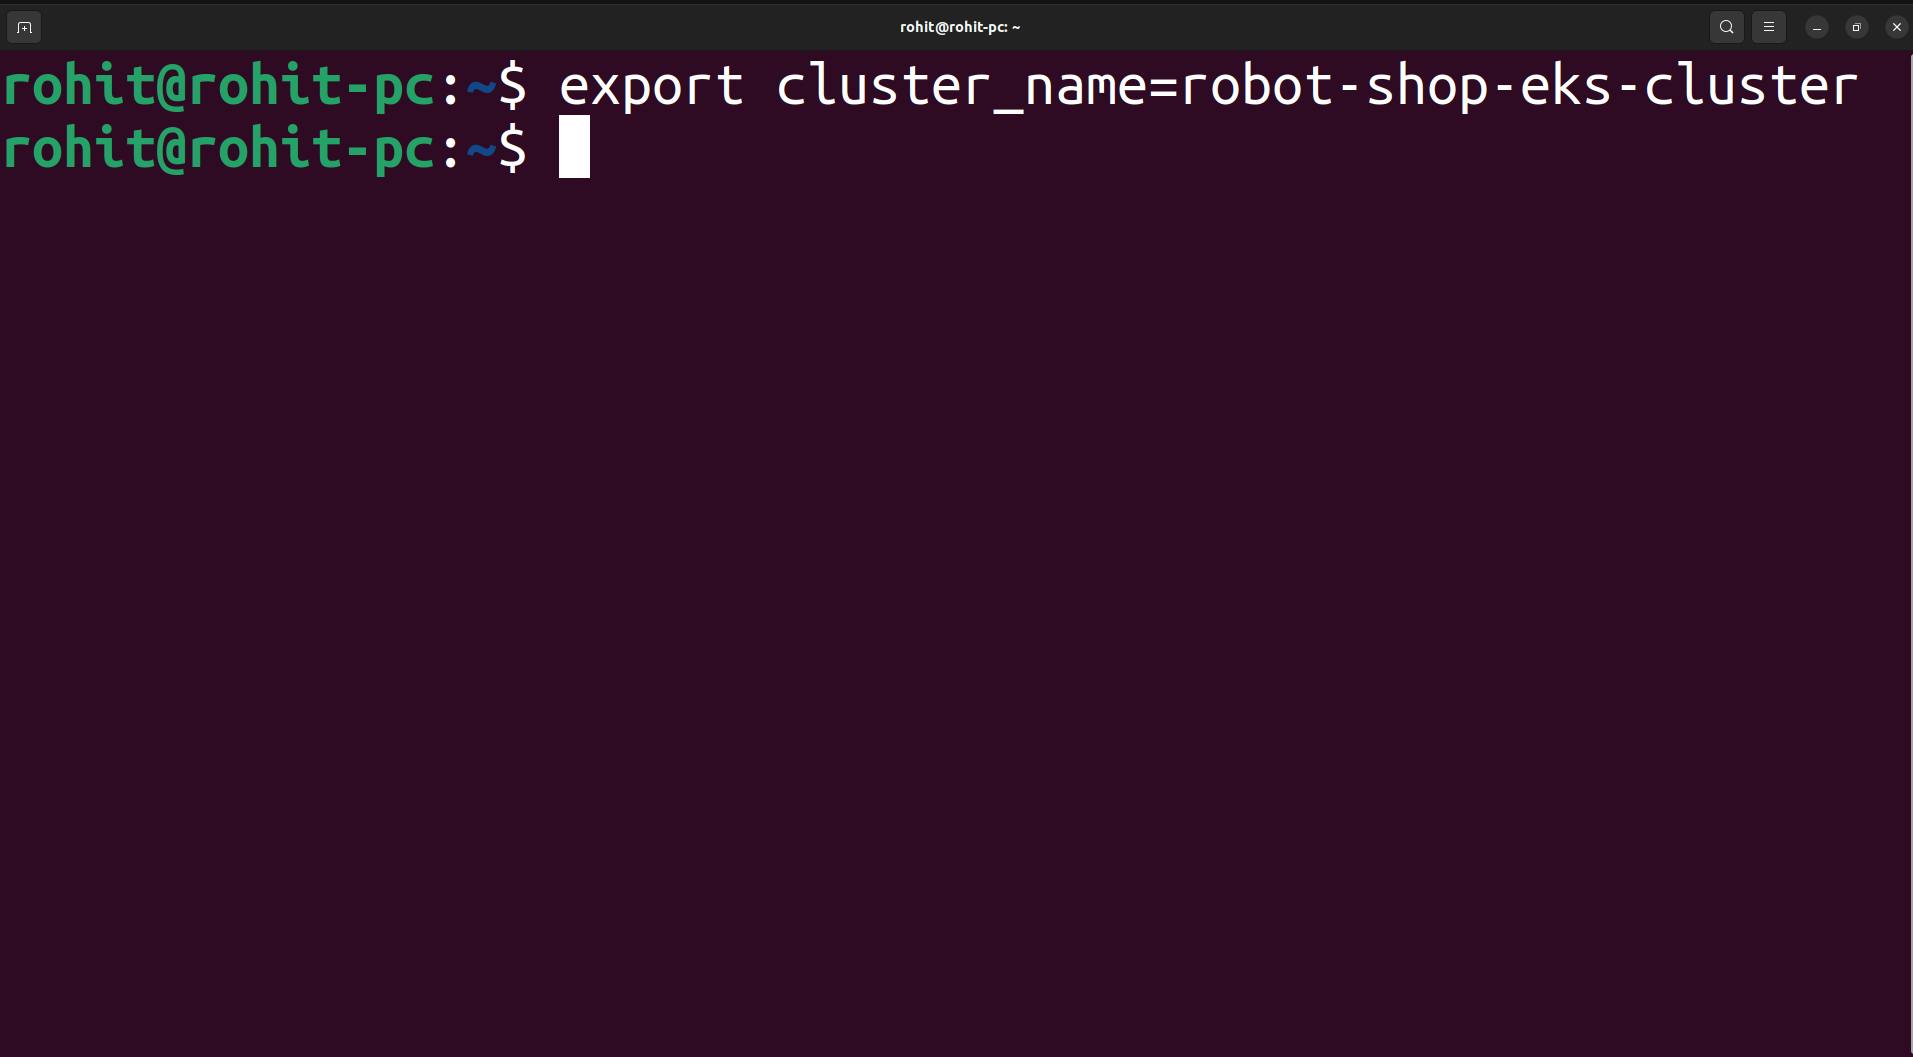
Once the cluster name is exported. Now to get OIDC ID execute the following command.
oidc_id=$(aws eks describe-cluster --name $cluster_name --query "cluster.identity.oidc.issuer" --output text | cut -d '/' -f 5)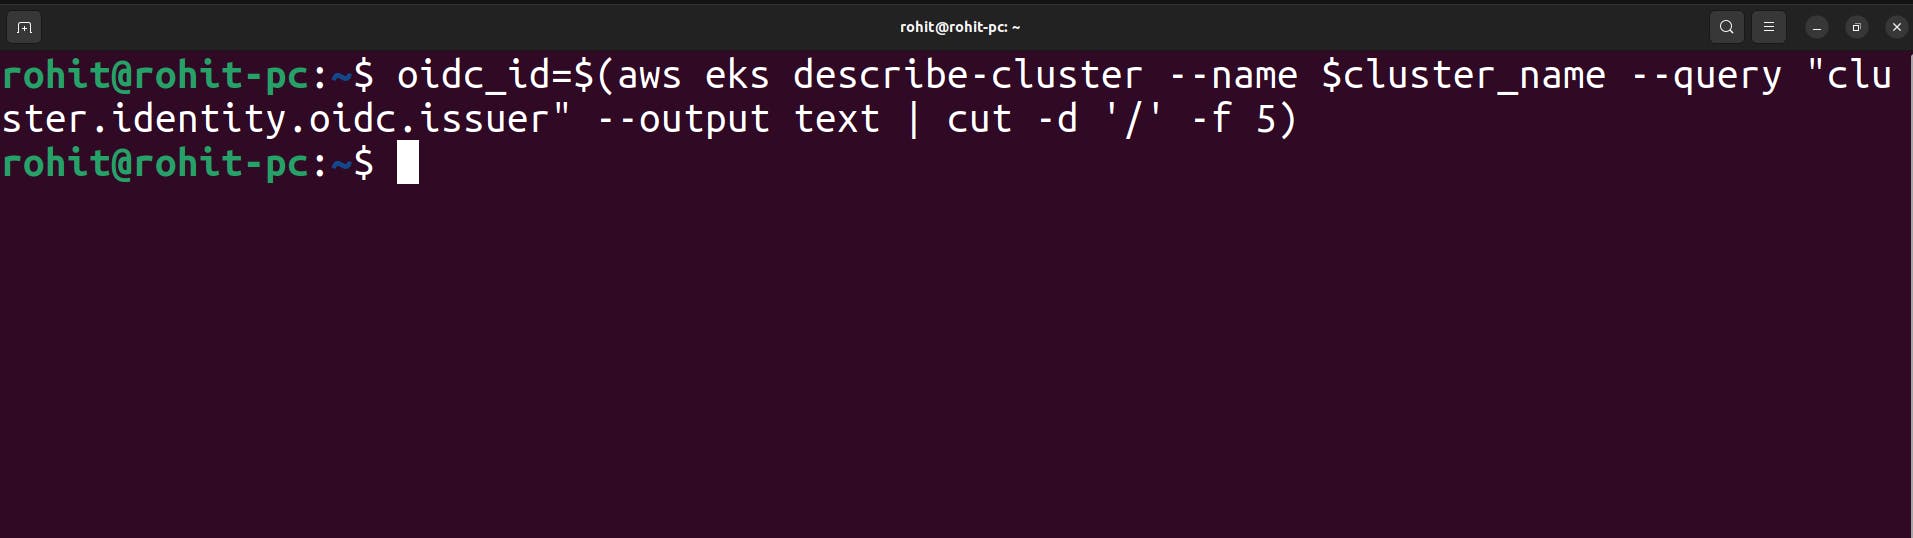
Now just to check if there is an IAM OIDC provider configured already. use the below command.
aws iam list-open-id-connect-providers | grep $oidc_id | cut -d "/" -f4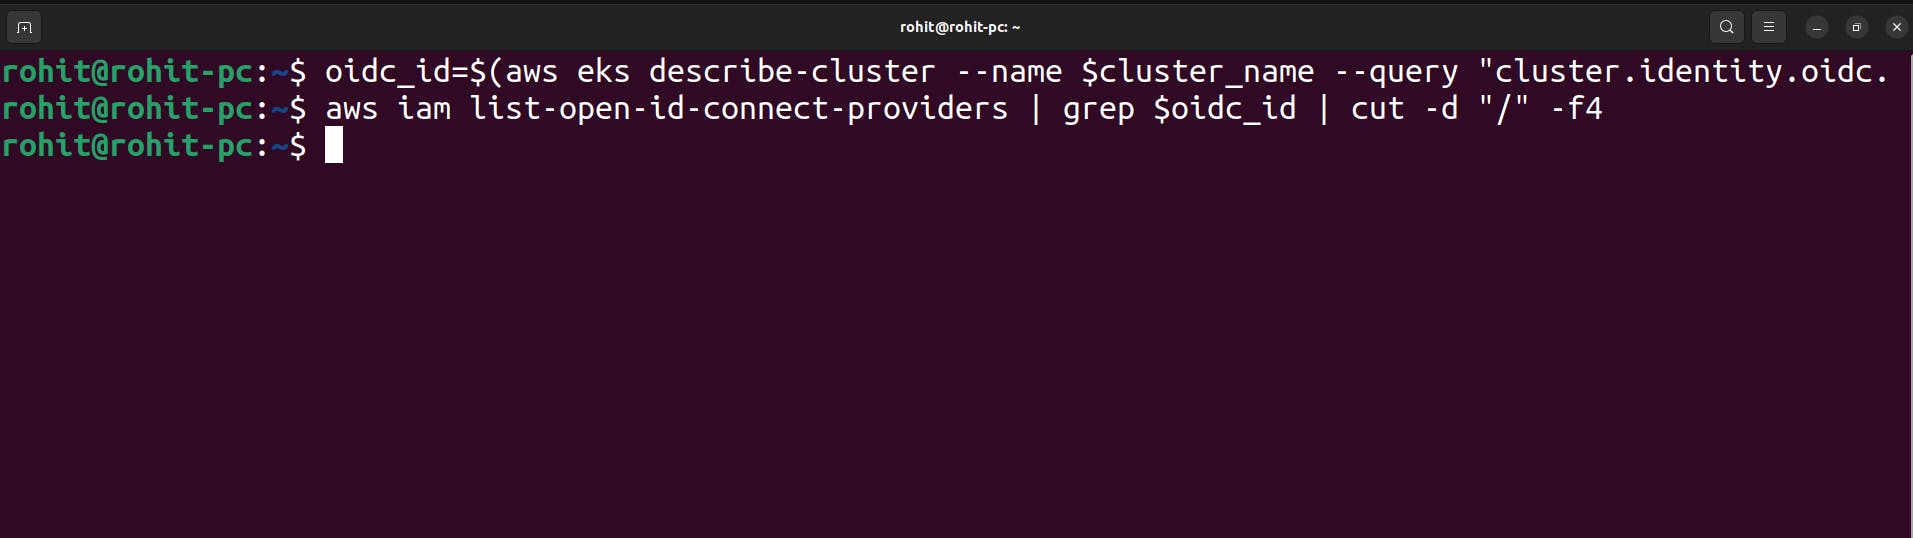
there is no OIDC provider, so run the below command.
eksctl utils associate-iam-oidc-provider --cluster $cluster_name --approve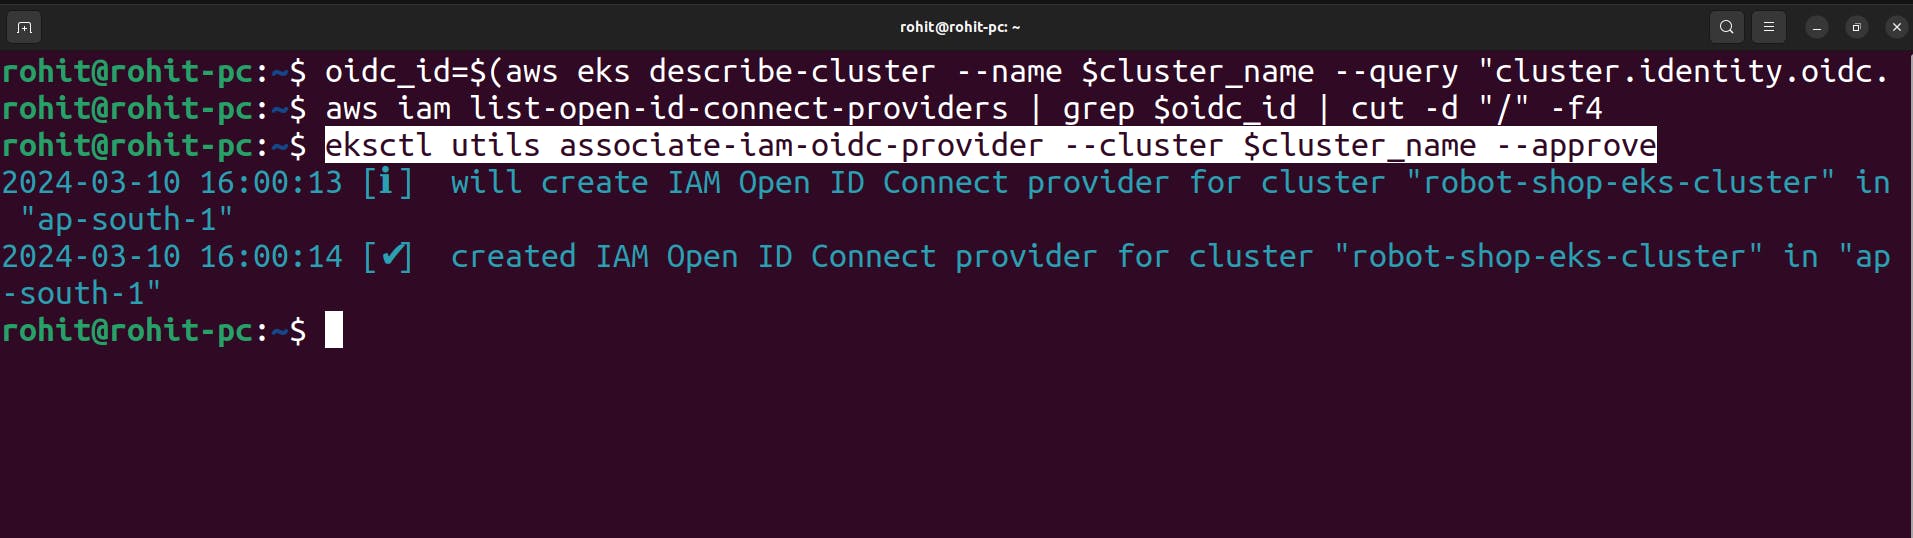
Here OIDC configuration is complete.
Now we can proceed with ALB configuration.we need ALB configuration because we want to expose this robot shop application to the external world.
Download IAM policy
curl -O https://raw.githubusercontent.com/kubernetes-sigs/aws-load-balancer-controller/v2.5.4/docs/install/iam_policy.json
Create IAM Policy
 aws iam create-policy \
     --policy-name AWSLoadBalancerControllerIAMPolicy \
     --policy-document file://iam_policy.json
It says that policy already exists.
Create IAM Role
 eksctl create iamserviceaccount \
   --cluster=<your-cluster-name> \
   --namespace=kube-system \
   --name=aws-load-balancer-controller \
   --role-name AmazonEKSLoadBalancerControllerRole \
   --attach-policy-arn=arn:aws:iam::<your-aws-account-id>:policy/AWSLoadBalancerControllerIAMPolicy \
   --approve
while using the above command update the cluster name and account-id.

Add helm repo
helm repo add eks https://aws.github.io/eks-charts
Update the repo
helm repo update eks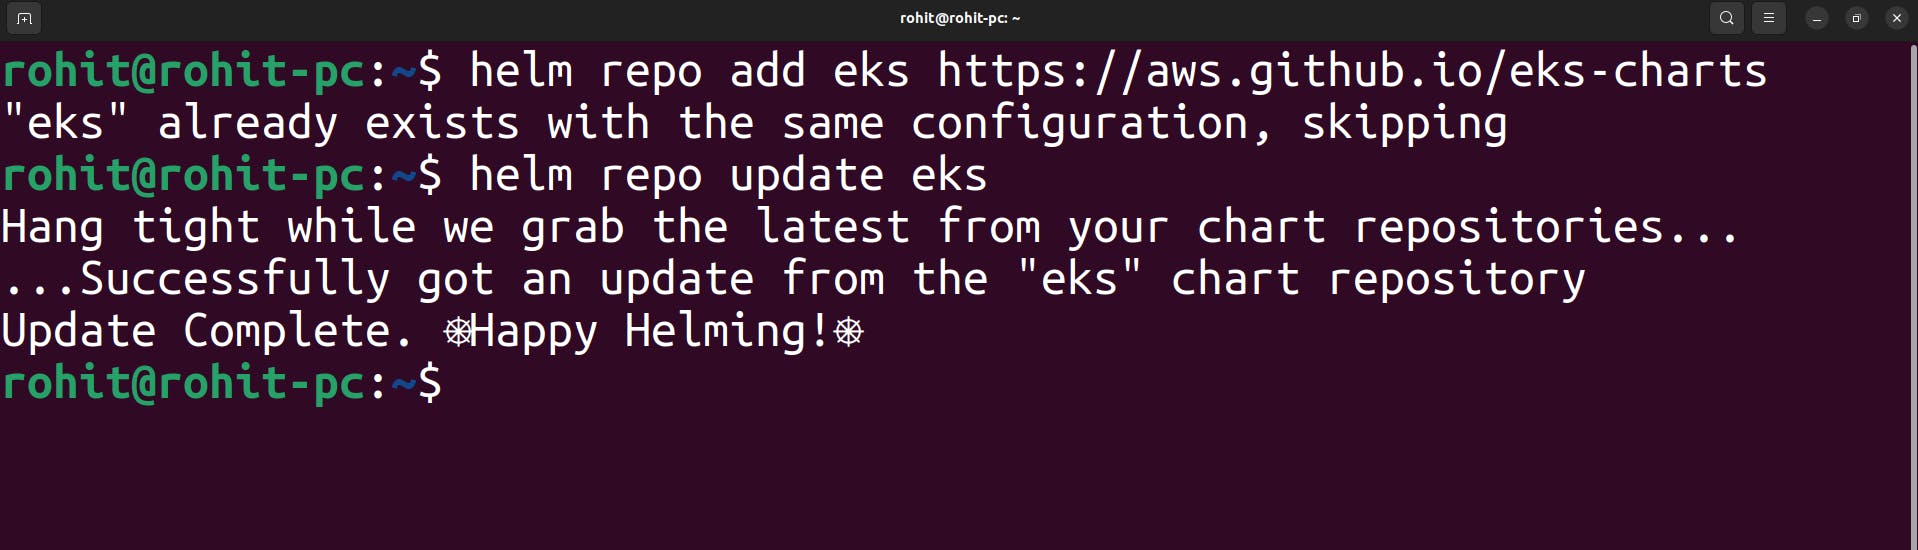
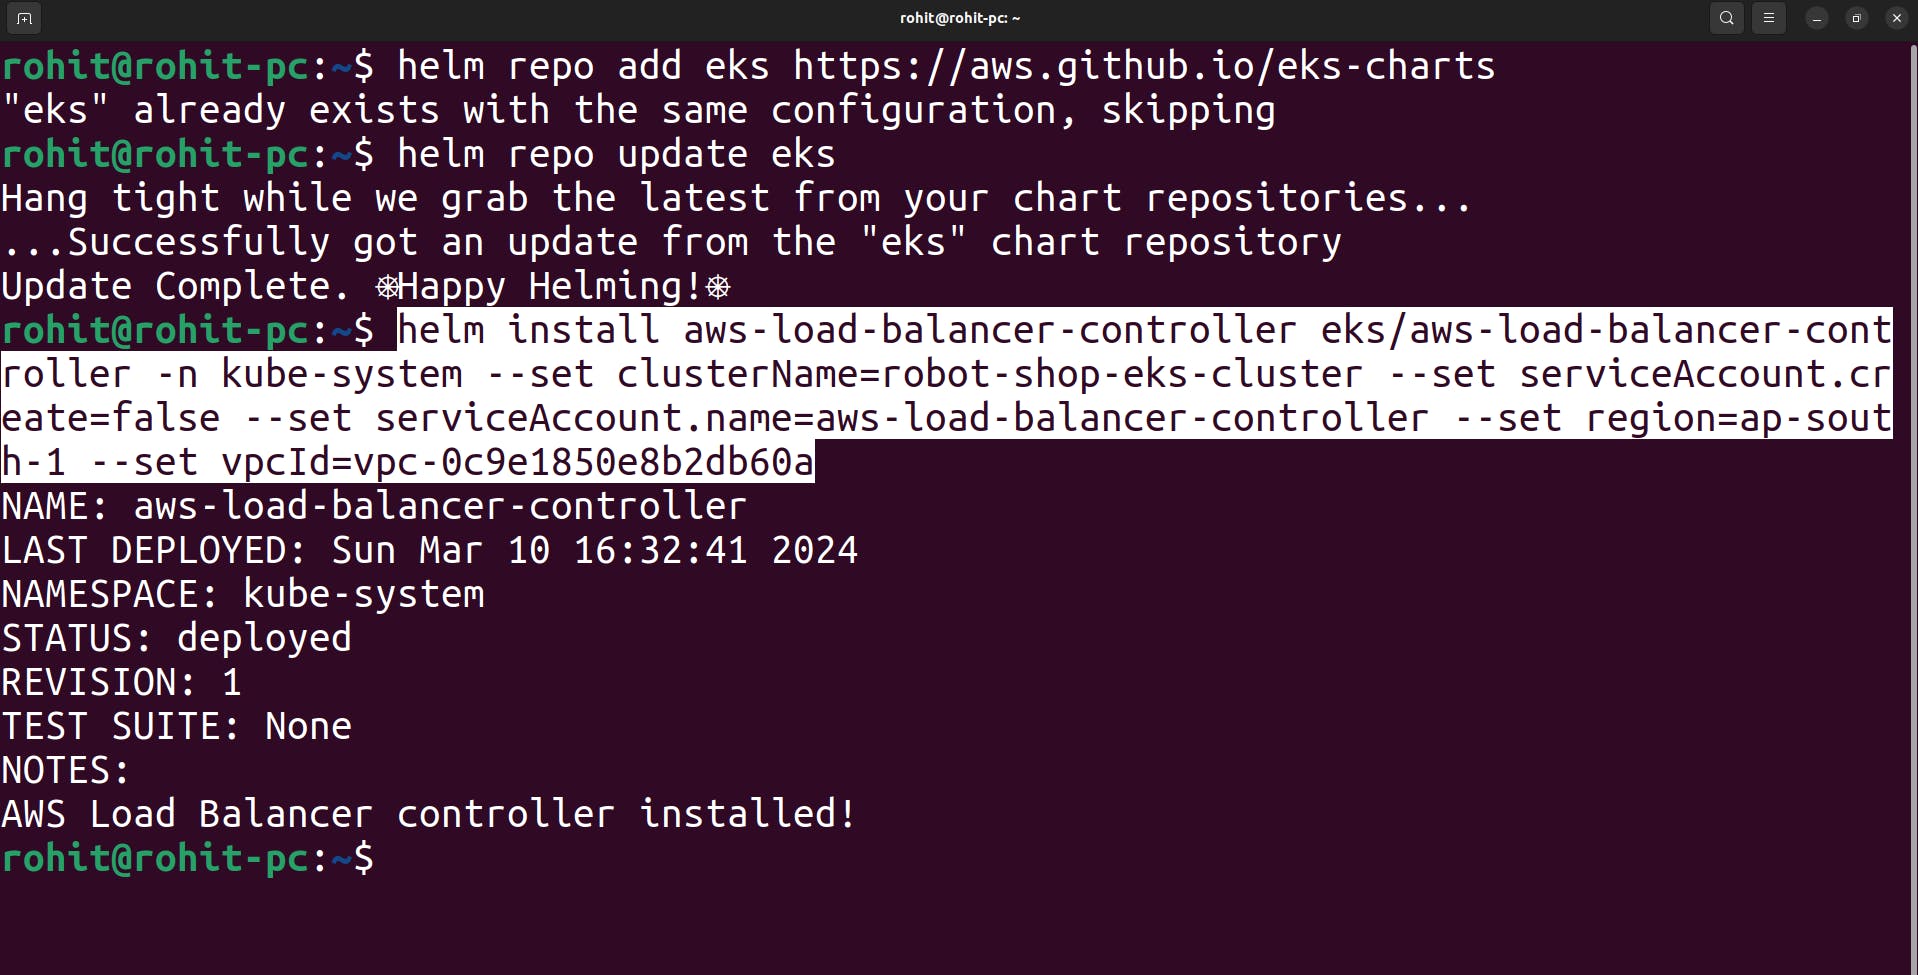
Install the Helm
 helm install aws-load-balancer-controller eks/aws-load-balancer-controller \
   -n kube-system \
   --set clusterName=<your-cluster-name> \
   --set serviceAccount.create=false \
   --set serviceAccount.name=aws-load-balancer-controller \
   --set region=<region> \
   --set vpcId=<your-vpc-id>
while installing modify the cluster name , region and vpc-id from the above command.
Verify that the deployments are running.
kubectl get deployment -n kube-system aws-load-balancer-controller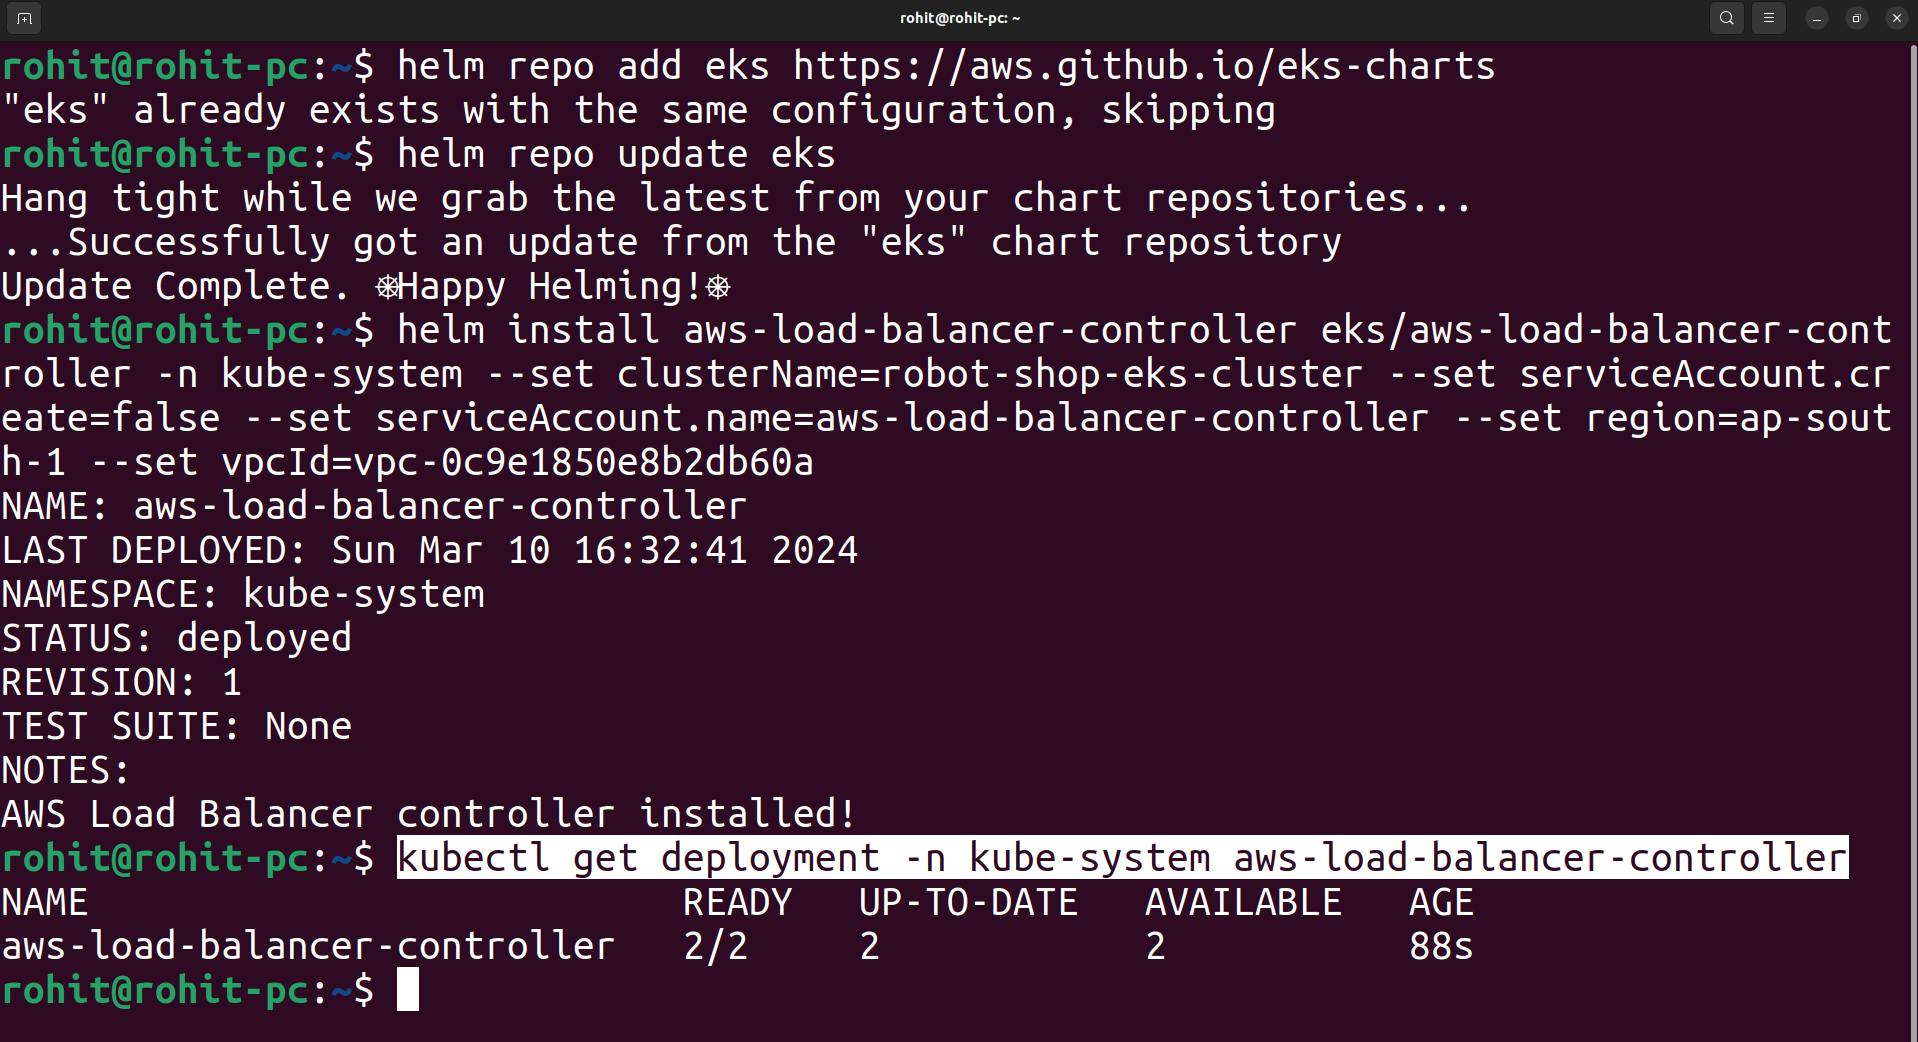
Now ALB configuration is done.
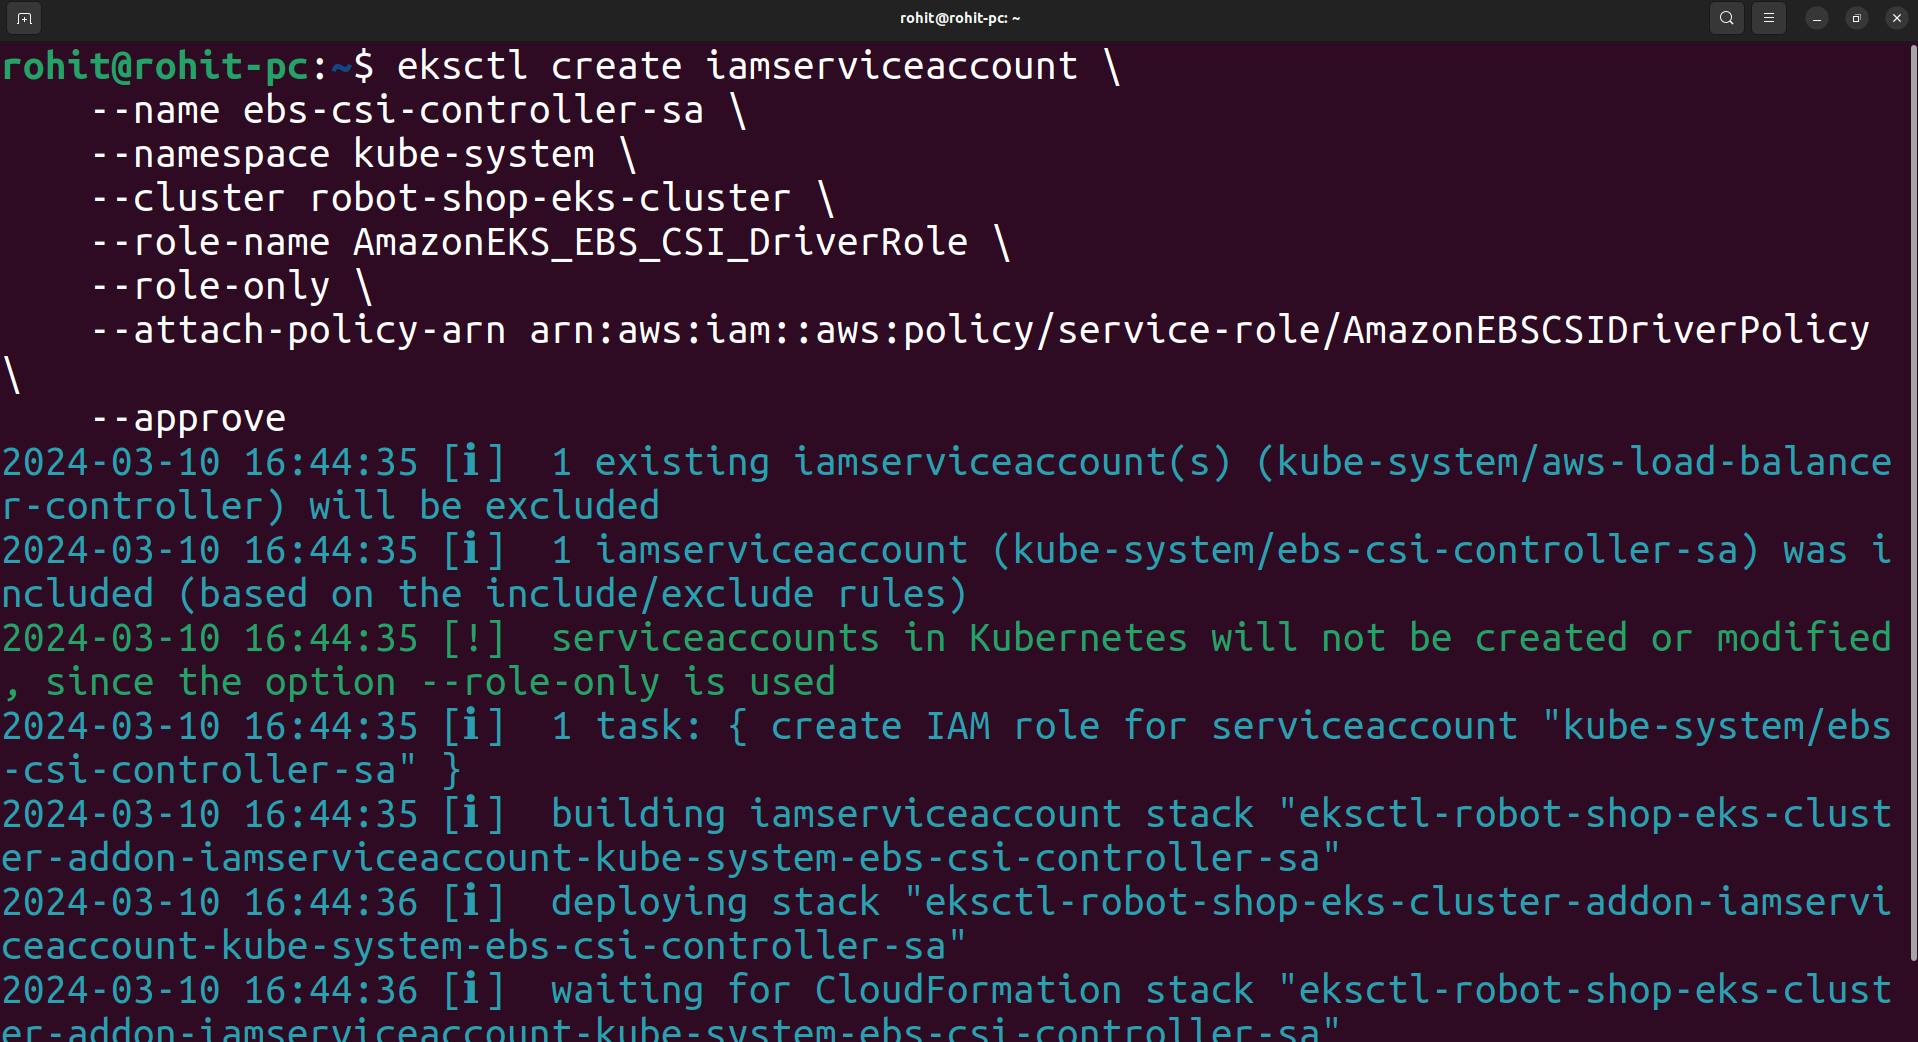
Create an EBS CSI Plugin and configure it.
we need the CSI plugin because the EBS CSI plugin enables the Amazon Elastic Block Store (EBS) to be used as persistent storage for applications running in Kubernetes clusters. It integrates Amazon EBS with the Container Storage Interface (CSI) to provision, mount, and manage the lifecycle of EBS volumes.
 eksctl create iamserviceaccount \
     --name ebs-csi-controller-sa \
     --namespace kube-system \
     --cluster <YOUR-CLUSTER-NAME> \
     --role-name AmazonEKS_EBS_CSI_DriverRole \
     --role-only \
     --attach-policy-arn arn:aws:iam::aws:policy/service-role/AmazonEBSCSIDriverPolicy \
     --approve
Modify the cluster name in command.
Run the following command. Replace with the name of your cluster, with your account ID.
eksctl create addon --name aws-ebs-csi-driver --cluster <YOUR-CLUSTER-NAME> --service-account-role-arn arn:aws:iam::<AWS-ACCOUNT-ID>:role/AmazonEKS_EBS_CSI_DriverRole --forceNote: If your cluster is in the AWS GovCloud (US-East) or AWS GovCloud (US-West) AWS Regions, then replace arn:aws: with arn:aws-us-gov:.
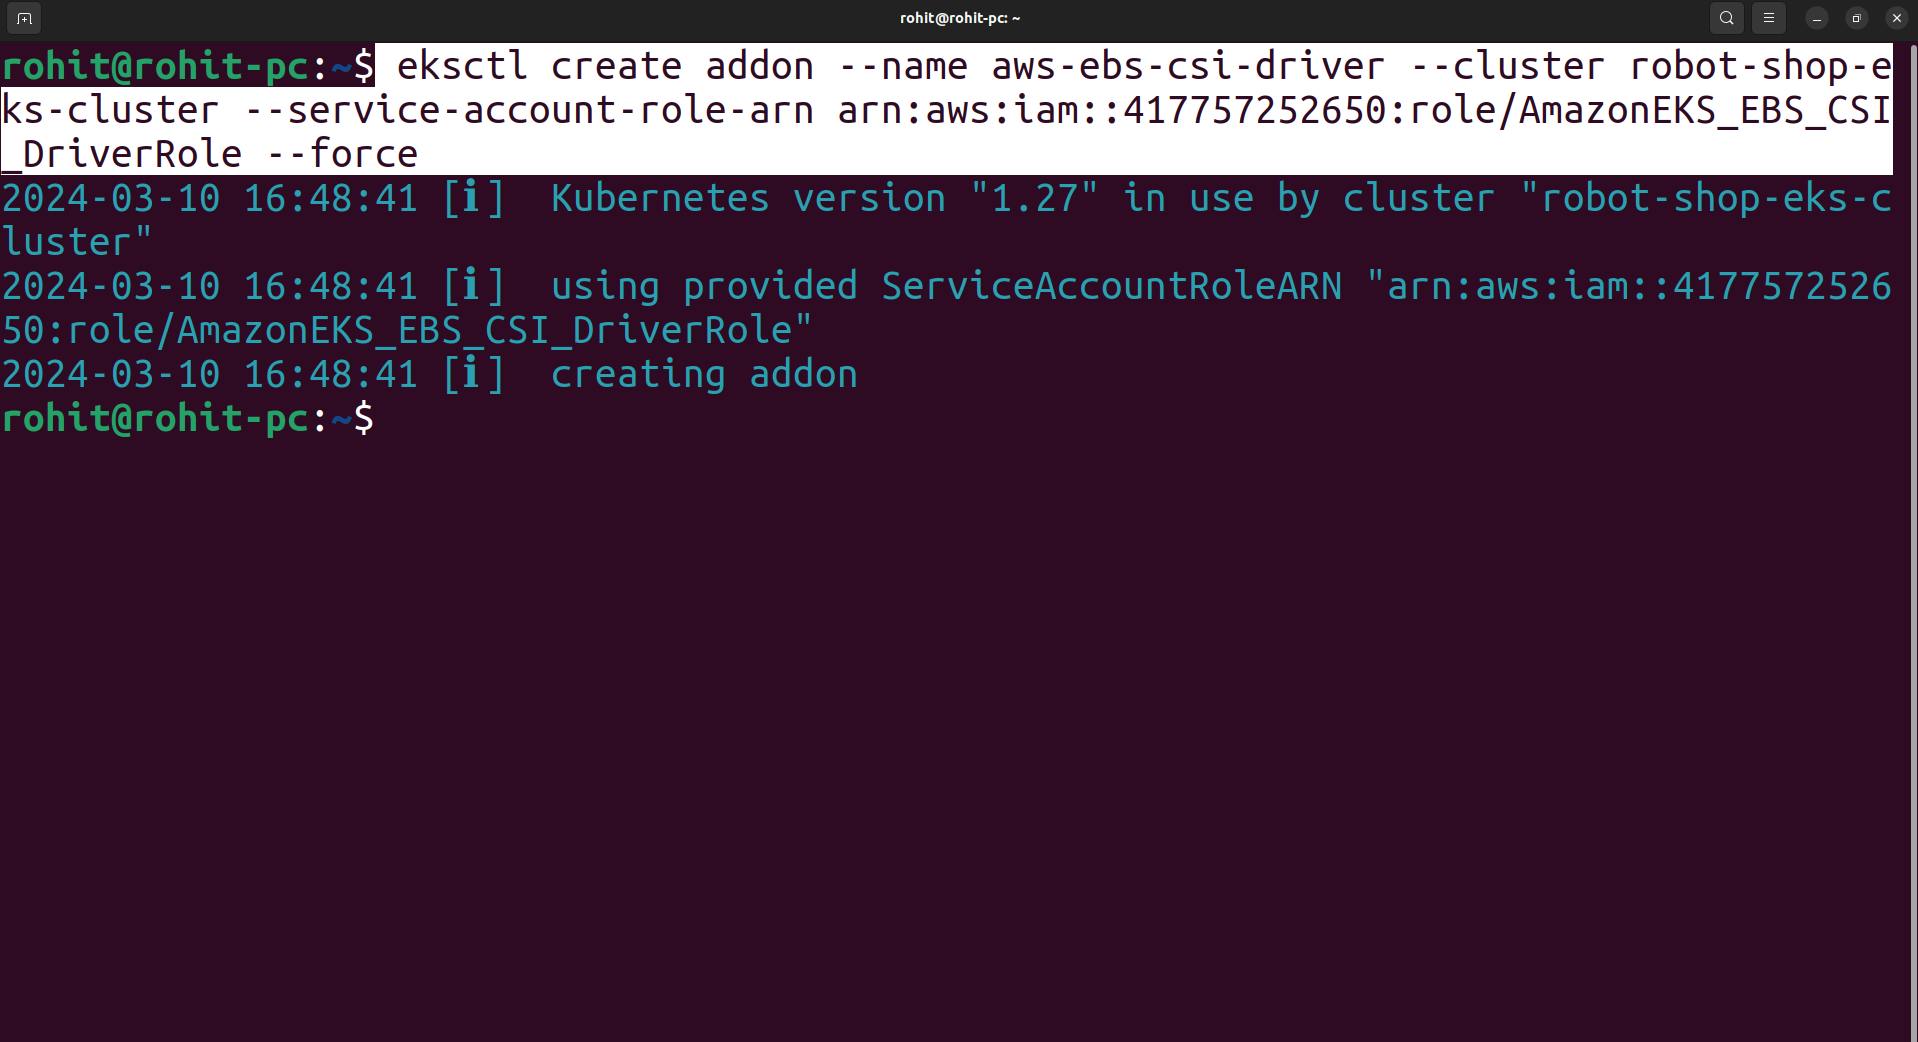
Now the CSI driver is created.
Now deploy the entire project as a helm chart.
goto the helm directory.
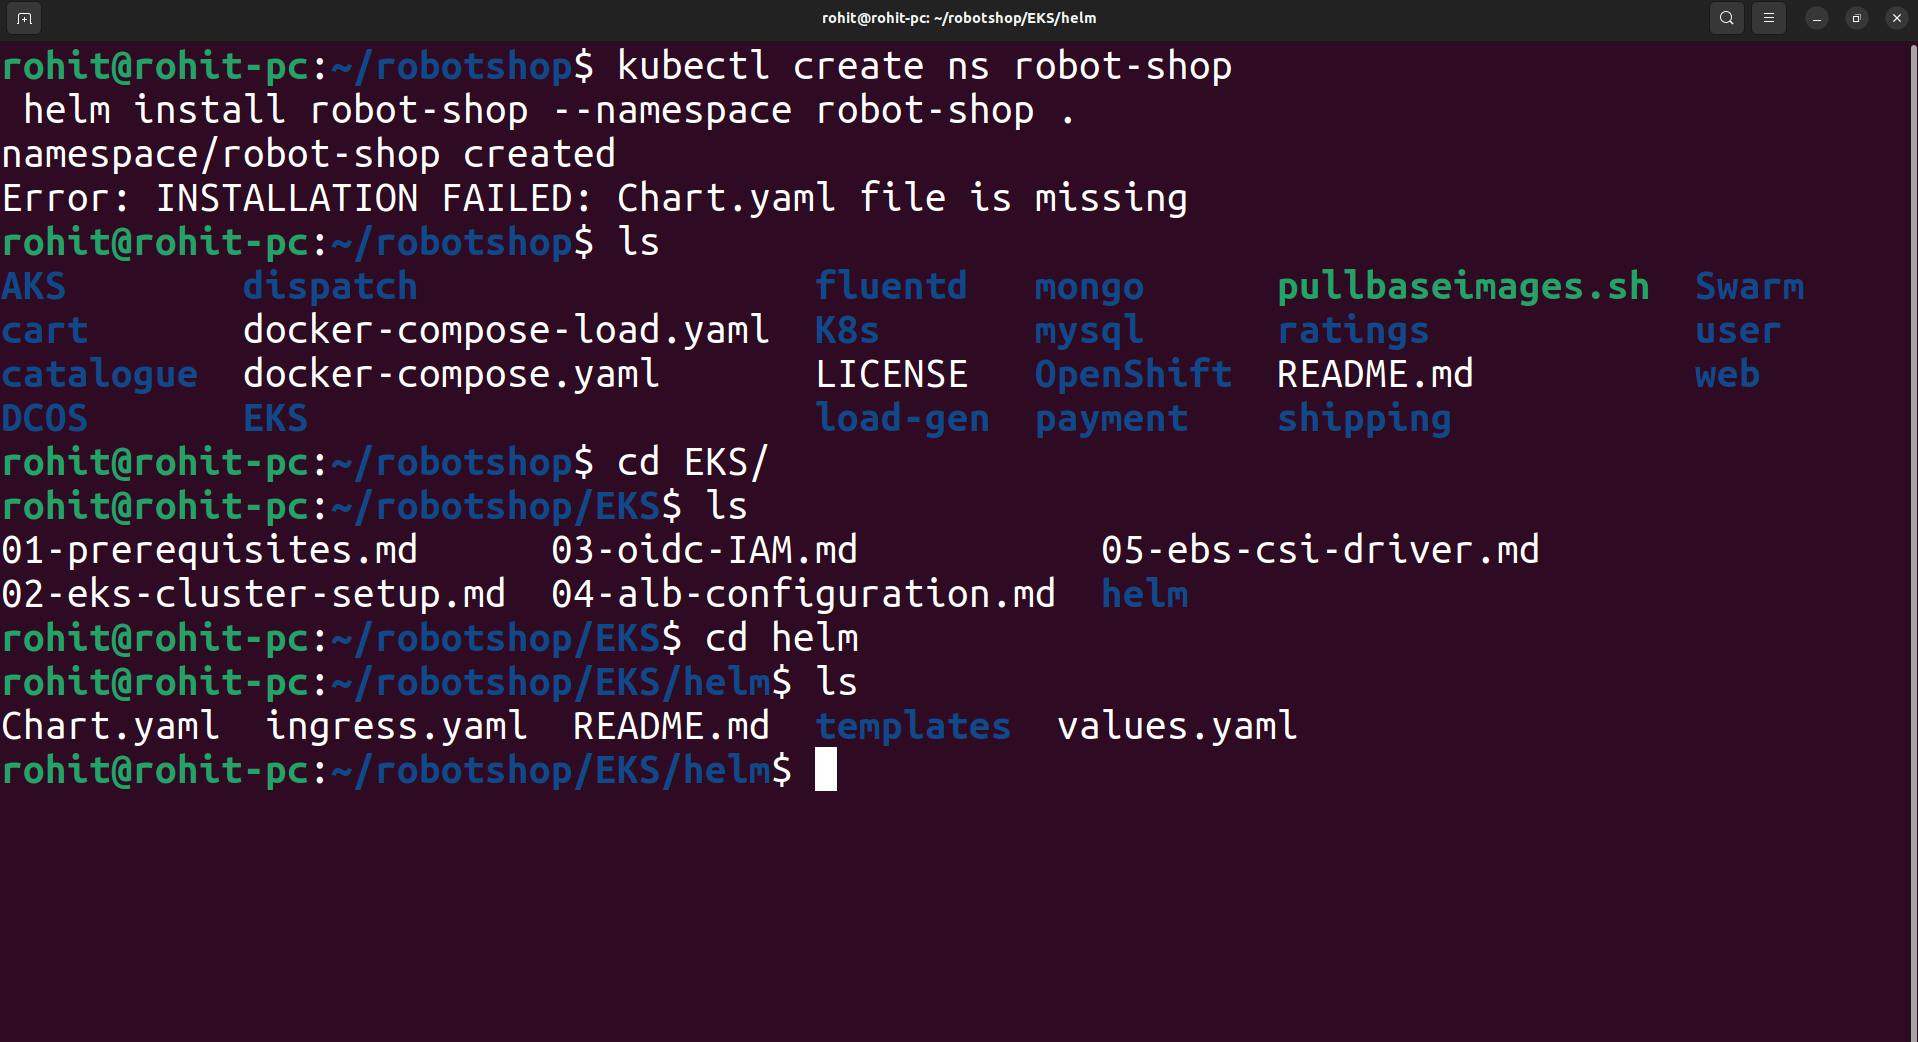
now use the command
 kubectl create ns robot-shop
  helm install robot-shop --namespace robot-shop .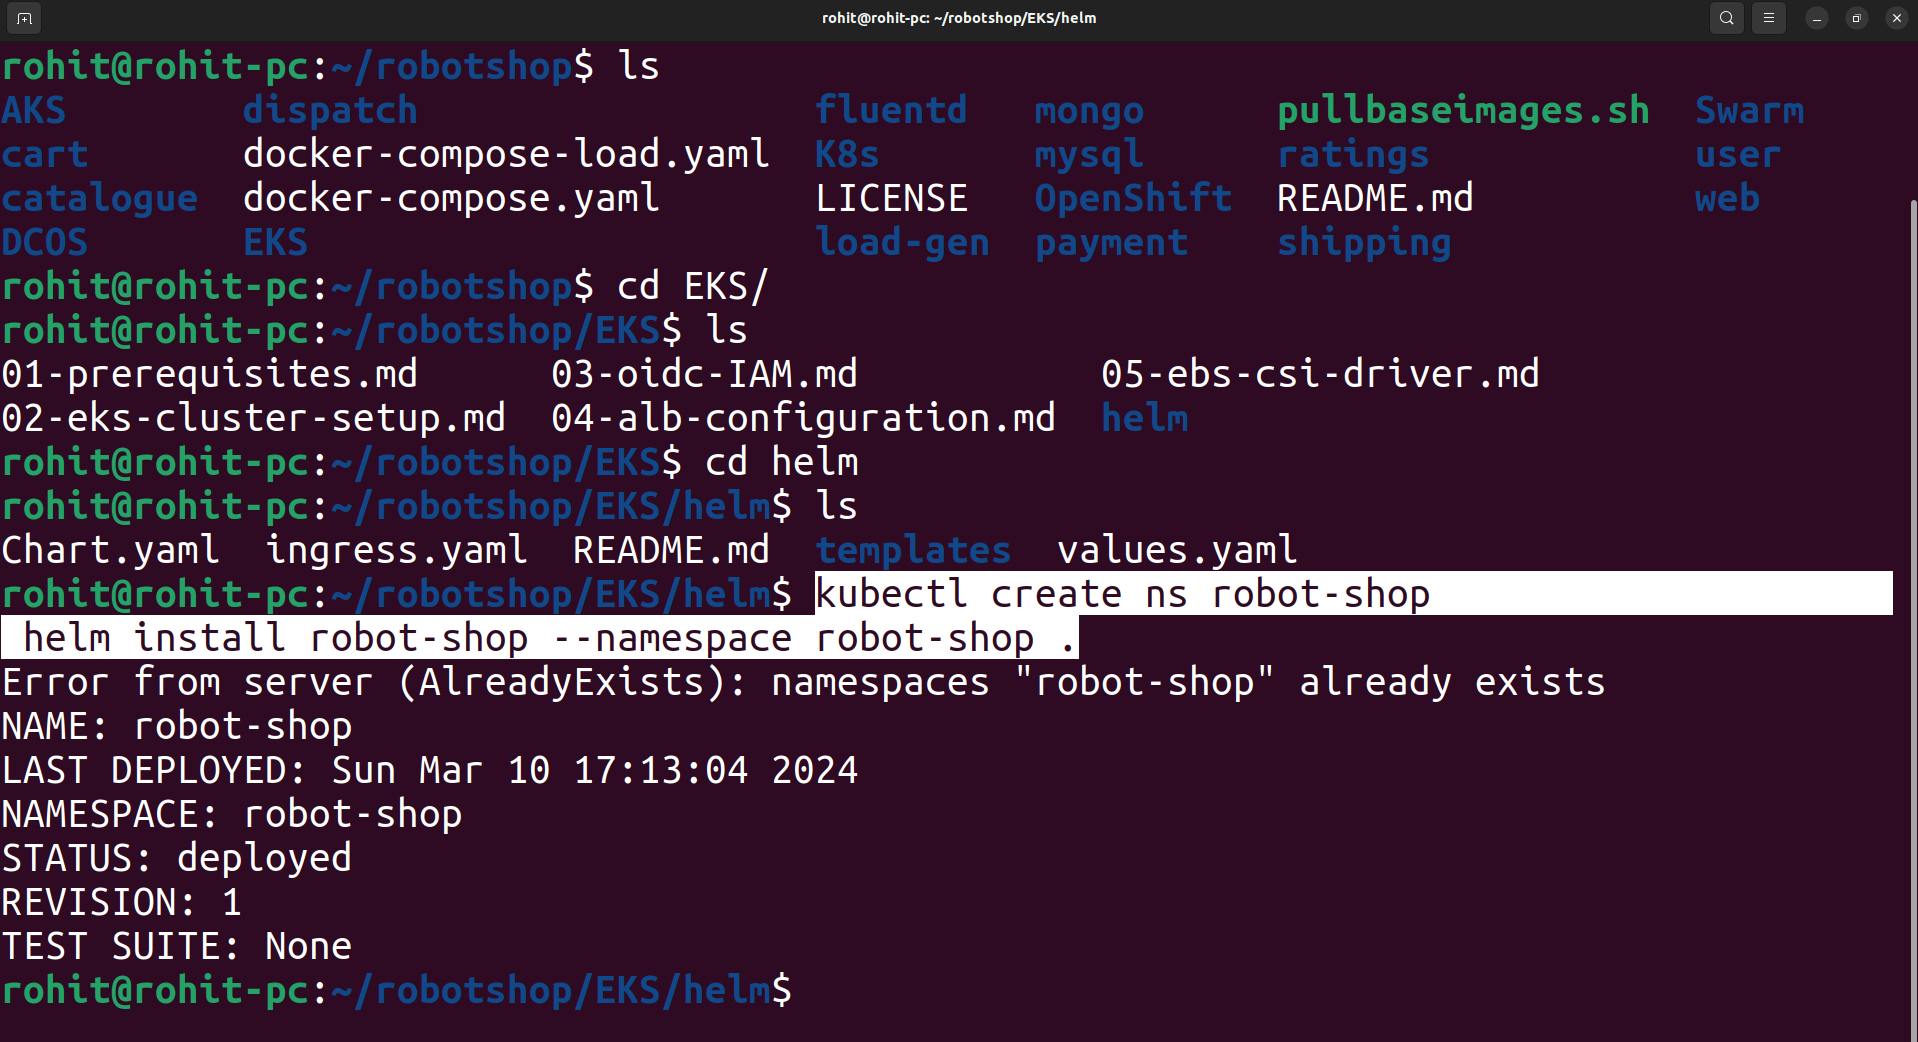
Now help chart is done.
Check all the pods are running or not .
kubectl get pods -n robot-shop
Apply ingress.yml
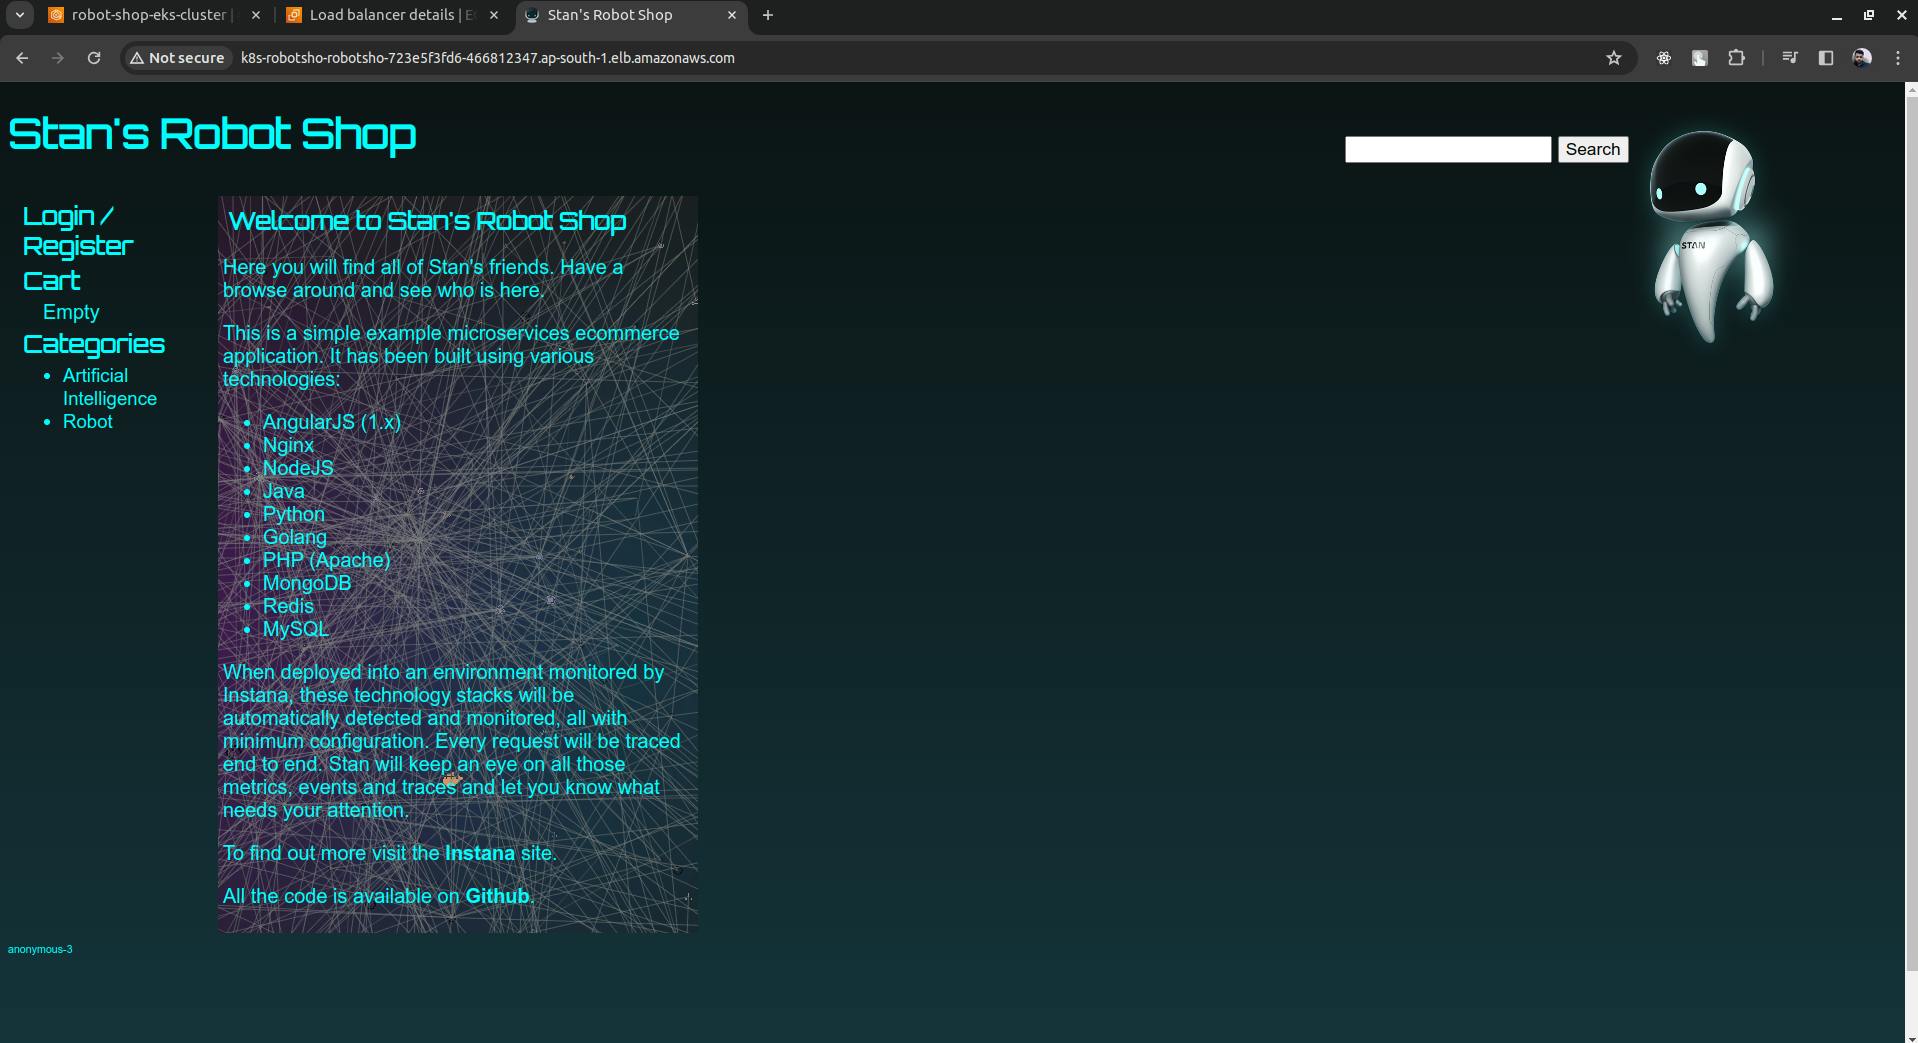
kubectl apply -f ingress.yaml


now just copy the DNS name paste in browser you will access the robot-shop application.

Once your done with project don't forget to delete the cluster.
eksctl delete cluster --name <cluster-name> --region <region>modify cluster name and region in command.

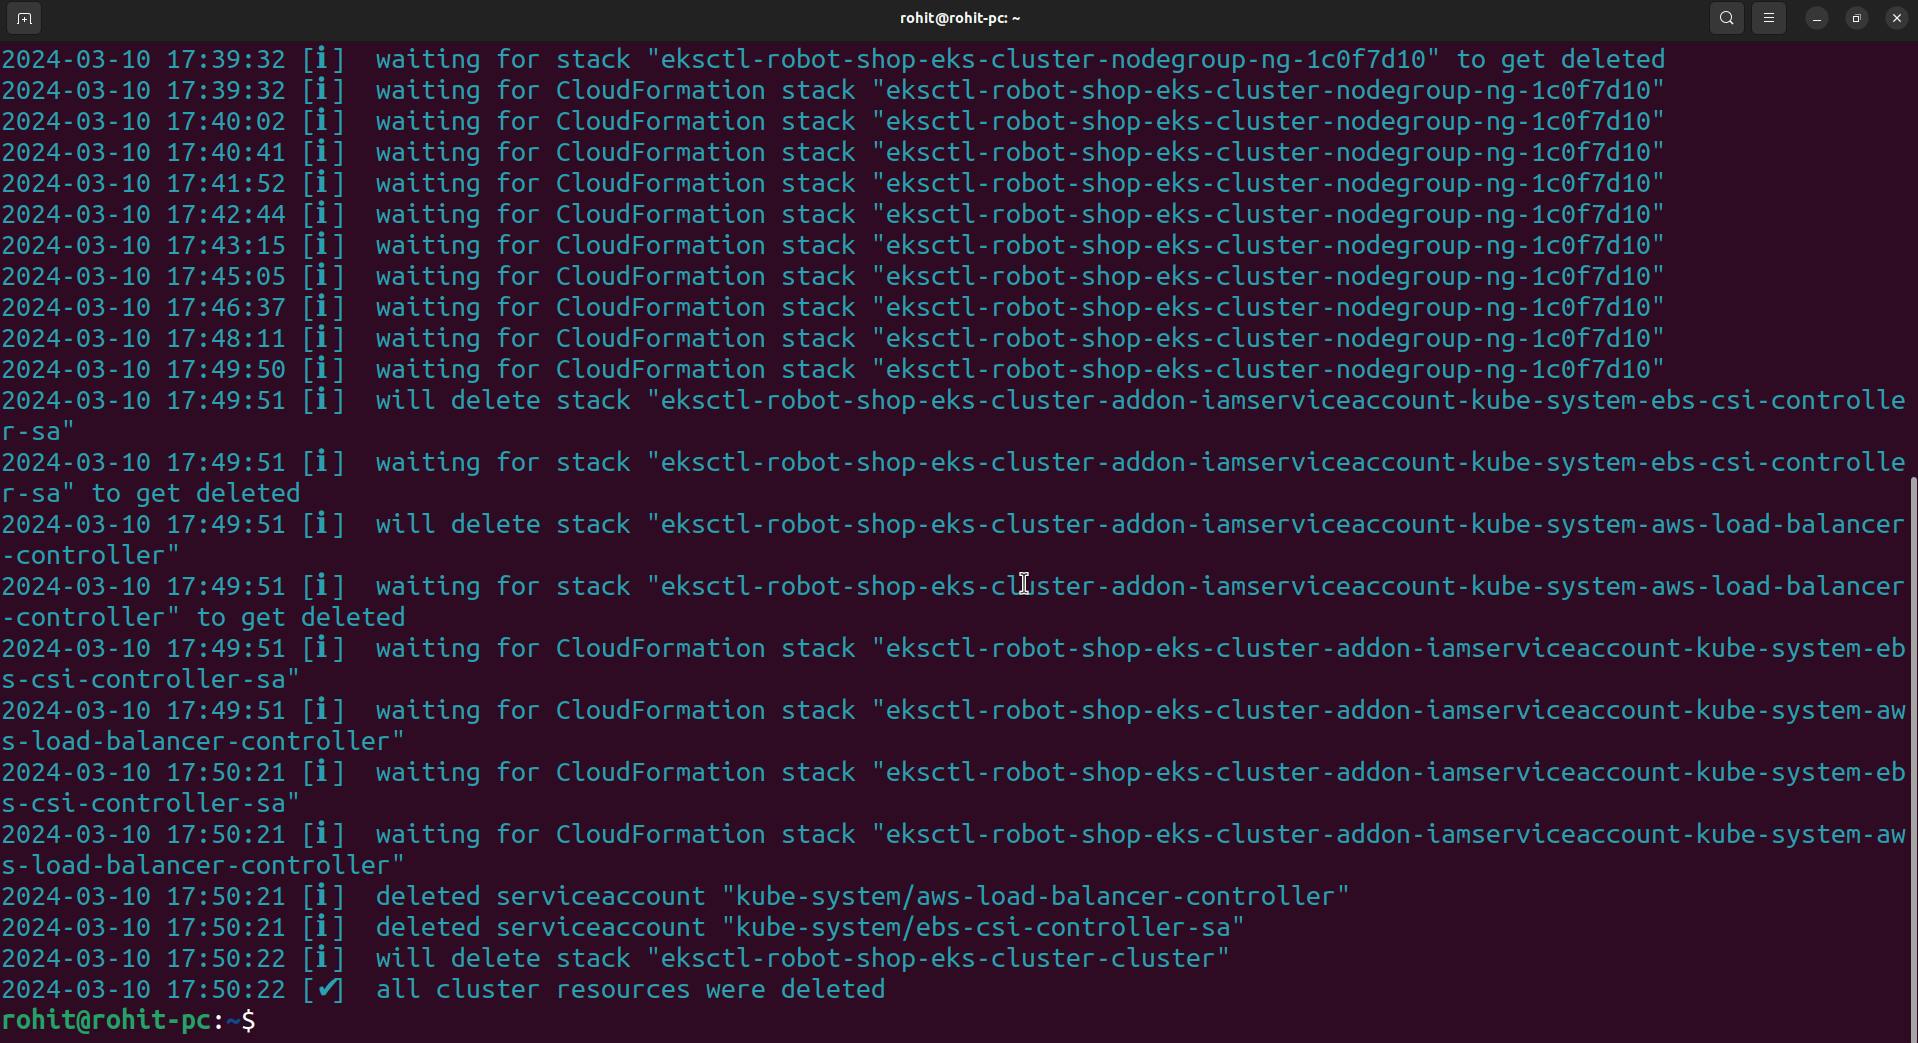
The cluster is deleted.